I have just enrolled here after being grossly disappointed with the new LumberJocks format, where I was renowned for posting lengthy articles. To assist in maintain your sanity, I will endeavour to make this introductory “this is me” as short as possible.
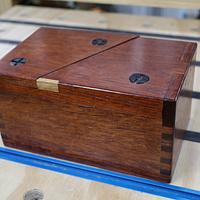
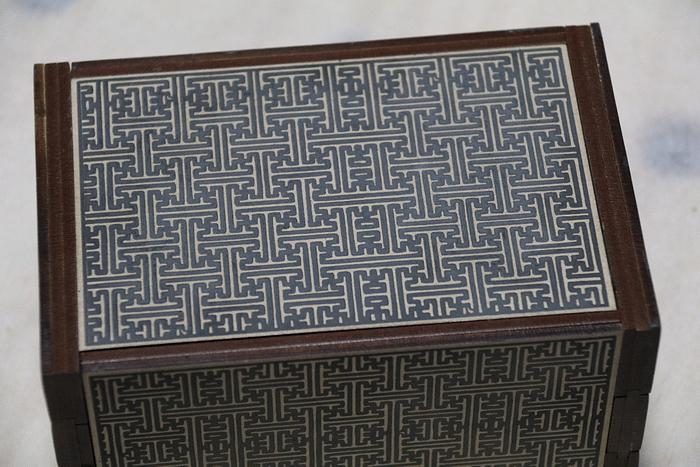
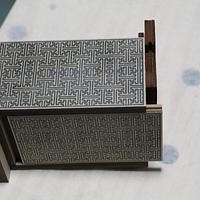
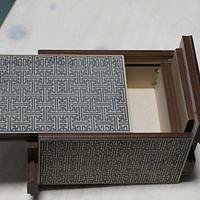
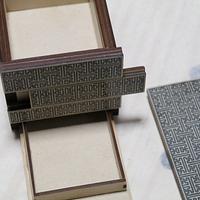
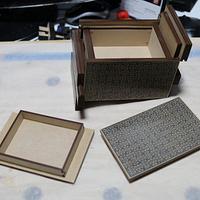
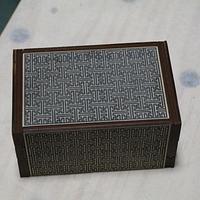
While out of his league, this is my humble take on a “puzzle box” and is the latest addition to my puzzle collection.
To create more readily repeatable processes, I design many of my puzzles to be cut out of MDF on my laser (Trotec Speedy 100, 30W), prior to assembly and usually just a buff finish.
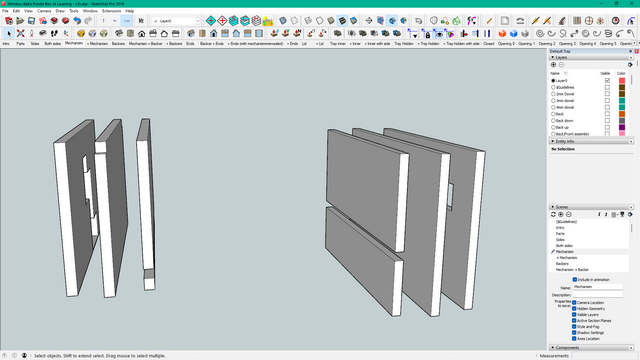
I purchased the plans (PDF) off Etsy and the first step was to import it into SketchUp.
I then reconfigured/optimised it to be constructed out of 3mm and 6mm laser cut components.
I will add that the dimensions could easily be used to “manufacture” out of solid timber with the use of tablesaw (dado blades) and routers… as well as the complimentary sanding paraphernalia.
The SketchUp model was laid out in 2D parallel projection fashion with the optimum laser destination format,
This was passed through Layout (part of SketchUp Pro) to generate a PDF to pass onto CorelDraw as SketchUp has a very unfriendly 1:1 scale PDF generator.
In Corel, the parts are laid out and edited to eliminate duplicate cuts for any overlapping edges.
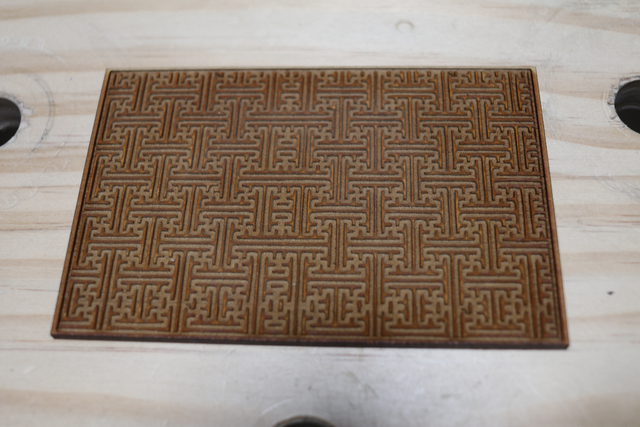
The outer box pattern was derived from this JPG downloaded from the internet,
and expanded/manipulated to proportionately fit all the outer sides.
This was quite a laborious process and I can go into further detail if requested outside this blog.
The parts are also color coded to control cutting sequence to ensure that if the MDF has a buckle and a piece falls from the sheet and could potentially be skewed, not further cutting out of parallel is done to that piece.
The Corel page is then “printed” on the laser,
much like you would print a page to a “normal” printer. The laser performs a predefine color cutting sequence.
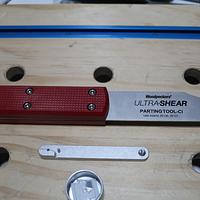
Off the laser,
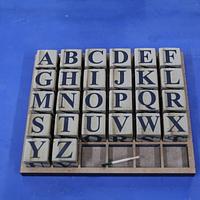
(I supplied the bowl and identified each piece).
The cut parts are then aligned
and assembled using jigs or dowel/tooth-pick alignment guides
to ensure proper layering tried a dry fit,
The pattern was laser engraved using 2 passes which produced an “engraved depth” of just a tad over 1mm.
The recess created was then filled with ebony wood filler
and once dried sanded using 180G on my ROS. Another skim coat of filler was added to fill in any other imperfections and sanded to 240G
All parts were then buffed going through the range of Tripoli, White Diamond and Carnauba waxes to give it protection and a polished shinny surface, (sorry but the camera refused to shine)... Care was taken to avoid buffing areas that are still to be glued and once finally assembled, the overall box is then again passed through the 3 “grits” of waxes.
The Tripoli and White Diamond compounds have different degrees of cutting materials impregnated in them.
Instructions for solving are normally prepared and included in the packaging…, however, as this is a bloody complex build, I don’t make many distributables and the solution is available on the YT:
(pls, pls, check it out… just to boost up my stats.).
There is reference to more comprehensive instruction accessible on my cloud storage and usually an amateurish video is generated to describe the pitfalls and attempted solutions.
All the pertinent (and non-pertinent) files can be accessed at this link,
………………………………..
Thanks for looking and I will try to answer any questions for puzzle minded viewers.
I normally don’t ask for feedback as I "expect" it to happen, however, I would appreciate any feedback from older (longer serving) members on my content and format in case I don’t get banned and manage to post another similar format blog.
No offence taken if you think lasering (or CNC) is not woodworking
If your first cut is too short... Take the second cut from the longer end... LBD
LBD, Another cool looking puzzle. I will have to admit that your patience on these is a whole lot better than mine, either that or I have a short attention span. Excellent job !!! Mike
Welcome to Craftisian, LBD and thanks for sharing such a detailed post about the construction of your Himitsu-Bako box. It looks awesome! Regarding your last concern - why would you expect to be banned for the similar posts here? Keep them coming ;)
nice work work duckie even if it is a puzzle.(inside joke). looks like a lj's revival here,hopefully we'll see even more make the switch. i know many are on the edge.
working with my hands is a joy,it gives me a sense of fulfillment,somthing so many seek and so few find.-SAM MALOOF.
And I look forward to the surprise puzzle that you are left with - what to do with the leftover pieces!!! Will it be a wall hanging? A doorstop? A new box? Or … ?
Welcome LBD! LJ has gone to S___ with its new format. Craftisian is a great woodworking site, we just need to get more woodworkers to see this wonderful woodworking site.
Sorry BB1, but you're underestimating yourself... All (or nearly all) of my puzzles, and I have (pause while I go count) 74 of them that I plagiarised from the internet (and one even from some bloke called Da Vinci...) all made out of solids using basic woodworking machines... primarily a tablesaw with a decent dado blade and a bloody good crosscut sled. I just use a laser cause it's repeatable and I've got one to spare (long story).
Having the "measurements", layout and solution, puts them in the capabilities of most woodies. Most of my files are available (all my stuff is free of charge) on my cloud storage, https://u.pcloud.link/publink/show?code=kZMbnlkZ59shdjNzWIFxphFqI9eWDVoNDb3y but I'm keeping that a secret for future publications here....shhh!
If your first cut is too short... Take the second cut from the longer end... LBD
Thanks crazyD... must admit that the laser makes the repeatable cuts easier, however, the way I do it it's worse on the laser as the layers need to be assembled. I made a video of the trials and tribulations of assembling this box.... it craps on a bit but nowhere as long as it took me to glue/assemble the box. Many mistakes made, however, ironed out to come up with a more viable design.
If your first cut is too short... Take the second cut from the longer end... LBD