mel52
in over 3 years
More from mel52
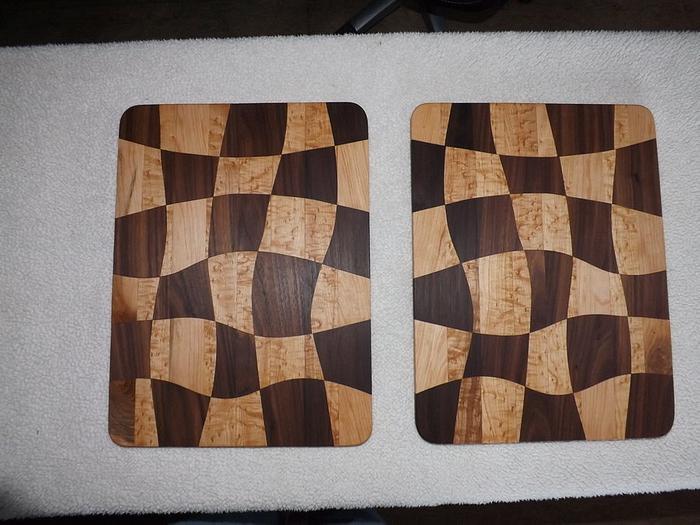
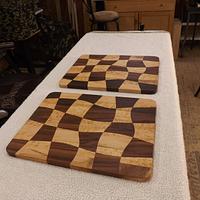
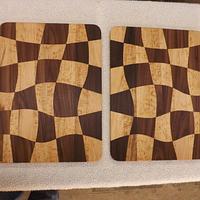
Drunken Cutting Boards
Switch over project.
20 Comments
working with my hands is a joy,it gives me a sense of fulfillment,somthing so many seek and so few find.-SAM MALOOF.
Main Street to the Mountains
Love to see some progress happy snaps... I like to plagiarise,
If your first cut is too short... Take the second cut from the longer end... LBD
No name noobie here
Ryan/// ~sigh~ I blew up another bowl. Moke told me "I made the inside bigger than the outside".
RyanGi
commented 4 minutes ago
Those are awesome! Can you talk through the process to get those tight joints with the curves?
If your first cut is too short... Take the second cut from the longer end... LBD
BB1 - Thank You
Eric - Yes, you tighten a clamp and it moves, tighten another clamp and it moves the other direction.
LBD - Unfortunately no progress pictures, but will try to address the building of it. Won't be as eloquent as you would, but will give it a try. lol.
YRTi - Thank you
RyanGi - I will try to give it a shot.
2. Use double sided tape on face side to stick together. Cut size to what you want. REMEMBER both at the same time. This is the most important part for later matching.
3. Cut as many vertical lines as you want in slight wavy curves, This might be the time to start numbering them to keep them straight. I didn't, but kept close track. Barely sand only if needed on your cuts to keep glue lines even.
4. Separate slices and glue back together using alternate woods, lining the points exactly to make a smooth line. You will now have two striped boards, exactly shaped but different woods. Dry fit first to make sure they are the same.
5. When dry, sand faces slightly and again face tape together matching the edge lines as close as possible. Cut horizontal wavy lines and separate pieces. Sand cuts very lightly if needed. ALWAYS sand both pieces at same time still taped together.
6. Reglue in alternating slices, matching inside corners as close as possible. Don't worry if edges are off a smidgen, these can be cleaned up later. You should now have a checkerboard look on both boards.
7. When dry just treat as a normal cutting board. Touch up ends/edges on table saw, round corners if wanted and edges. Sand smooth and treat them with the finish of your choice.
AS A SIDE NOTE -- Instead of gluing the complete board at one time, you might try gluing in sections of two or three strips at a time and then gluing these sections together. Will take a lot of time but you may not have to fight all the curves moving on you. I am going to glue these the next time using the juice groove cutting jig I made to hold then straight for me, I hope. Just will use a lot of wax paper and go for it using clamps on everything.
These two boards are exact opposites, just that you are looking at top on one and bottom on the other, didn't notice that when taking pictures.
YOUTUBE has many videos that may explain this with pictures to help. That's where I got most of my info.
mel52
commented 3 minutes ago
1. Make 2 separate cutting boards with wood of your choice. Sand faces fairly smooth when dry.
2. Use double sided tape on face side to stick together....
I believe, from picturing in my feeble brain, that this is the secret and not trying to matching of curves (if that misconception of mine makes sense). After that snippet of info it seems purely academic...
Thanks mel.
If your first cut is too short... Take the second cut from the longer end... LBD
...woodicted
No Bees. No Honey. Bees Lives Matter
-- Soli Deo gloria! ( To God alone be the Glory)
Ryan/// ~sigh~ I blew up another bowl. Moke told me "I made the inside bigger than the outside".
WOW!!!! That is very impressive!!!!
Regards.....Cliff.


