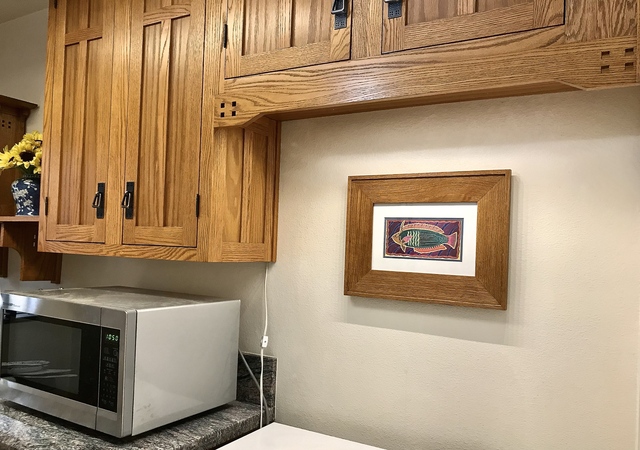
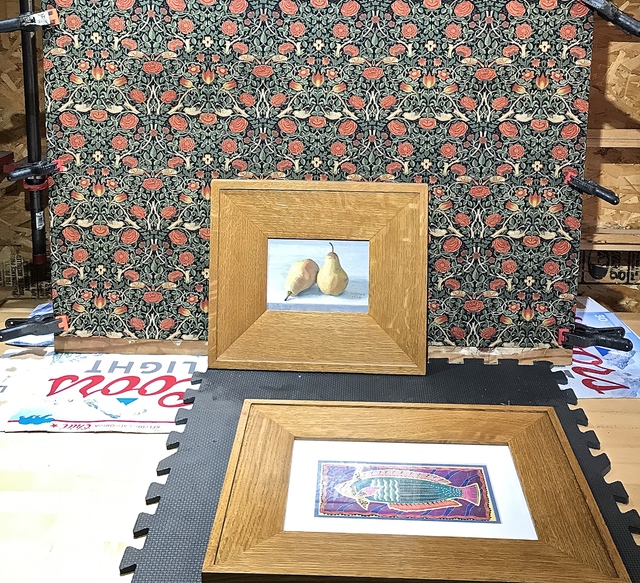
I saw similar frames on line from mission furnishings.com and I wanted to build a few. The molding is made from a solid piece of QSWO mitered and glued together using biscuits for a better hold. These frames were built a while ago in 2017.
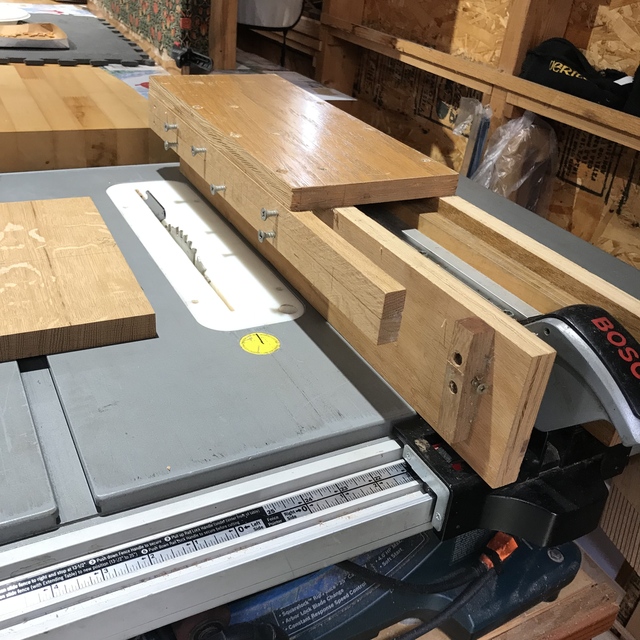
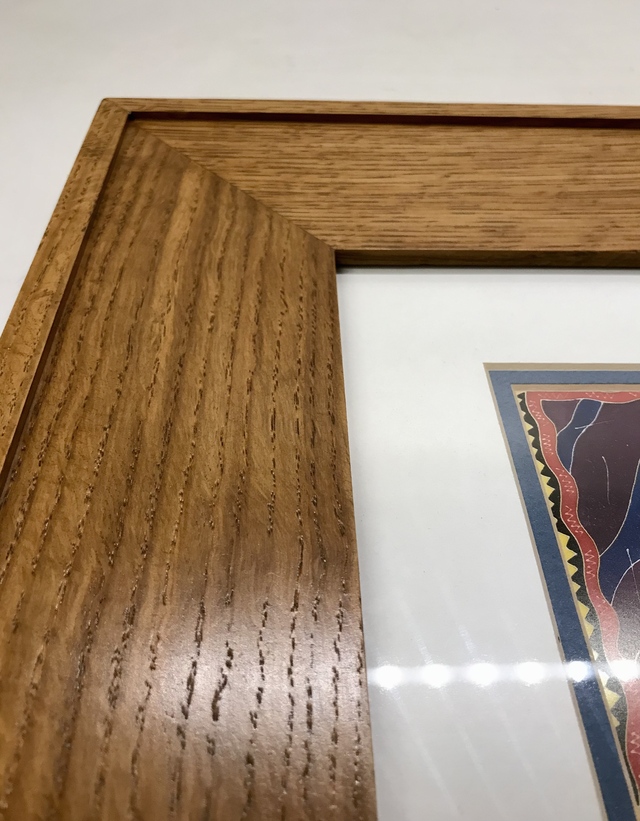
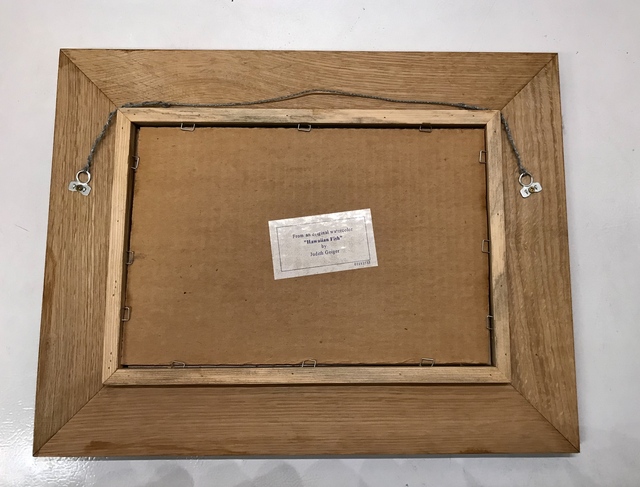
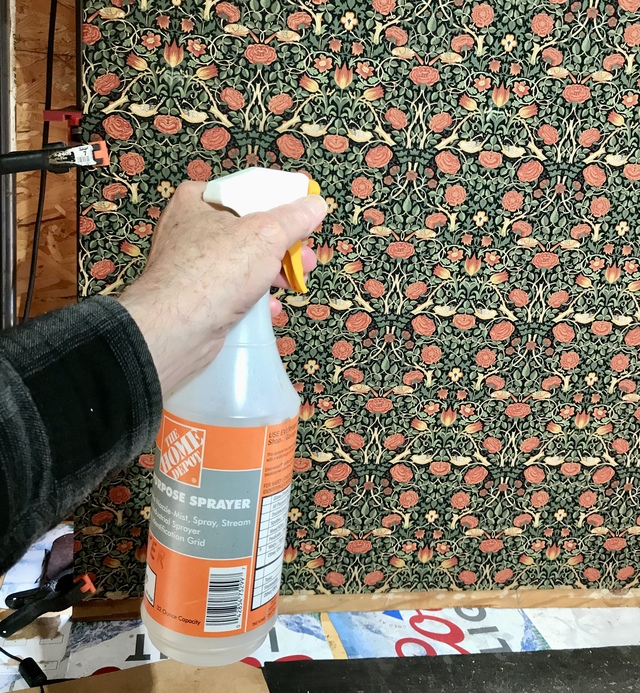
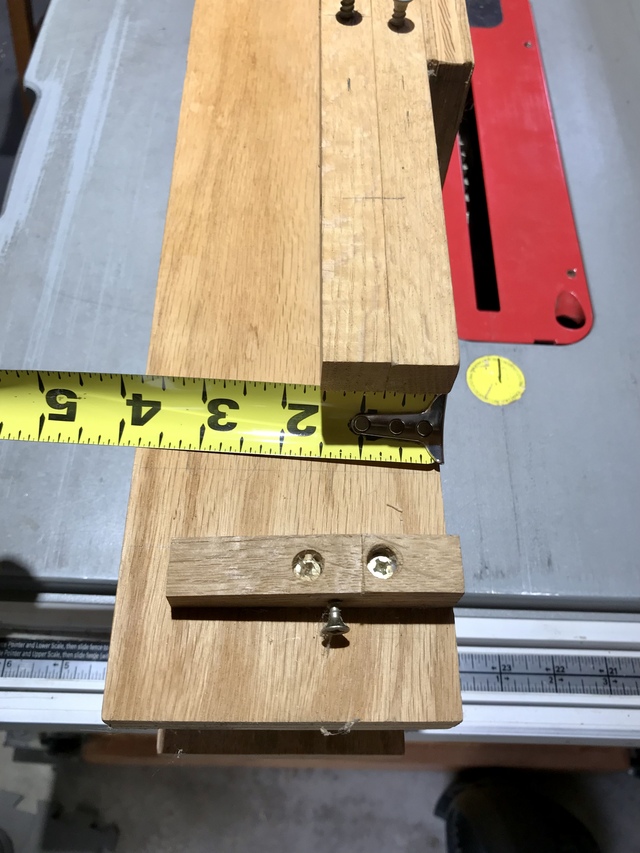
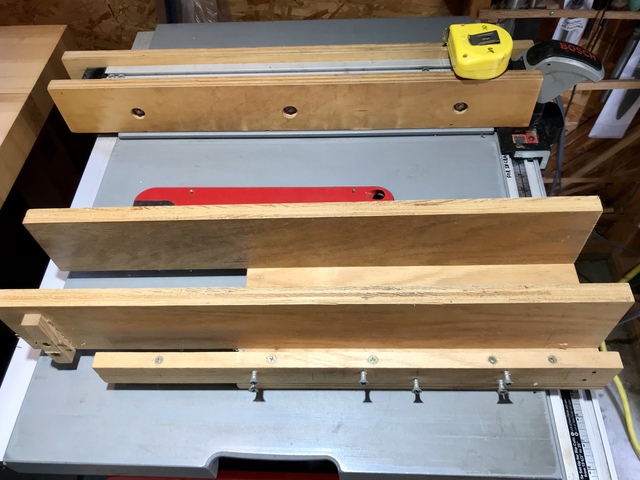
I built a jig that slides on the fence of my table saw. The jig can take up to 3-3/4” wide boards. I place the board in the jig and tighten down the screws(the screw heads are rounded off) then screw in a screw that’s located in a block at the end of the jig into a pre drilled hole in the end of the board and I tilt the blade to about 15 degrees, adjust the fence and the blade, and leave about 3/8” to 1/2” on the top of the board for the outer part of the molding, then I slide the jig with the board in it over the blade. The frame moldings look like this from an angle. I wish I photographed them while I was cutting them. I glued and nailed pine strips to the back of the frame with a 23 gauge pin nailer to hold the staples that secure the image from the rear. I use spring clamps to stretch the fabric over plywood and spray it where the creases are, when it drys the fabric shrinks and the wrinkles are gone.
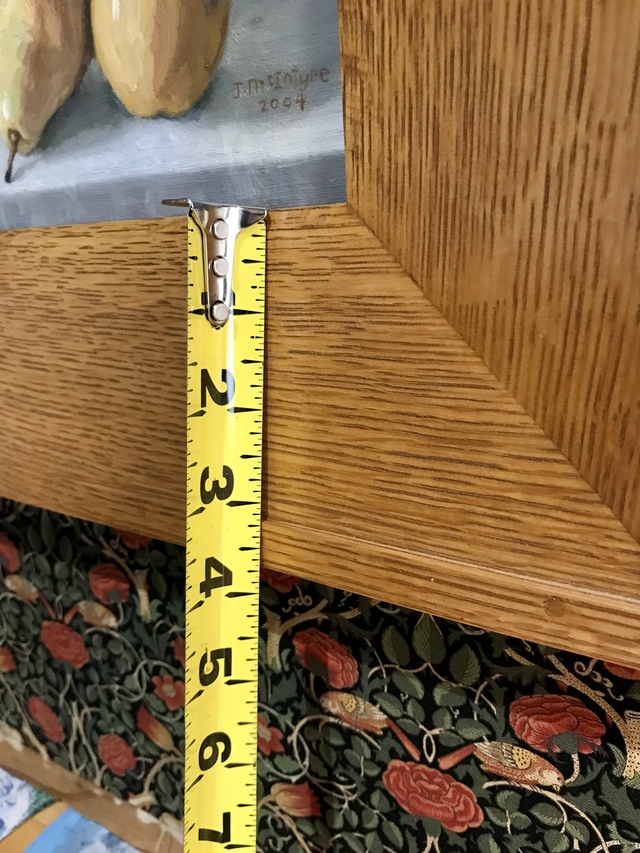
The fabric is one by William Morris (Rose 1883). Since he is known as the father of the Arts and Crafts movement I thought it would be fitting to use as the background wallpaper for this project.
I hammered some 1/2" finishing nails through the fabric into the plywood to hang the pictures.
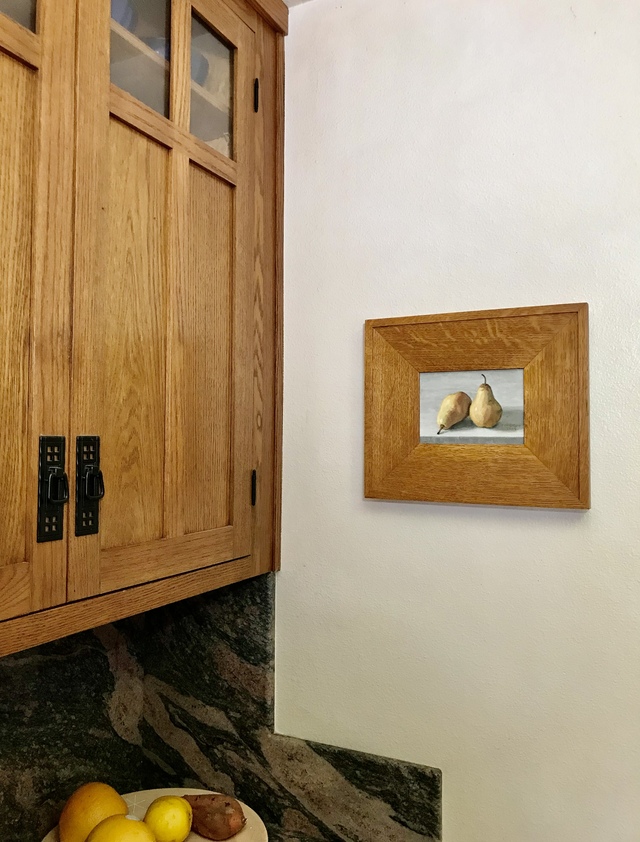
I added this photo technique because a friend ask me about the wall paper behind my projects. The frames are finished with about 5 coats of poly wipe on.
Thanks for showing your photo setup. I should have known it was like the fake moon landing stuff. 😃
First look at the frames was thinking how you really nailed the miters given the width. Then I was wondering if they were flat or tapered, your photos answered that, good show!
Nice looking frames, James. Nice prints and background fabric too.
Your jig (and saw) yield good results. I have two questions, though. (1) The jig will accept boards up to 5 1/2” wide. I’d guess your saw blade height tops out at just over 3”. Does that mean that wide frames will have a much wide outside boarder? (2) You said that the screws in the jig that hold the board in place have their heads rounded over. Did you mean the screw tips? (The heads look like normal flat heads.)
Thanks Ron Stewart. That jig is a project in it-self. After it reread the the description of it I realized that the blade has a maximum height of 3-1/2” less at a tilt. I guess I was to busy to go back and edit it.
I built that when I first started woodworking and if I had to do it over again…….
I went back and measured it again and the max height it can handle is 3-3/4”. This is a wild jig. I have the blade height spinning at 3-1/4” high and only having it held by a 1/2” at the top of the board by 3 or 4 screws. Don’t stand directly behind it. The first sample cut I made I had to hold the board by hand against the fence as it exited the blade because it was vibrating so much.
If you look at the end of the jig you’ll see a block or strip of wood I added. There’s a screw in it that is screwed into the the end of the board to stabilize it further, in a spot away from the spinning blade. There’s two rows of screws on this jig to accommodate different board heights.
The screws are filed flat on their tips and I also place a wood strip between the screws and the board to prevent them from blemishing the board.
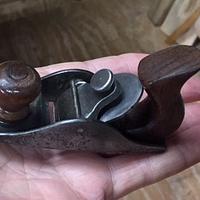
After I cut the bevel on the board I have to cut the waste off where it hits the outer boarder with a utility knife and clean the rest up with a shoulder plane.
I reverse this jig to cut rabbits and bevels for the tops of my clocks and many other things. It’s very versatile.
I hope this makes sense and answers all your questions. If not fire away.