Eric - the "Loft"
in over 3 years
More from Eric - the "Loft"
Segment Gluing Jig
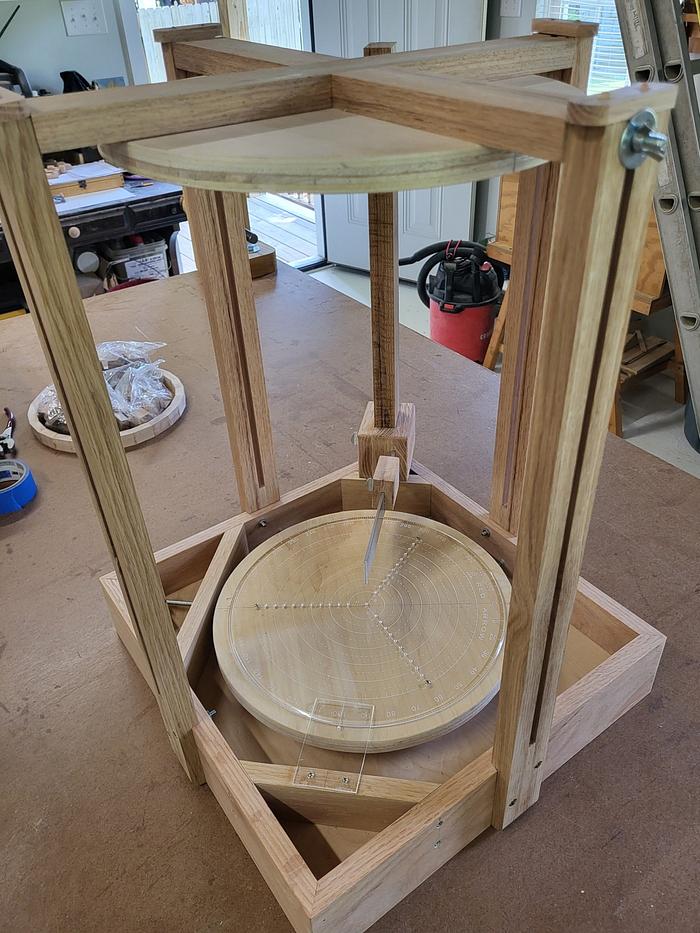
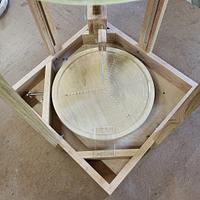
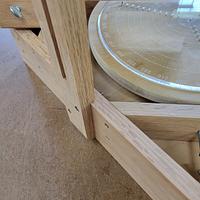
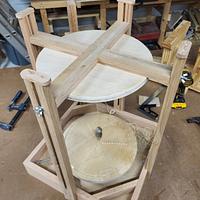
The jig was mostly scraps that I had in the shop, plus the hardware and the large circular protractor (found that on online). Started with the base using 3/4" plywood and added 2 layers between the base and the top of the turn table. they are all connected with a 2" diameter post so the turn table will spin easily and stay flat.
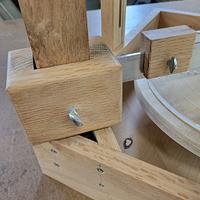
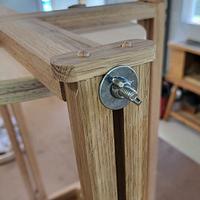
The mechanism for the indexing included a block with a bar installed on it that rides on the post in the corner, along with a small stop block on the bar. Both have thumb screws to lock in position. The bar does go to the center of the jig. I also incorporated a clamping system into the build, this consist of vertical supports on the sides with a cross-piece with hanger bolts that slide in a slot within the supports. Also there is a circular plate attached to the bottom to cover all of the wedges needing pressure during the drying. Just slide the plate down after removing the bar and lock in place.
In theory: the jig works like this, set the bar just above the ring being glued to, then set the stop block on the bar to the outside of the wedge being glued. Place the wedge in the corner of the bar and stop block, spin the turn table counterclockwise to the next angle to glue the next block in place. Once back at the start, remove the bar and slide the clamping plate in place and lock down. THen repeat for each additional layer.
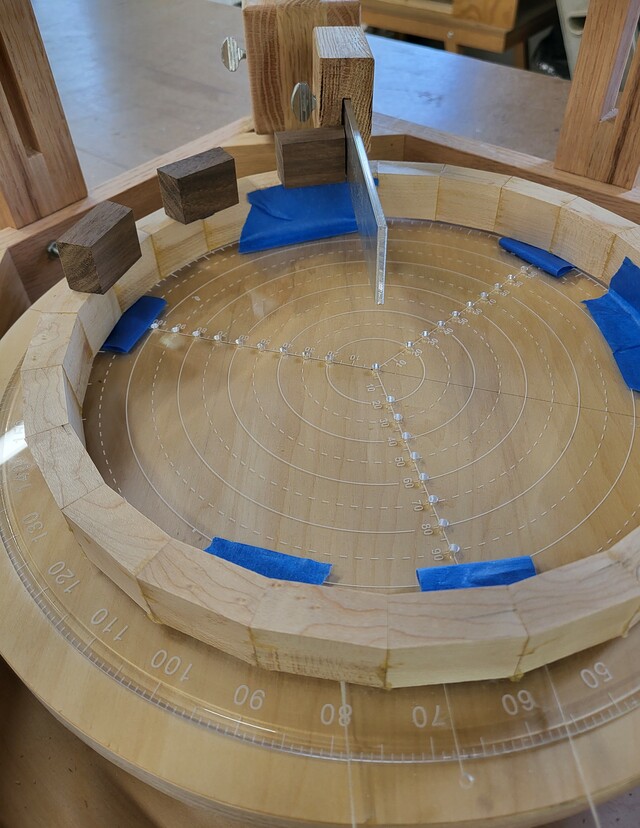
And turned for the next block.
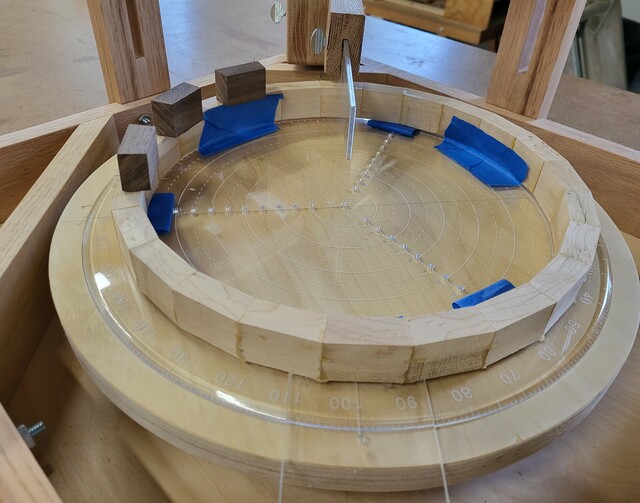
This should work well for gluing the segments, and it can be used to clamp rings together also.
There is a build blog with more details of the construction.
https://craftisian.com/entries/1925-getting-started
Thanks for looking and comments are always welcome and appreciated.
Main Street to the Mountains
55 Comments
David
Ryan/// ~sigh~ I blew up another bowl. Moke told me "I made the inside bigger than the outside".
No name noobie here
David, thanks. It might be a bit, this was a project off the list to fill in while waiting for some material.
Steve, thanks. I was hoping that the photos, would explain better.
Ryan, thanks. This has been on the list since the turning swap. Hey, how is that pencil cup tan lines coming along?
Yrti, thanks. That was the plan to make the glue up easier.
Main Street to the Mountains
working with my hands is a joy,it gives me a sense of fulfillment,somthing so many seek and so few find.-SAM MALOOF.
Main Street to the Mountains
working with my hands is a joy,it gives me a sense of fulfillment,somthing so many seek and so few find.-SAM MALOOF.
Main Street to the Mountains
working with my hands is a joy,it gives me a sense of fulfillment,somthing so many seek and so few find.-SAM MALOOF.
May you have the day you deserve!
Ryan/// ~sigh~ I blew up another bowl. Moke told me "I made the inside bigger than the outside".
Very creative.
Petey
Dave, thanks. Thought the additional photos would help.
Ryan, thanks. The wall thickness should not make much difference. it will really help with the larger numbers of wedges.
OldTool, thanks. I thought about it and how it should work. time will tell how good it really is.
Petey, thanks. When you had mentioned the Stomper, I thought it would be nice to have a clamping system for this.
Main Street to the Mountains
Nicely done.
Ron
Cheers, Jim ........................ Variety is the spice of life...............Learn something new every day
Jim, thanks. I sat at the bench messing around with a few blocks drinking my coffee thinking how this should work. The first item was the post to hold the bar in place. I think it will do the job that I intended.
Main Street to the Mountains
The pictures are a great help seeing how it works. Nice job.
daveg, SW Washington & AZ


