Share your craft projects
Make new craft buddies
Ask craft questions
Blog your craft journey

mel52
660 posts
and
23 followers
in over 3 years
in over 3 years
More from mel52
Picture Frame Exact 90 deg. Corner Jig
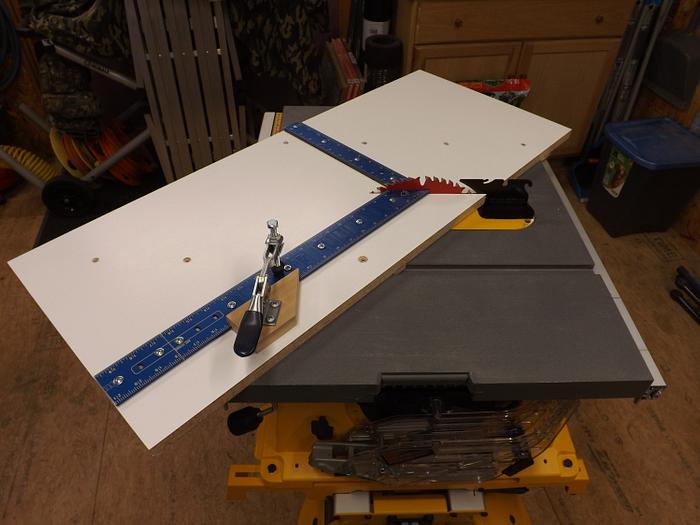
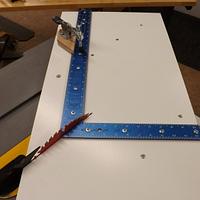
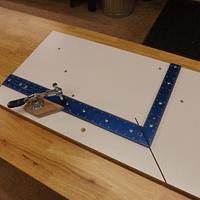
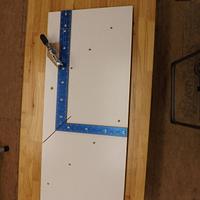
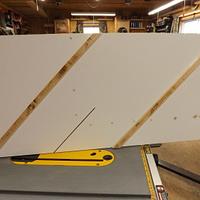
Got the original idea from David Picciuto's web site " Make something ", and then tweaked it for myself. I questioned the exact 90 degrees until I studied it more, but it will end up pretty much as it says. Made out of laminate shelving 1" thick, 15x36 inches in size. This was sized to fit my table saw but sizes are what you want to make. Made my own runners out of Hickory to fit. Bought a new square (aluminum) and made sure it was exactly 90 deg. and screwed it to the base. Adjusted everything with my digital measuring tools to as close to 45 deg as possible on the point of the square. Cut the slot through the square with a carbide blade. The square is raised slightly to allow a space under its edge for the sliding stop block. This works on the principle of using the inside of your precut rabbit groove on your frame material, no extra math involved. The way this works is that you can be off the 45 deg. slightly and it won't matter. For example, 44 deg. when cut on the frame piece is 44 and turned for the next cut on the other end will be 46 which still equals 90. Mine was 44.8 degrees when other end was cut it was 45.2 degrees perfect 90. All left cuts will be one size and all right cuts will be the other and will naturally match up when assembled. I made a lot of practice cuts on various scraps, and it worked like a charm. Go to David's site to get more info on how it works or for the build. The stop block has a clamp to hold it exactly where it is put. I just finished my first frame with it and the corners were perfect 90s. Will put it in projects later.
11 Comments
Nicely done! Great idea to use a square....I have a jig and it is almost the same....slightly less on one side and slightly more on the other, to form a perfect 90. You just have to remember to use one of each side on the cuts! DAMHIKT
I mark each side of the jig A and B, then do the same on the pieces I've cut. You just have to watch that you have one of each, A an B on each corner....and trust me, it is easy to get them mixed up with some sort of method like this.
I mark each side of the jig A and B, then do the same on the pieces I've cut. You just have to watch that you have one of each, A an B on each corner....and trust me, it is easy to get them mixed up with some sort of method like this.
Mike
You nailed the trick for perfect miters! Now you just need to keep your opposite side pieces the same length.
Good sized sled, I suppose you have plans for or use some indeed support?
Good sized sled, I suppose you have plans for or use some indeed support?
Moke - I also A/B on the ends. Thanks for the comment.
SplinterGroup - Yes, I have plenty of support for front/back if needed. Thanks
SplinterGroup - Yes, I have plenty of support for front/back if needed. Thanks
Looks great!
Ryan/// ~sigh~ I blew up another bowl. Moke told me "I made the inside bigger than the outside".
RyanGi - Thank you.
Outstanding sofisticated jig!!
...woodicted
majuvla - Thank you. Still need to put sandpaper around the square to keep the pieces from shifting.
HI Mike....Well thought out and a great Jig for the shop...Well Done!!!
Regards......Cliff.
Regards......Cliff.
Cliff - Thank you. Really liking it as long as I make sure to keeps ends marked.
I think this and a miter sled are 2 of the most fun, and helpful jigs you can make. Looks from the write up, that you nailed 90, once you have that tight joints aren't the boogey man they are for others.
Enjoy it.
Enjoy it.
GeorgeWest - Thank you, the glue ups are sure easier and more fun now.


