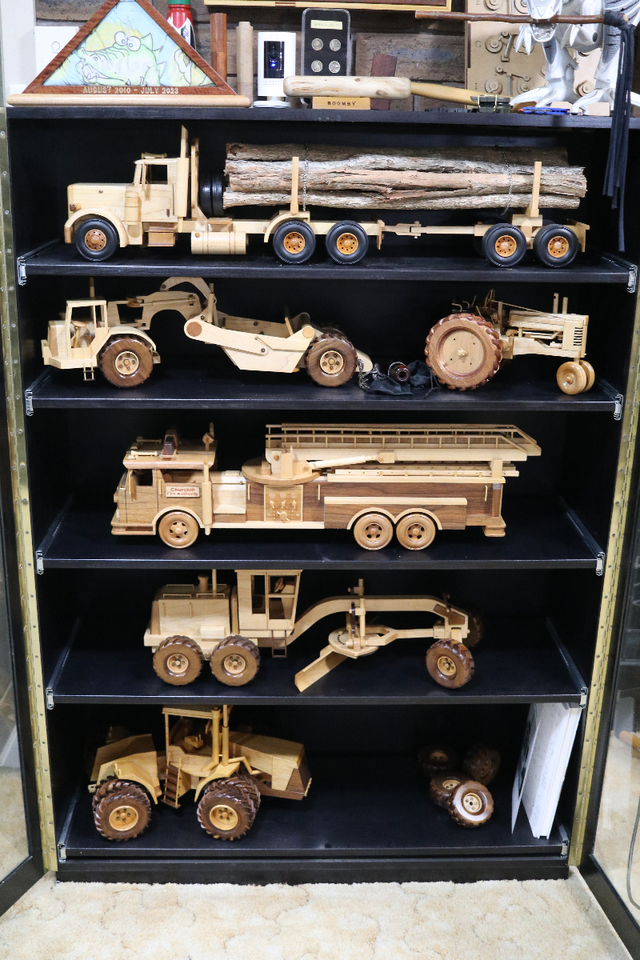
Those that have rubbed shoulders with me on LJ’s (or better still, couldn’t run away, as I have a wide girth) may be aware of my penchant towards model making,
After The pottz sublimated knowledge of the Micro-Mark to me on some innocuous thread (and followed it up by a positive review), I considered its potential and if I intend to make up the 20 or so incomplete plans I have in my drawers, I had little option
to spur me on for investment.
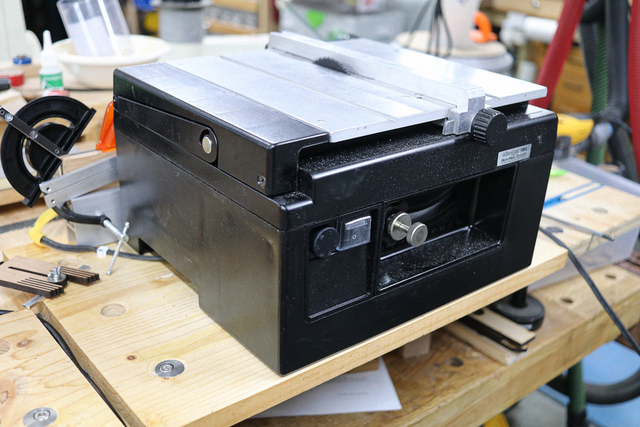
Two things that I dislike about the mini saw was,
An aluminium tabletop. Would have likes a metal one to permit use of mag-switches.
The supply of accessories without a neat container.
The first I couldn’t do much about, but this project outlines the way I tackled my 2nd druther.
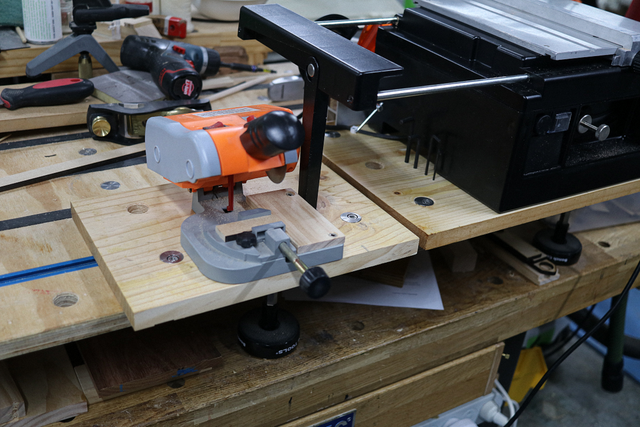
The first thing I had to do was mount the saw on a MFT style base,
so I can then “clamp” it to one of my workbenches that sports the MFT couture. While the items to be cut will be small and kept fairly still, it will be (un)still operated by a big jerk.
Using the UJK Parf Guide System, I perforated it with enough 20mm dog holes to provide a satisfactory mounting combination.
It turns out that another mini tool pottz reviewed, I had squirrelled away in a draw which I purchased when I first started making pens to cut the brass tubes. This was the ideal opportunity to resurrect it and also rig that out on a similar MFT style base. I initially thought of combining them on the one base, however, I wasn’t sure about its future so I decided to keep them separate… with this mini-mitre providing a handy outrigger if I ever needed to use the Mark’s built in support stand,
I thought this base addition was handy, however, it didn’t address the problem of the delinquent accessories.
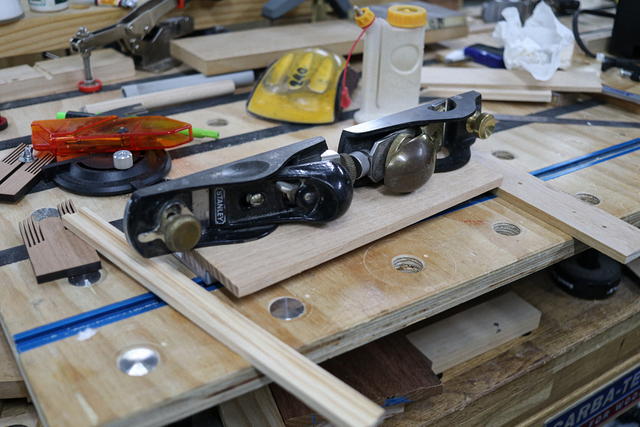
Started with a board that I could fit to the fence’s extension and glued some support on it, and don’t let anyone tell you I don’t use hand planes,
they make a great weight.
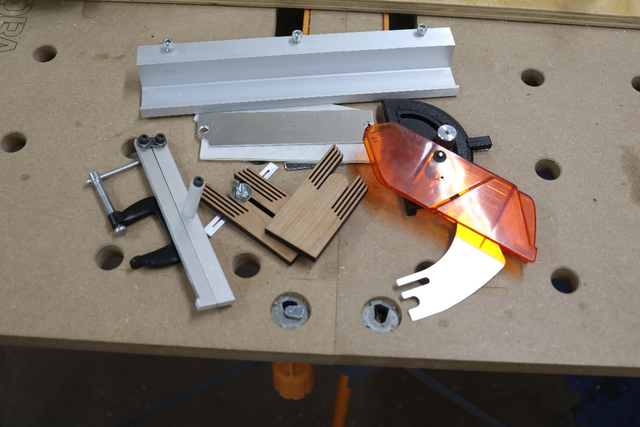
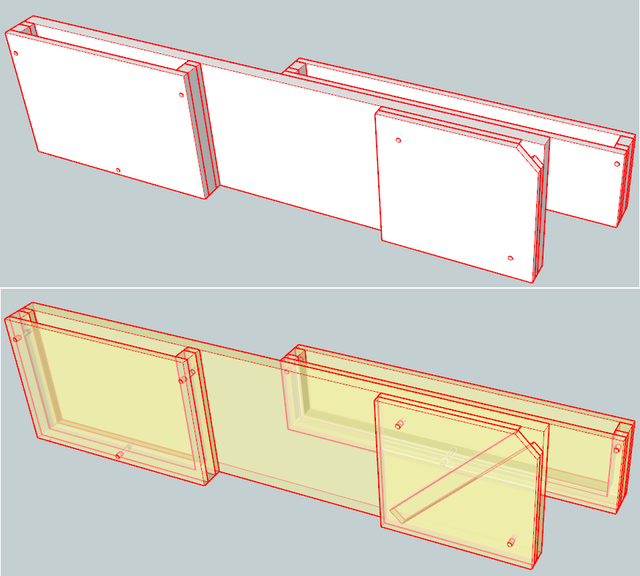
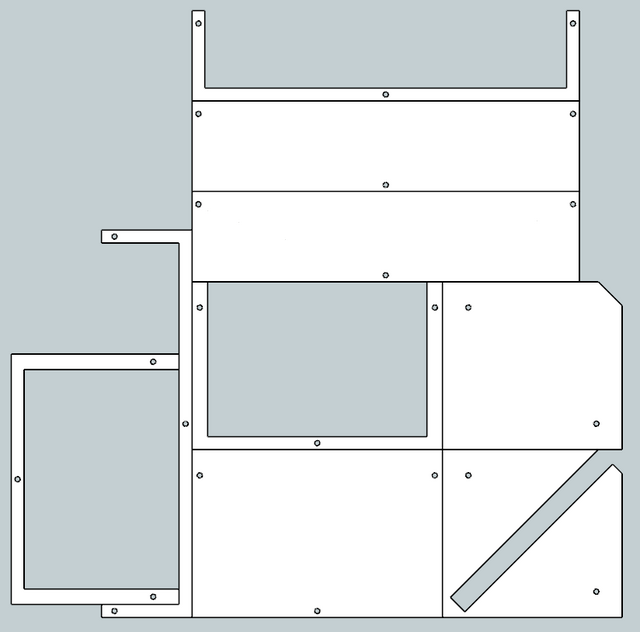
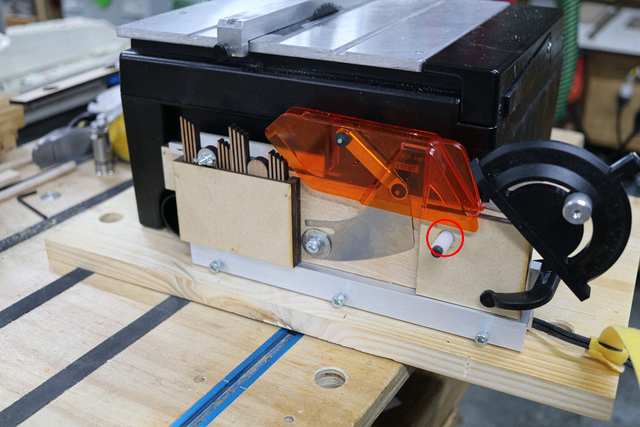
Then hit SketchUp for potential enhancements. Designed a fingerboard and mitre gauge holder and quickly realised I had 3 ZCI throat plates to add to the caddy and came up with this diagram,
that was passed through Layout→Corel→Laser…
A 9.5mm hole provided a mounting spot for the taper cut jig.
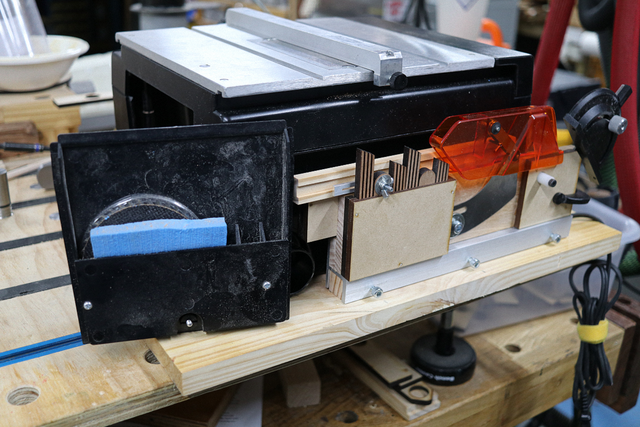
I decided to keep the spare blades in the receptacle, but jammed them in with some foam
to stop them from potentially flapping around loose.
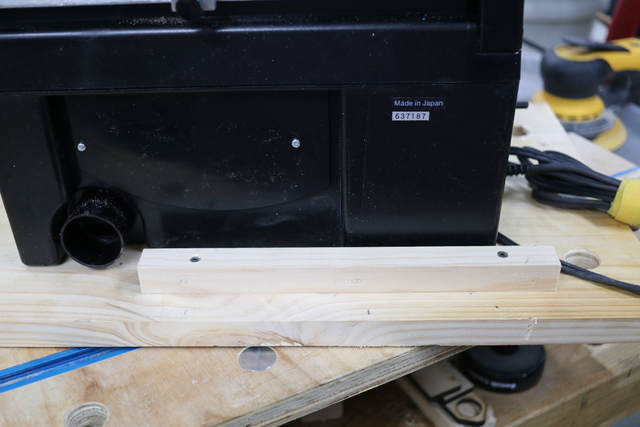
I screwed a piece of pine to the base so the fence supporting the caddy can be attached to it during storage.
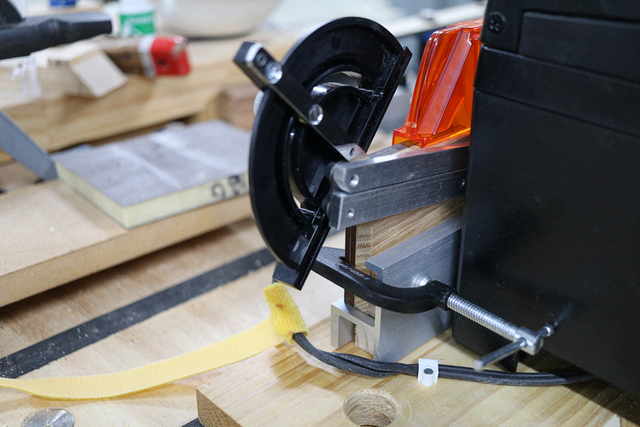
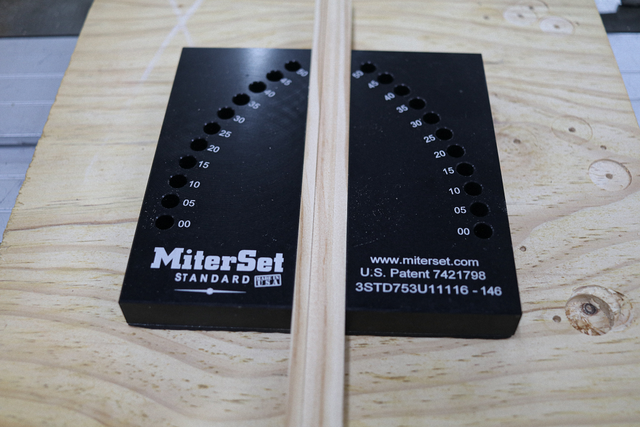
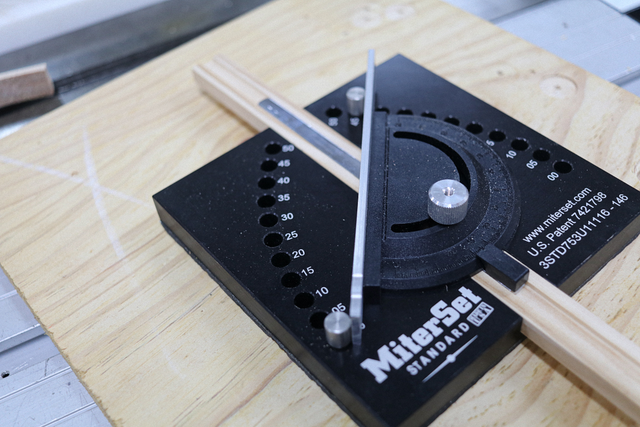
The saw has a handy mitre gauge, however, after close inspection (and test cuts) it proved to be poorly calibrated.
I created a cradle to hold the gauge in the 19mm slot of my Mitre Set so I can set whatever angle I wanted accurately,
Worked like a charm… in fact it is required to set 90° accurately.
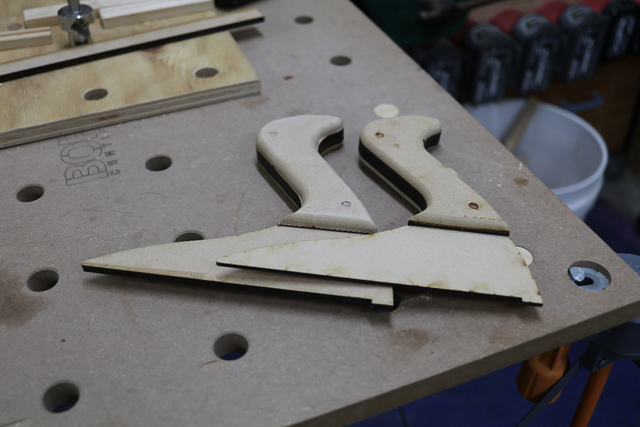
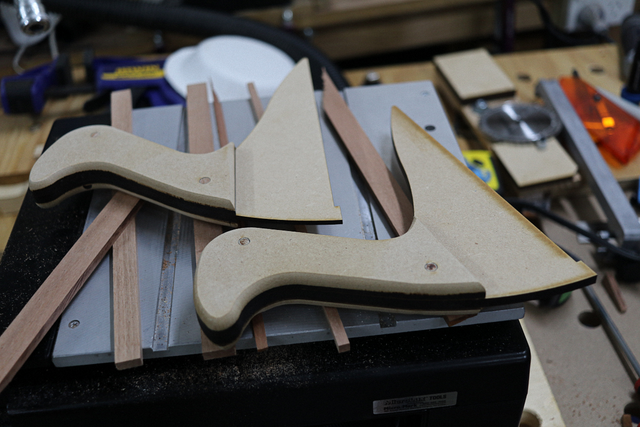
Made a couple of push sticks (laser cut),
The “blades” are 3mm thick and 6mm thick respectively. The grips are removable in case the blades are hacked up and can be repositioned onto new replacement blades.
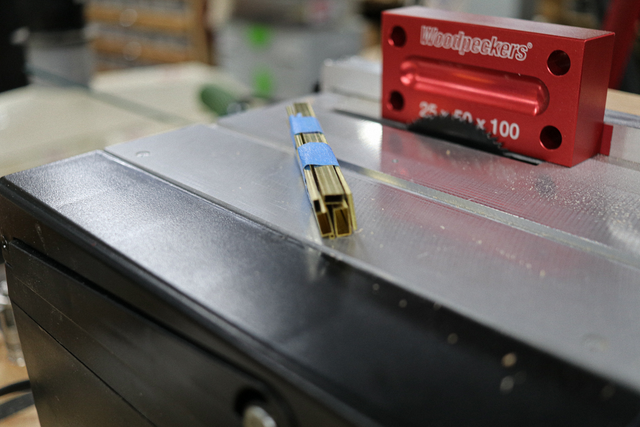
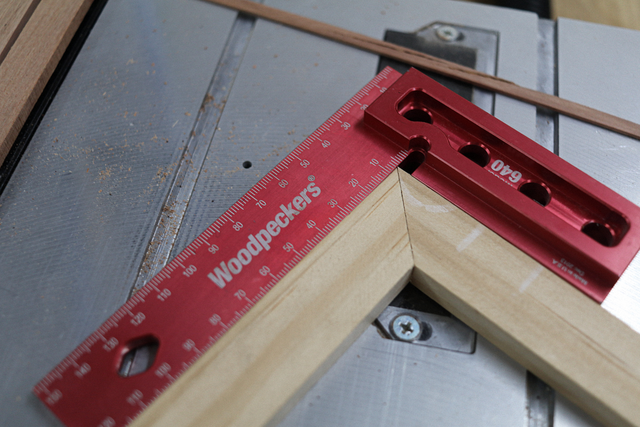
I also got rid of the supplied “setup blocks”… cute addition but totally impractical because of their dimensions. I have the full set (imperial/metric) of the Woodpecker blocks and my pecker’s
better than the hollow ones supplied
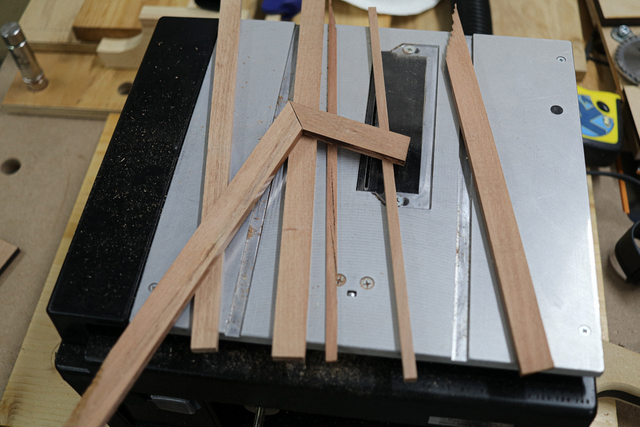
I took a few test cuts with the original blade and while the cut was more than acceptable, there was enough burning to be a potential concern to some… though it can be cleaned up with sanding/scraping.
I have not tried the supplied TCT (I assume) blade as I just couldn’t be bothered swapping out the ZCI plate.
I’m not a great fan of the blade guard, however, I have considered either cannibalising it or using it as a template to make some sort of a splitter... which I am and advocate of.
Just thought, gripe #3… it is 110V which is not that compatible with my auto start 240V dusty. Fortunately Fe$tool has a Bluetooth remote that I can relocate next to the mini saw for dust extraction.
I was initially concerned about the fence setting (getting a parallel cut), however, I found the solution, but this is not a review so I won’t talk about it.
Couldn’t resist making a video, that like all the others dragged out so I split it up into 3 less cumbersome but 3x equally boring instalments,
Unfortunately I forgot to try a bevel cut for the video session.
Now I don't expect yazall to go and rush out to buy a Mini-Mack... especially if the previous review didn't spur you into action... however, this concept of mounting accessories to existing tools/bases could be incorporated to many items gracing the workshops out there.
If your first cut is too short... Take the second cut from the longer end... LBD
Interesting way to accomplish the need. I have the saw and accessories also. Used a Festool Sustainer with a foam insert to store all of the least used accessories in. My saw is mounted in a cut out on an assembly bench with a drawer below the saw, use the drawer for larger and often items like the 2 sleds, push sticks and fence I was to lazy to go to the extent you did. Both work. Well done. Have yet to figure out where or how to store the cut off tool. Hardly ever use it. Maybe a box.
Love how you snap into action (OCD?) and make sure the accessories all have a home before going full tilt into making project parts 👍
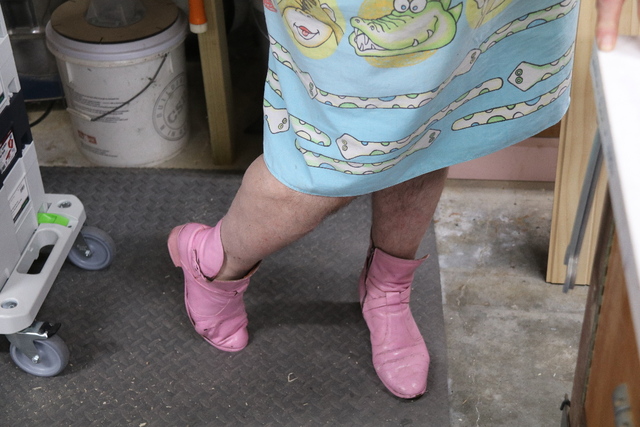
Your push sticks immediately made me think of boots, you should paint them some pale color so they are easy to find, maybe a red with lots of white added to the mix?
The Al top is no surprise, but I agree about the bummer of no mag-loc stuff. Wonder how thick it is and if you could attach some steel below. those magnets just might be strong enough to help with the small-scale items used on a saw like this.
wow i actually influenced the duck ! hard to believe you didn't already have this ? nice setup. mine has a drawer devoted totally to it so no special box needed. i will need to make a push stick and i wanna make a sled for it. nice right up ducky ya gave me some good ideas.
working with my hands is a joy,it gives me a sense of fulfillment,somthing so many seek and so few find.-SAM MALOOF.
That is cool....thanks for all the work to write that up.....while I doubt I'll ever have the saw, I love organization and that is all of that!!! Good job my feathered friend.
rob he did show an updated pic awhile back, and it wasn't pretty buddy ! kinda like wanting to remember someone how they were while they were alive !!!! 😟
working with my hands is a joy,it gives me a sense of fulfillment,somthing so many seek and so few find.-SAM MALOOF.
SplinterGroup .... Your push sticks immediately made me think of boots,
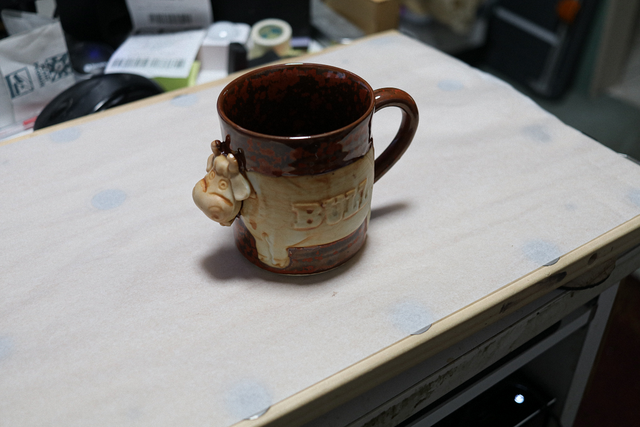
To provide another updated mug shot and cater for your boot fetish, Those were the good old days... when bluey was still alive and I shaved my right legs.
If your first cut is too short... Take the second cut from the longer end... LBD
RobsCastle ..... also:- where is the attached mandatory accident injury report for the right hand?
That's what happens to idiots who under a moment of weakness, undertake that arduous task generically referred to as gardening... hell, I'd rather read the bible written in Latin!
It was a gardening accident. The grass was around 203.2mm tall... fortunately I had to get so many casks-o-vinos under my belt to tackle such a nefarious undertaking that I was too senseless (more than usual) to detect the incident of the injury. At first I thought the hand was just covered in red from some spilled Merlot, however, it turned out to be hunk of hanging flesh. Thanks for the concern Florence, but no surgery was required and the packaging was to hold the band-aid in place at the base of the thumb. I seem to heal quickly for someone on blood thinners, but I got so used to it and forgot to unpack it.
If your first cut is too short... Take the second cut from the longer end... LBD
Pottz ..... and i wanna make a sled for it. nice right up ducky ya gave me some good ideas.
I did consider it and have actually put a bit of thought into it. Dismissed it because of the blades capacity vs sled's base thickness. Thinking further, it will be a small sled and I might just get away with 3mm MDF. The saw could be used to make those small runners and with laser cut fences I could probably get a good 90°.
If your first cut is too short... Take the second cut from the longer end... LBD
Was gonna shitcan you for your collection of Kreg screws (in one of your fire photos)... but then realised I had the 700 so I buttoned my beak.
Not a great fan of pocket holes, however, I can see use for them sometimes... that's why the 700 (upgrade on sale). I finally got rid of my Foreman as a donation to our local Men's Shed. My main gripe with Kreg is their support, rather than the product, after a major barney I had with them regarding the Foreman. One thing I screwed up when I upgraded from the K5 (convenience only, not the like of the product), the 700 will not take their plug cutter jig. Therein lies my bitch with the product(s)... they do not integrate too well.... that is my main penchant towards Fe$tool.
go on their website and go on the saws. it's in the accessories. it's pretty cheap at 29.95 but shipping for you would be way too much. there's is very simple. hell i might just buy it rather than spending the time to make one ?
working with my hands is a joy,it gives me a sense of fulfillment,somthing so many seek and so few find.-SAM MALOOF.
Thanks for that... found it... sometimes it is just easier to bite the bullet and save the hassle.
Getting a thin enough base fitted with two pissant runners and getting that fence 90° is just too much of a challenge... though nothing guarantees that the supplied one will be any more accurate.
For me the shipping would be a killer. I'm hoping that a bit of a SketchUp session and a few minutes on the laser may get me something useable... otherwise I'll just rely on my Mitre Set jigon the supplied mitre gauge. I now have enough ideas that may make trying Sketchup/laser a viable option
If your first cut is too short... Take the second cut from the longer end... LBD