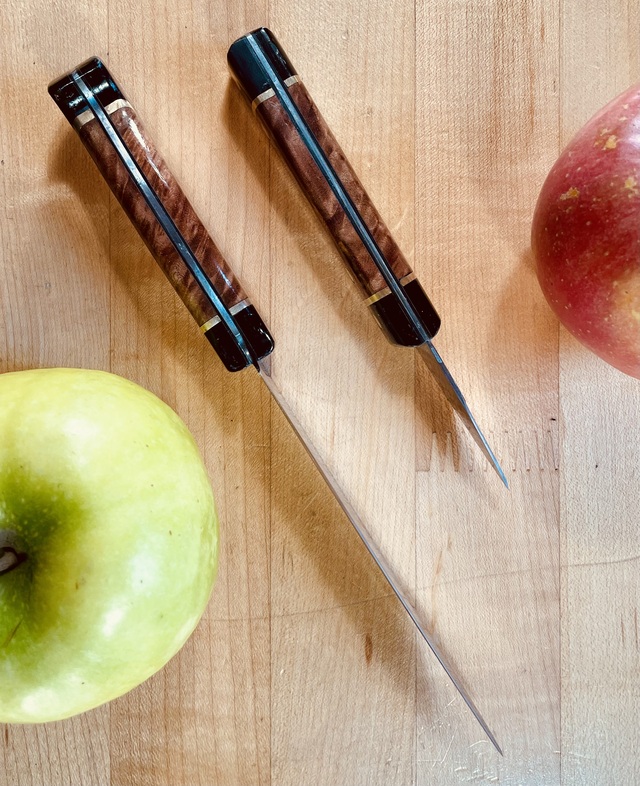
One knife is a kitchen knife and the other is a right and left handed marking knife. I got the idea for the marking or striking knife from a project by YRTi.
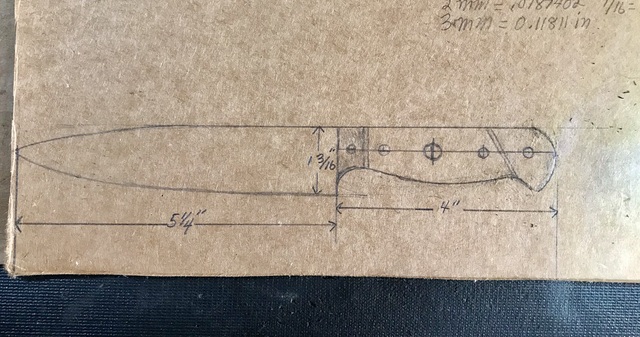
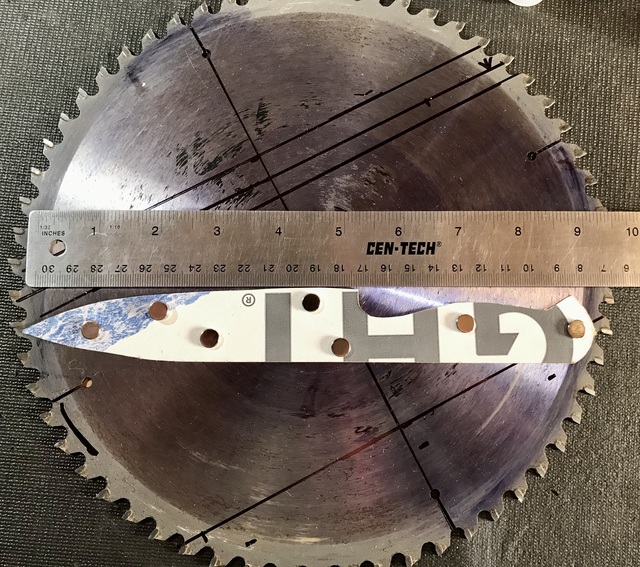
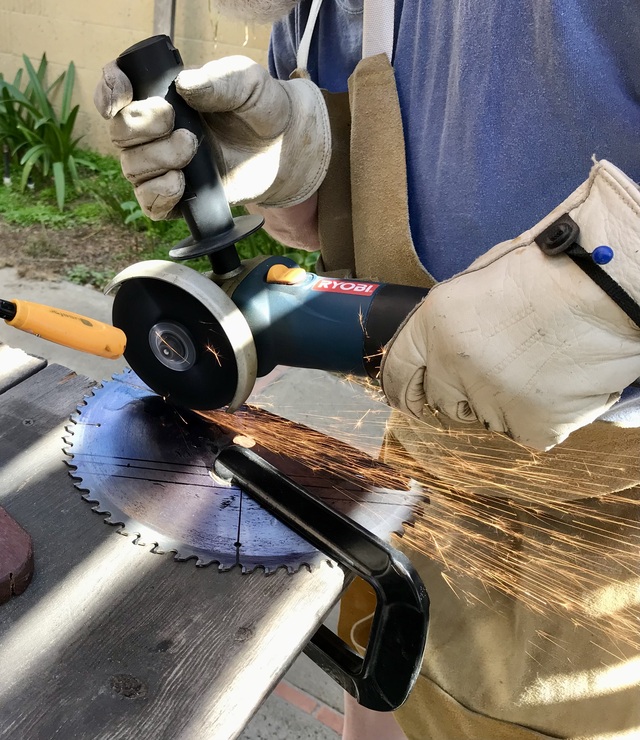
Drawing the knife template, cutting out the blade with a cut off disc on an angle grinder and shaping the handle on an oscillating drum sander.
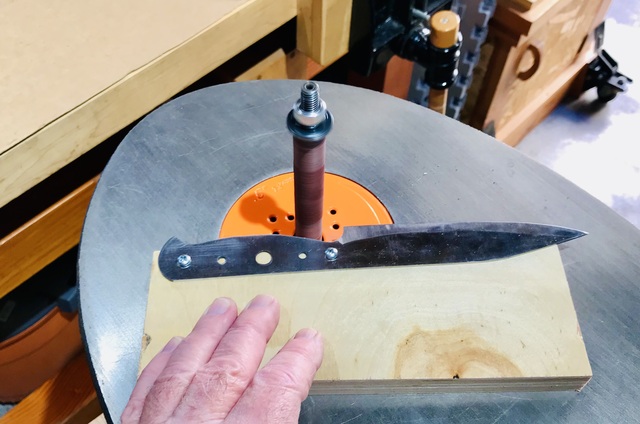
I screwed the blade to a piece of birch plywood. This allows me to add more pieces under it to utilize the full length of the sleeves.
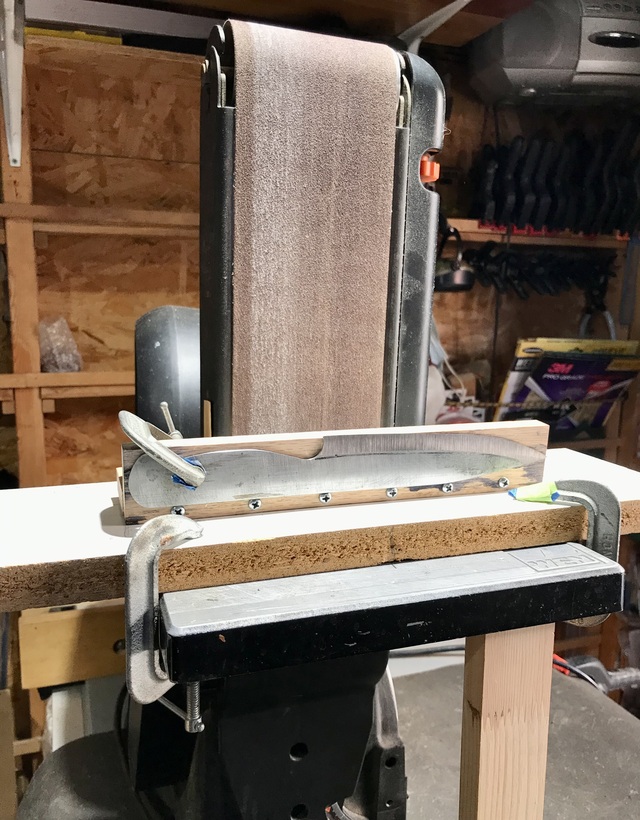
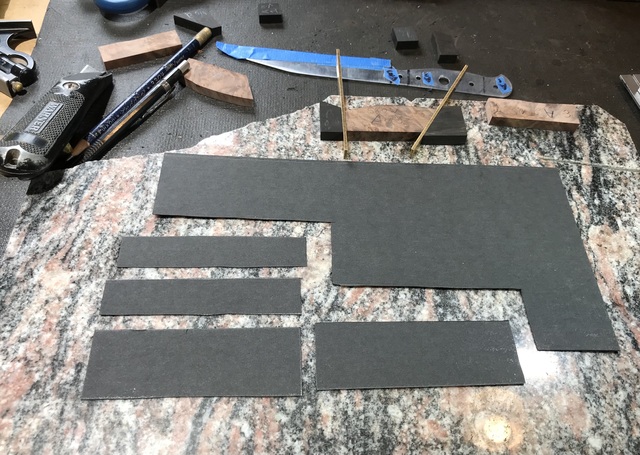
I made an adjustable angle sharpener jig from QSWO and altered my disc and belt sander by adding a larger table.
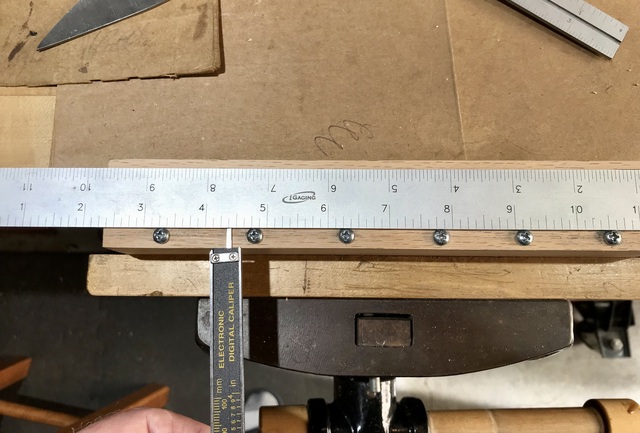
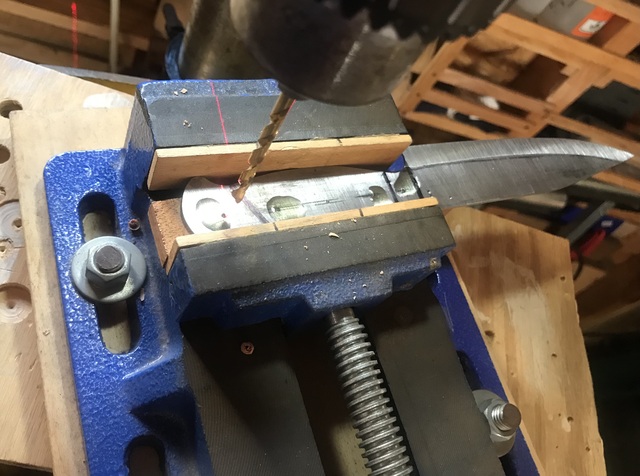
In the photo below I’m drilling the holes in the knifes for the rivets and mosaics before I temper (harden) the blades.
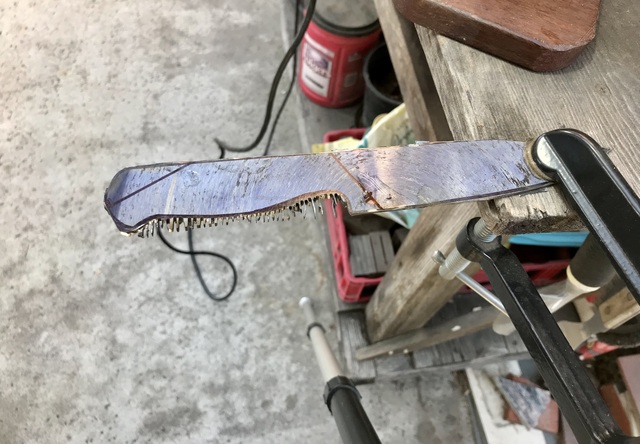
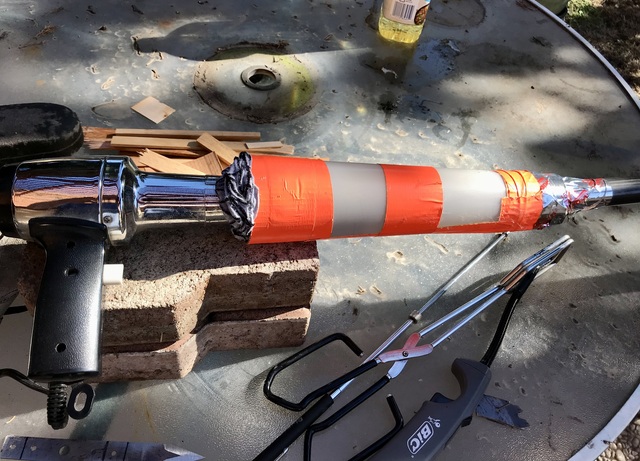
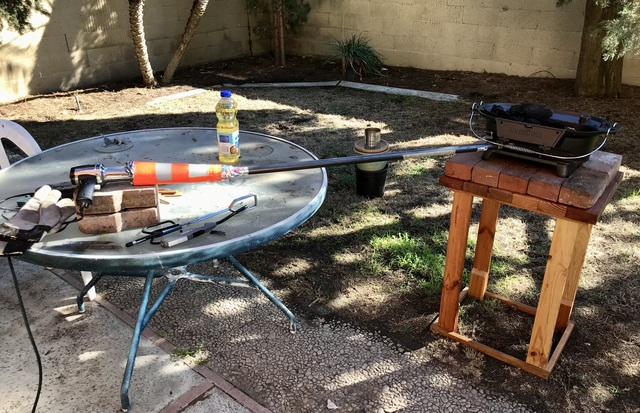
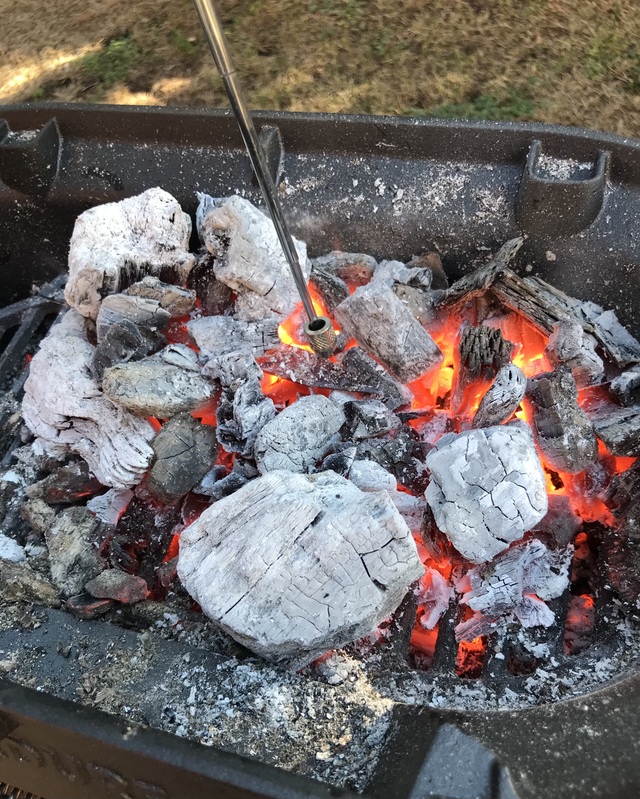
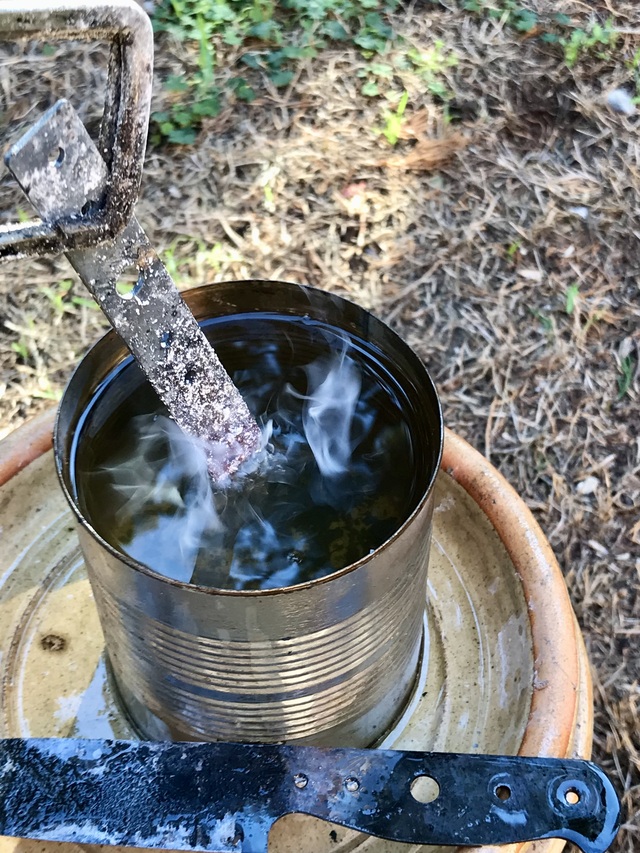
Using a hibachi with clump charcoal, a heat gun for warm air circulation and a black pipe to heat treat the blades then testing them with a magnet before quenching them in vegetable oil.
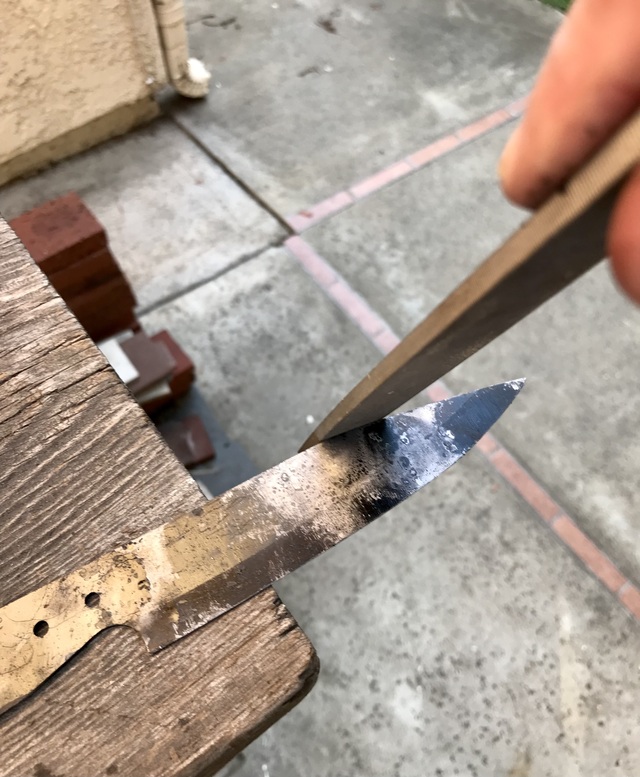
I used a file to see if it would skate over the knife. And it did.
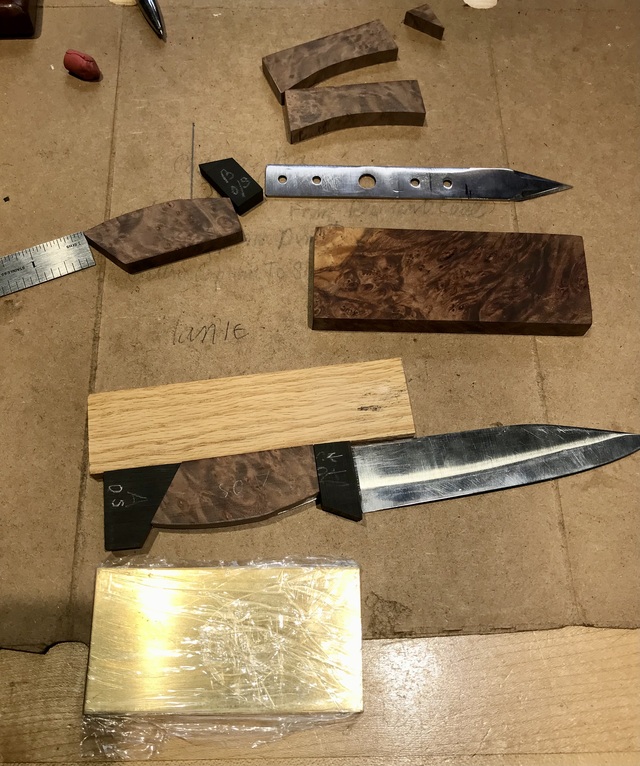
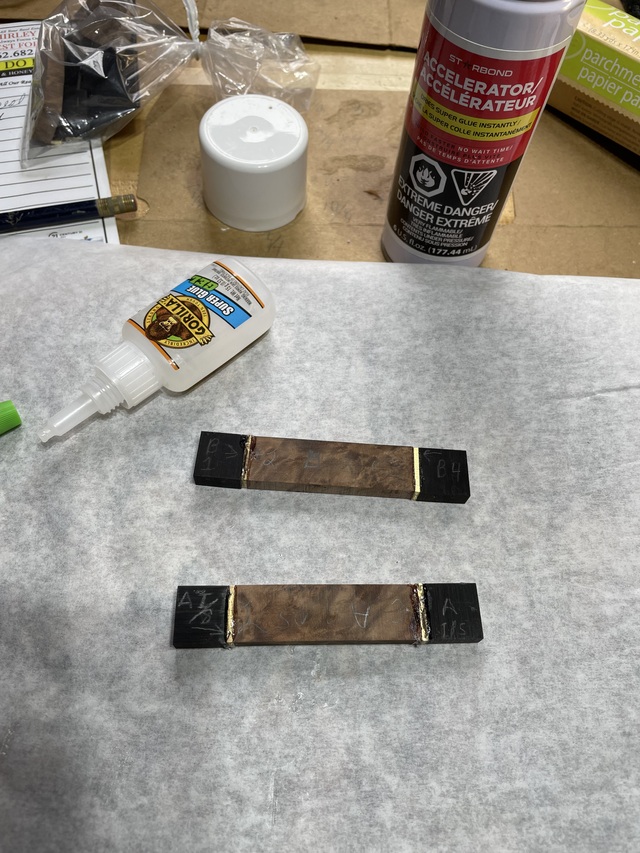
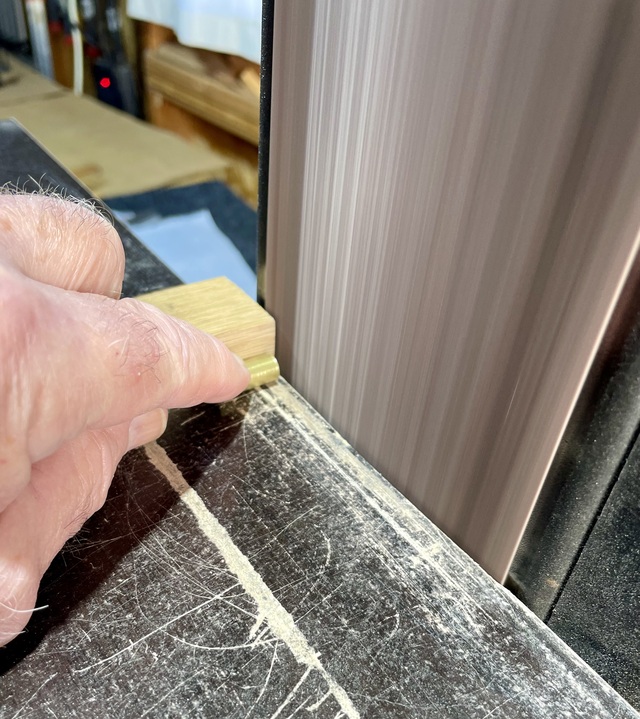
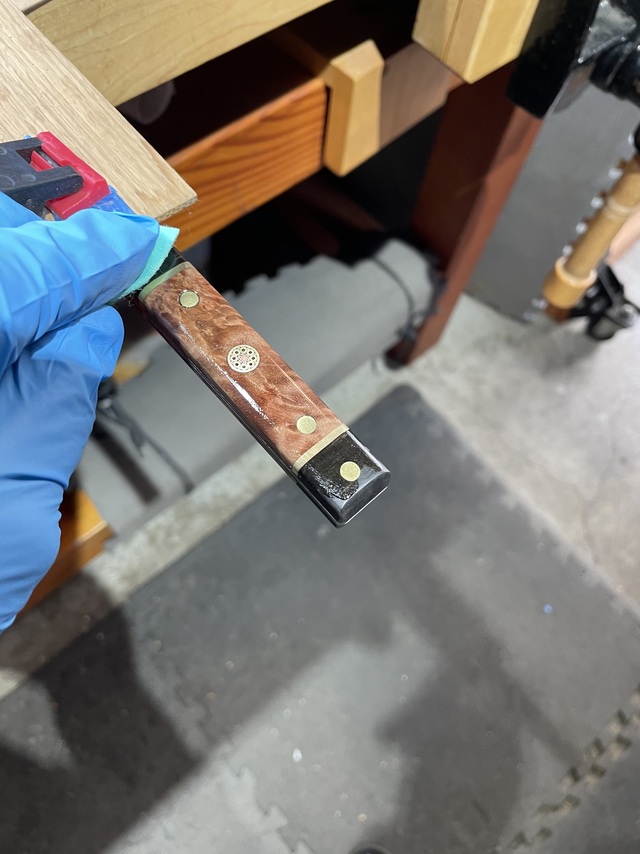
On the scales I used brass, stabilized maple burl. ebony and vulcanized carbon fiber liners.
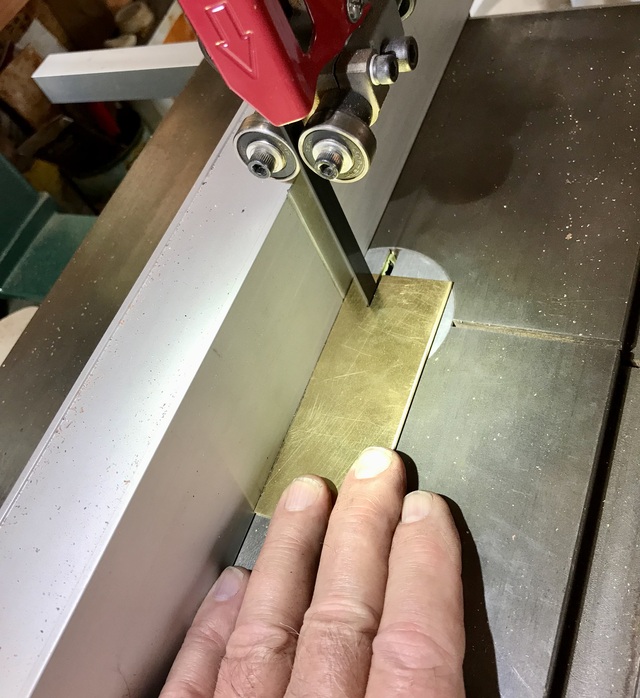
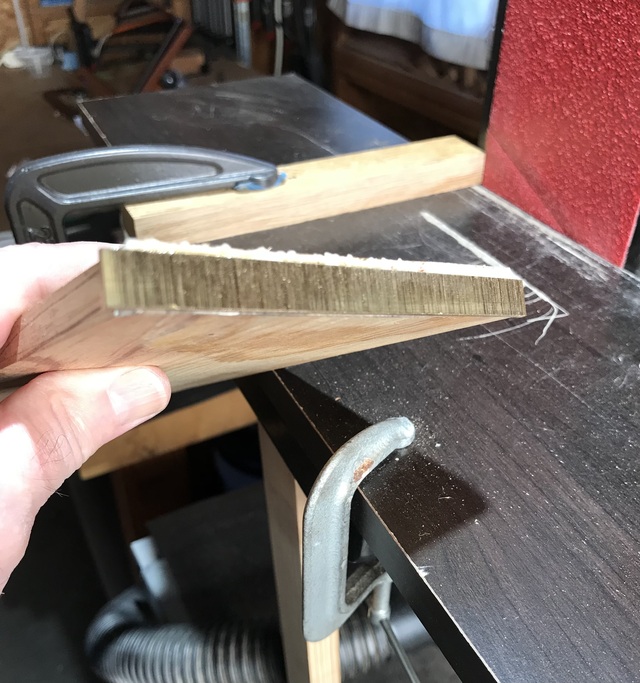
I cut out the segments on the bandsaw and sanded grooves in the sides of the brass by using double stick tape to stick it to a piece of wood. This insures the brass will adhere with ca glue to the ebony and maple burl. I bought the burl and a brass plate 2mm x 50mm x 100mm on eBay.
The segments were glued together with ca glue, then I glued them with epoxy to vulcanized carbon fiber liners to the inside of the scales for strength.
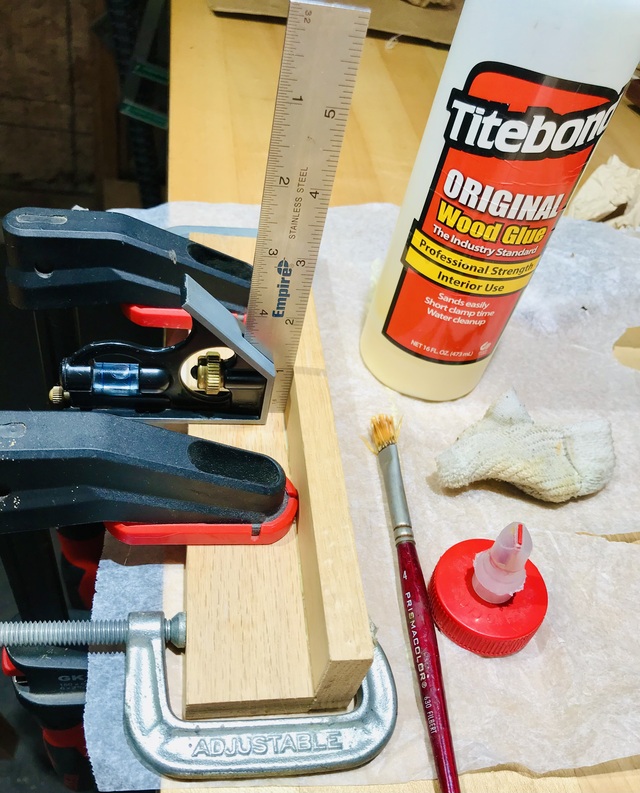
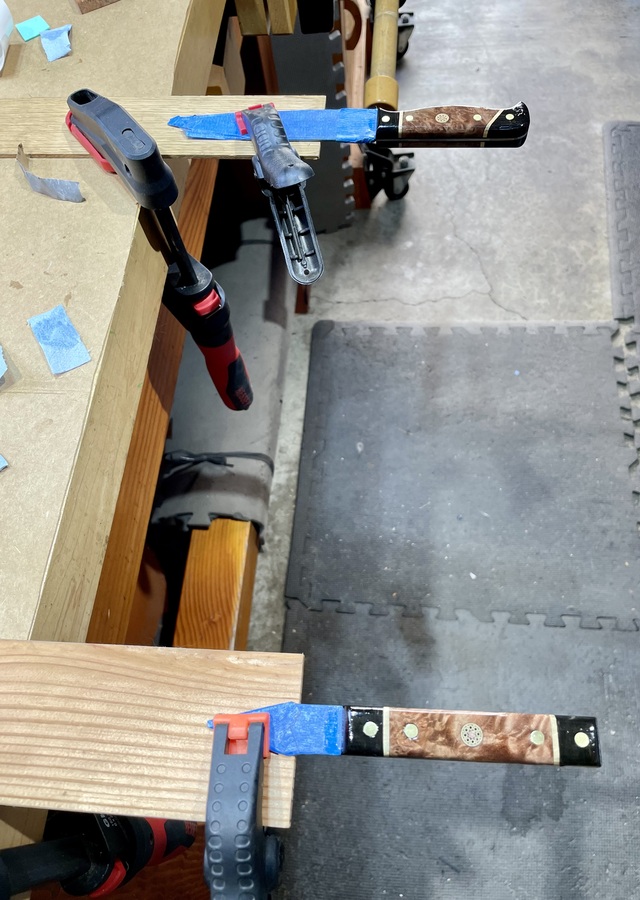
I made the above jig to hold the scales and the knives in place to drill the holes for the rivets and the mosaic pins.
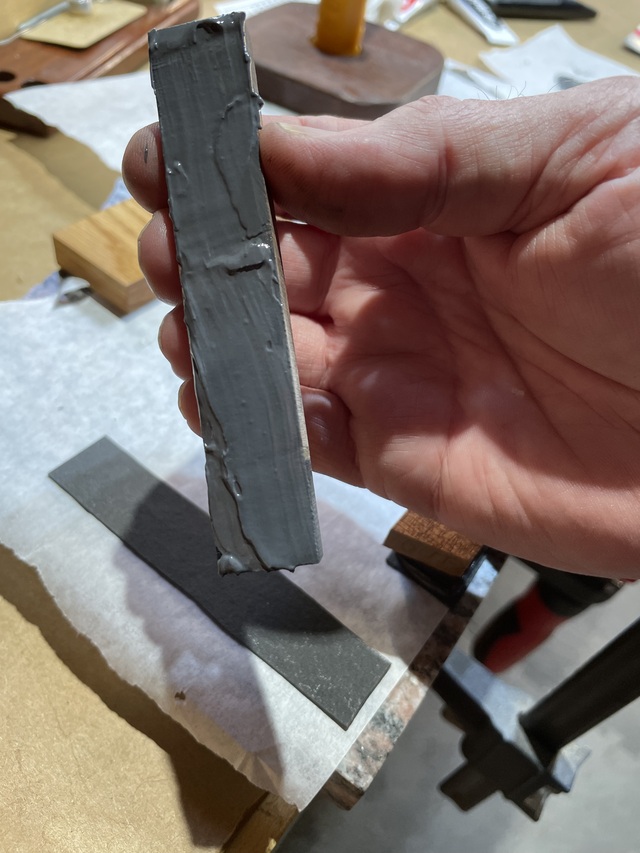
Here I’m applying the epoxy to the liners, then clamping them to the blades and sanding down the mosaic to size.
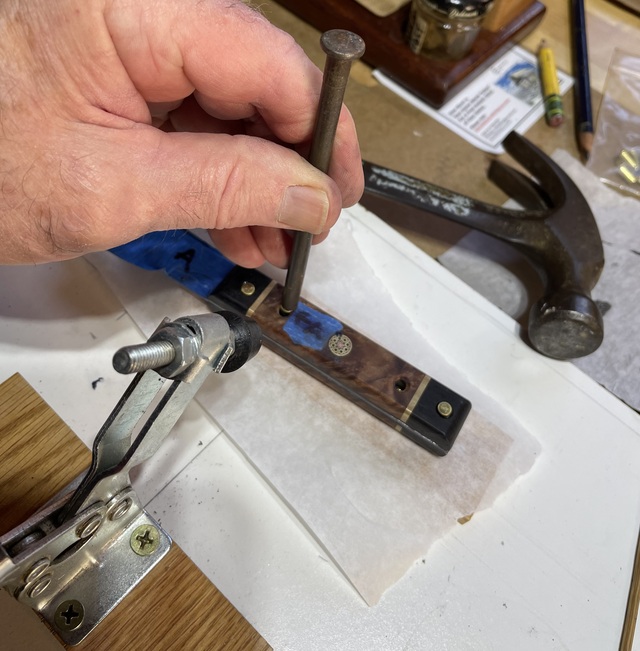
Hammering in the cutlery rivets with a door hinge pin and inserting the mosaic pin.
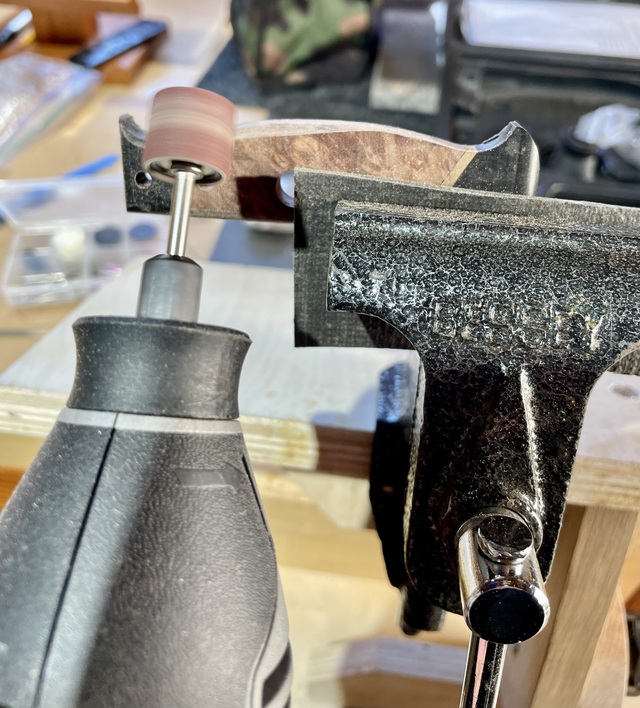
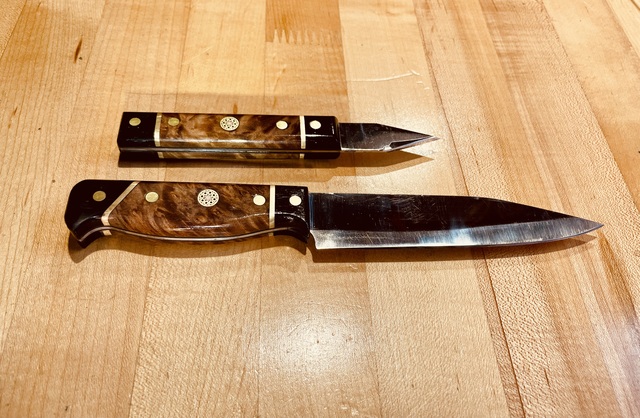
Using a rotary tool to shape the handle on the kitchen knife and applying several coats of ca glue for the finish after a lot of sanding. These are the first knifes and segmented handles I’ve made. There are a lot of things I would have done differently but I’m happy with the way they turned out.
I was worried that the saw blade wouldn’t harden from the heat treatment. But it did. I think it hardened became it’s a very old blade from a time when the bodies of saw blades were made from higher carbon steel. This blade was hanging on the garage wall of our home that we bought over 28 years ago. And how long it was there before that who knows.
Thanks for viewing my project and comments and advice are always welcome.
It's nice to see how not just the what... I may never make a knife, SWMBO only lets me use plastics... however, I appreciate the method that can be passed on. Like the old adage... give a man fish....!
If your first cut is too short... Take the second cut from the longer end... LBD
Man oh man, that's one good looking knife! I love the picture heavy build progress along with the explaination of what's going on. That blade profiling jig is slick as snot, heat treating with a BBQ and a hairdry is genius.
I think I cut my finger scrolling through the post. Gorgeous knives. Better yet is the detailed explanation of your build process and the icing on the cake is all the pictures. For your first attempt I'd say you pretty well nailed it.