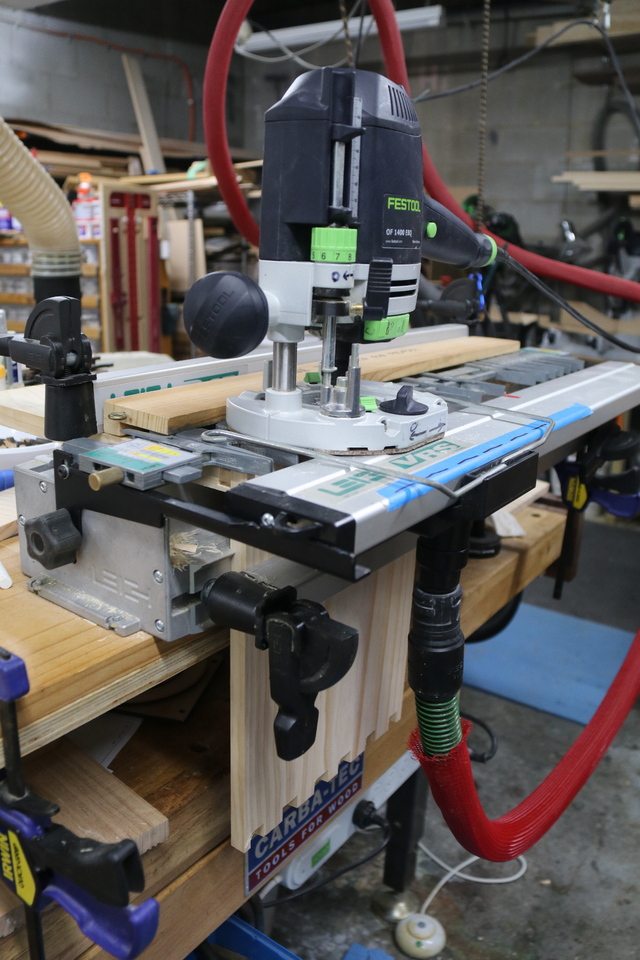
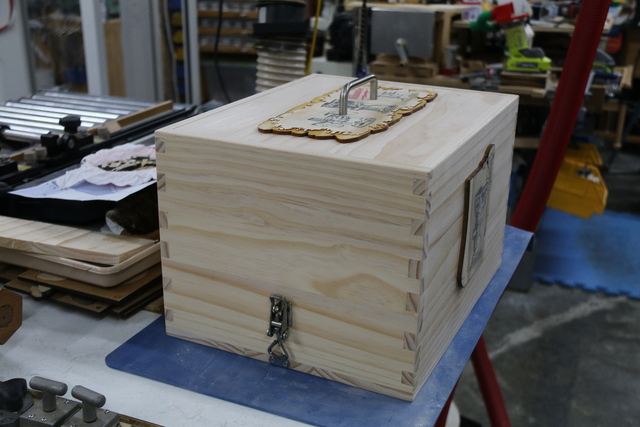
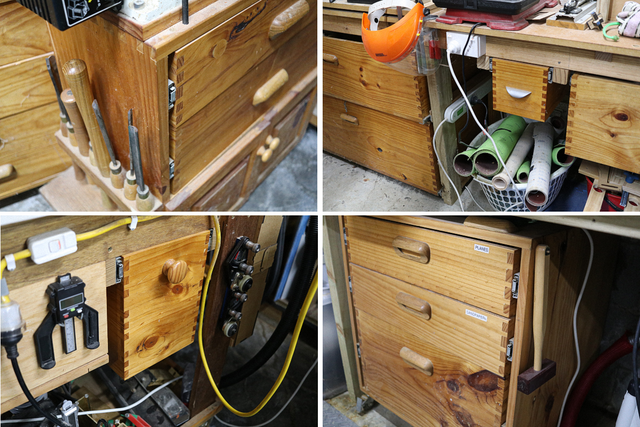
I'm not here to debate the pros and cons of my Milwaukee trimmer but rather to present the box I made that holds it and its accoutrements... originally posted at LJ on May 7, 2020..
I’m psyching myself up for mass migrating of my puzzles from LJ to here and thought I’d soften yazall up with a few mediocre projects. I’ve done so much out of MDF lately, I thought a sneaking in of some of non-MDF use into a project would be a pleasant change for both me and those not me..
This bleeding C-19 can be costly amongst being haphazardly.
Had a doctor's appointment and armed with a prescription I had an alibi for being out of confinement and as there was a tool shop virtually across the road, I decided to venture in.
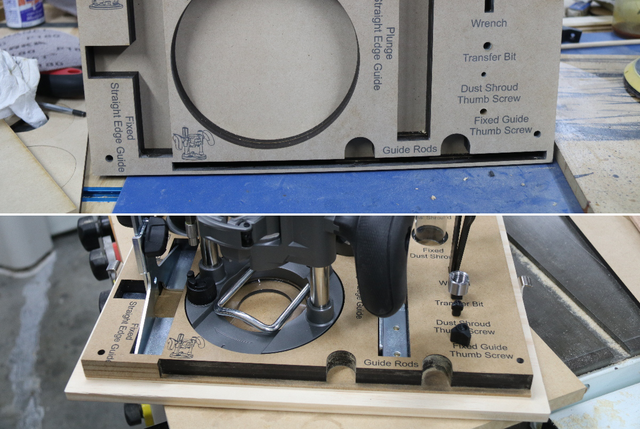
Now for someone that already has 5 trimmers, 5 routers and a 3/8 in. shaft router, for a total of 11, you'd think he would buy a cordless drill to complement his 10 drills (only)… nope, he had to buy that unnecessary trimmer that when previously reviewed (yeah, he did read… ugh!), thought was nice but too costly for what it was. But then again, I never read (ugh!) about its plunge and offset accessory bases (that I probably would never use). Got sucked in and when unpacked at home it made an unruly mess scattered across my bench top. For once I missed one of those plastic containers that I always thought was a pain in the rrs… Damn it, this collection needed a box.
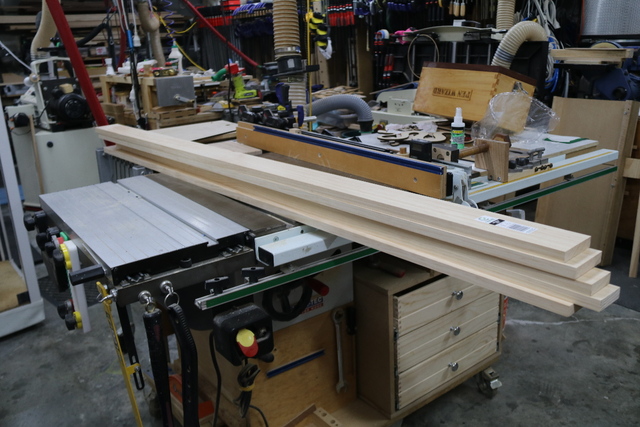
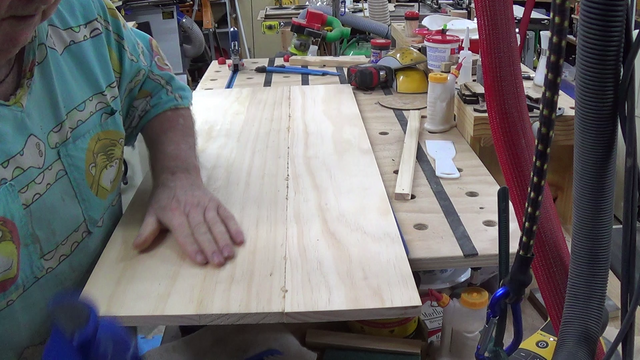
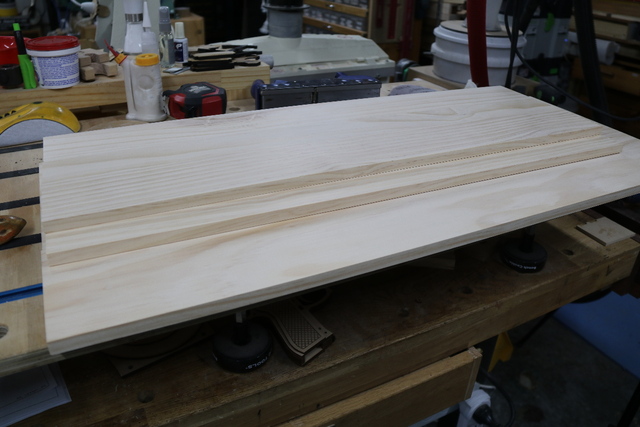
Visualising measurements and quickly migrating to using my fingers (on my calculator), I soon realised that I needed boards much wider than was available from my local timber merchant.
Looked through that scrap bin, that everyone brags about, and it certainly was scrap, without the ”s”…. shit, I had to buy some timber. I will need to laminate...
Came back with what I thought I'd require,
and though there was heaps, quickly came to the conclusion that not much of it would hit that scrap bin.
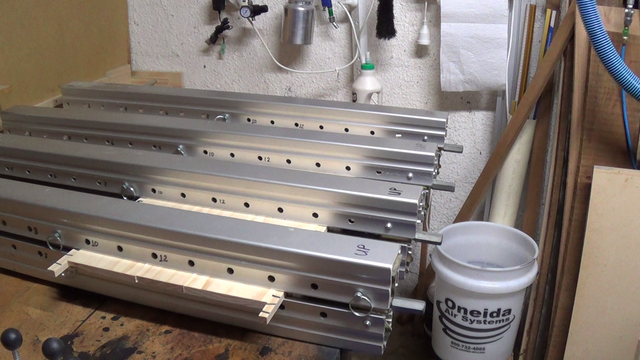
The boards were reduced from 19mm to 14mm on my thicknesser, followed by a pilgrimage into my store room to set up my Frontline panel clamps.
I made a video of that process. A subtle condolence for those foolish enough to venture a viewing…
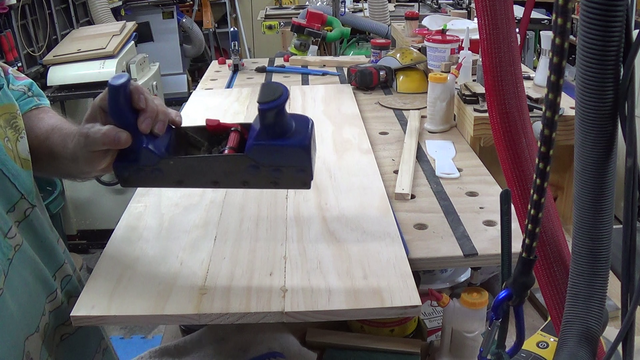
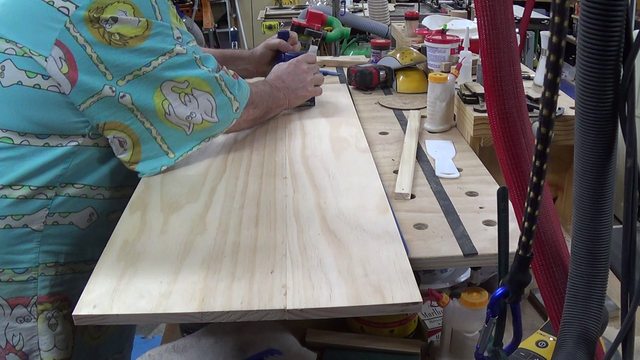
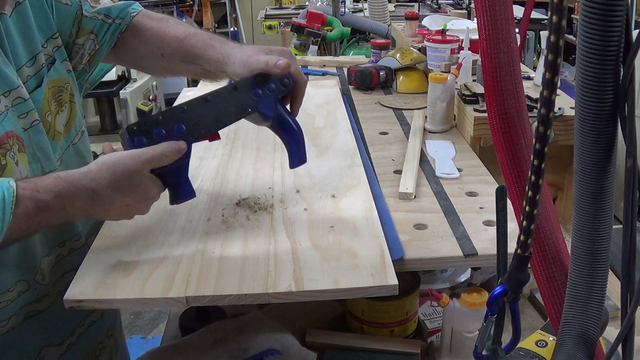
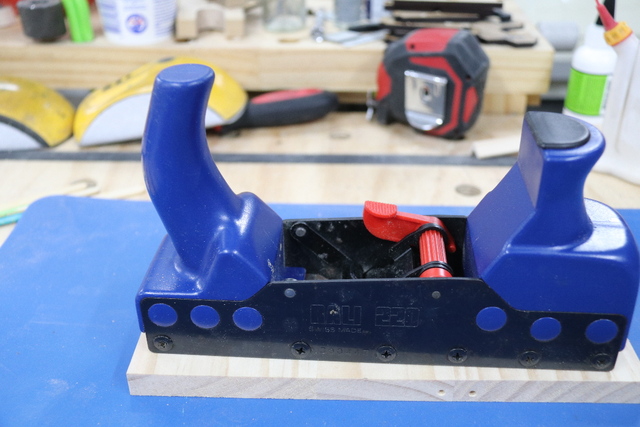
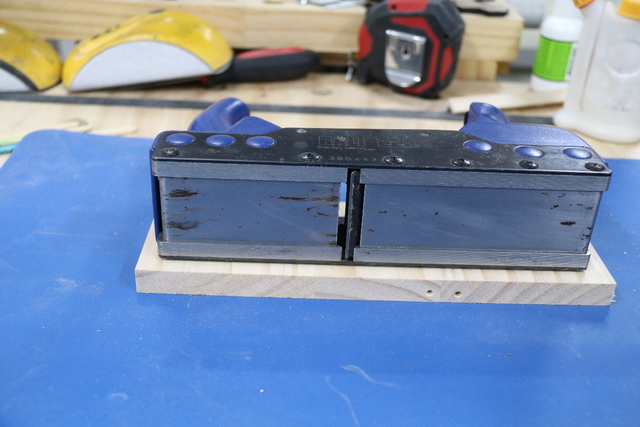
The panels were cleaned up using my dedicated Rali glue plane,
The panels with the glue,
without the glue,
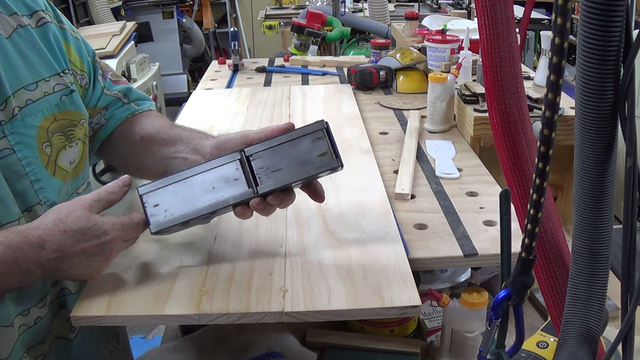
the swarf from the glue plane (both sides),
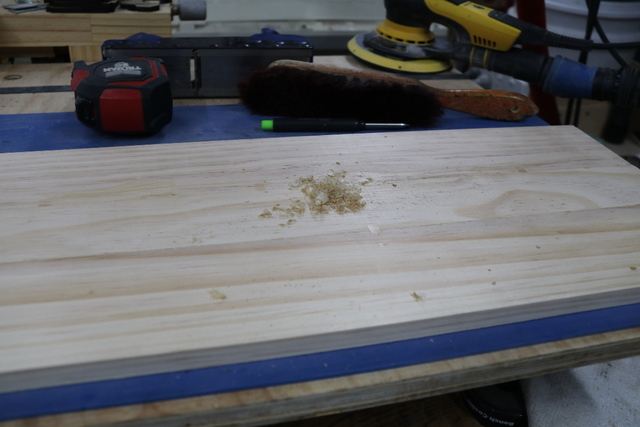
A quick pass with 150G, 180G and 240G on my ROS (no belt sanding required) and it was ready for dovetailing…
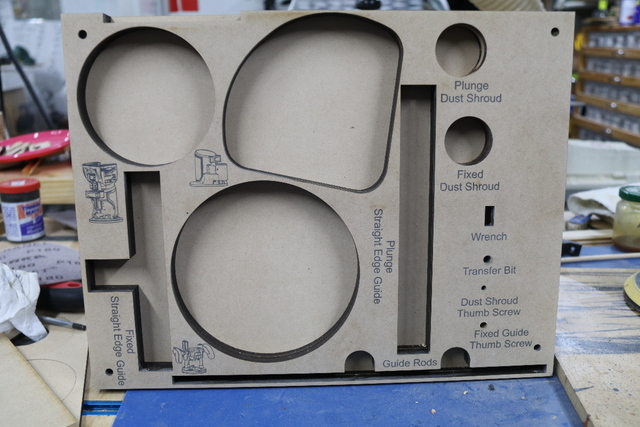
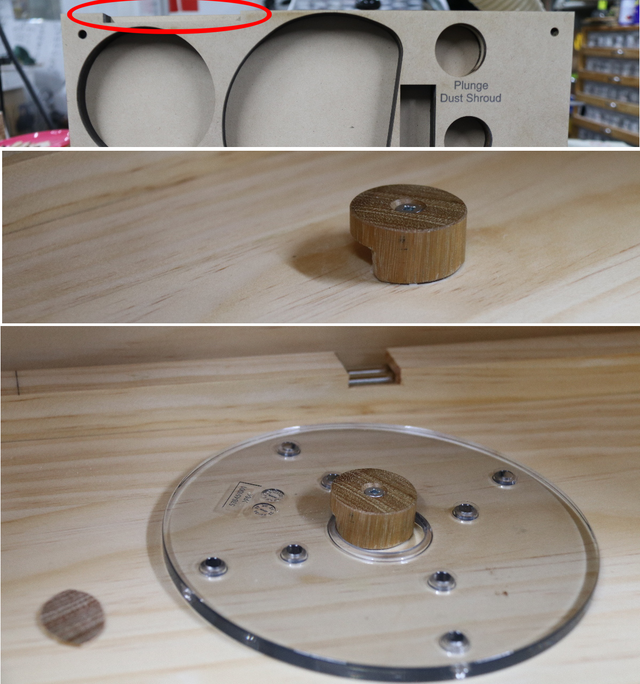
Next I designed a base using SketchUp to cut place holders out of MDF on my laser for all the individual loose components using my MDF/dowel lamination technique. Actually this process was done before the panelling, however, no-one was here to prove me wrong… Laminated 3 layers of 6mm profiled MDF and a 3mm base board (no cutouts) ,
and tagged (engraved) all the place holders,
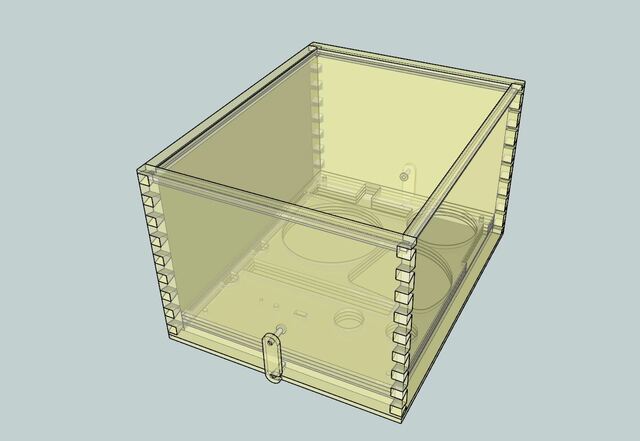
Using the dimensions of the MDF base's dimensions, I made up a surrounding box using SketchUp,
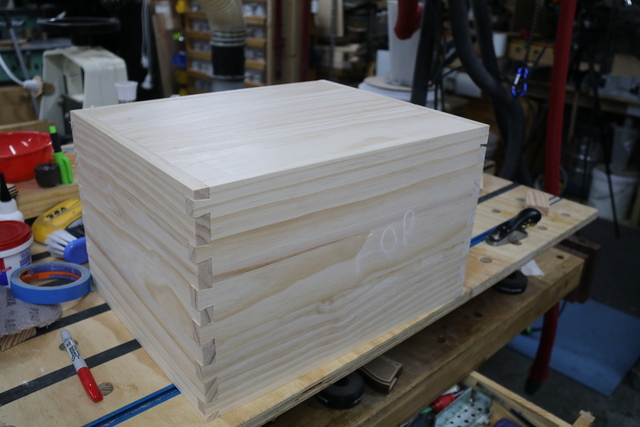
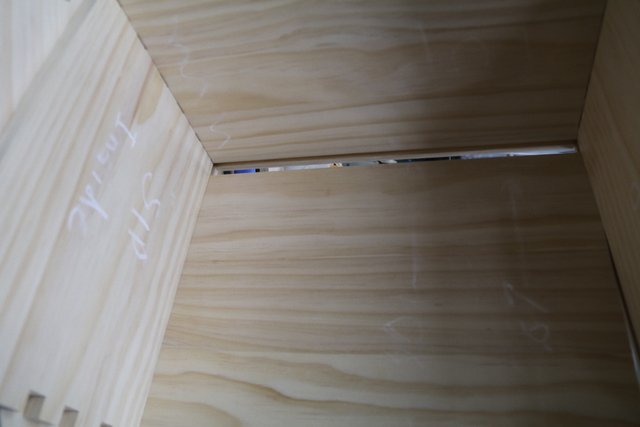
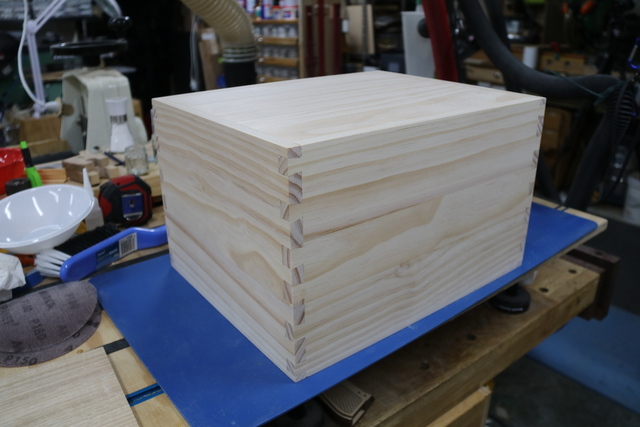
Armed with the dimensions, the sides, top and bottom were cut out of the panels. The sides were dovetailed using my D4R dovetailing jig,
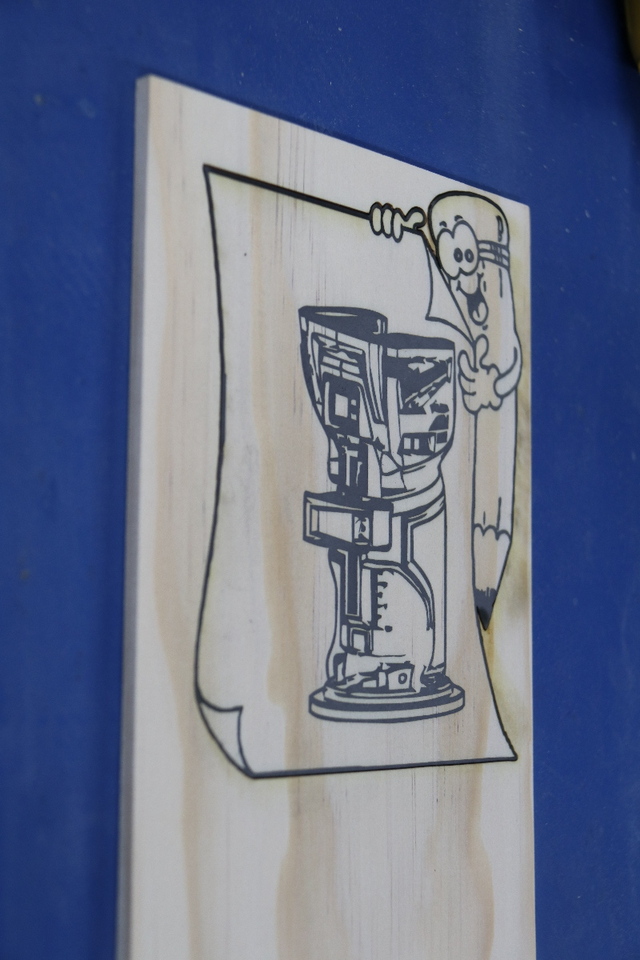
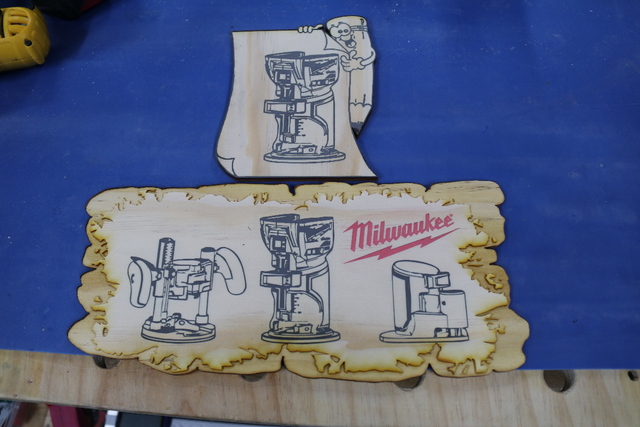
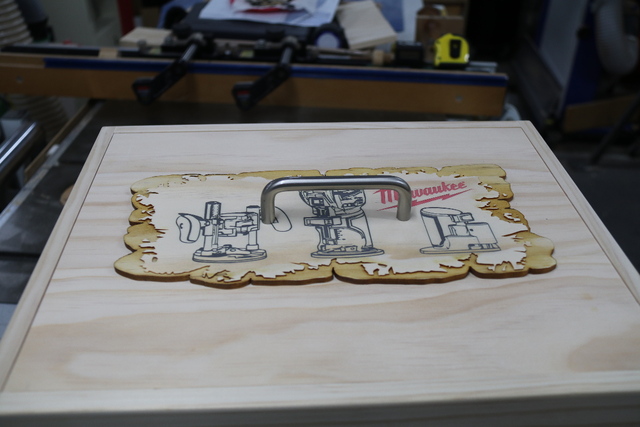
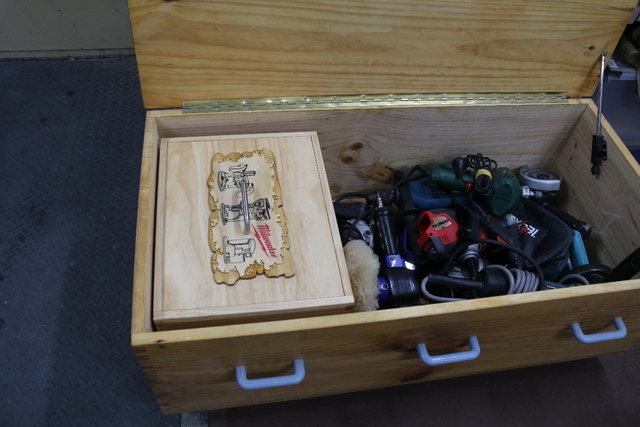
While lately I tend to avoid over prettying workshop paraphernalia, however, it's just like those olden days when I was younger and went to the beach and got a moon-slap from the missus for not just watching the sand and the water, I inevitably had to wander off course. Made up a couple of picture plates using sketches out of the Milwaukee user manual,
Assembled the box
and this time with the belt sander leveled out the sides from the protruding pins and tails.
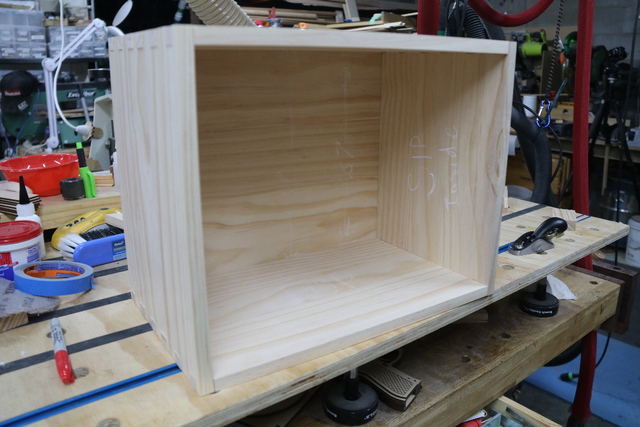
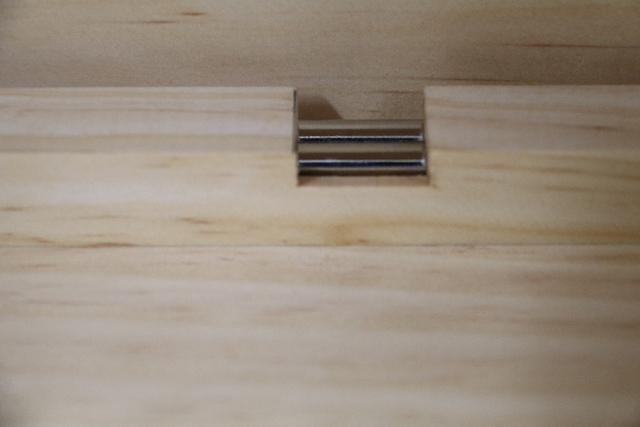
The initial design of the base provided a slot for the guide rods,
however, after the box was assembled (and the protruding dovetails sanded off), the base had to be doctored for fit. This was at the expense of the width and shaved enough off to prevent placement of the guide rods and spare perspex base.
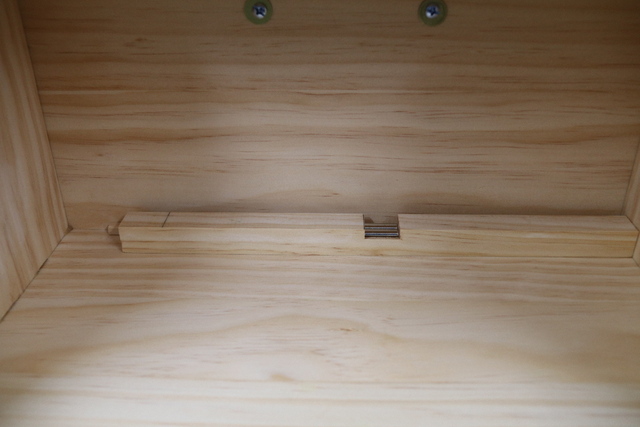
To compensate, I fabricated a shelf inside the box near the top,
and a knob to hang the spare perspex base on,
and took care to ensure there was no conflict with the trimmer as it was close to the side of the lid.
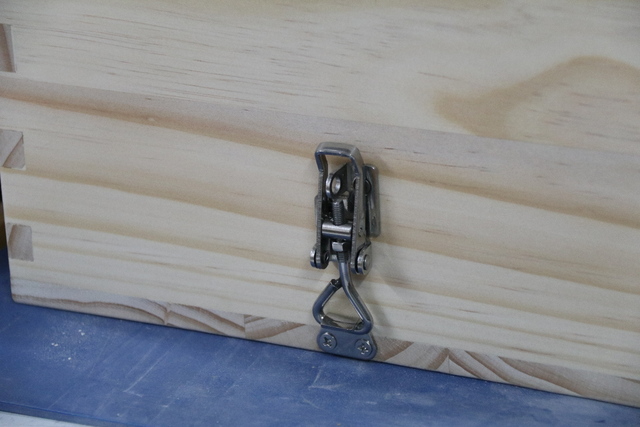
Glued on the "plates" and added the hardware,
(changed design from shop made locking mechanism for metal)
Hardware removed for oiling… Just 1 coat of tung oil and 3 coats of wipe-on-poly… (with a brush).
Ready to be stowed after RTFMing how to use all the accessories. Plunge base is obvious, but the offset base gets little attention in that bloody manual… need to surf for some review videos,
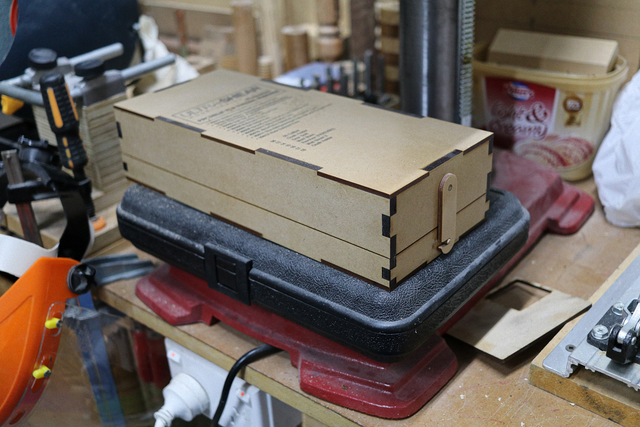
decided to box it (pic #06), but moreso,
PS. Close up of the Rali 220 plane that I affectionately reserve and call my glue plane,
If your first cut is too short... Take the second cut from the longer end... LBD
When I first saw your obsession passion for building boxes and containers for everything I figured you had too much spare time. Now when I try to keep all my tools little individual parts together I see the light!
That’s a lot to digest. And a lot of special skills required, woodworking computer and planning went into the box. The logo on the top came out great along with the dovetails. Did you use a dovetail jig?
Thanks all. It's not that I have a phobia for boxes, but I'll never forget being told that drill bits should never kiss (right or wrong), and considering tools cost a few more shekels... I usually box tools with loose accessories. Far too often I used to ponder over a fabrication methodology and then later find a "hidden" attachment I forgot about that could have halved the effort... now I do the same but have the box(es) to contemplate.
TWG, I have a Leigh D4R and never too shy of throwing in a few dovetails into my builds,
I'm now getting too lazy err old and laser cut my boxes.
If your first cut is too short... Take the second cut from the longer end... LBD