I used to (still) call iPhone users sheep as they are all followeres, however, call me a lemming for this post after pottzy got my juices flowing by his Table Saw Talk related forum thread. Hokie’s comment about upgrading his tablesaw was the straw that made me decide to impart what can be done to a very basic setup once a fire cracker is inserted between one’s rear cheeks.
This was published at LJ on Apr 14, 2020… however, for those fortunate not to have read it there, I am presenting it here to annoy you, if you now decide to surrender to your darker side… it is in keeping with me migrating more of that content over here.
As it stands today, The axe is another story. ____________________________________________________________________________________________________________________________________________________
Boys and Girls,
This is not a lesson in beauty therapy but rather the evolution of my tablesaw. The incentive was practicality, rather than cosmetics and has been a story building up for about 12 years.
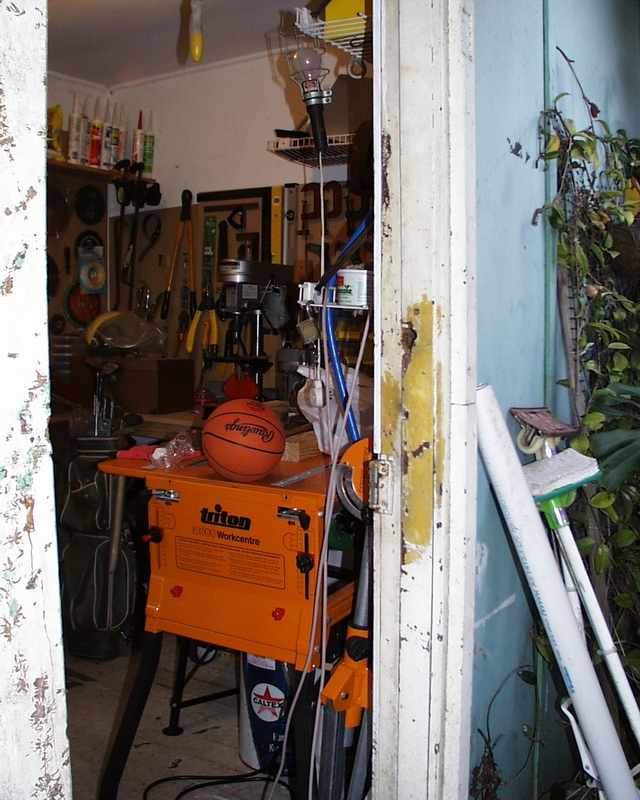
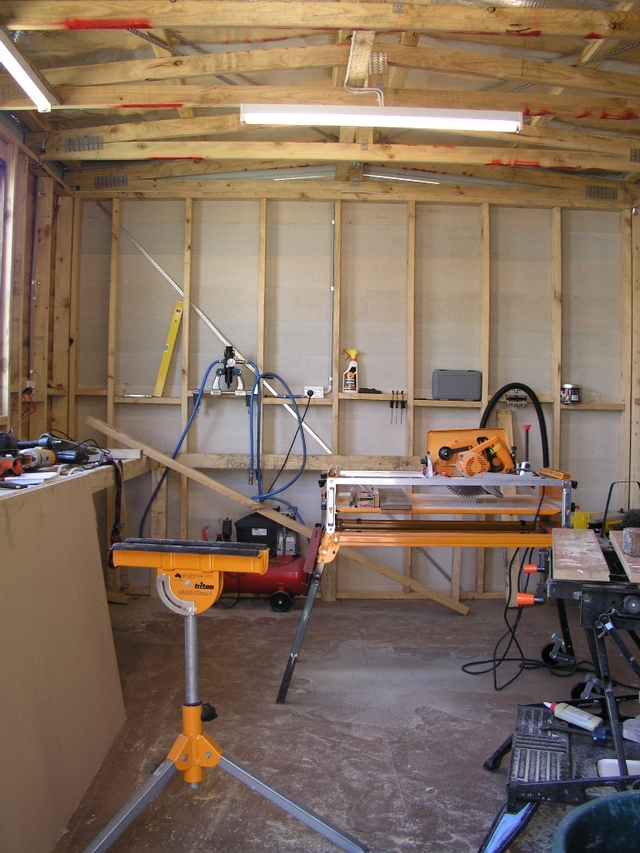
Circa 2008, I decided to upgrade my Triton 2000 Work Centre
just after I decked out my newly constructed workshop at my previous residence in Richmond,
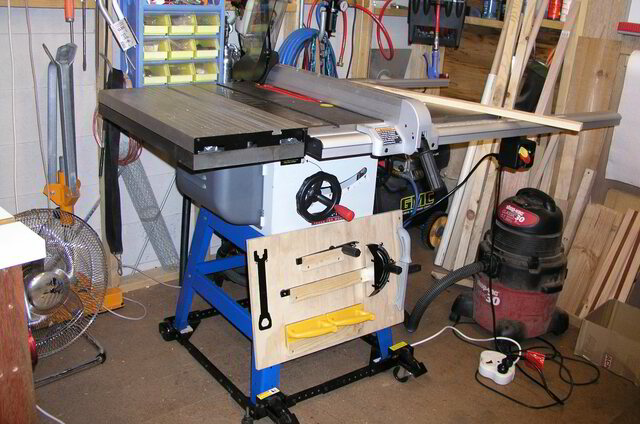
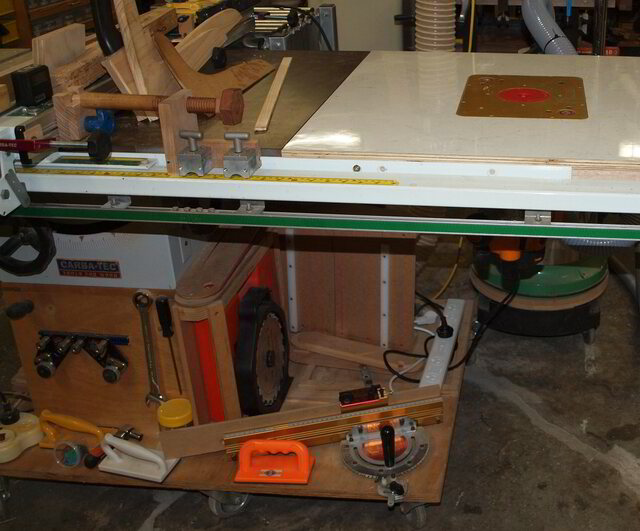
for a Carba-Tec contractors saw,
added a heavy duty mobile base (bought) and a uninspirational front board to store some basic tools.
Within the first week of ownership, the original crappy fence was replaced by a biesemeyer style fence combined with a Wixey Digital Fence guide.
While I was on that "crappy roll", it was time to replace the crappy stand with a shop-built mobile base,
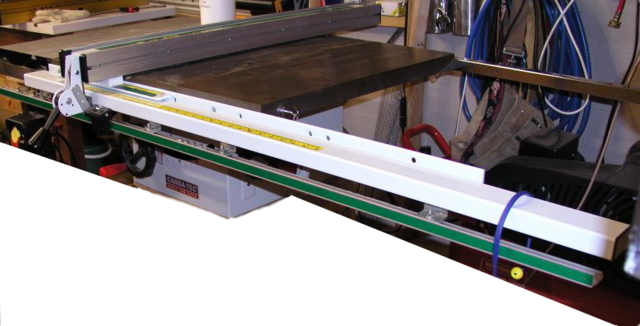
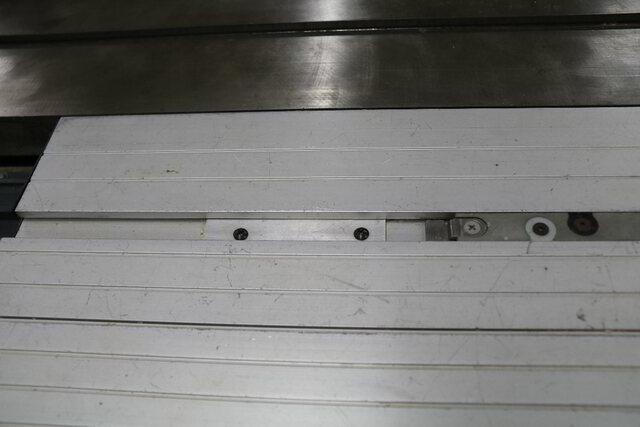
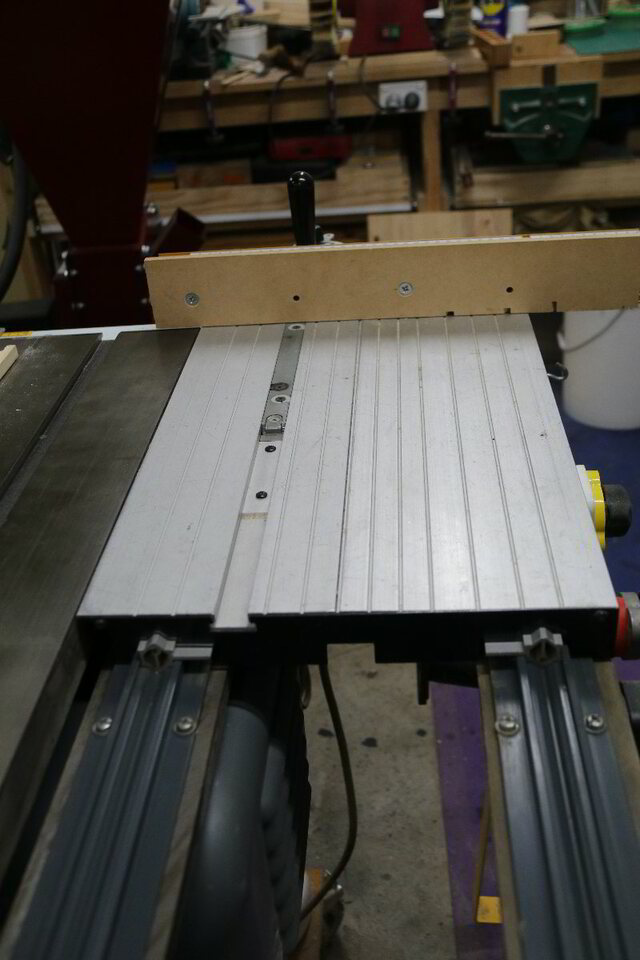
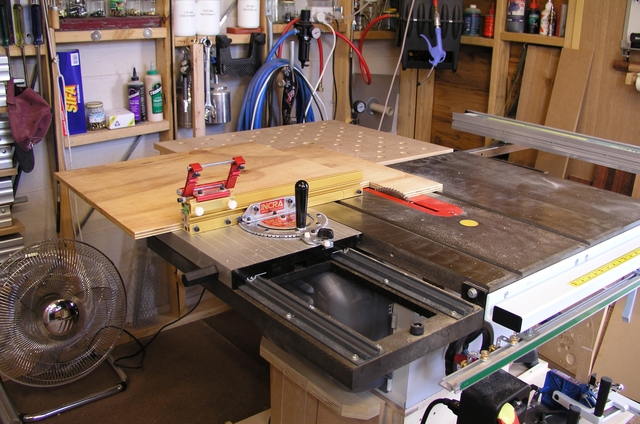
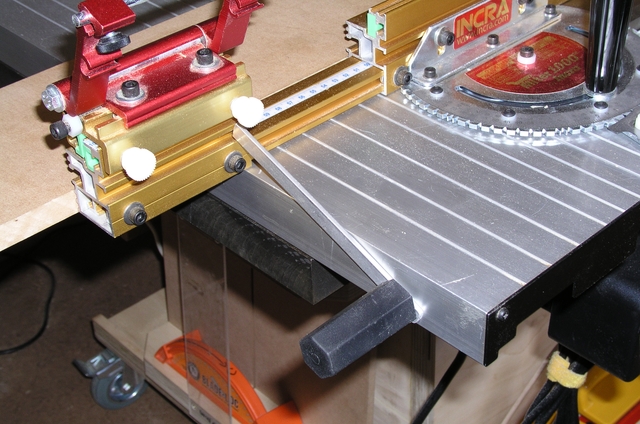
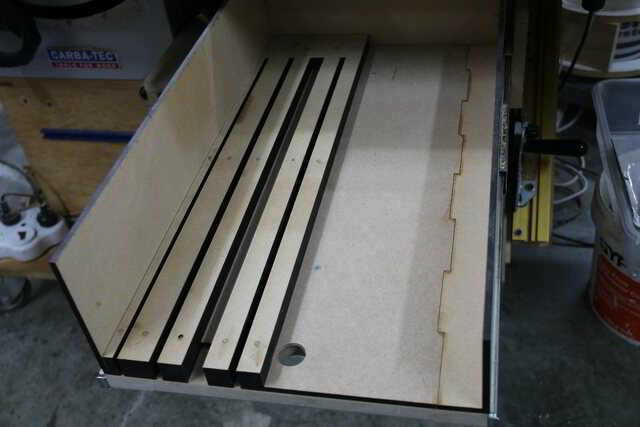
The TS had a sliding tabletop which I rigged out to accommodate an Incra mitre set in its mitre slot. I screwed a stop piece of aluminium,
While the Incra fence permitted the pushing of the slider,
I attached a piece of aluminium to permit pulling it back,
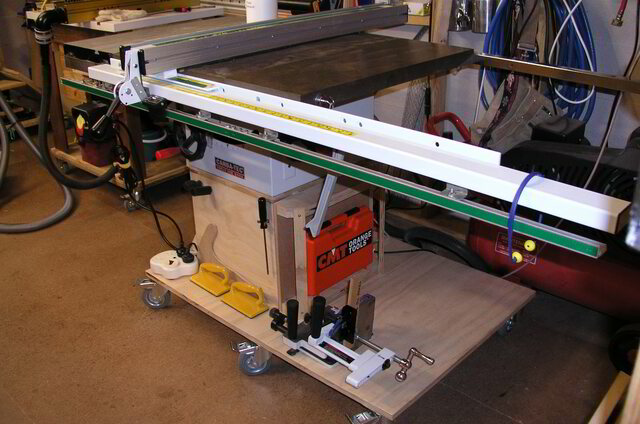
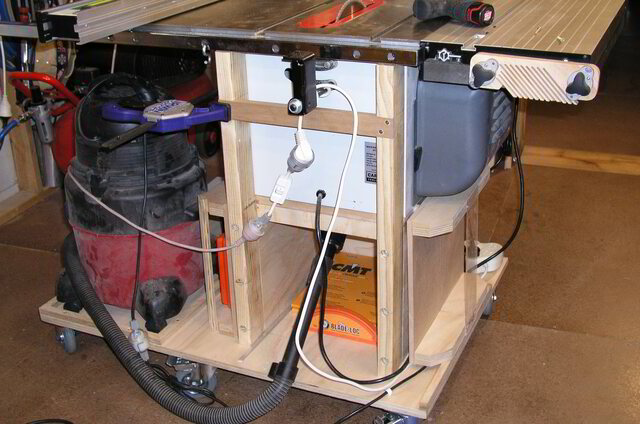
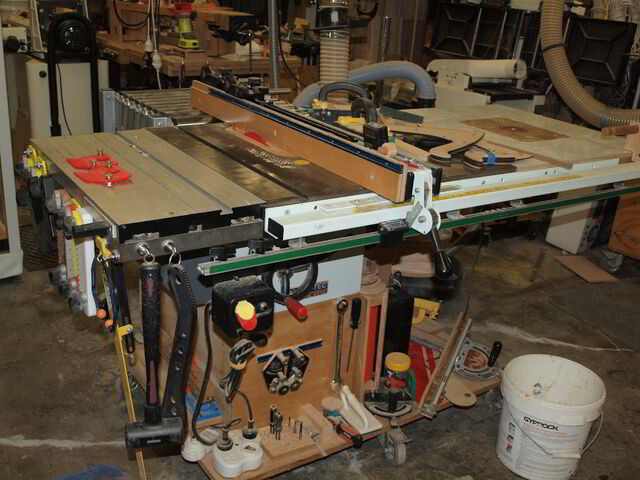
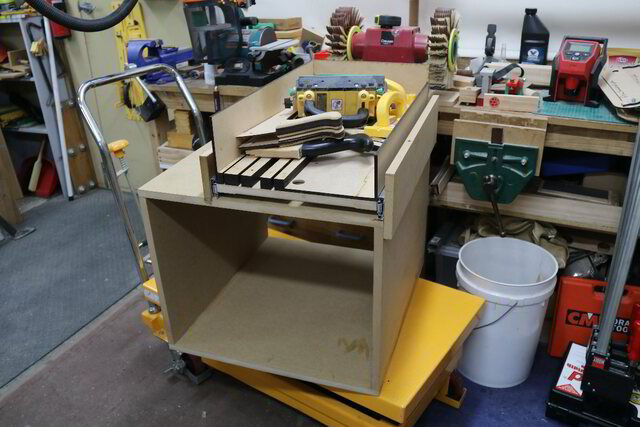
Fairly soon I realised that if it had to be on a mobile base, why not make one to house an on-board shop-vac (that was dedicated to the TS at the time) and use the support box for storage,
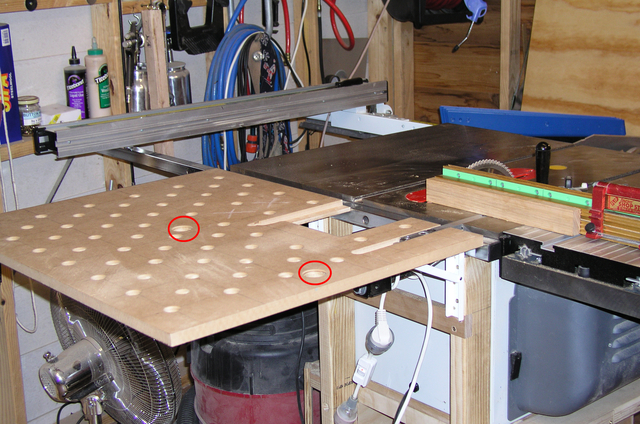
with the base, I could enhance the TS and build a dedicated on-board outfeed table. Built a support frame,
rigged it out to secure the hinges to the frame in the right spot and correct height,
Attached the outfeed table. The holes were drilled to minimise weight and not for dogs,
two larger holes drilled to access the hinge mechanism from the top.
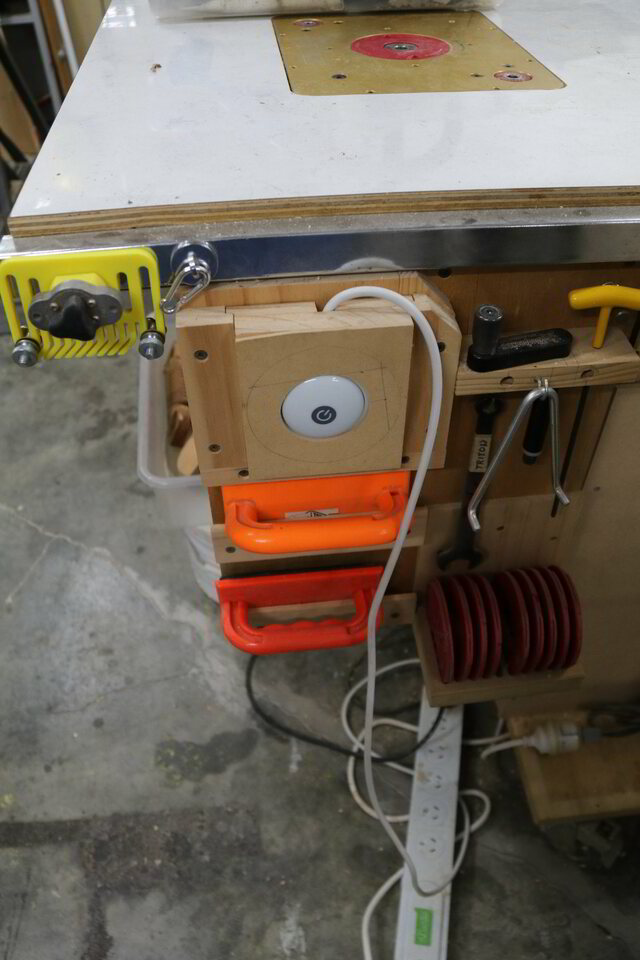
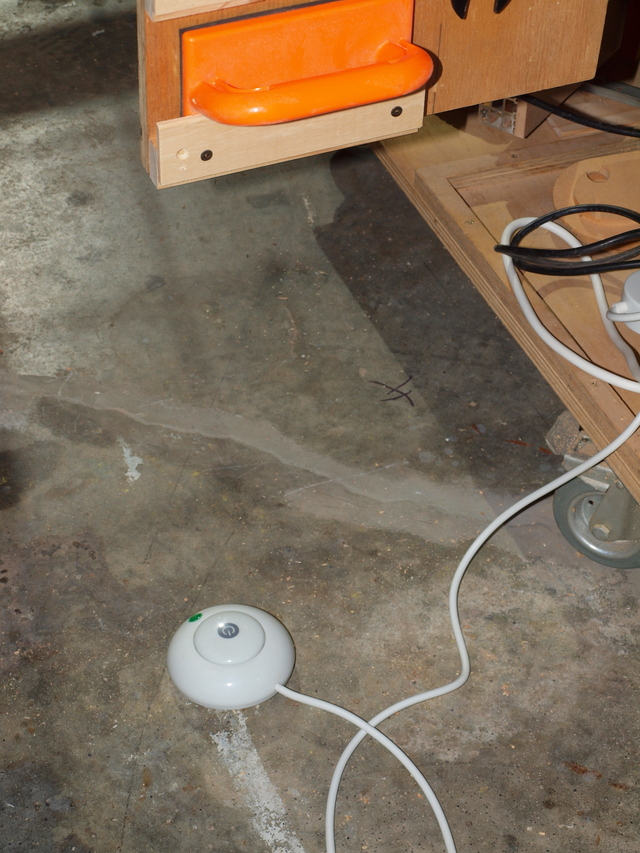
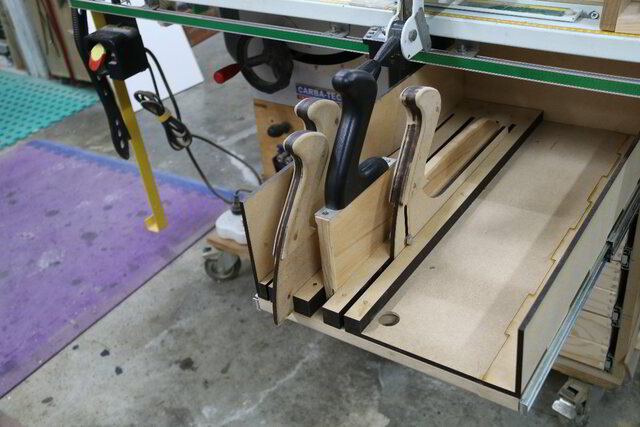
Some of the more observant viewers may have noticed the foot operated switch on the front LHS of the base. The power switch is turned on and the power to the TS is controlled by the foot operated switch, leaving both hands free to handle the stock. If you didn't, you are permitted to go back and have a look.
Around about this time I started toying around with a jig to simplify fitting of the blade guard… I quickly abandoned this stupid idea and wrote about it in one of my Stupid Ideas blog. Started using the MJ-Splitter with my ZCIs for the TS.
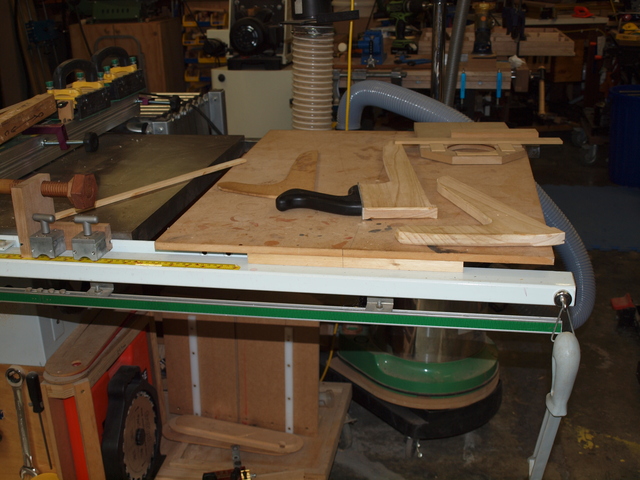
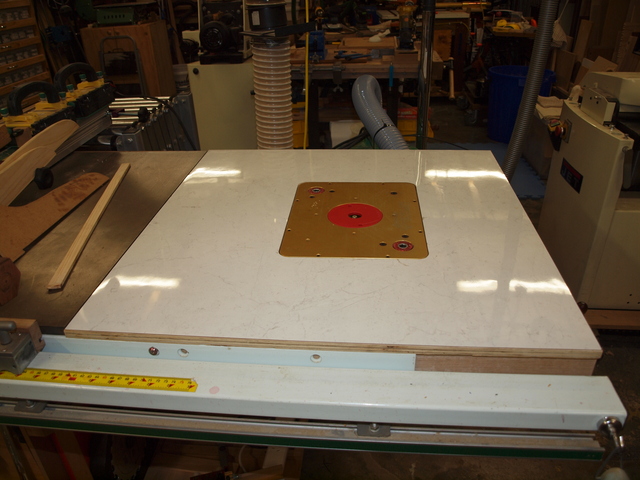
Over time, the RHS of the TS was decked out with MDF to serve as a mini assembly table,
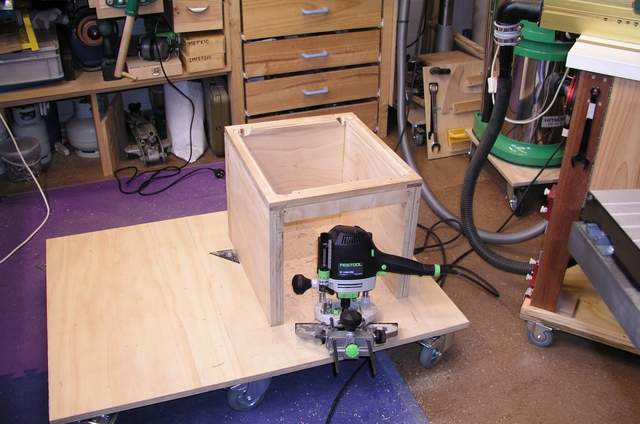
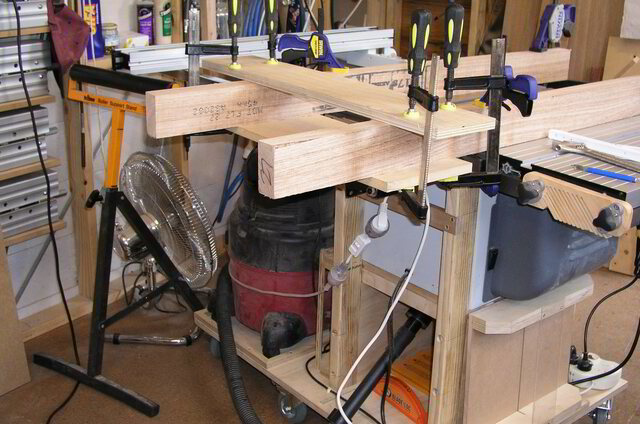
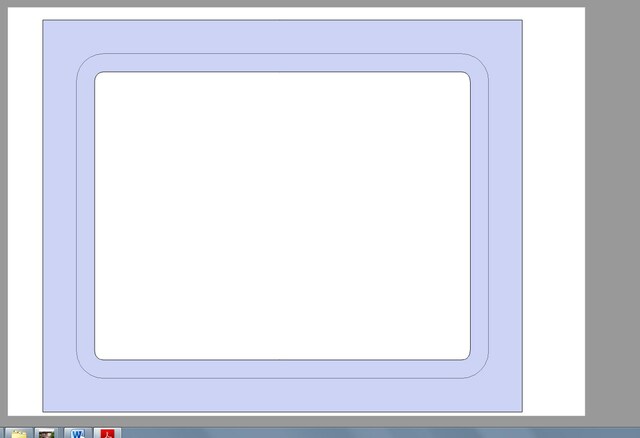
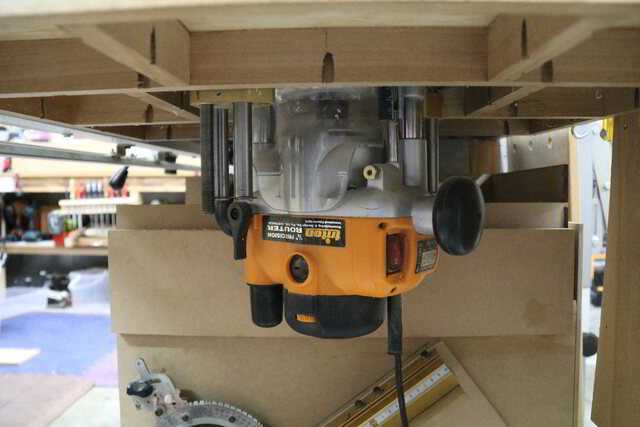
This was eventually upgraded to a fully functional router table with the TS fence, however, minus dust extraction. I designed some templates using Sketchup and cut on the laser to cut the hole to house the router lifter assembly,
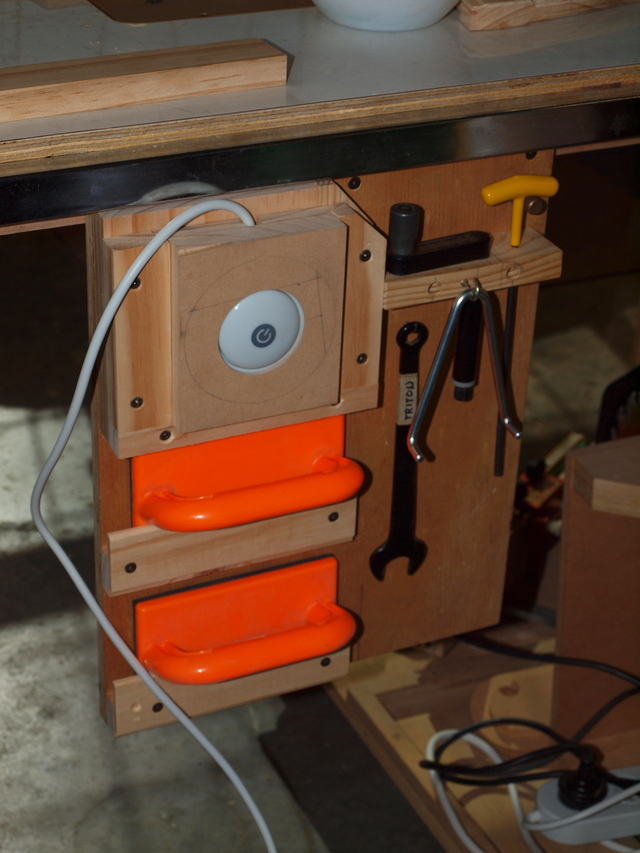
Power for the router was pimped out using a foot pedal powerboard. The foot switch was mounted in a timber receptacle
to permit bump operation,
or foot operation,
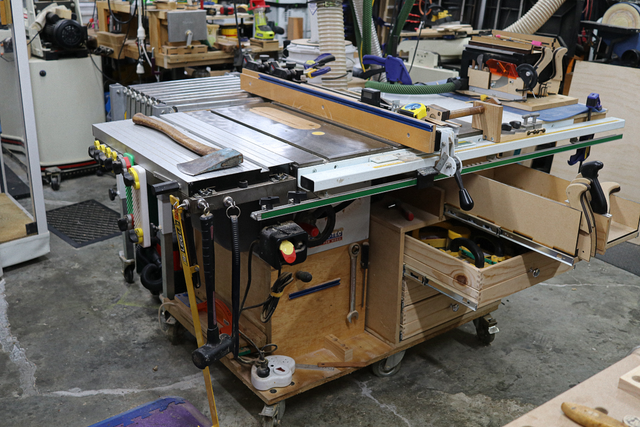
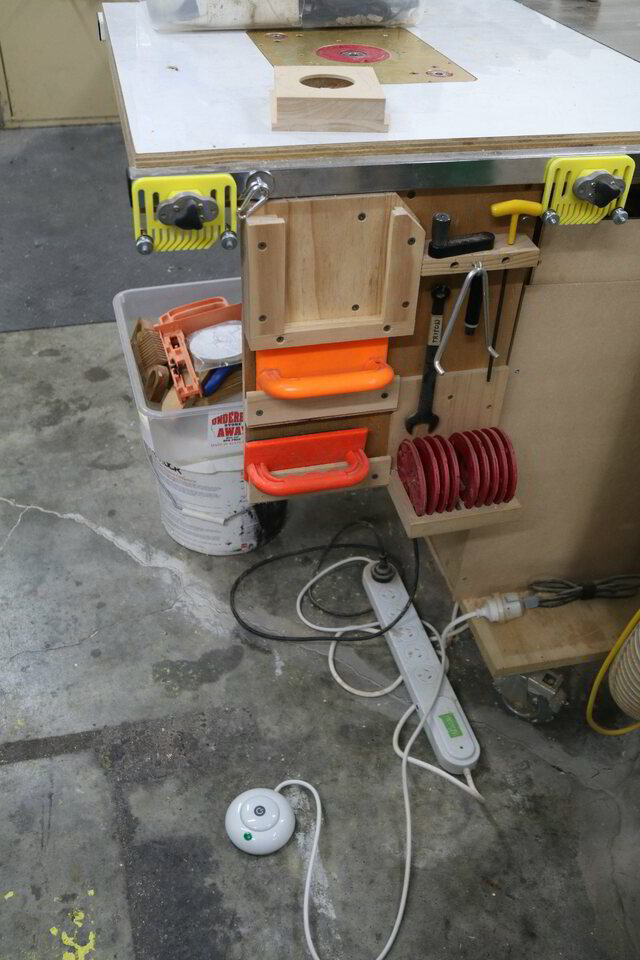
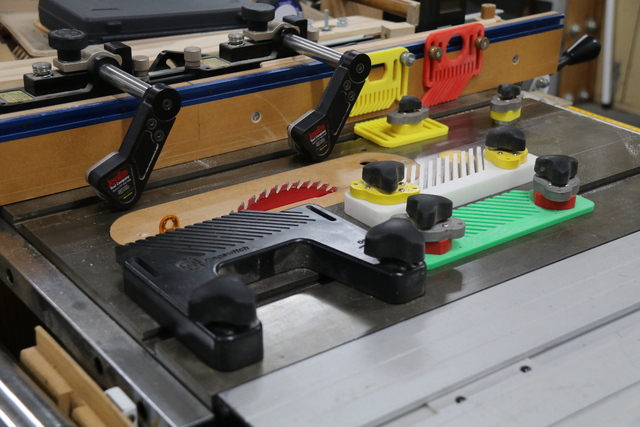
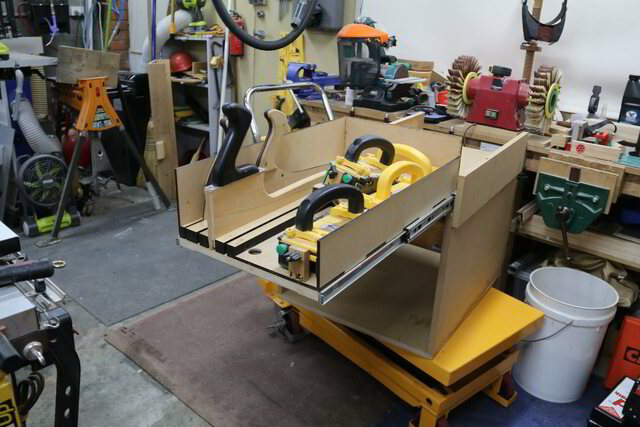
The biesemeyer style fence was eventually fitted with my go-to Jess-Em Clear-Cut TS guides and made extensive use of mag-switches and 3D printed featherboards,
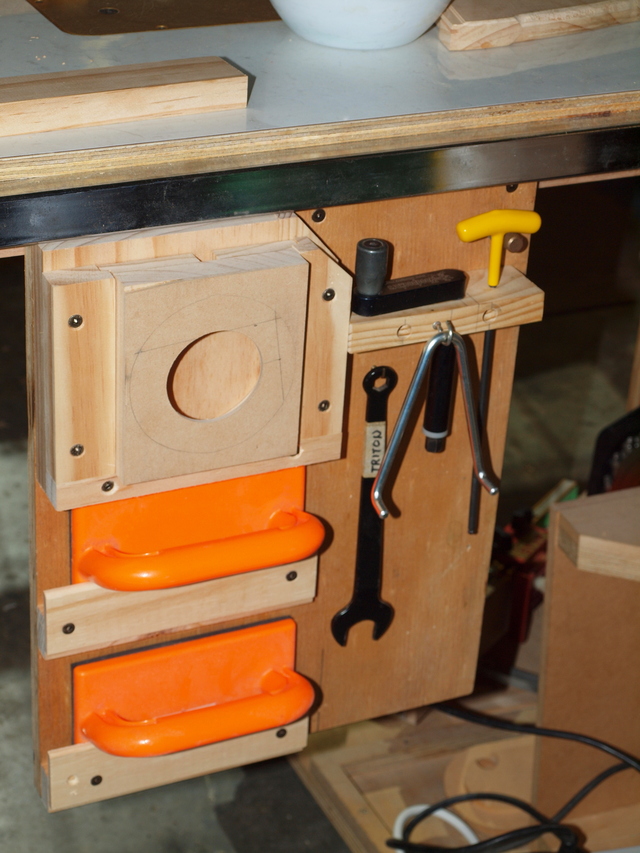
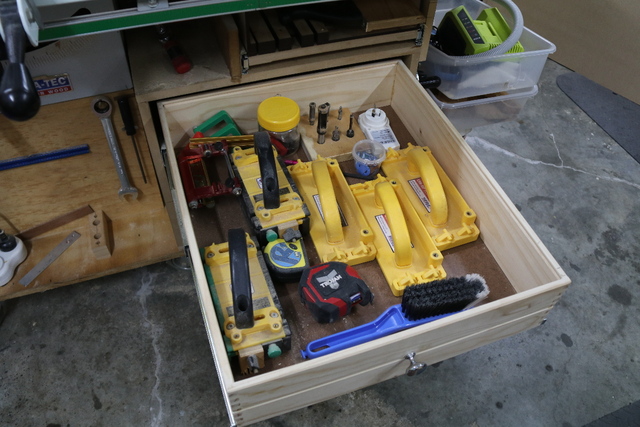
I was getting sick and tired of all my push sticks sitting on the tabletop and all my accessories piled haphazardly on the base,
and though some storage facility was called for.
Like most conscientious woodies, I made a bee-line to my scrap-bin and when I saw that the cupboard was bear, nothing too big, fewer too small and absolutely lacking in sizes just right, that bee-line turned into a pilgrimage to our local hardware outlet, Bunnings.
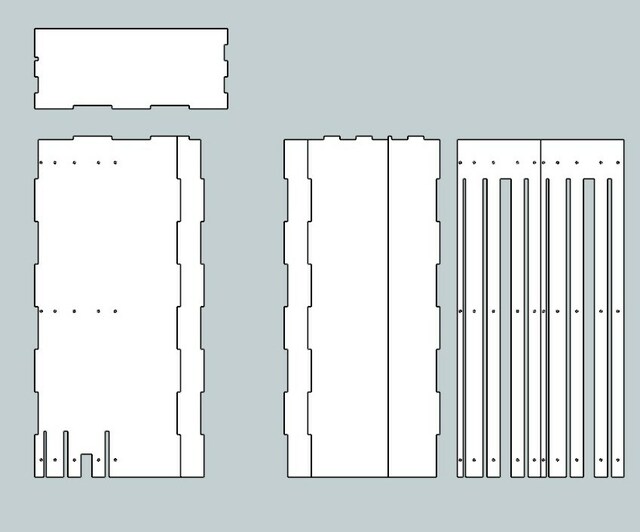
Armed with some 16mm MDF sheets (Honda CRV fit size) and 12mm shiplap lining boards (for drawers), home self-delivered and hit SketchUp,
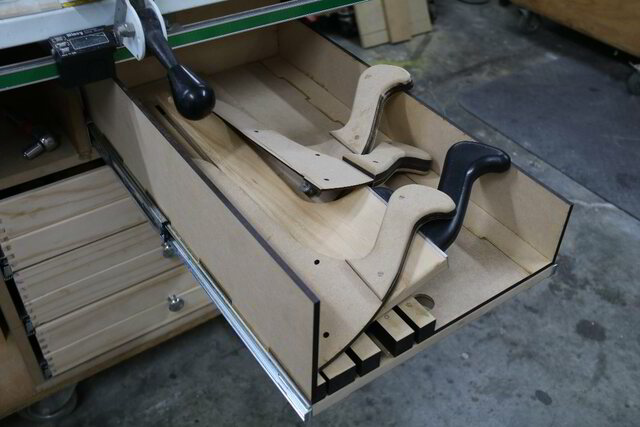
the push stick storage was sent to the laser,
Down in the workshop, made up the carcass box and laminated the laser cut pieces using alignment dowels to make the push stick drawer… assembled the two components,
and tried the push stick fit…
smiles.
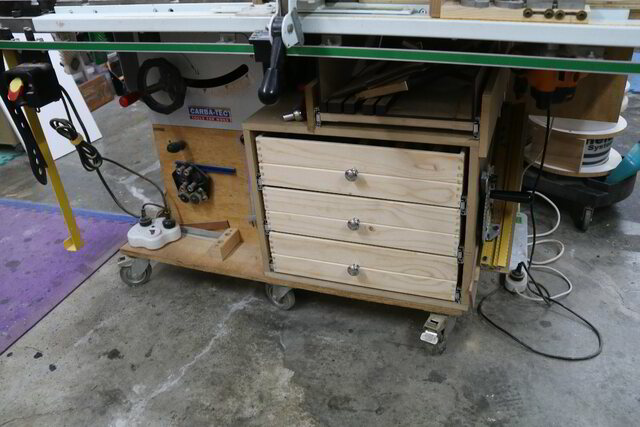
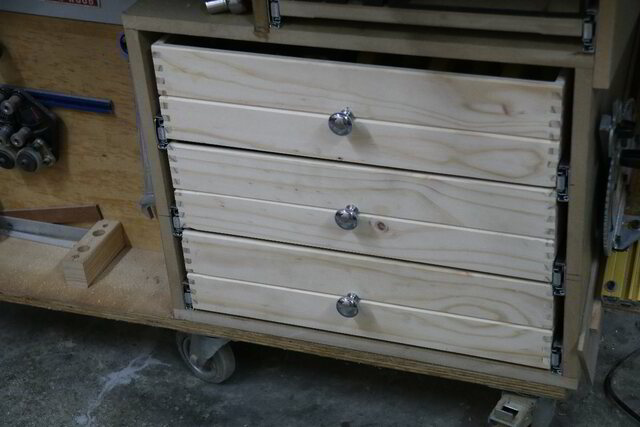
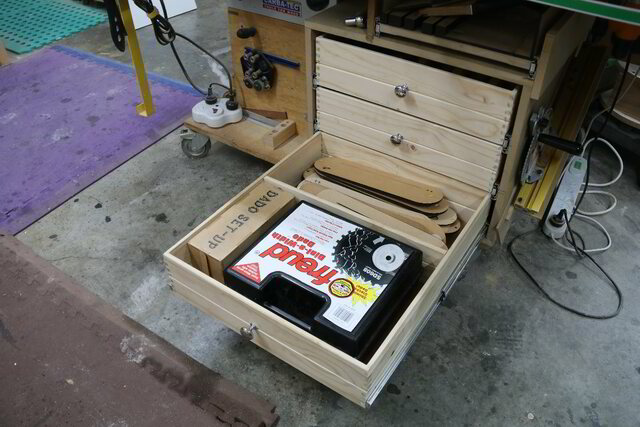
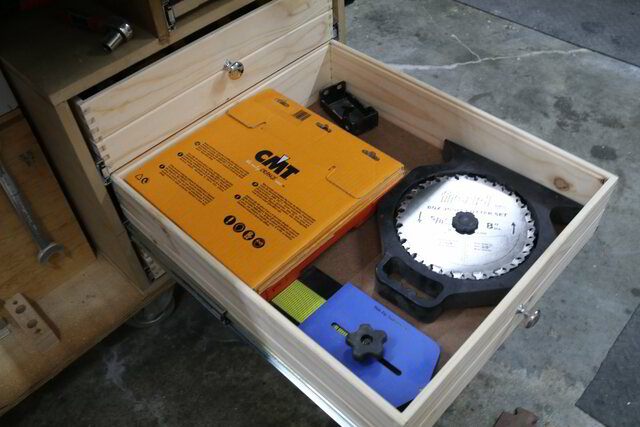
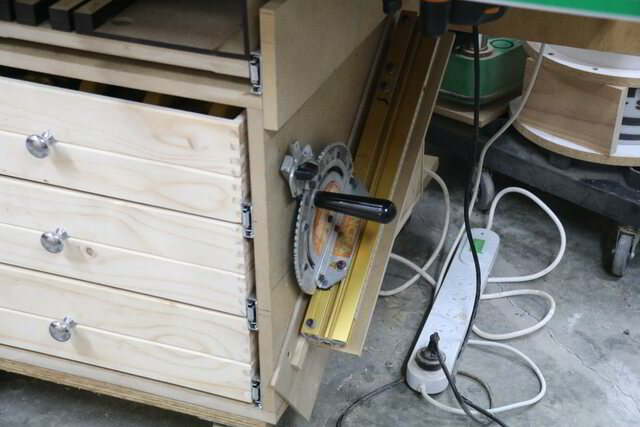
Use the 12mm lining boards to make some drawers and attached them using stainless slides, fitted them to them carcass and bolted all to the mobile base,
populated the drawers,
Push sticks.
readied for use,
The push sticks come in 3 thickness flavours,
1. 3mm 2. 8mm 3. 19mm 4. 8mm to fit under featherboards for thin/narrow stock (and I cant count).
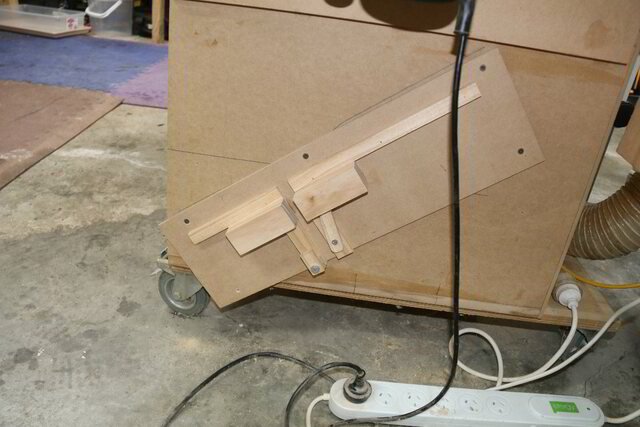
While toying around with the TS during the COVID-19 crisis lockdown, I realised that I didn't allow for my Incra mitre fence. Rigged up some pieces of wood to hang it on the side of the box,
After this lengthy journey, it's easy to forget that it was a cheap contractors saw at the time… however, in its defense, Carba-Tec stopped selling it many years ago as it was considered far too much value for the money and after the supplier re-evaluated their manufacturing cost, Carba-Tec considered any revised realistic retail cost too inhibitive… makes one realise how we are taken for a ride far too often if the mistake discovered is not in the vendors' favour.
If your first cut is too short... Take the second cut from the longer end... LBD
Thanks all for you're comments... I sincerely appreciate them.
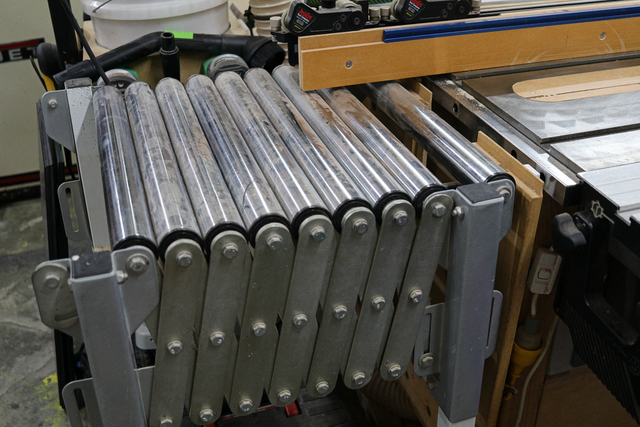
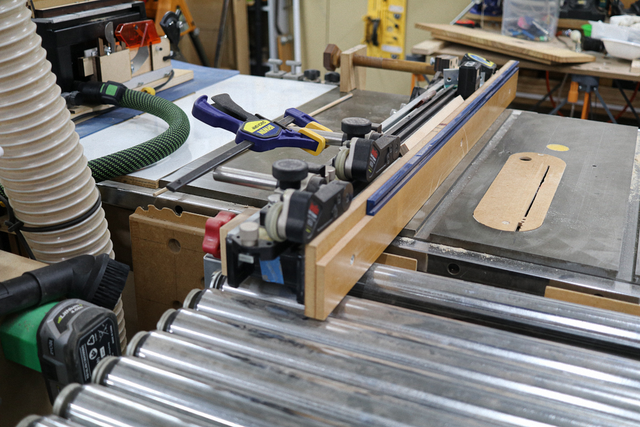
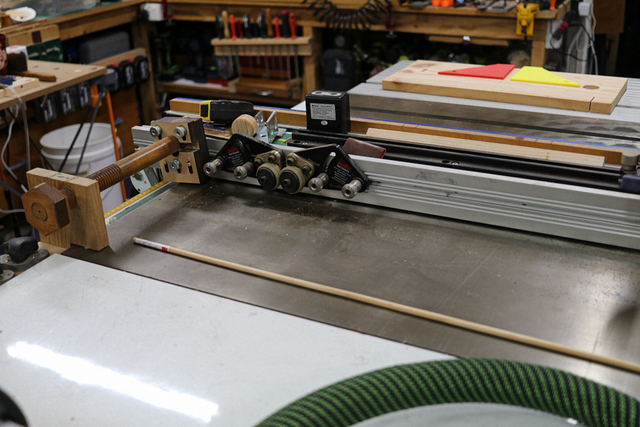
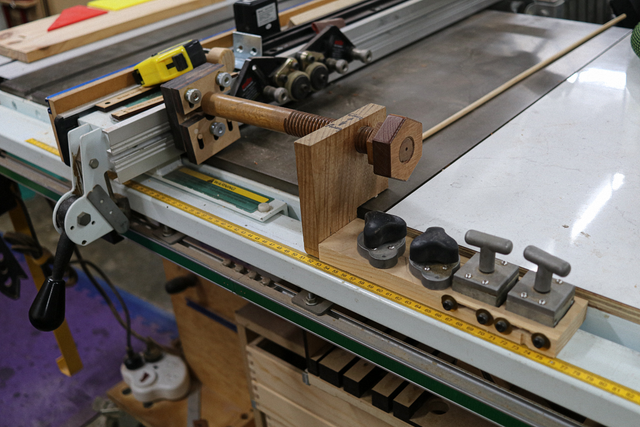
This has been an evolution over time and many changes have crept in that I haven't documented. Like replacement of the built-in out feed, by an expandable roller... which makes me think I should reclaim those drop-down hinges before I actually need them and it becomes a major immediate issue. I have pimped it out with a set of Jess_Em TSon the TS side (parked on the fence top), which I consider an absolute must have, and a set of Jess_Em Stock Guideson the router side, which are just a nice luxury (if needed). The addition of a micro-adjuster (inspired by a useless Rockler purchase) is also a bonus,
however, a set of steel threads (I was promoting my wooden threads) might make it a tad less clunky. No, it doesn't need 4 mag switches... the 2 round ones are just "place holders". The micro-adjuster is two way, while the Rockler was only a one way.
Also outfitted with customised ZCIs... ZCI's with replaceable inserts is another crazy idea soon to be migrated across.
If your first cut is too short... Take the second cut from the longer end... LBD