Another project centered around the ease of my laser…. However, before you dismiss this as “I don’t have one” (laser), you can always use your factory supplied throat plate to make a template out of MDF/ply, which in turn can be use as a routing template to make ZCIs to your hearts content on demand… This article is based on what to do out of that oval insert plank you have just created.
My TS came with a blade guard splitter that was a total PITA to refit (after dado operations, that were popular in my workshop back then) as the assembly had to be aligned and was held down by bolts in elongated holes,
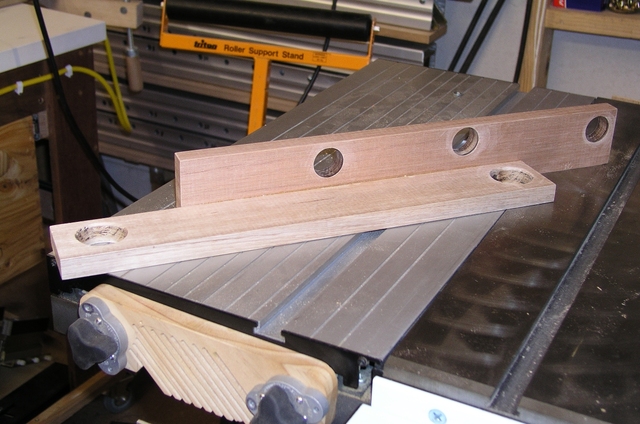
I made a jig,
that was mounted to the TS using mag-switches,
and the cover also attached to the jig with 2 more mag-switches,
and the "splitter" used for alignment with the saw blade,
but all that did was reduce the “PITA” to smaller “pita”!
I decided to replace it using the Microjig MJ Splitter.
Initially posted at LJ before the “Boys and Girls” was invented back on 14th. September, 2017 while I was waiting for the silicon to dry on my boat display cabinet.
I will try to follow this up with my “ZCI Interchangeable Inserts”… another project I plan to migrate across.
With all the twists and pitfalls in life, occasionally one can get lucky…
and be born beautiful like me…
and if you don't like your face, upon your next reincarnation, ask the Obstetricians to shove you back in and pull you out with a better dial…
Now if you believe the above, stop reading woodworking articles especially by anyone resembling an Anas Platyrhynchos (duck… and more so, a not too tall black one).
Now what has all that to do with ZCI…? absolutely nothing, but I bet I had you questioning my sanity regarding this post, while I'm waiting for the silicon to dry on my current project… no not an implant… a glass display cabinet.
However, where I was lucky is that the step down on my table saw from the top of the table to the throat plate support was virtually 6mm (a 6mm thick MDF sanded to 320 and polished, sat flush).
Transferred the shape of the original throat plate into SketchUp and through the magic of PC, transgressed from SketchUp to Layout to Corel Draw and finally my laser… not to mention the table saw.
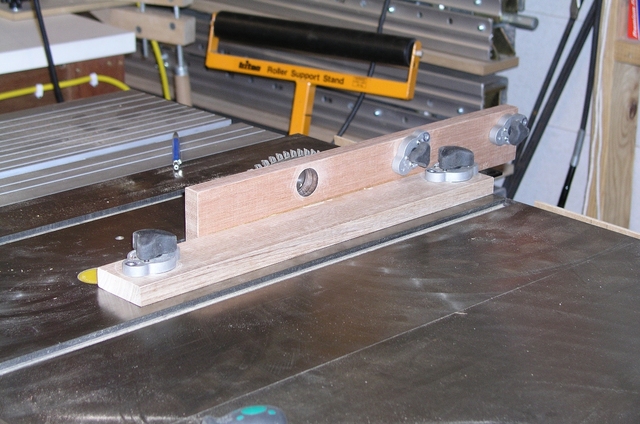
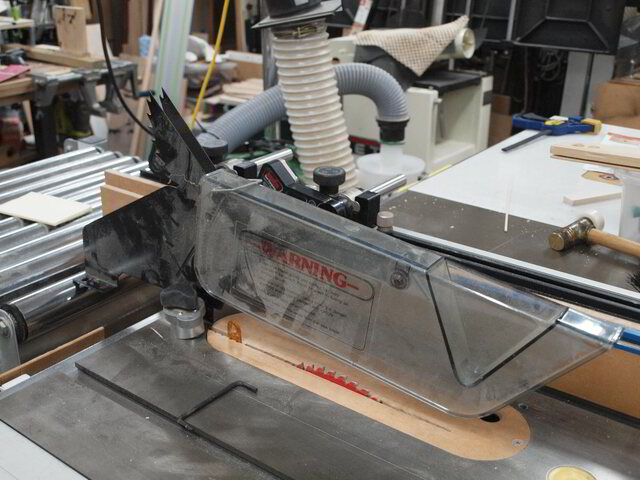
I have abandoned the original "splitter" that came in the shape of an anchor for the blade guard as the blade guard was impractical/useless and it reminded me of a donkey… (temporarily posing with a mag-switch shoe)
only because of the shape of anti-kickback tabs (held up by a piece of dowel in pose for the photo) that were as useless as a donkey in a cattle muster.
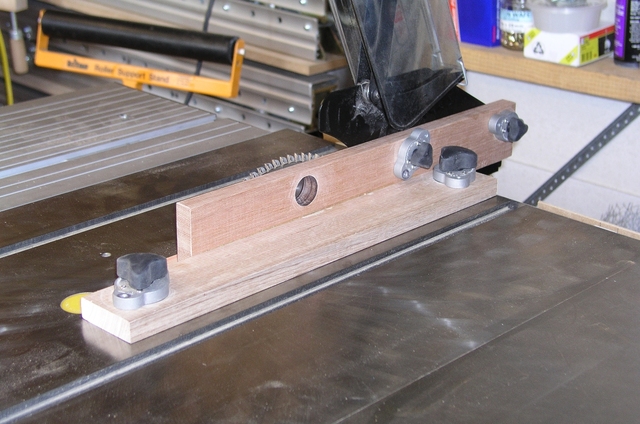
Replaced it with a Micro-Jig Splitter (Pro version - both 1/8" and thin kerf).
While they work a treat, setup is a tad cumbersome (using their supplied jig),
which is why I now embrace my laser method.
Fortunately I can cut the splitter mounting holes (and the other holes) in the exact required location repeatedly on my laser (refer gallery picture #2) out of standard 6mm MDF.
After cutting the form and tidying up the thumb hole, MJ Splitter holes and the screw locator holes, I hit it with 240 and 320 grit ROS and a coat of wax and buff to slicken it up and bring it to the right thickness.
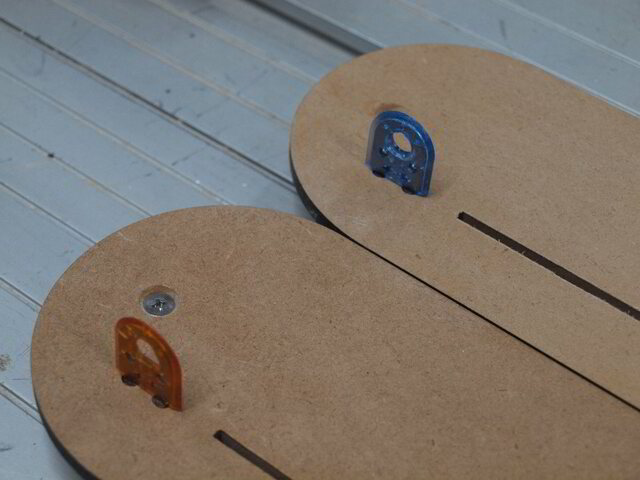
I flip it over and glue a small mounting block for a "fender washer" spacer that is used as an anchor for the far end of the ZCI (gallery picture #5) against the table top throat.
While I don't condone it (aren't I such a nice guy for such self admission), note that in gallery picture #6, the 10° ZCI is not blessed with a "washer anchor" as the table saw fence is located over the ZCI to hold it down (was an unnecessary step for that particular requirement).
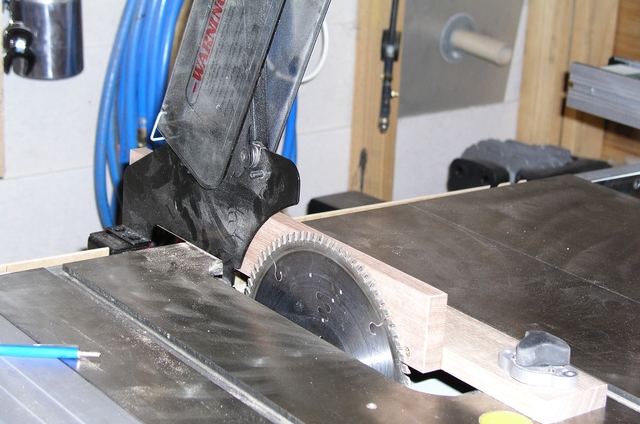
Once done I can then mount it and raise the appropriate blade, insert the splitter, test it and blaspheme as the fit is so incredibly good, the under table "dusty" cannot suck up any sawdust above the tabletop… must work on a above table dust hood.
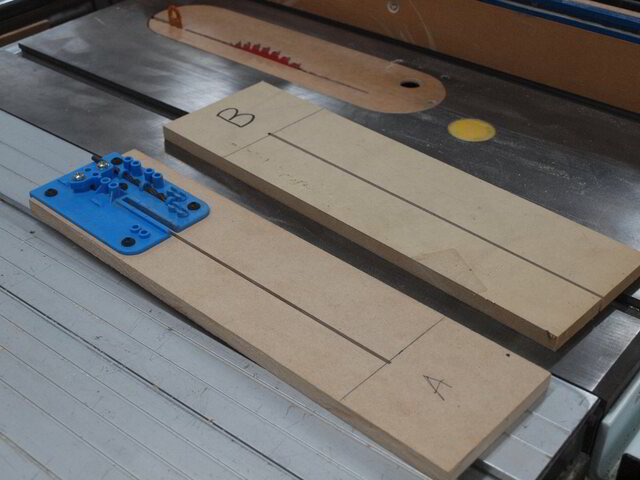
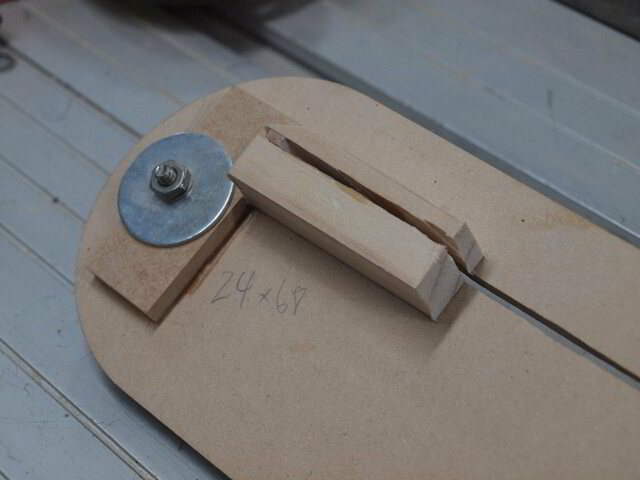
Unfortunately the MJ splitters do not cater for 1.7mm kerfed blades. The near ZCI in gallery picture #5 was marked as 1.7mm kerf, but due to non-conformity, was promoted to a 2.2mm ZCI after the cut jammed on the splitter. However, once the kerf is cut I extend it manually by about 25mm towards the back, insert a 1.7mm veneer at the back of the kerf (refer gallery picture #4) and brace it with a support block,
Re-raise the blade to full height which will shape the splitter/support-block to fit. Though the 1.7mm veneer is quite fragile on the few occasions that I use that blade I take extra care in not snapping the splitter. Who says I can't learn after snapping about 20 of them on my first day of use.
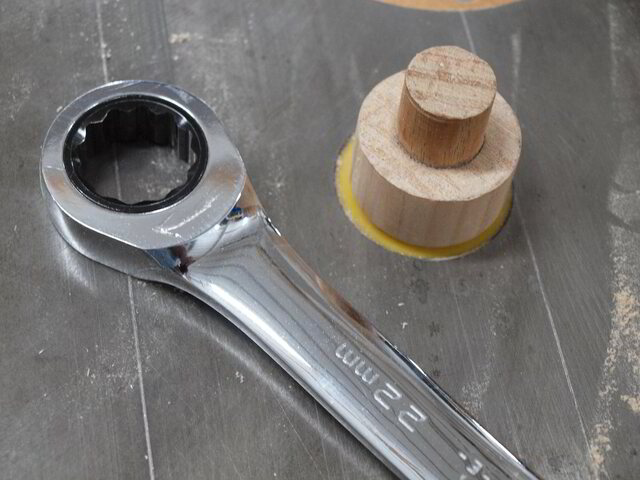
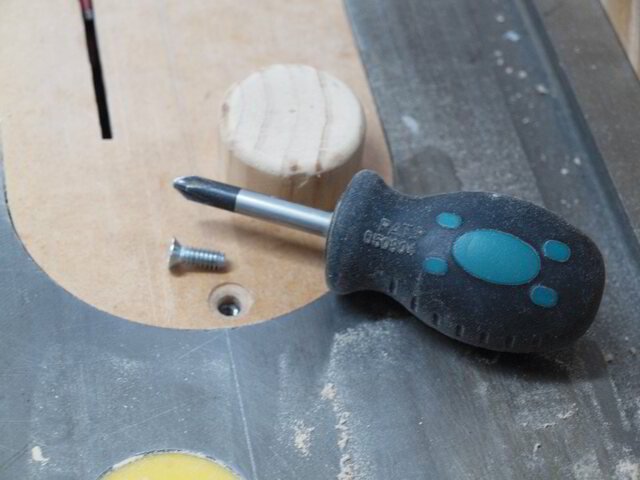
I don't know about all you other ZCI advocates, but I had to make one of these "mushroom" plugs as after countless repetitions,
(also note the 22mm ratchet spanner that I use on the tablesaw arbor… saves the knuckle skin). I had to prevent losing the hold down screw through the ZCI's finger hole,
Gallery picture #6 is my current tablesaw ZCI family. The bottom left throat plate is not figured redwood but the original throat plate and still has it's use when I need to make the occasional 1 of bevel cut, without bothering to make/sacrifice a new dedicated plate.
I have a basic ¾" dado ZCI (gallery picture #6, bottom right), however, it's accuracy is limited as I use a Freud "Dial a width" dado set (should also apply to all you "shimmy" devotees) as the 3/4'' kerf is never exactly the same.
A word of advice. For all you non laser or CNC owners, when you make your first ZCI with all the layouts, put it aside as your permanent template. Ok, that was more than "a word"…
Happy ZCIing… just don't show this to your kids as they might misread it as SKIing (Spend Kids Inheritance).
As always, if you find this article boring and/or inappropriate, I beseech you to not peruse any further.
If your first cut is too short... Take the second cut from the longer end... LBD


 on demand.")
 on demand.")
 on demand.")
 on demand.")
 on demand.")
 on demand.")
.pdf%20-%20Adobe%20Acrobat%20Reader%20DC-004119.jpg)