


Share your craft projects
Make new craft buddies
Ask craft questions
Blog your craft journey

Jim Jakosh
3285 posts
and
48 followers
in over 3 years
in over 3 years
More from Jim Jakosh


Dovetailed Lidded Keepsake Box with secret compartment


This is another tapered dovetail lidded box with a secret compartment in the lid. The lid is secured with rare earth magnets as is the secret compartment lid. There is a 1 1/2" tiger eye cabochon in the lid. I would like to thank Oldtool ( Tom ) for idea of tapering the dovetails. It made the building much easier.
The box is 5" in diameter and 2" high. It was made from one piece of acacia wood and is finished with Danish Oil and buffed and waxed.
The box is 5" in diameter and 2" high. It was made from one piece of acacia wood and is finished with Danish Oil and buffed and waxed.
Cheers, Jim ........................ Variety is the spice of life...............Learn something new every day
35 Comments

your becoming a master at these dovetailed boxes jim. this is the best yet. the acacia is just stunning. love the secret compartment.
working with my hands is a joy,it gives me a sense of fulfillment,somthing so many seek and so few find.-SAM MALOOF.

Very interesting concept....nice idea with additional hidden compartment.
...woodicted

Great woods and neat designs, keep 'em coming!

Looks awesome!
Ryan/// ~sigh~ I blew up another bowl. Moke told me "I made the inside bigger than the outside".

Nice little box, Jim!
May you have the day you deserve!

Pretty nice looking keepsake in itself, even without something inside. Very nice work.
Regarding the tapered dovetail on the lid, first - glad I could provide an idea well received & useful. When I suggested it, I was thinking that it would limit removal to one direction, maybe keep from falling off when picked up. Based on your comment however, "It made the building much easier.", I'm assuming that you first make the top & bottom with dovetail, fit together tight, then turn it round. Huh, pretty smart move on your part. 👍👍
Regarding the tapered dovetail on the lid, first - glad I could provide an idea well received & useful. When I suggested it, I was thinking that it would limit removal to one direction, maybe keep from falling off when picked up. Based on your comment however, "It made the building much easier.", I'm assuming that you first make the top & bottom with dovetail, fit together tight, then turn it round. Huh, pretty smart move on your part. 👍👍

beautiful box. Secret compartment or not Lovely
Ron
Thank you all for the nice comments.
Hi Tom. Yes, I make the dovetails first while the material is rectangular and I cut it at a 3 degree angle that makes the dovetails tapered on the router table. The magnets make the top "click" into place!
Cheers, JIm
Hi Tom. Yes, I make the dovetails first while the material is rectangular and I cut it at a 3 degree angle that makes the dovetails tapered on the router table. The magnets make the top "click" into place!
Cheers, JIm
Cheers, Jim ........................ Variety is the spice of life...............Learn something new every day

not a secret no more LOL love these nice little boxes GR8 JOB 😍😎👍
*TONY ** Denver * ALWAYS REMEMBER TO HAVE FUN

Nice idea! And great execution.

It is pretty great when things "click into place." Great overall design too.
No Bees. No Honey. Bees Lives Matter
Thanks Tony, Dutchy and Brian !!
Cheers, Jim ........................ Variety is the spice of life...............Learn something new every day
clever and beautiful
How did you affix the cabochon to the top?
How did you affix the cabochon to the top?
Knowing Jim, he used magnets and turquoise/epoxy mix 🤠
I'd like to know the prep work too, I have a bunch of rocks that I can flatten and rough up the bases, just don't really know what matter of adhesive will hold.
I'd like to know the prep work too, I have a bunch of rocks that I can flatten and rough up the bases, just don't really know what matter of adhesive will hold.
Knowing Jim, he used magnets and turquoise/epoxy mix
I laughed so hard I snorted.
I’ve used JB Kwik and acetone to clean up the excess (obviously acetone will mess up any finish you’ve got, so this would be putting the stone in before finish, as finish won’t effect the stone).
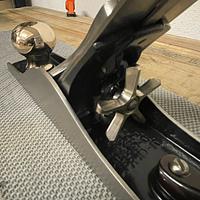
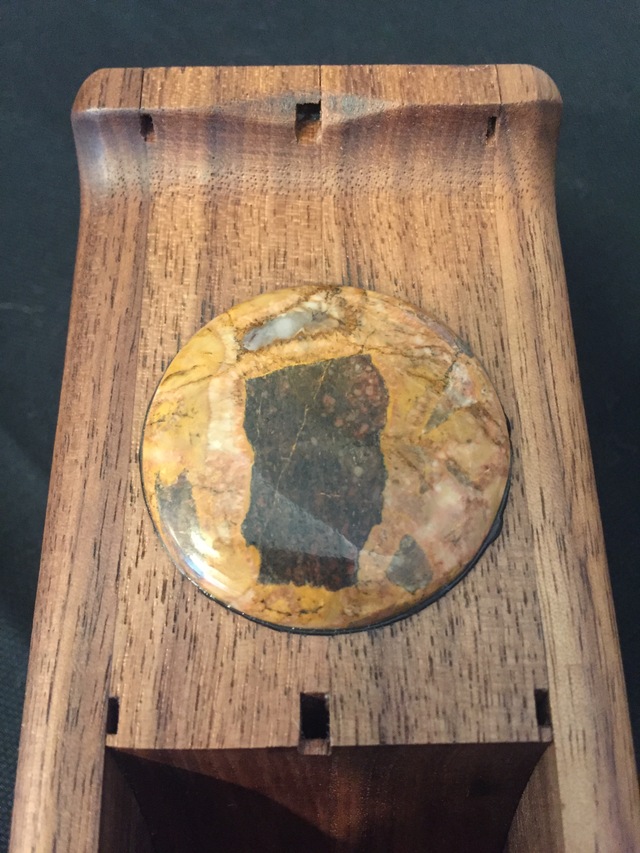
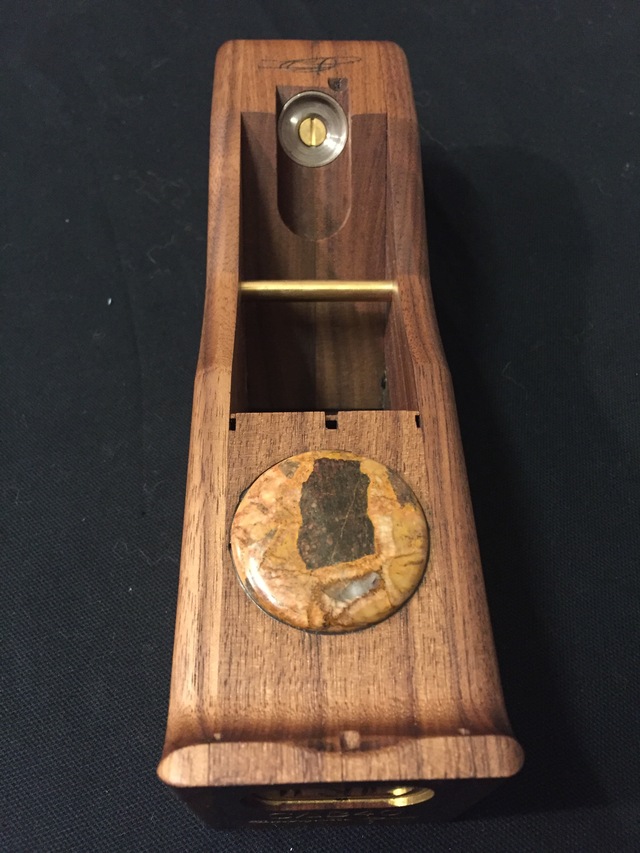
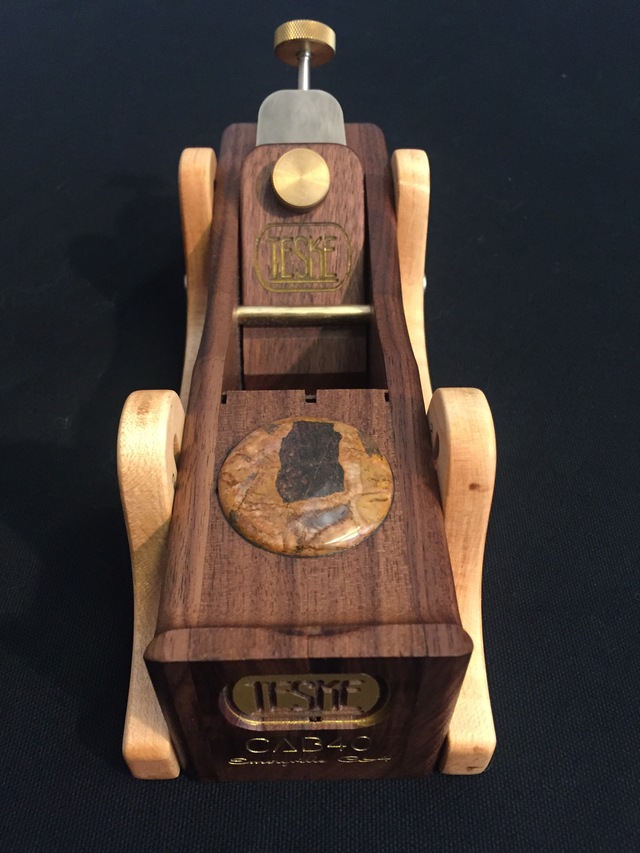
However when I put the cabochon on the hand plane … (hold on, let’s see if I can pull up an image)

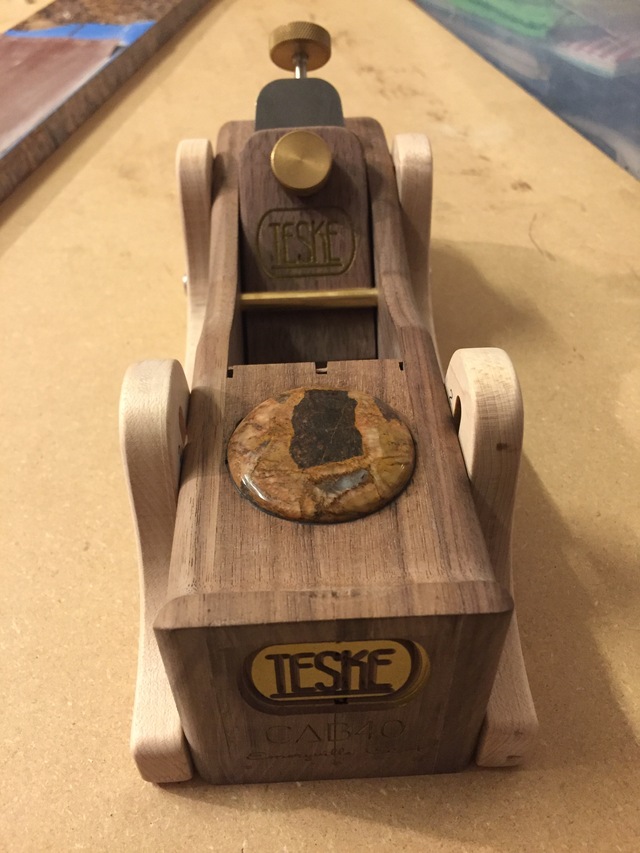
I like the cleanliness of Jim’s interface.
My first attempt (there will be more) could be cleaner. So I wanted to ask for some advice from the pro.
I remember that plane, totally awesome!
Getting the edges square in the "pit" up to the lip and perp to the sides is another issue I see for myself.
Perhaps the laser can do the pit properly if I get a decent scan (nothing I have has a regular shape).
Maybe clear epoxy with enough sawdust to hide any gaps?
Getting the edges square in the "pit" up to the lip and perp to the sides is another issue I see for myself.
Perhaps the laser can do the pit properly if I get a decent scan (nothing I have has a regular shape).
Maybe clear epoxy with enough sawdust to hide any gaps?

Beautiful box. Each time you do one I am amazed at how you always get the grain to stand out. Excellent job.

Looks great Jim, cool little hidden compartment - surprised there isn't one hidden under the cabochon as well ;)

Beautiful work, Jim. That’s a gorgeous chunk of acacia, and your finish shows it in its best light. I like the grooves around the perimeter and how precisely everything fits together.
More from Jim Jakosh