LIttleBlackDuck
in over 3 years
More from LIttleBlackDuck
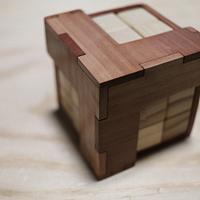
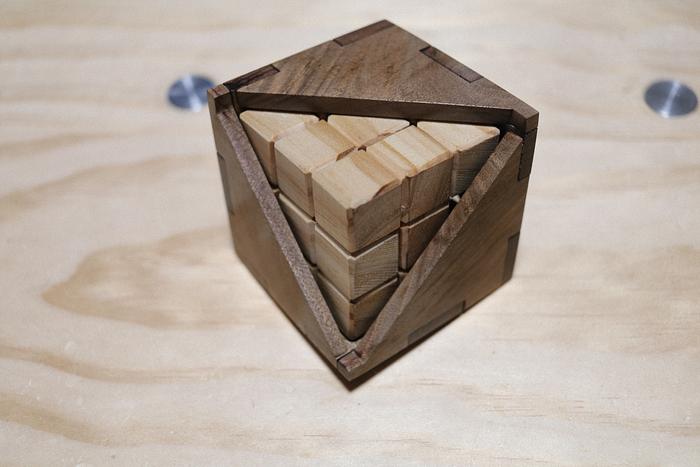
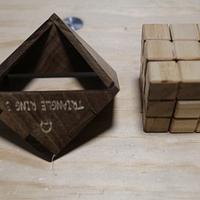
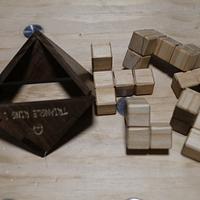
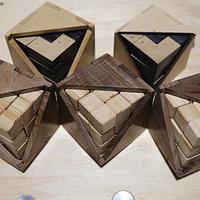
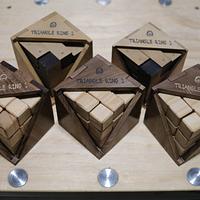
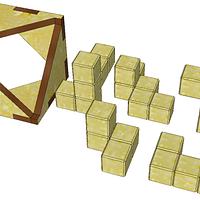
Triangle Ring 3 Puzzle.
The only ring I detected was the ringing in my ears as I tried to conceptualise the box enclosing this puzzle. Did someone say that puzzle word, “magic”?


%20-%20--NAS453BT3-Manuals-Alex-All-Myfiles--Sketchup%20Jobs-SketchupModels-Project-007853.png)


.png)
If your first cut is too short... Take the second cut from the longer end... LBD
13 Comments
Petey
Ron
If your first cut is too short... Take the second cut from the longer end... LBD
Cheers, Jim ........................ Variety is the spice of life...............Learn something new every day
Cool "box" design!
Only fill that I've found to have any reasonable contrast on walnut is pure white, usually need to make all the lettering fatter as well. Maybe a neon fill is available?
Splint, unfortunately not my design... no where smart enuff, I just plagiarise them.
The shape of the box had me going for a while... orient it in the X/Y axis and it was OK, ignore it and I lost track of which side had been sanded/buffed after the 1st. pass.
eRasmus, if you get the urge, you'd better start now... those little suckers grow up quicker than you realise... hell, soon they'll be older than you. Stockpiling sure beats the pre-Chrissy rush.
If your first cut is too short... Take the second cut from the longer end... LBD
I've never looked at your "4D PDFs" before. They're very impressive pieces of technical presentation.
The PDF's are the result of the SU model... The SU model has the solve/unsolve steps in scenes, however, not everyone know SU and those that do, don't carry it around in their back pockets.is easier to
If your first cut is too short... Take the second cut from the longer end... LBD
I thought you sold your puzzles. If you’re giving them away, I see why you prefer MDF for fiscal reasons (in addition to the uniformity you mentioned).
I like to use lots of scenes in my models. I don’t take care to add clipping volumes around them. I suspect more than one viewer has opened one of my models and hit the zoom-all icon and concluded I’m a total idiot when they see little clumps of geometry spread all over the place.
Rechecked you thread... sneaky, had me fooled at first glance...
Just as an FYI, I use this plugin.... has served me well... great for STL creation.
If your first cut is too short... Take the second cut from the longer end... LBD
Kerry - Working with wood, the smell the feel, is such a joy, its a meditation of sorts.
If your first cut is too short... Take the second cut from the longer end... LBD


