Been itching to use some glass bud vases I bought at WallyWorld a year ago. About $2/each.
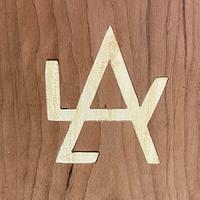
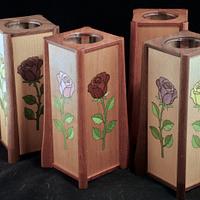
Had this Harvey Ellis design he did for Stickley back in the early 1900's from my previous shelf project. Nice thing is it works great for tall/narrow areas.
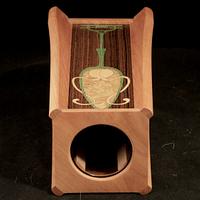
The design was laser cut veneers on 1/8" BB plywood, eight pieces about 8-1/2" tall by 2-3/4" wide. Trimmed to fit later on.
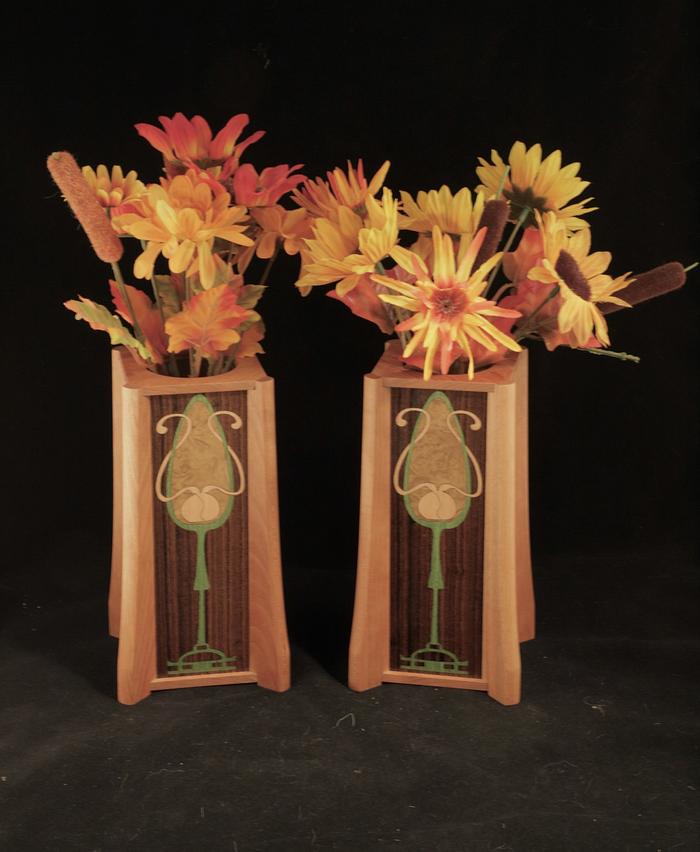
Vases are Cherry, 1/2" thick legs, 1/4" caps. 4-1/2" to 6-1/4" wide and 8-1/2" tall.
With the corners at 45 degrees and the caps inset I needed a good dimensioned drawing to get the numbers for cuts.
Corners begin with 2"x 8-1/2" cherry, nipped notches at the ends. Using the same miter gauge stop set for the 8-1/2" cuts, I used my box joint set and a 0.250" key stock piece to space it over for the notch on one end and a 0.375 key for the other end.
Made nine since I wanted a spare for setups.
FTG blade set to 45 for the long panel cuts, then a test fit to confirm the cap dimensions. These caps were squares cut a 45 degrees from some 1/4" stock. Keeps the side grain looking consistent on all four vase faces.
Lastly the corners were profiled with a 3/8" radius bit and template for the curve.
Glue up required several stages and a couple of clamps.
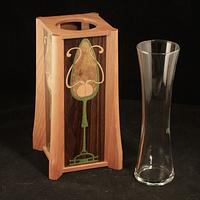
The top cap has a laser cut hole, 2-1/4" diameter that just fits the body of the glass vase (vase installed).
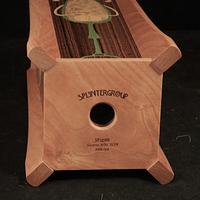
Base has a finger hole to allow the glass to be pushed out.
Some plastic flowers from the wife's "get rid of" collection to inform potential customers of what the 'ell they are looking at.
Yeah, I'm in love (bromance) with lasers. For veneer, it can be done even with a 5 Watt.
Petey, the finish in the photos is neutral danish oil on the cherry. It seems to give it a head start on the red, but will allow it to change normally as the wood ages.
For the veneer, I always now test for what finishes do. That background veneer, the Lauro Preto, will turn mushy dull with any kind of oil. I used spray shellac to seal it all first. That stuff seems to always do best with popping grain and color anyway. Next is something more substantial like lacquer or poly on top of that.
These are excellent vase mounts, really beautiful looking. I'm sure these won't be in inventory very long. Thanks for the dimemsioned drawings, think I'll give this a go, but first I'll need to get more clamps.
All clamps on deck, all clamps on deck. Loved that pic.
I always marvel at how you come to terms with what you are trying to do, and how you figure it out. Doesn't seem like you always use the same pathway to get there, but get there you do. Like a dummy I've always been a more tried it this way, and uhhhh, well lets try it thisa way....
Beautiful to look at is the end result, and locally I am not sure if dropping Harvey's name will have the same result on your bank account as it would if you got yourself hooked up with a New Yark fancy schmansy Booootiquey place.
What's with the "Elysian Space dust IPA" tag at the end? Is that your brew of the week club?
George, I'm not a fan of those fields at the end of a project post. I see how they can be useful for others, but when it comes down to "project tools", there are just too many used to really give a shout out to them all. So this time I though about which tool was most helpful. Not in the actual standard cut, sand, finish steps, but in the design and layout. Computer? Yes. Pencil and paper? Yes. Brain lubricant? YES!
Always good to sit back for a project noodling session with a cold brewski and peruse the intertubes or old magazines looking for tidbits.





.jpeg)