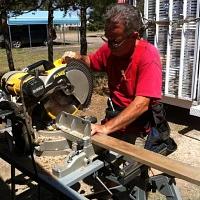
Brian
in almost 12 years
More from Brian
Pallet wood lamp
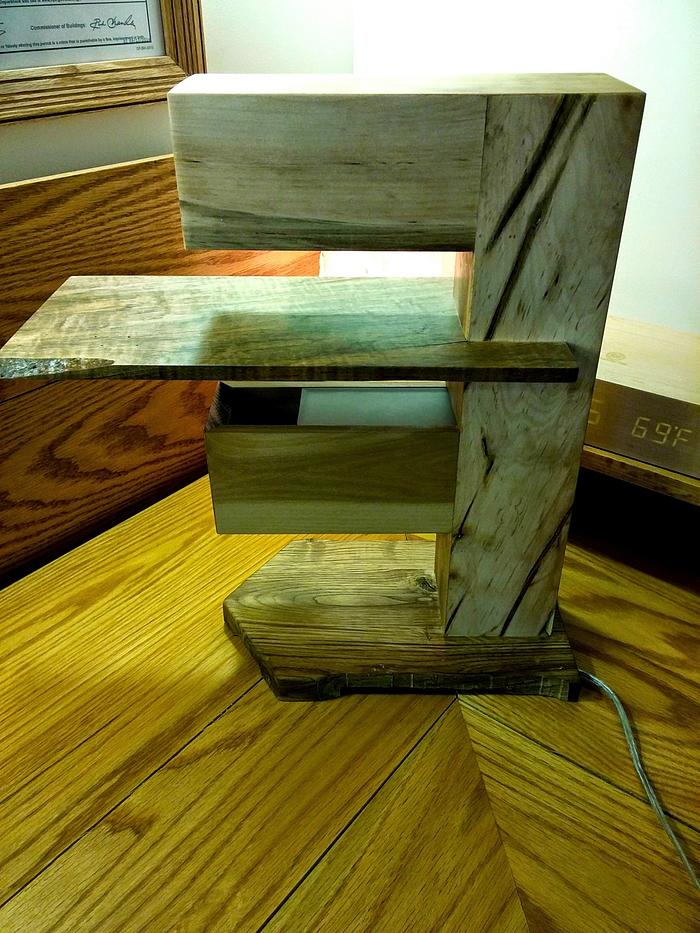
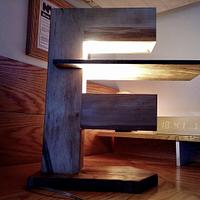
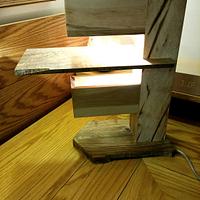
Here’s my entry for the pallet wood competition. It’s a lamp inspired by Frank Lloyd Wright’s Taliesin lamp. This is not a reproduction, in fact there is little in common with the original other than the concept of the boxes shining onto a plate. And of course they’re both made of wood, but the original was plywood. This one is pallet wood.
All joints are mitred. In fact I messed up the end caps on the light boxes. I mitred all 4 sides when it should have been 3. I made lots of mistakes, actually. Nothing is plumb, the tower is twisted and I’m amazed that despite all that I was able to get the joints as tight as they are. Putting the top box on the tower required a lot of clamps to pull things together.
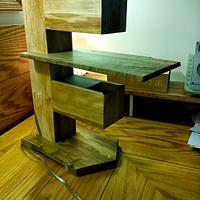
It was assembled in 5 components. I made the 2 boxes, the plate, the tower and the base all separately. The top box has the top of the lamp, which overlaps the tower to make the top seamless. The tower was made of 3 pieces so the front would be open for later when I put the light boxes on. After assembling the light boxes to the tower I wired the lamp sockets and installed the bulbs, which are LED. My wife bought them for a lamp but never used them because they don’t dim. I figured they may never get changed so I better use long lasting ones!
After that I made the tower front pieces and glued them on. Then I finished the base and attached that. Then last came the plate.
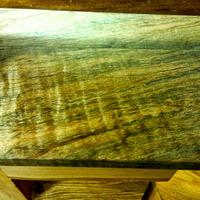
I don’t know what kind of wood that plate is made of but it’s just spectacular. These pictures don’t do it justice. The grain has multiple colors – reddish brown, tan and green – and there is a figuring that runs cross grain that shimmers in the light. When I saw that I knew that would be the piece for the light to shine on.
I’ve been wanting to build a Taliesin lamp for a long time. Still do. Even though this is way different than the original, I was able to solve some issues that I think will be in common. One of them is the blinding point of light that you get if you accidentally glance directly at the bulb. For the bulb facing up, I wedged a piece of sanded plexiglass over it flush with the top of the box. You may notice it in over of the photos. It works great to diffuse the light without reducing it much.
Right now it’s just finished with Danish oil. I sanded the crap out of it, sanding and scraping all the components before assembly, then lots of sanding after. I plan to wax it as well.
That’s about it. Thanks for looking.
Losing fingers since 1969
9 Comments
looks good brian keep it up
jim
Brian thats so cool. You did a great job! It does look really good and i dont see your mistakes as you stated.
Jeff Vandenberg aka "Woodsconsin"
Brian, great job on the lamp.
I’m a fan of the Frank Lloyd Wright erra, some of his creations are way out there.
Jaybird
great job , keep the chips flying
Wheaties
Thanks guys. One thing I forgot to mention was that the sides of the base are the skid cutouts. I left them rough to give a little of that pallet character. It may be hard to see in the pictures.
Losing fingers since 1969
That’s very cool! I like your interweaving of your materials, old and new.
As you’ve seen I make a point of trying to repurpose as much as I can as well. . sometimes to the point of ad nauseum.
Lol, love your hinge find!
Take care
PS You never know about rampant RPG use! Lol I’m definitely not a redneck, just love a great joke!
Steve Tow
LOL it’s not quite an RPG-proof lamp, but if I keep repeating it over and over at least a few people will believe it. :-)
Losing fingers since 1969
Wow, you put a ton of work into it but your hard work paid off. I love the different colors of wood in that one piece. Great Job!
Cool idea doing a repro of a frank Lloyd write lamp,nice work Brian.
woodworking classes, custom furniture maker


