Terry
in over 11 years
Inlay using coffee grounds...
I’m very new to this forum and I’m not to sure if this is even in the right category, but wanted to share a little test project I did using coffee grounds as inlay material.
A while back, another wood worker had come to our shop to have me use our laser to add his design (deep engraving) in his piece of walnut, (I use the laser like others would use their CNC or routers). I asked him what he was going to add to the new holes I had just made and he said small rocks, glued in place with CA glue and then sand smooth. I was very intrigue, I had heard of it but had not seen it. He said “You can use almost anything you want for inlay, brass shavings, stone – heck, you can even use coffee grounds if you want!”
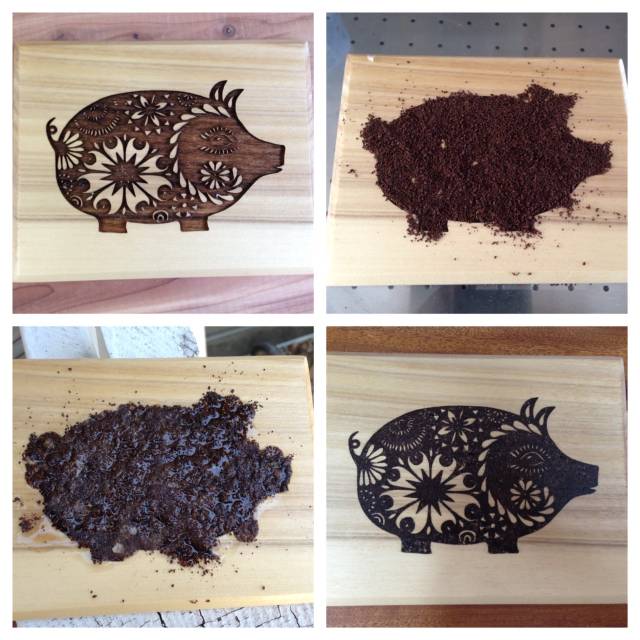
Well, that was all I needed to hear to give it a go! I had wood scraps, coffee grounds and CA glue, all I needed to do was find a test design and engrave it deep enough to hold the grounds. I found this cute little pig design on the web and gave it my best.
Top left is my engraved image, top right is dry coffee grounds.
Bottom left is coffee grounds with CA glue, bottom right is the finished design.
One word of advise when using CA glue, make sure you have great ventilation because once it hit the coffee it was fuming big time! And while sanding – it smelled so good, just like a coffee house!
16 Replies
That’s very cool. Never thought of coffee and wood together besides the coffee table :)
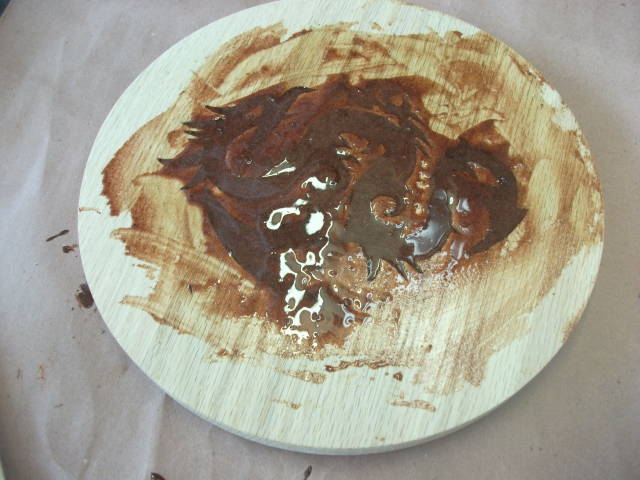
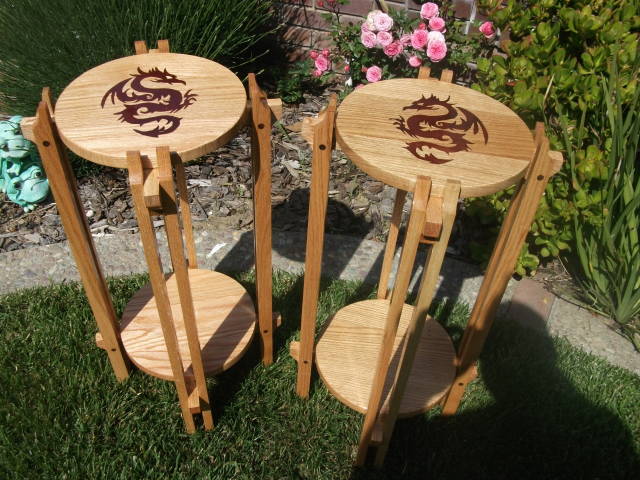
I did an inlay mixing saw dust I save from time to time.
Here I used padauck sawdust.
Now you got me thinking outside the can… coffee!
Abbas, Castro Valley, CA
question … “which came first, the glue or the grounds”? Did you mix the glue and grounds and put it on the wood or ….
JAGO - just a grandma’s opinion
MsDebbie – I just added the CA glue to the dry grounds. I was using thin set. After sanding it smooth, I realized I probably should have covered it with waxpaper and added some weight to it (it had a couple of pits). But just added more coffee grounds and a little more glue, sand smooth and done. Always fun to experiment!
Ianwater – Those are beautiful stands! I love the contrast!
I really like the unexpected. This is a little dog tag I made for my nephew using stone dust and CA glue on Ebony. 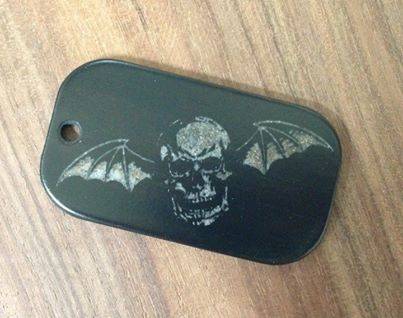
and this was bronze powder and CA glue in Cocobolo
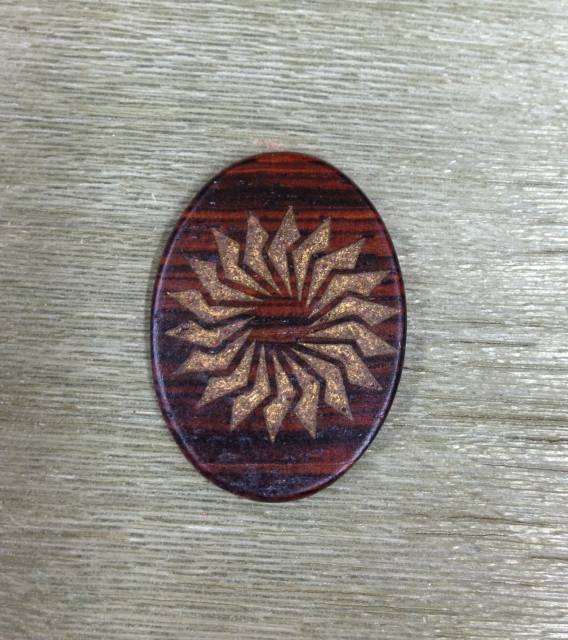
That’s what I love about woodworking and woodworkers. There is always something new to learn. Thank you for sharing. This is being filed in my mind palace…
This was my very first experiment with stone powder (rose quartz). I wasn’t too thrilled with it because the stone powder is like talc and my CA glue wasn’t sinking in. But I add what ever I want to inlay to the void first, then add the glue.
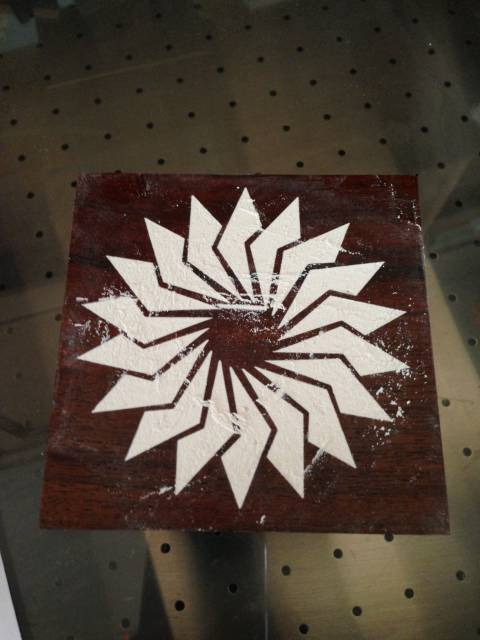
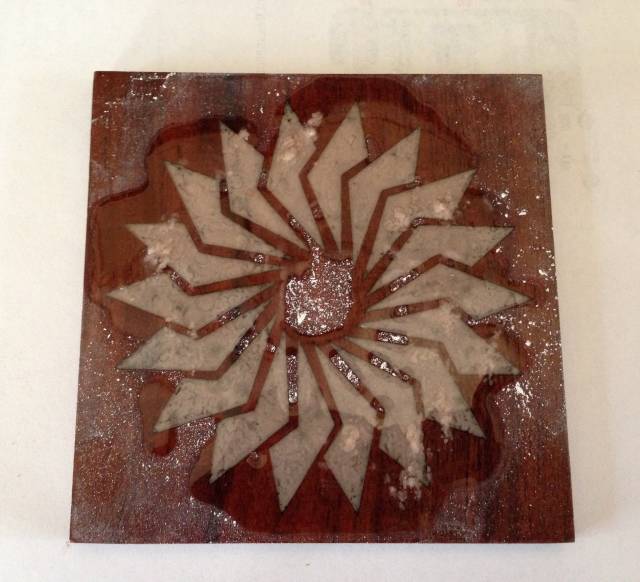
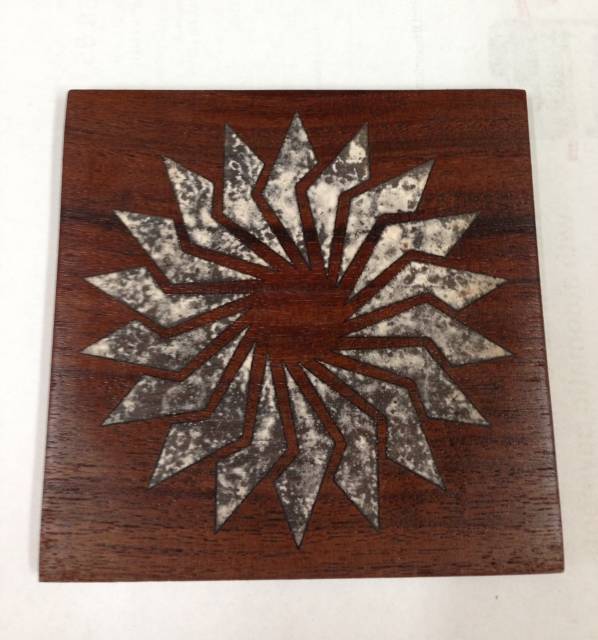
I wanted to try my hand at some inlays but I don’t know where to start. It seems like everyone these days has some sort of a laser engraver or CNC. I have a pocketknife… >.<
+Walnut
My husband still uses hand gouges and chisels – he’s a wood carver and does things the more traditional way, but then I could never achieve the detail in engraving that he can give with hand carving. I’ve seen several videos on router inlay – very interesting!
We do a lot of things, not because we know what we are doing, but because we don’t know we can’t!
Terry,
I am amazed at what you have done! truly beautiful.
I am going to borrow your idea and also your last pattern if you don’t mind.
An idea flashed through my mind and I want to toy with it a little.
Walnut: Pocket knife, dremmel, palm router. gouges and chisels whatever works. They will all lead you somewhere.
I used a knife to define the edges and hogged the inside with a palm router.
Abbas, Castro Valley, CA
You know, that dog tag is something else.
I came back to your post several times and have to say I like it.
Abbas, Castro Valley, CA
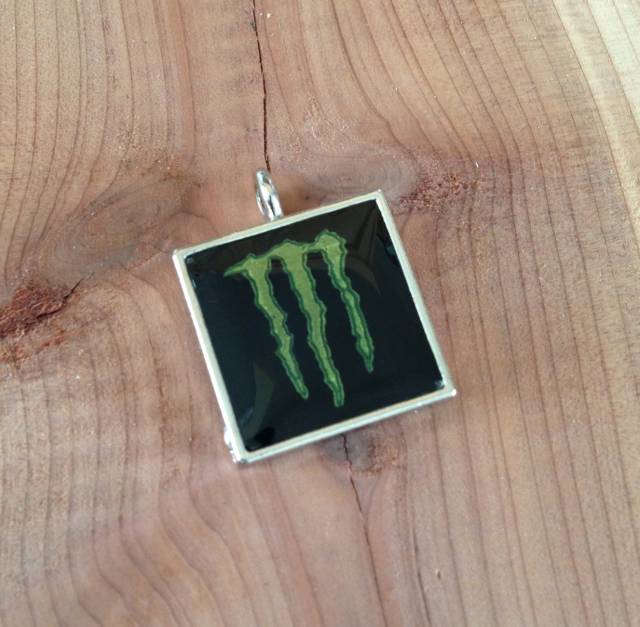
Thank you, it really is a lot of fun to experiment. I love to inlay and I try several different mediums on furniture to jewelry. Nothing is safe or off limits. This is a small pendant for a cat that I made and used fingernail polish for the inlay and then topped it with a jeweler’s epoxy.
Awesome tutorials here! More for the vault, which is filling up fast.
Losing fingers since 1969
This looks like an awesome method but I have to ask a stupid question (well it feels stupid to me :)). What is CA glue? I usually use good old wood glue when I’m using veneers to inlay.
Anna
CA glue is more or less superglue. I am curious where you can get it at a good price in the bulk needed to do some of these inlays.
+Walnut
Very cool! I have no shortage of coffee grounds…why the CA glue though and not something like epoxy?
Rob, Sault Ste. Marie, Ontario
Yes CA glue is like super glue, it is Cyanoacrylate. It comes in super thin set, extra thick and gap filling. We use it a lot for repairs and I like it for inlay. You can also use it for a finish on turnings, like for pens and rings.
Where we got ours was here online: http://www.hobbylinc.com/ca_super_glue
Great looking projects Terry and Ianwater too. I don’t much like those super glue fumes, but you can sure do some neat things with it. I was thinking of an inlay coffee cup filled with coffee grounds. A cup of coffee that is undrinkable !
Mike, an American living in Norway


