


Share your craft projects
Make new craft buddies
Ask craft questions
Blog your craft journey

Brian
2030 posts
and
31 followers
in almost 12 years
in almost 12 years
Interior door making #2: Constructing the door
This is
part 2
in a
9 part
series:
Interior door making
Today I built the door. I’m exhausted so I’ll keep this short and let the pictures do most of the talking. It wasn’t just door making today. I had a drain so clogged that I broke down and called a plumber. Long day.
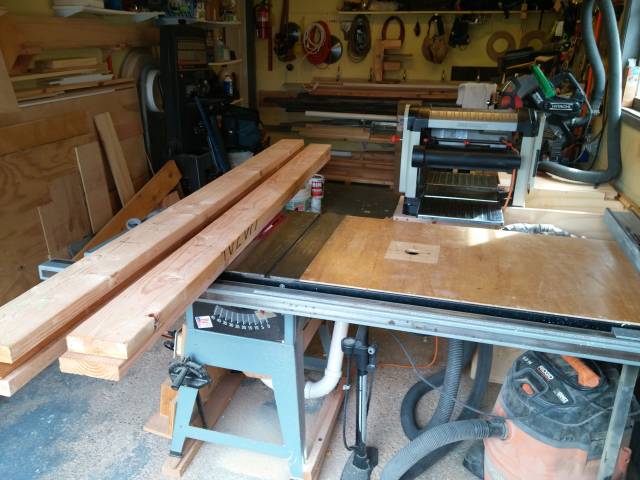
Anyway, I started by planing my 2×6s down to 1-3/8" thick. I use this standard thickness so the hardware will fit.

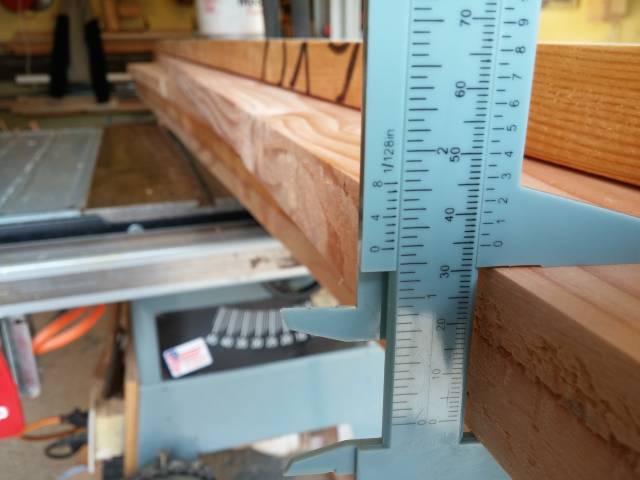
I went a bit over 1-3/8, but no big deal. My harbor freight calipers do the trick well enough. There will be plenty more shaping to come.
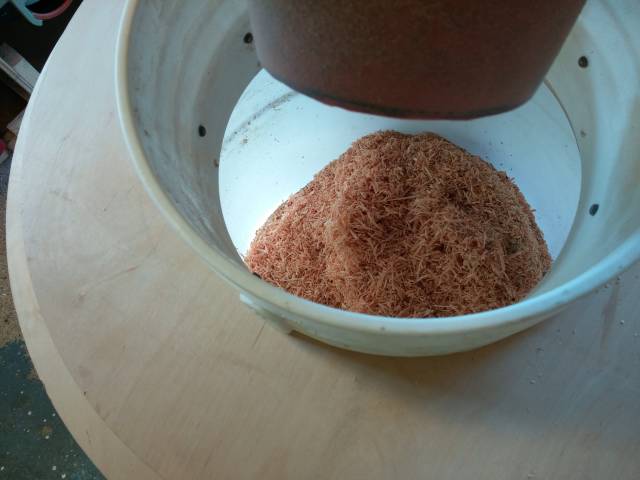
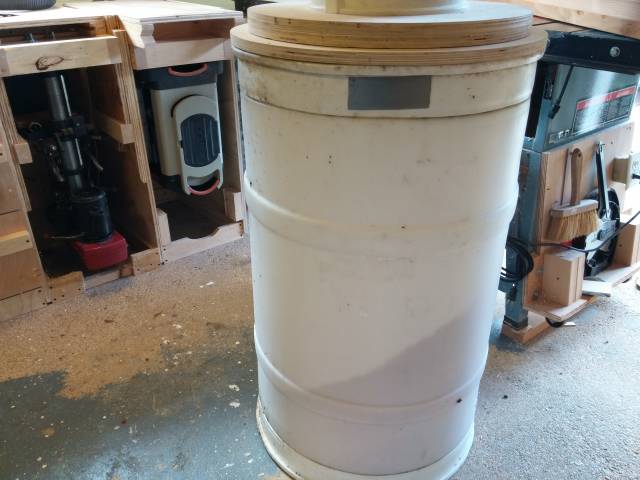
I filled up my barrel about 25% full with shavings. I made an adapter for my orange cone/bucket separator. Works great. No clogs on the planer, good suction and I don’t have to worry about emptying the little 5 gallon bucket every 5 minutes.
Then I jointed the 2bys using my jointer sled.
Then I went to my computer and printed out the plan. I have an excel spreadsheet that spits out all the dimensions based on the width I want.

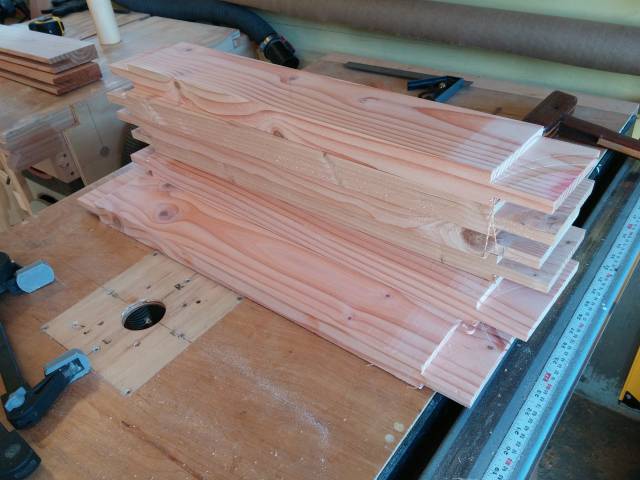
Then I cut all the rails to length. In this case, I’m making a 30" door and I decided to make it actually 30" wide (unlike store bought doors which are up to half an inch narrower than their nominal width). My doors have 2" tenons on the rails. Very sturdy. So the rails must be cut to 26” in length since both rails and stiles will be 4" wide.
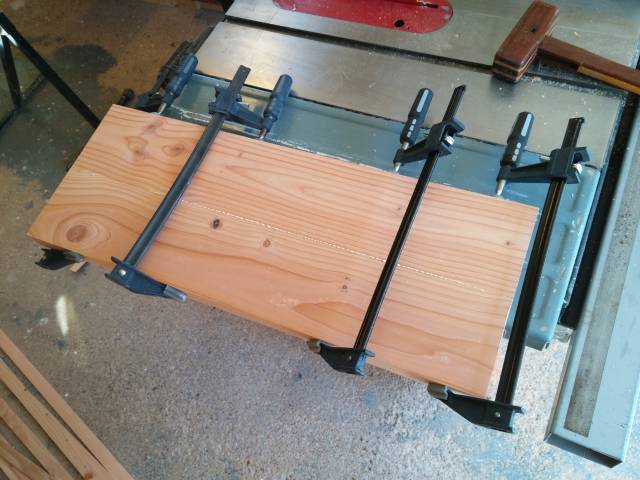
Next, I glued 2 rails together to make the bottom rail, which must be larger for both aesthetic purposes and so it can be cut to height without compromising the 4" sizing. It will ultimately end up being about 5-1/2" tall, and after jointing I was shy by maybe 1/4". I his I could have lived with that, but why not go for the best I can do?
Next I dadoed the stiles with a continuous 2″ × 1/2" mortise. I did this in 2 passes of 1" each using my stacked dado.
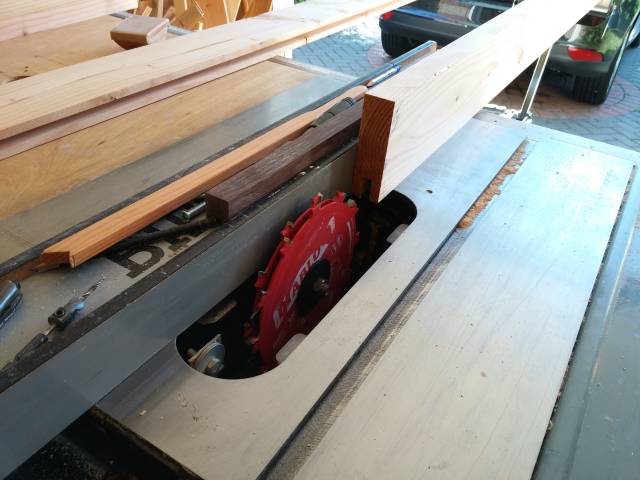
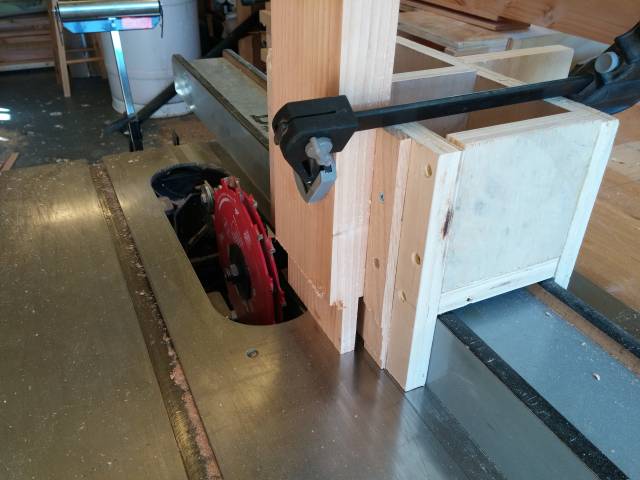
Next I set up my tenon jig to cut 1/2" tenons on all the rails. Here’s where I ran into some problems. I have not made a zero clearance plate for the dado blades. On a couple of cuts, the rails fell slightly into the table throat. That caused some whackiness with the tenon shoulders. I’m going to have to do some extra filling when it comes time to finish. Oh well. Stuff happens. I am sure I can fix it by filling. I’m just not sure if the filler will last. We’ll see.
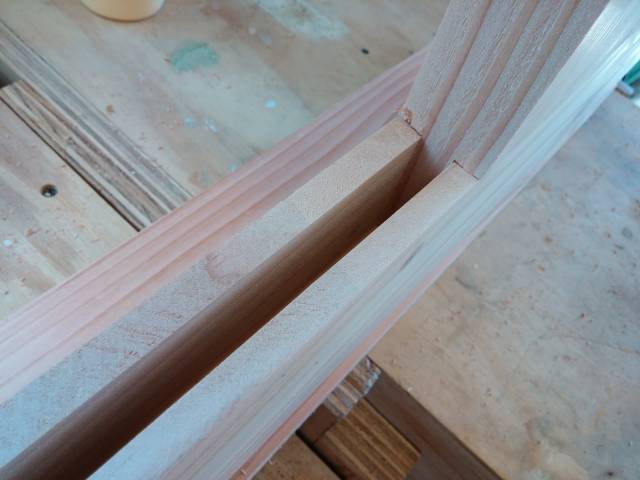
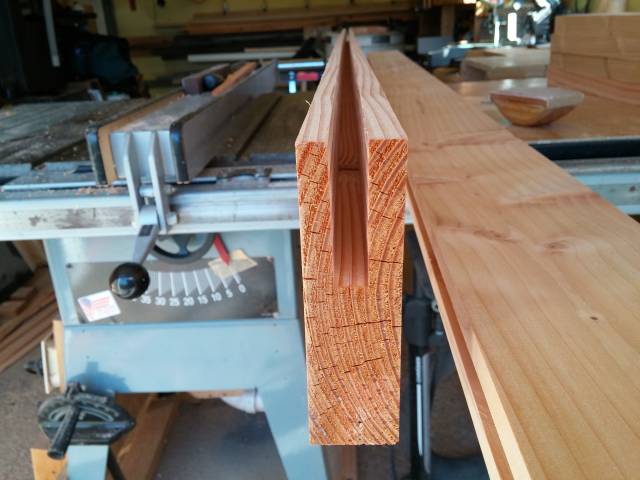
Then I lowered the blade to 1/2" height and cut the grooves that the panels will sit in. The middle rails get grooves on both sides, the top and bottom on only one side.
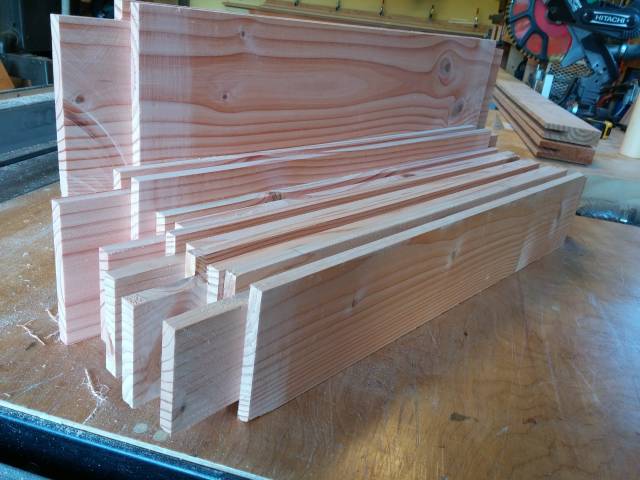
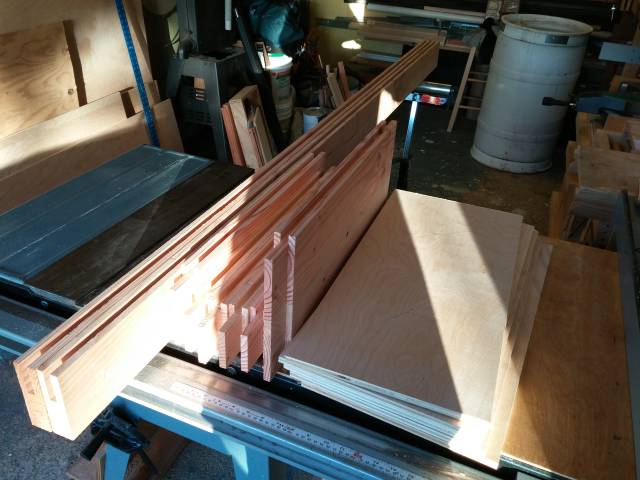
Next I cut the panels from 1/2" plywood. I cut them slightly shorter than 26" so they would have room to bounce around. The height is 12" and since they are placed inside 1/2" dados on the rails, 11" will be exposed. The exact height also helps when I go to assemble as they will also act as spacers.
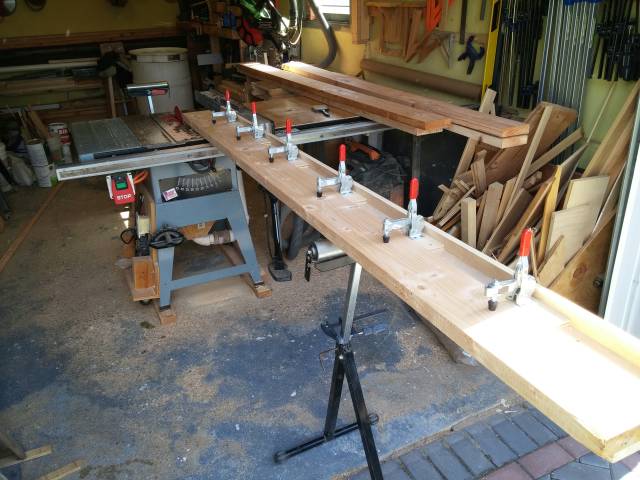
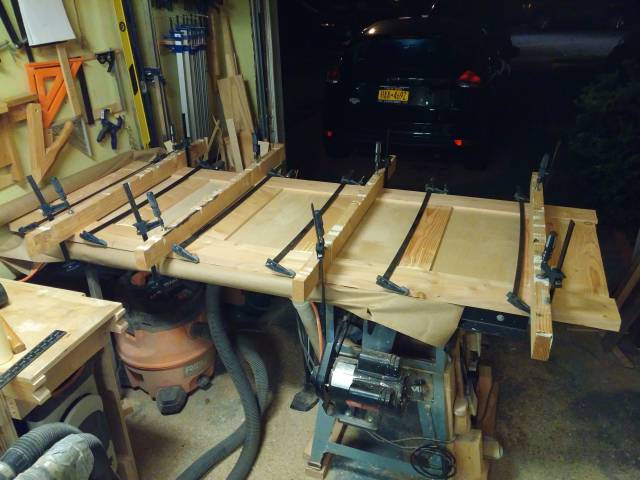
Next I assembled the door. No pictures of that unfortunately but I was frantically gluing and working against the clock. To assemble, I laid one stile on the floor with the dado up, them spread glue on the tenon of the bottom rail, inserted the rail into the stile, then checked for squareness using a framing square, then put a panel, then repeating the process for all the other rails and panels until they were all in. Then I spread glue on the other ends of the rails and laid the other stile over all the rail tenons and panels. I beat the stile down with a rubber mallet to get it tight. Them I laid paper over my saw table (flattest surface I have) and put the assembled door there. Then I put a clamp width wise over every rail. Them I clamped the whole door to the table using cauls. This is very important. When the glue sets, that’s the shape so of you want the door to be flat you need to clamp it to a flat surface.
And that’s it for today. Tomorrow night of I have time, I’ll start sanding and filling. Good night!
Losing fingers since 1969
9 Comments

Thanks for the detailed blog Brian.
Enjoy sanding :)
Abbas, Castro Valley, CA
LOL sanding. Actually it doesn’t take that long. You’ll see in the next installment. :-)
A couple of thingsi forgot to mention.
The top rail is over-height so I can trim it to exactly 4" later.
Before I clamped, I trimmed off most of the excess stiles so it would fit on the table.
And even though I screwed up some of the tenon shoulders, I learned today how to better cut the tenons to avoid as much tear out as I usually get. Slow, slow, slow to cut to mimic a crosscut blade (more teeth, more and smaller cuts).
Losing fingers since 1969
I have the same jig you used, I never liked it.
I switched to the dado stack but with a miter gauge and the piece on the tablesaw flat. But I do get extra work with a shoulder plane to smooth all the ridges I get from the stack.
On the project I am working on, I cut all the tenons on the bandsaw. a little easier to handle. No tear out. Pretty clean.
Sanding and finishing is my nightmare. I try sanding and pre-finishing all the pieces before glue up but I still have issues here and there. It’s never fun for me.
Are you building one door at the time?
Abbas, Castro Valley, CA
I can only do one at a time because I only have one flat table. I have done 2 at one before when the doors were the same size. I attacked them on top of each other when I clamped them and put cauls on the edges so one set of clamps could hold both. I have three 24" doors to make so I may try that but it’s a bit risky because of all the time it takes to glue them up. The first one assembled would be set by the time I Finnish the last one and that could cause problems. Maybe if I get a helper I can do that. But yeah, a production run would be a lot faster because of all the set up time. I learned the hard way that you need to glue these things up right away or they won’t go together. It doesn’t take long for the internal moisture to start releasing through those deep mortises on the stiles.
I have to say, though, once they are glued they are pretty good about keeping their shape. The 2i just hung sat in my garage unfinished got a whole year. They racked in the winter and came back to shape in the summer. I sealed them with BIN and, based on the older ones I made, I’m not expecting any issues.
I used to cut my tenons horizontally but it’s a lot more work, as you said, and not as clean. I think I’ll make a throat plate this week and that should solve my issues with the shoulders.
Sanding these things is not that bad. You’ll see in the upcoming blog.
Losing fingers since 1969

Brian it really going to look good
jim
You’re not crazy at all. I’ve started making a few interior doors for my home as well for the same reasons. As I’m putting them into rooms with stained red oak woodwork, I’m using red oak. For stability and looks, I used quatersawn red oak. Here’s a picture…
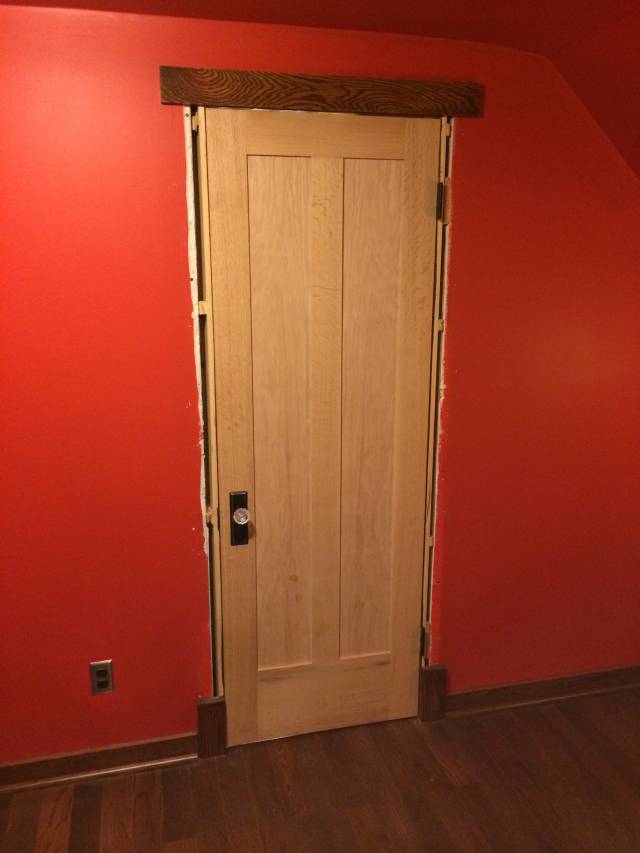
I am further inspired to try my hand at sash windows, emboldened by this excellent little book, http://lostartpress.com/products/doormaking-and-window-making . Looking forward to the rest of your build!
Douglas from Chicago - http://dcwwoodworks.com
Beautiful door! Since my doors are painted, I can afford to screw a few things up. Yours require more precision. I want to change the entrance to my house using mahogany for both the door and the frame that will hold the lights and the door. This is good practice for me. I did do one door with glass. It was exactly the same process I’m doing here but with removable stops so the glass can be replaced if it ever breaks. Here that door: https://woodworkingweb.com/creations/899-14-months-to-make-a-door-and-still-not-done
I’ve also thought about making windows and I considered taking on a job to make 2 pivot windows for someone at my wife’s office but she convinced me not to do it (some kind of woman logic LOL), but I did have the whole thing designed and ready to go. They were interior windows and so of course much more forgiving than exterior ones subjected to the elements. I’d still like to do that job.
Losing fingers since 1969
Brian that is a very very nice door good job
jim

Very cool Brian! Great discription.
Jeff Vandenberg aka "Woodsconsin"