


Share your craft projects
Make new craft buddies
Ask craft questions
Blog your craft journey

Ron Stewart
953 posts
and
24 followers
in over 3 years
in over 3 years
Wenge and Zebrawood Speakers (Curt Campbell's Invictus) #4: Driver Installation and Tuning
This is
part 4
in a
6 part
series:
Wenge and Zebrawood Speakers (Curt Campbell's Invictus)
...
-
Back Panel Construction
-
Driver Installation and Tuning
-
Veneering
...
- Back Panel Construction
- Driver Installation and Tuning
- Veneering
Disclaimer: There is no woodworking content in this post. It exists to show the final pre-veneering steps of the build--the steps that turn cabinets into working speakers. Maybe it will be interesting to some readers.
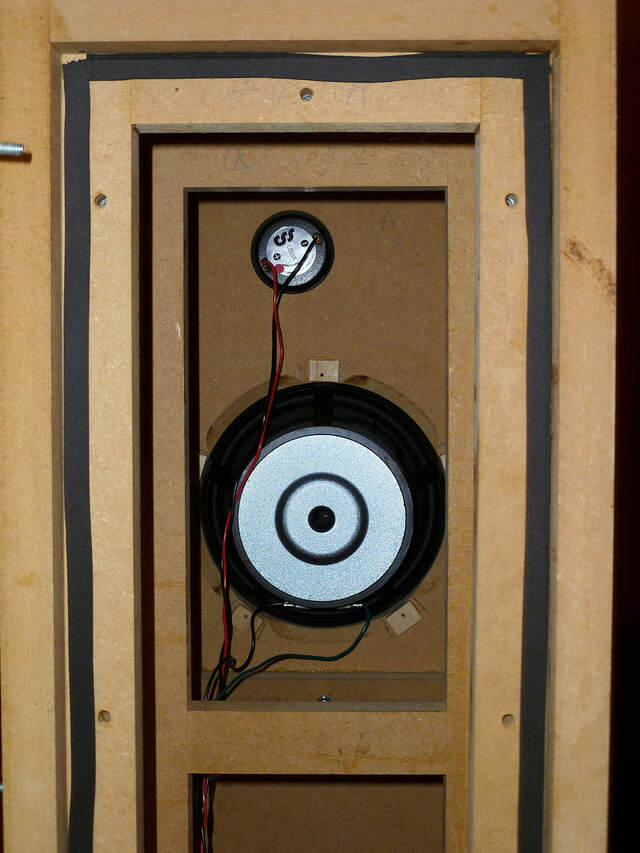
With the cabinets complete, all I had to do was install the drivers, assemble the crossover (the electronics that divide and route signals to the woofer and tweeter) and attach it to the inside of the back panel, wire everything up, and add polyester "stuffing" to fine-tune the sound.
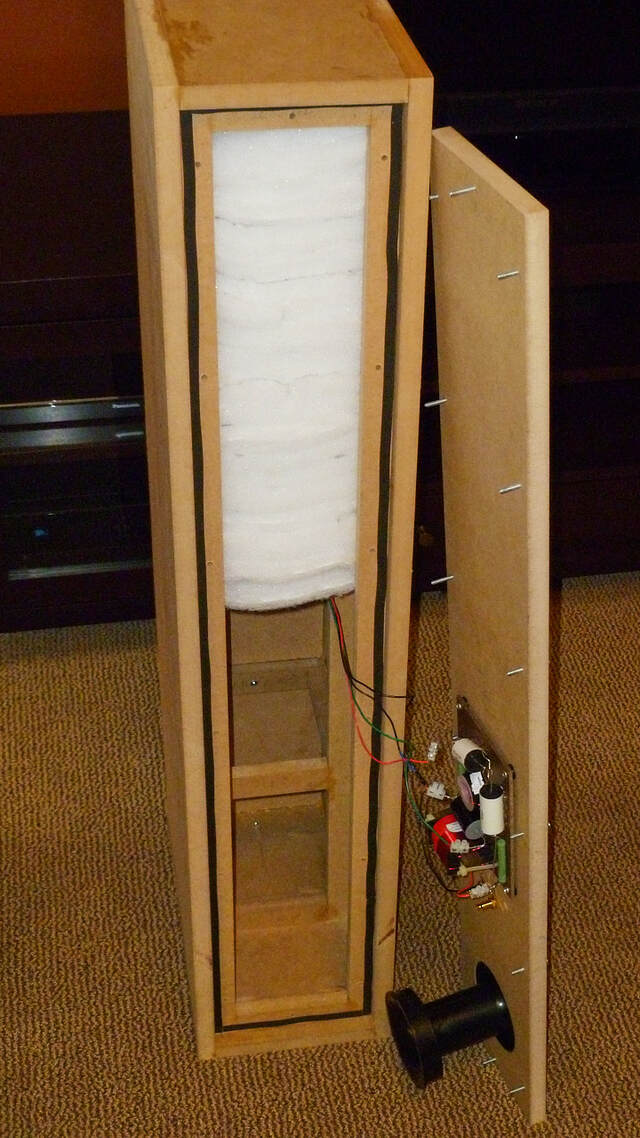
Here are the drivers and wiring in place. You can also see some sticky rope caulk that seals the cabinet when the back panel is in place.
With the cabinets complete, all I had to do was install the drivers, assemble the crossover (the electronics that divide and route signals to the woofer and tweeter) and attach it to the inside of the back panel, wire everything up, and add polyester "stuffing" to fine-tune the sound.
Here are the drivers and wiring in place. You can also see some sticky rope caulk that seals the cabinet when the back panel is in place.
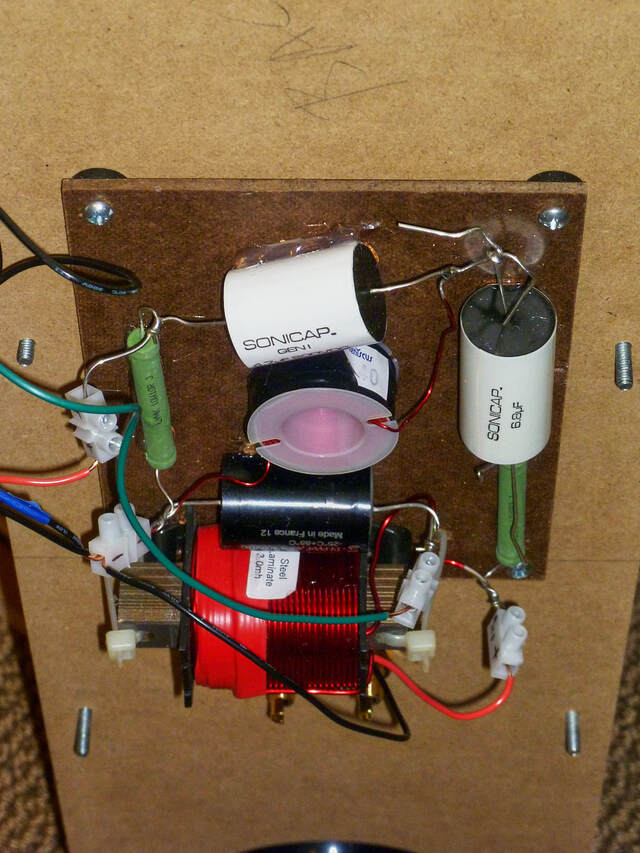
Here's the crossover on a piece of hardboard. The hardboard is screwed to the back panel with rubber washers between the two to damp vibrations. Some guys build crossover boards that look like works of art. I'm not one of those guys. :-)
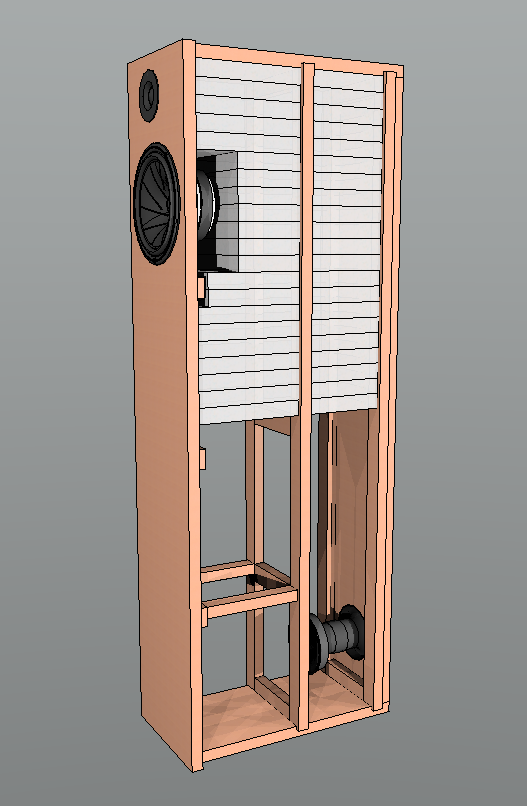
Some types of speakers are left empty inside. Others have some amount of polyester stuffing (the stuff you buy at the fabric store for pillows). In transmission line speakers, the amount and location of the stuffing is critically important. For this speaker, I used 1" thick polyester batting. It has a constant density and cuts neatly, so it's predictable.
The kit instructions weren't very specific about how much stuffing to use. I added the specified amount (filling the entire cabinet), and the speakers sounded a little anemic (the bass was weak).
I consulted with some really smart guys (including the designer) on a speaker building forum, and they prescribed an approach. I needed to cut sheets of batting and stack them at the top of the cabinet, leaving some clearance behind the woofer. Then I'd perform listening tests (I don't have measurement equipment) and add/remove sheets as needed until the sound was right.
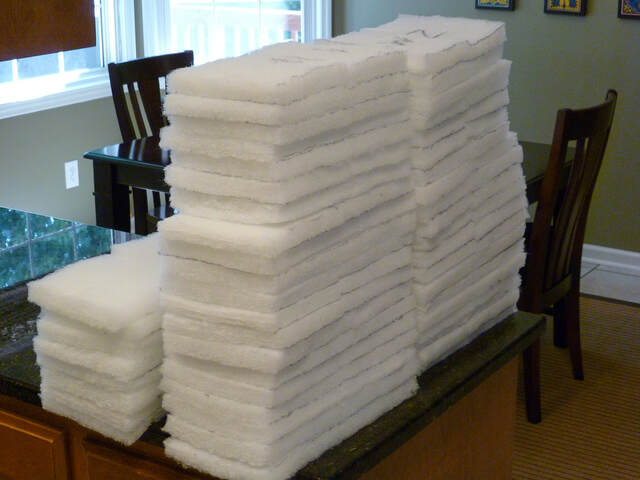
Here are the cut sheets of batting, ready for installation, along with some spares.
Here, I've started. Friction holds the batting in place pretty well.
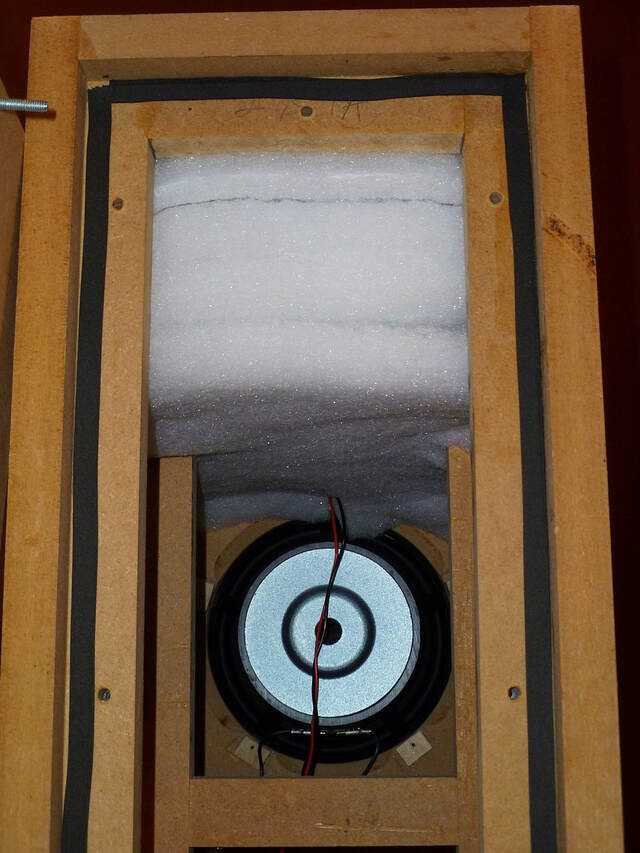
Here, you can see the smaller pieces that leave space around the woofer cone.

Here it's all in place. You can't see it, but the bottom-most piece is resting on a ladder brace crossbar. That keeps the whole stack from sliding down.
It turned out that this recipe worked. The amount of stuffing made a huge difference, and the amount shown here worked well with these speakers in my room. Now I was ready to make the cabinets pretty (and much later on, add grills).
2 Comments

not posting bud but im here with ya following this.
working with my hands is a joy,it gives me a sense of fulfillment,somthing so many seek and so few find.-SAM MALOOF.
Thanks, pottz. I appreciate it.