


Share your craft projects
Make new craft buddies
Ask craft questions
Blog your craft journey
kiefer
470 posts
and
61 followers
in over 12 years
in over 12 years
52-36 piano box part one #2: 52-36 piano box part two
This is
part 2
in a
2 part
series:
52-36 piano box part one
-
52-36 piano box part one
-
52-36 piano box part two
- 52-36 piano box part one
- 52-36 piano box part two
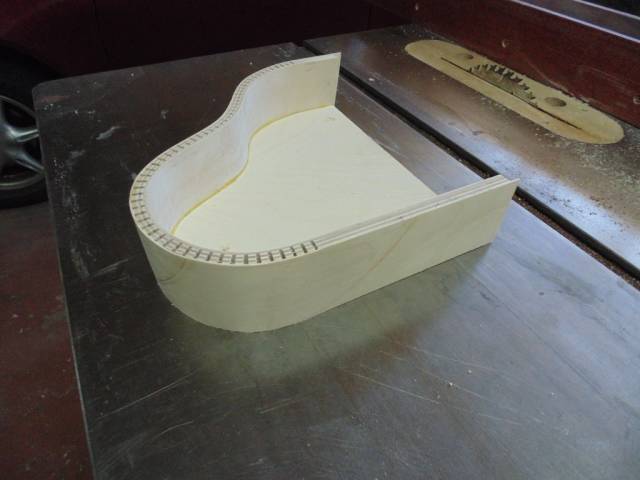
Here is part 2 of the box build and I have made the change from 1/2" ply to 3/8" ply for the sides and I think it will give a more pleasing and balanced look to the design.
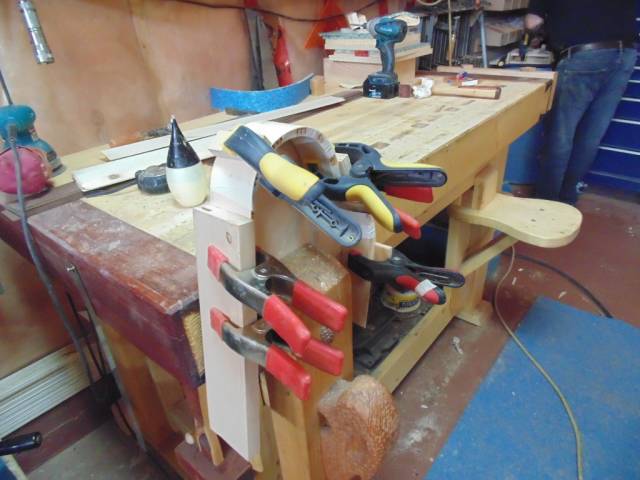
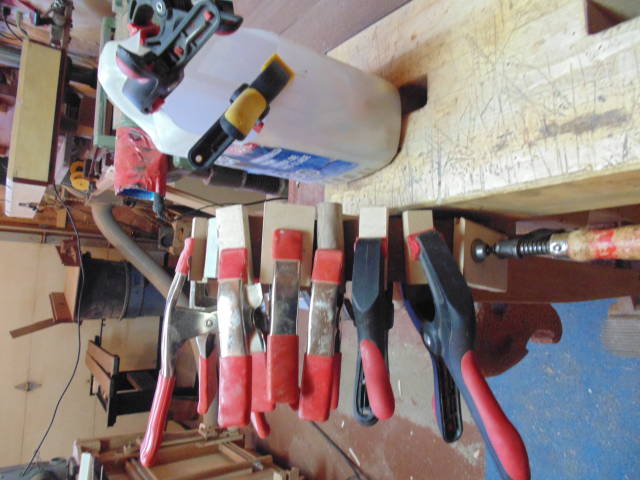
The box is out of the jig and got dropped so in reverse and rip off the sides and make a new one and start over no big deal and while I was at it I made a second just in case .
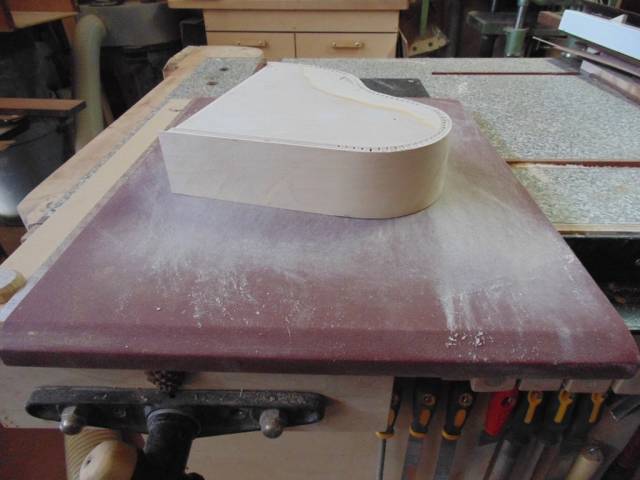
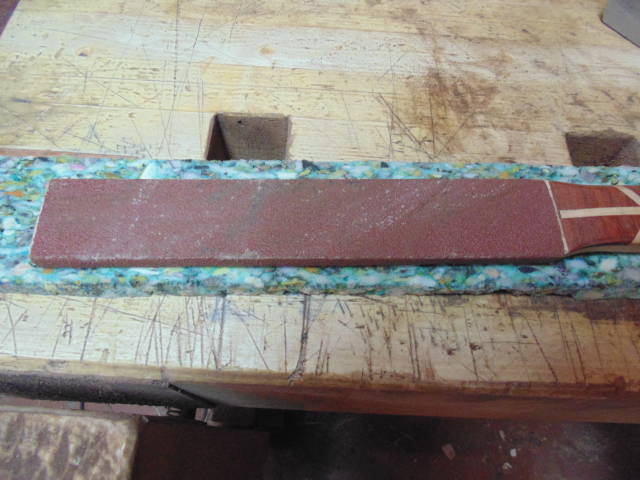
This is my what call my flat sander which is a big sanding belt fastened to a nice flat MDF board .
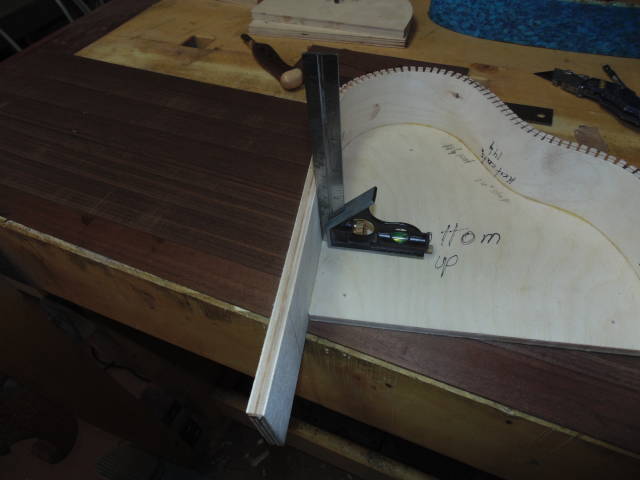
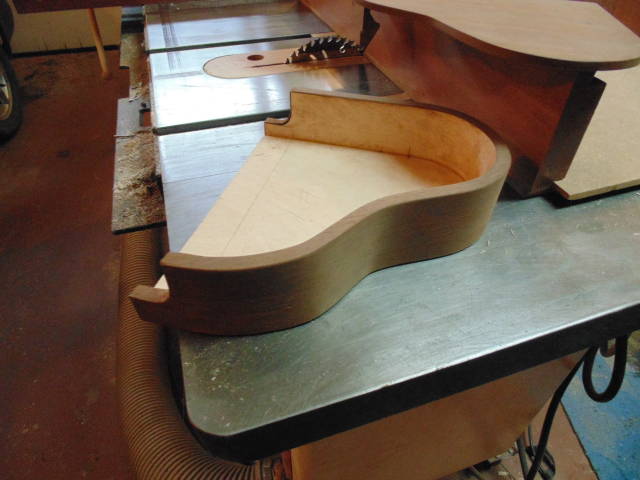
Everything looks pretty square but the bottom had slipped down just a little but no big deal it all cleaned up and redy for the first birch veneer on the side 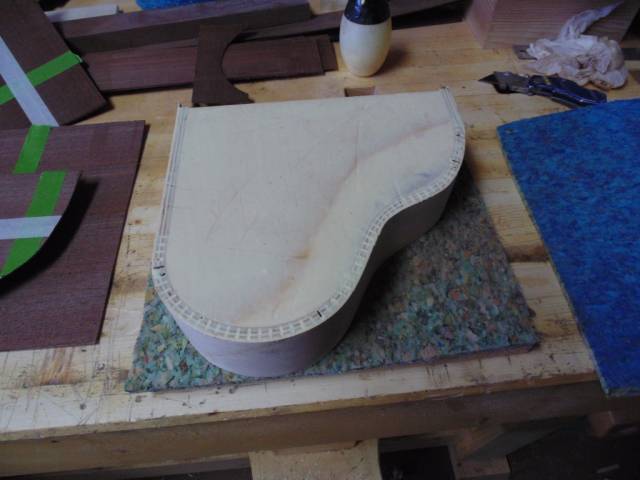
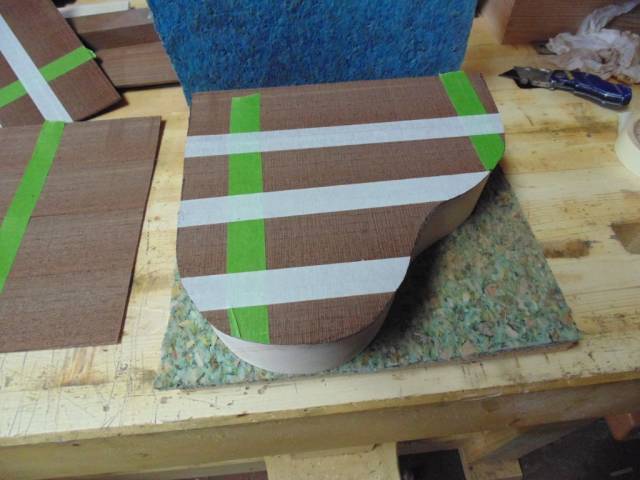
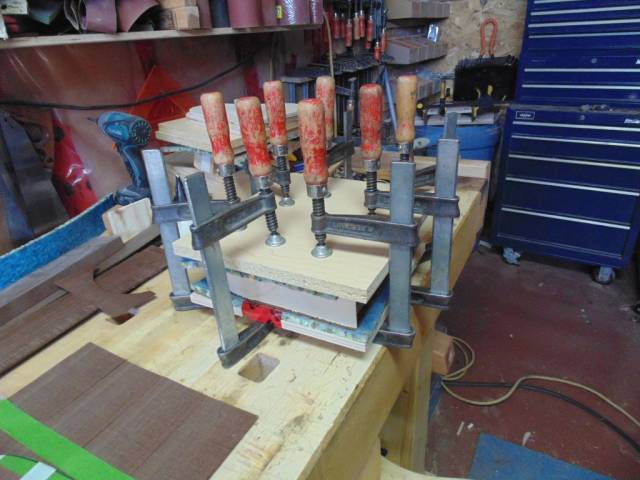
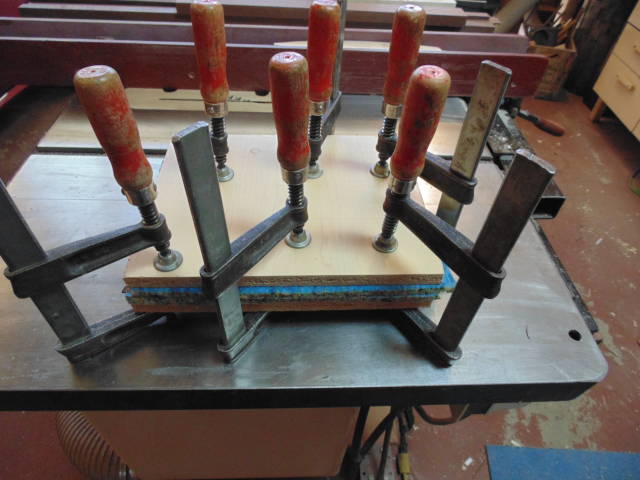
Next I cut up some walnut veneer and glued it to the bottom using my improvised press made up of two melamine plates and some carpet underlay and several clamps (works great ).The reason I veneer the sides with a layer of birch is to smoothen out the little bums that are caused by the kerfed blocks even so I sanded the sides to get a smoother curve and the bottom is done first because I don’t want the bottom veneer edge showing when the box is done .
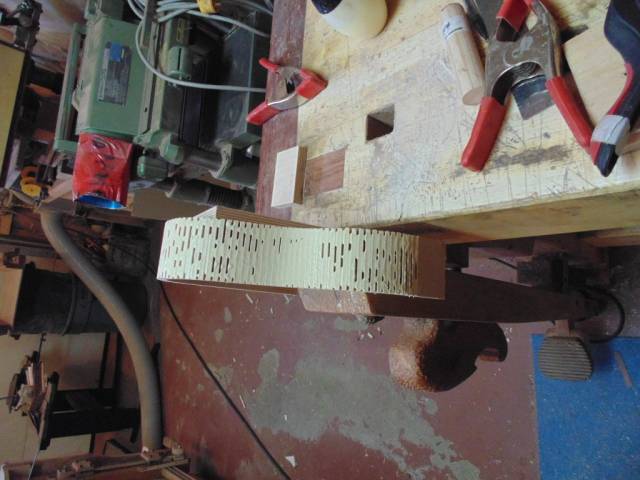
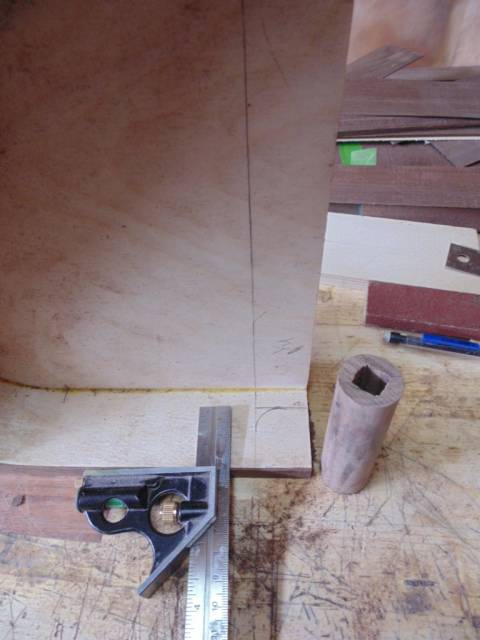
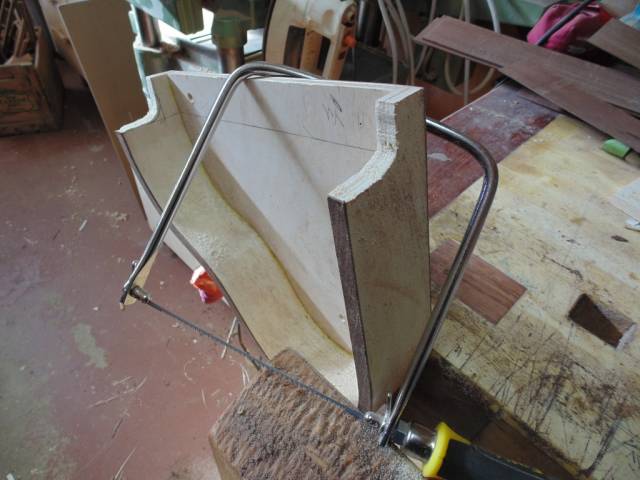
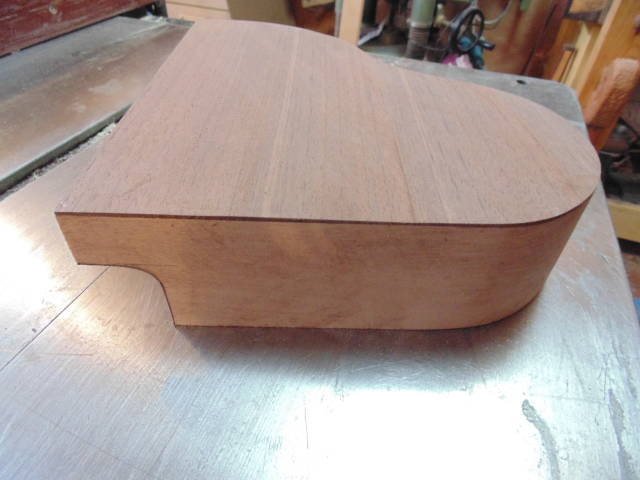
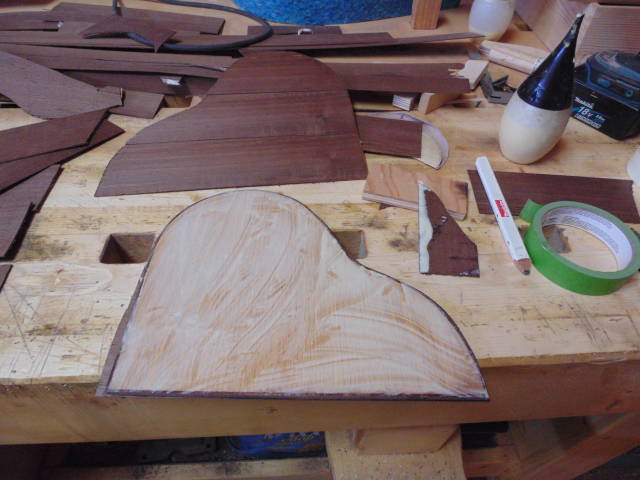
The pictures are a little out of order but next is the veneer on the top rim and mark out the curve at the keyboard end cut it out rough and finish to shape on the spindle sander and with a file and veneer this section also before the walnut veneer gets applyed to the side .Doing it in this order will hide all the veneer edges and give a more solid wood look .
The walnut veneer glue up .!
While waiting for the glue to dry I made up the lid .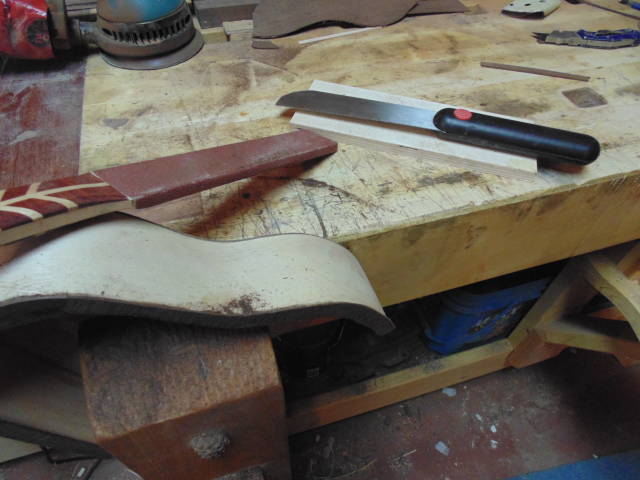
The lid is made up of 5mm plywood veneered on the edges first and then top and bottom again using my press set up
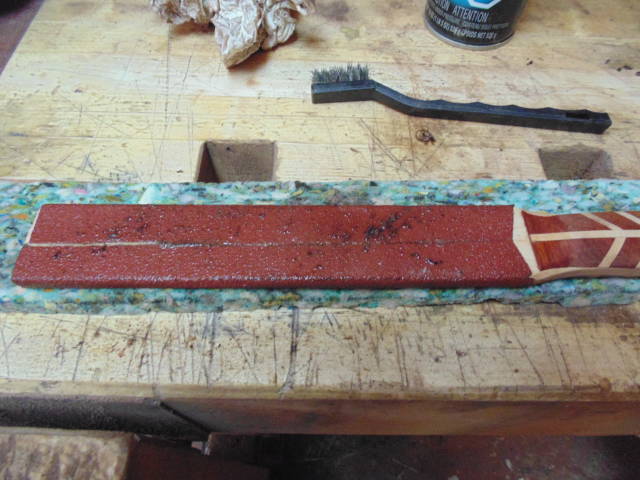
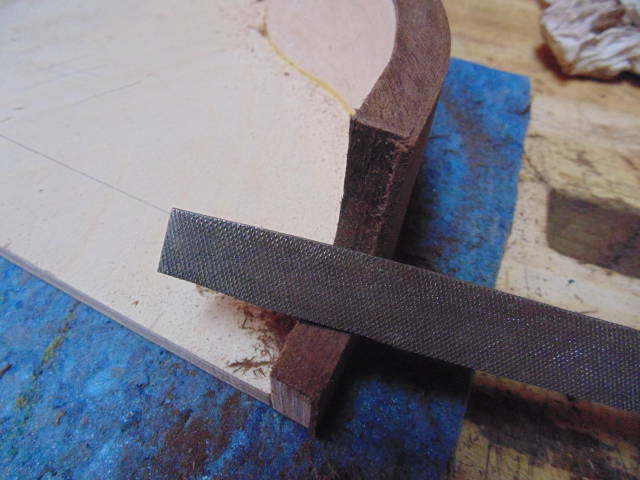
Here is a little maintenance ,cleaning my sandpaper rasp and file with* Inviseable Glass *window cleaner and brass brush because they had some glue build up .
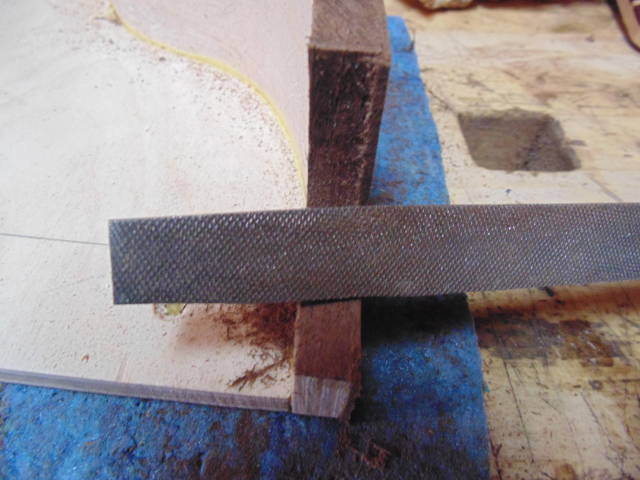
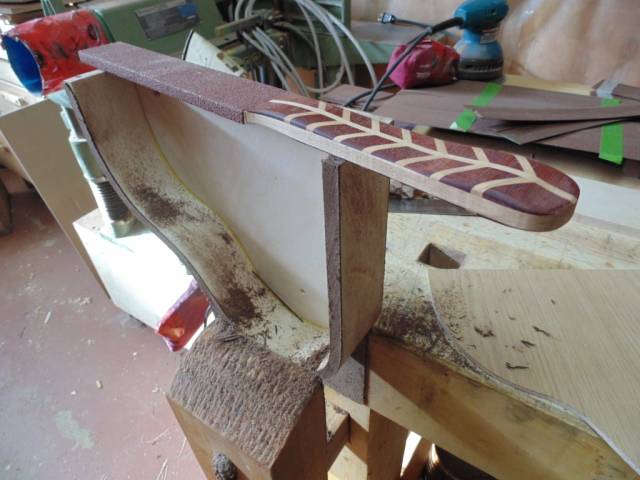
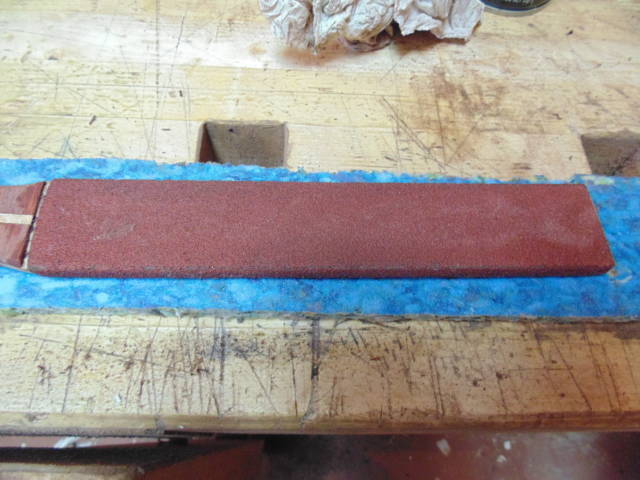
OK on with cleaning up the veneer edges always working the tools against the backing to avoid the veneer braking and chipping and then to the flat sanding board to flatten the top rim of the box which is what I also did before I glued on the top veneer .
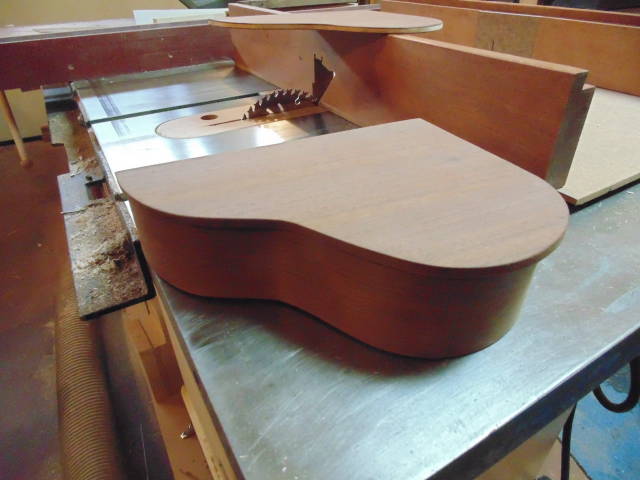
The veneering is done on both boxes and lids with the one lid having a maple edge and the lids fit nice and flat to the boxes .
Everything will need further sanding but hinges etc. will get fitted first .
Next in part three I will make the keyboard and hinges and lid stay etc .
I hope you are enjoying this and please let me know if there are any questions .
3 Comments

Just beautiful.
Keep up the good stuff. And listen to music.
Tor and Odin are the greatest of gods.

It’s looking good Klaus. I’m enjoying this blog and I like piano a lot better with the 3/8" thickness, it looks more in proportion with the overall size. Besides loving boxes, your project is especially interesting to me because I am just learning the basics of working with veneers and I’m sure your methods will be very instructive.
Mike, an American living in Norway

Great write up. I feel like I can tackle this project now having all of this great information. I definitely will incorporate some of these techniques into something.
Losing fingers since 1969