this blog has been a few days to completion mainly due to too hot outside or other Higher priority tasks overtaking it
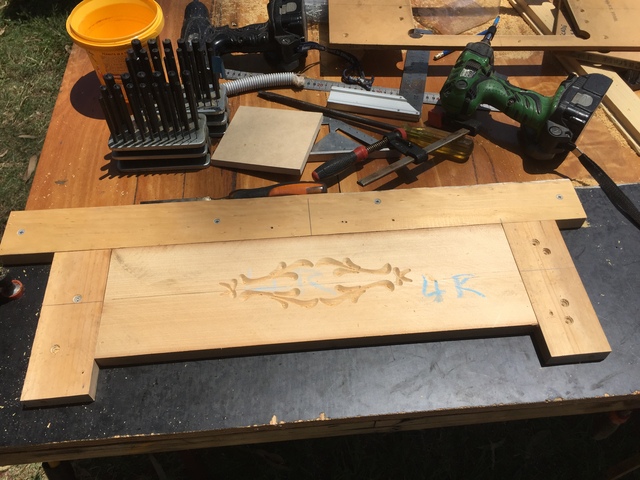
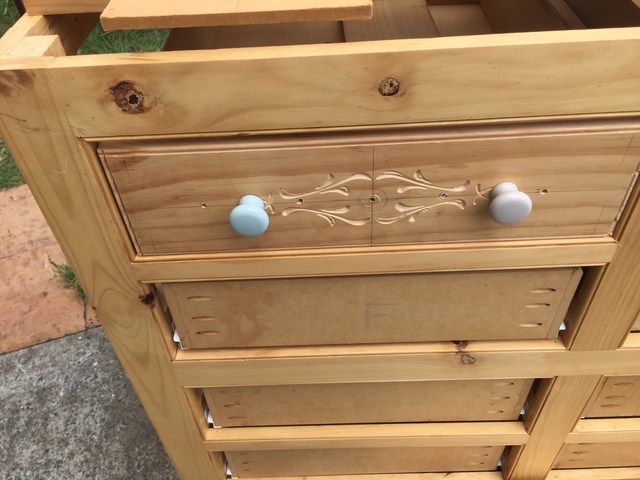
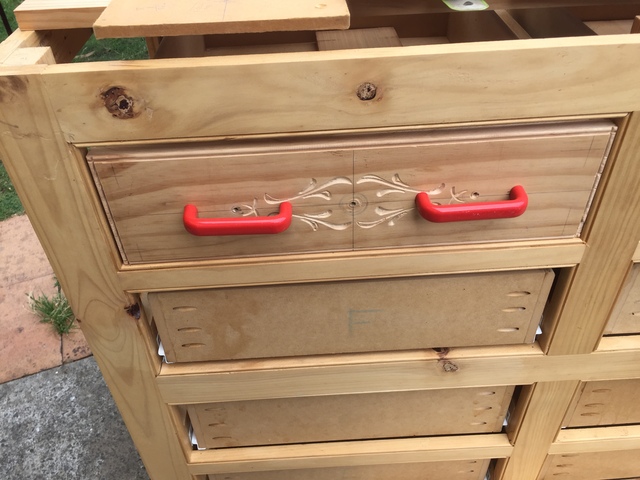
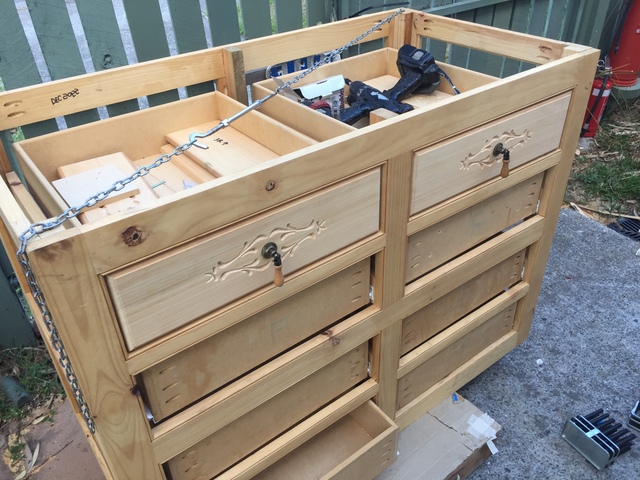
I carved all the drawer fronts and did a dry fit up to decide on handle configurations.
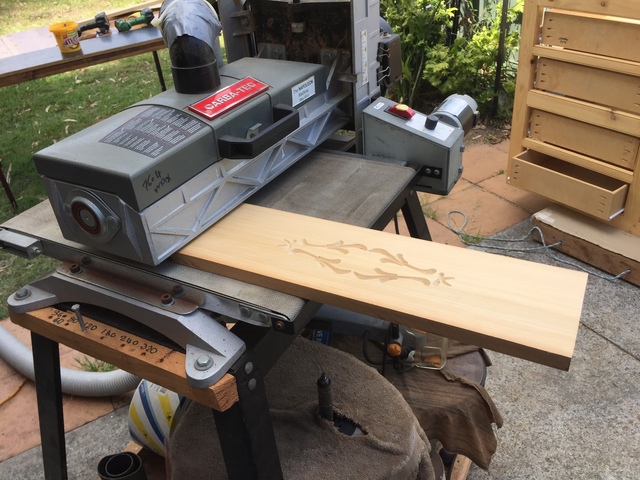
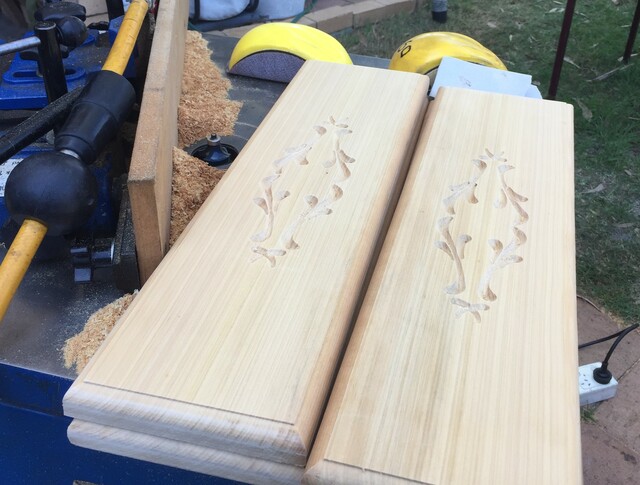
Then drum sanded them all Profiled the edges with a round over bit Some of the handle options:- Dual handles.
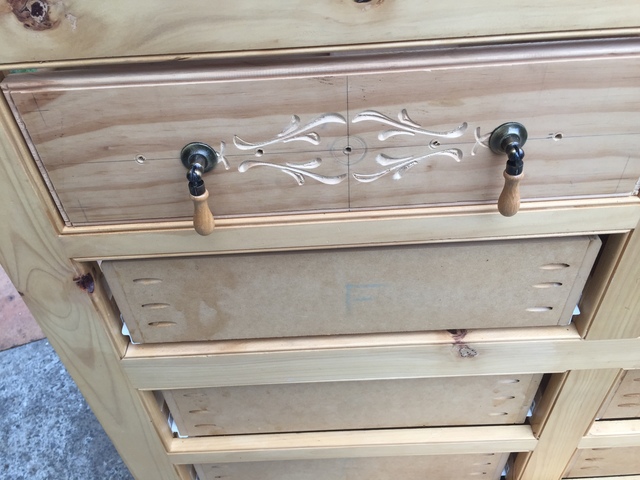
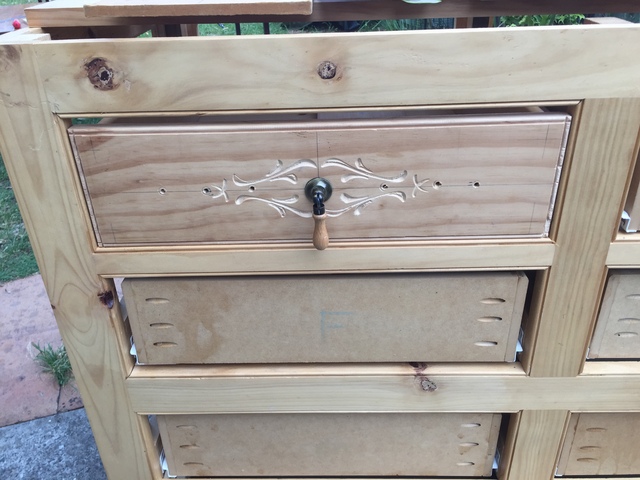
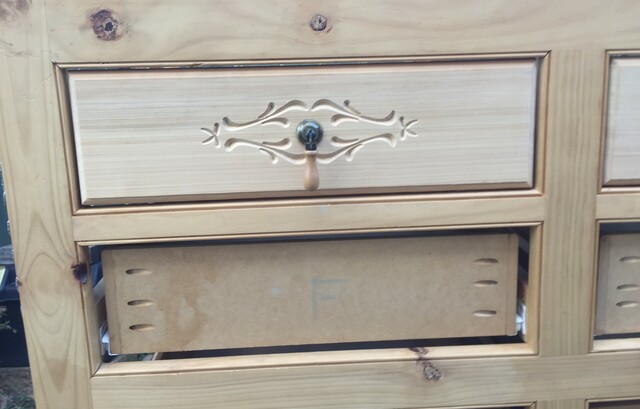
Anyway I decided on a centrally located tear drop handle then set to aligning the fronts to fit I used my transfer punches to position them within 0.5 of a mm.
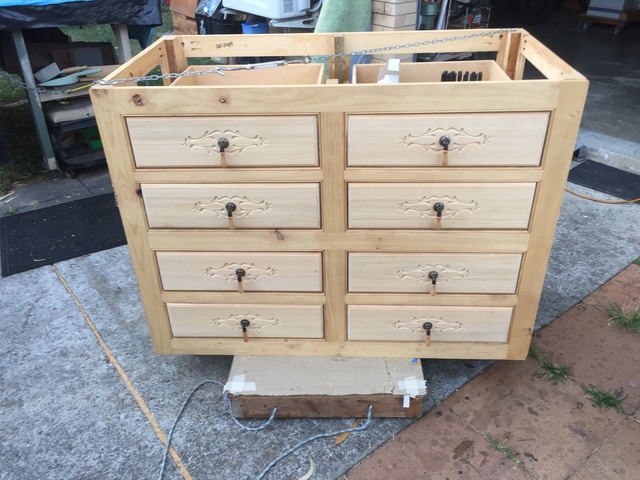
The completed raw assembly It looked like a storm was coming so I packed up for the day
Not being rude, but it's now a shame it's out of pallet and not something more "presentable"... coming from a guy that prefers the look of simple pine compared to exotics.
or other Higher priority tasks overtaking it
So you're still looking for that wallet?
If your first cut is too short... Take the second cut from the longer end... LBD
well being a poor wallet less QLDer I have limited resources available to me and it was simply just something to keep me amused, try and de-clutter all the wood I hoard up. the unit is a size that will not fit into a modern home so it may enjoy a life in my garage as a Tool Chest. At least is not Particle board!
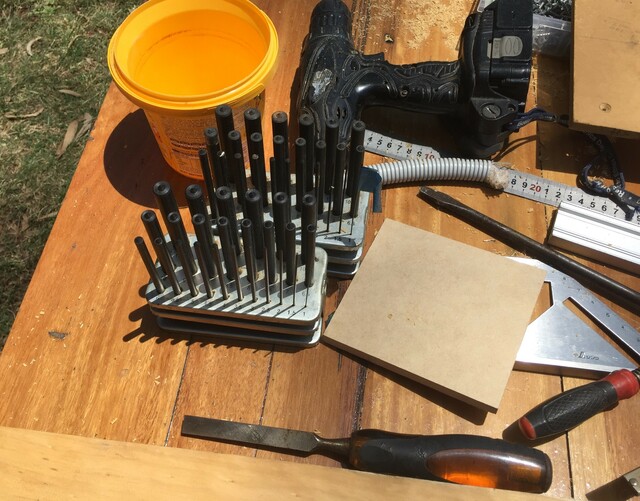
Transfer Punches A set of parallel punches calibrated from 1mm up to 10mm in steps of 0.5 mm
I have 2 x sets and used them in this case for aligning the drawer fronts. I also use them on the panel saw if I want to cut off accurate widths on timber without adjusting the fence, just drop in a pair along the fence and carefully resaw the timber to the size of the punch, too easy! Otherwise as per the link.
you could do the same with a drill set but dont have the ability to center punch
Thanks RC... I kinda figured out how to use, but wondering about durability.
Checked out the vid, however, said bugger all about brickwork and the ones didn't seem that strong.
I want something for mounting powerboards, using a timber backing board on brick walls. At the moment I drill a 4mm hole in the timber with a standard twist bit and then used it as a template to drill through the holes with a 4mm masonry bit to mark the brick and then the 6.5mm (or appropriatee sized bit) for the anchor. I am always looking for an easier way.
If your first cut is too short... Take the second cut from the longer end... LBD
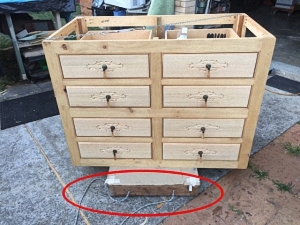
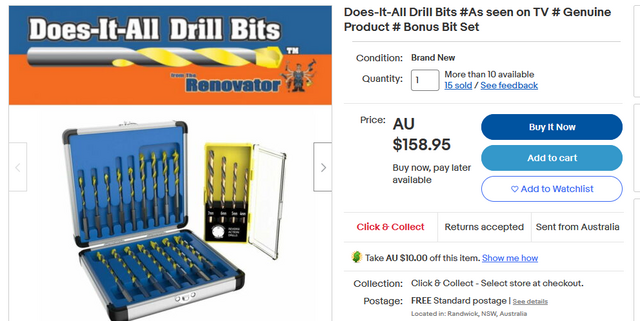
you could get a combination bit the doezitall but the problem is the brickwork may let the bit wander off station and make it off level. I know Bosh make them and I used them extensively when at Smiths. They are on TV and supposed to be able to drill through a file, (a little BS from my experience.) The trolley allows me to move the cabinet in and out of the garage si I can work on it I will take a upskirt of it later for you. How come you are awake at this time?
RobsCastle commented about 6 hours ago new you could get a combination bit the doezitall but the problem is the brickwork may let the bit wander off station and make it off level. .... How come you are awake at this time?
I'm a night owl so the doezitall is subliminally implanted in my brain that alcohol doesn't affect. I only do 4mm screw holes this way, so I only need 1 x 4mm drill bit (or 20 is I break a lot)... It's because of the drift issue that I'm looking for an alternative. I have enough drill bits to make the rest of the set a WOFM (Waste Of F...g Money...as this impulse buy), I would only need the 4mm one (those Pica not small enough and the ink ones don't mark brick), however, I'm sure I might find some use for the others so it wouldn't be a total WOFM.
RobsCastle .... The trolley allows me to move the cabinet in and out of the garage si I can work on it I will take a upskirt of it later for you.
Is that all??? Damn, I just spent 4 hours searching for them on the internet... I even looked on the Fe$tool site in their new products page in case I missed their APB.
If your first cut is too short... Take the second cut from the longer end... LBD


.jpg)