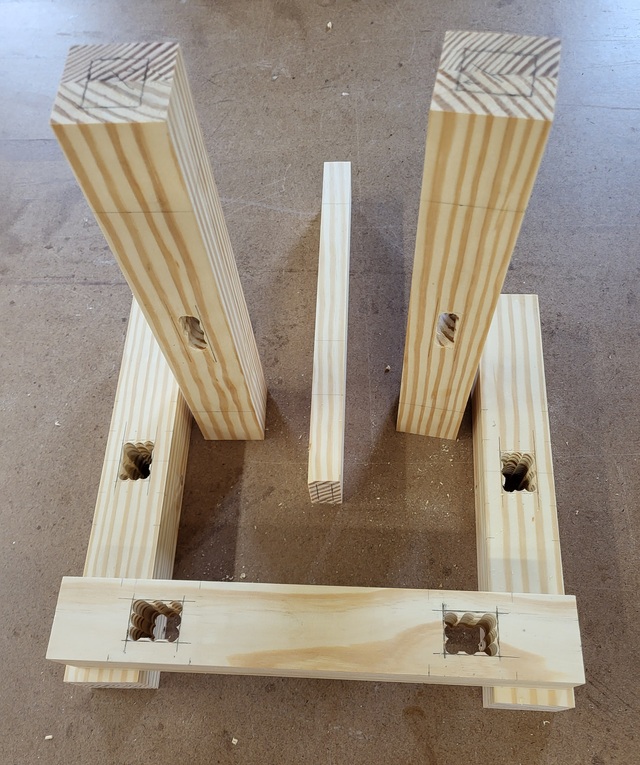
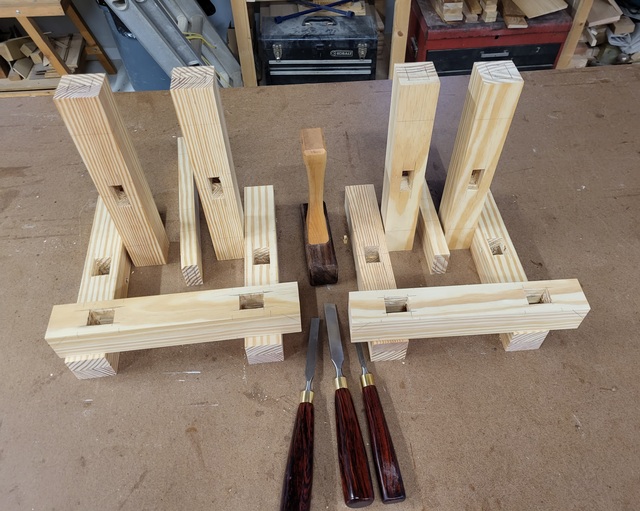
I took the time to lay out all of the mortise and tenons, keeping an eye on the grain and the glue line. I chose to use through mortise for all, and I will drive a 3/8" Oak Dowel in place to lock them after gluing.
The feet of the horses will have a little pad at the ends, so I marked a line across the bottom side 1-1/2" from the end and up 1/4" on the sides (remember 1/3 scale), I also marked 1/2" up the side in the center, and connected the dots. The bottom side of the top surface will have a 45* taper from half of the thickness at each end. I used light marks, so not very visible in the photo.
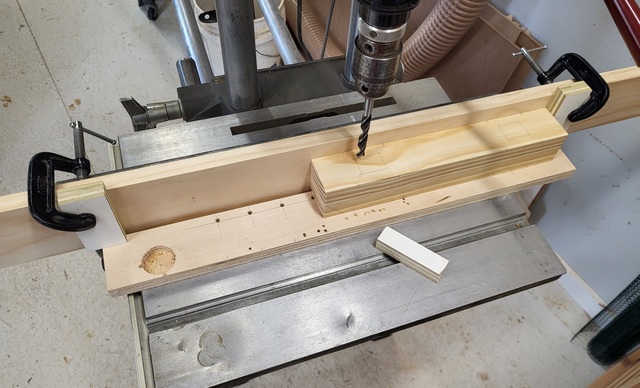
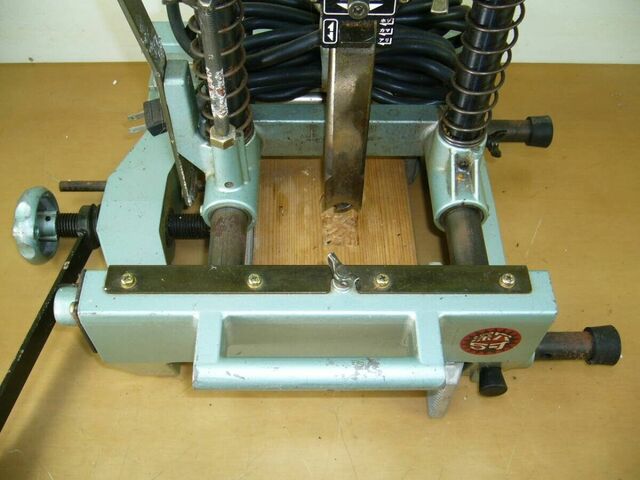
I set up the drill press to drill the bulk of the mortise out. I added a auxillary fence so I could clamp some stop blocks in place and cut a small block at 7/8" to insert and move the timber over to locate the other end of the mortise. Ended up using a 3/8" brad point bit, thought about using one larger but wanted to get close to the corner.
I left the blocks for the top setup and added another set to cut the mortise in the feet. While I had the press setup, I decided to drill the corners of the foot block which will be cut out later.
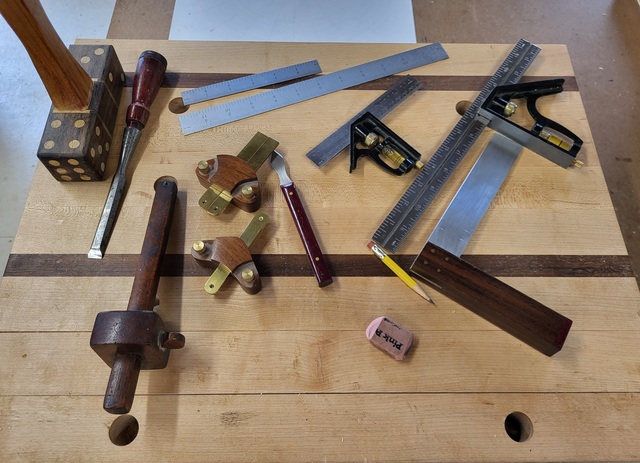
Then it's off to chopping the rest out. I did take the time to define the lines on each side using these.
I clamped the blocks to the bench on top of a piece of plywood and chopped one side then flipped over and chopped the other. The chisels that I just finished worked great.
They needed a little clean up, so I used these.
Yes, sharpening stones, so I could keep the edge on the chisels.
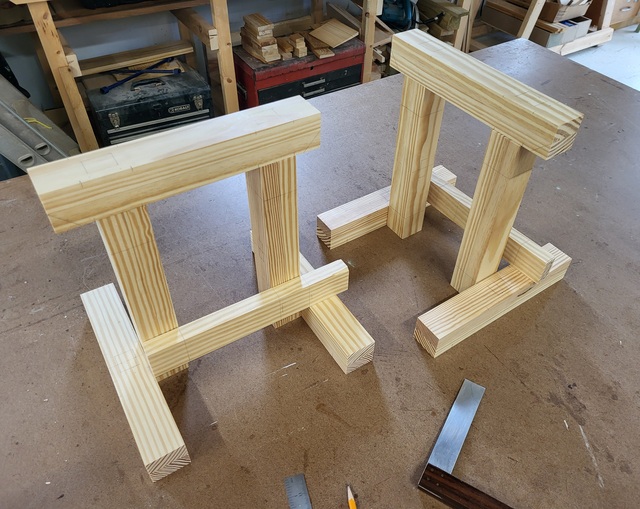
All in all, not bad.
Thanks for reading and following along, comments are always welcome.
Nice! I just made something similar with construction 4x4 & lumber that was a part of my garage. Just to get one through mortise was a lot of work and it was hard to make side walls square for that size. Your mortises are nice and clean:)
Yrti, thanks. I think the key is to chop from both sides, and constantly check the square. I used the layout tools to mark everything before I got started too. The chisels did help me to get the walls straight.
Given the amount of cutting and drilling, where are all the mounds of wood chips? Either you are very tidy or have another area dedicated to hamster cages 🙂
All that hand cut mortise and tenon work makes me tired....but I'm old so I tire easily. LOL
The mortising machine shown would help but: I just can't help but mention how easy it would be to accomplish the same thing with PantoRouter. It a bit expensive but great fun to see what can be done with it. It is a great addition in my shop.
Jim, thanks. that is what I am going for, something rock solid.
Splinter, thanks. The chips end up on the floor at my feet, I keep a bench brush handy. at the end of the day I sweap it all over to a pile. Sometimes I pick it up.
Les, thanks. I have to say doing things an old school way is very relaxing.
Swirt, thanks. I will be putting these to use on the bench. Might work good for edge joining some boards, or just using to elevate items to finish. The shop in general is relaxing for me, along with keeping me busy when I don't have yard work to do.