This is where I made a few adjustments to the plans.
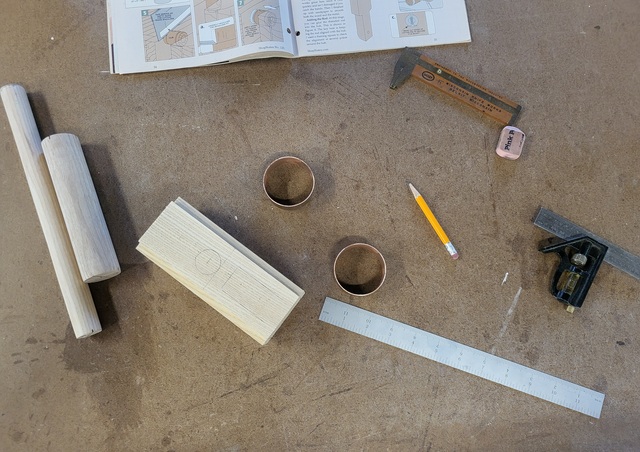
The plans called for a 1-1/2" steel pipe (no luck sourcing anything local) I did have a few pieces of 2" Copper pipe up in the loft. I needed a little bit larger square to use the copper, So I glued a 1/4" to each side for the blank that I had cut, (used a few pieces that were in the cut off drawer, yes, I hoard small drops). This is what I started with. I roughed out the two to the left a few days ago for the handle and the caps, also cut the copper rings.
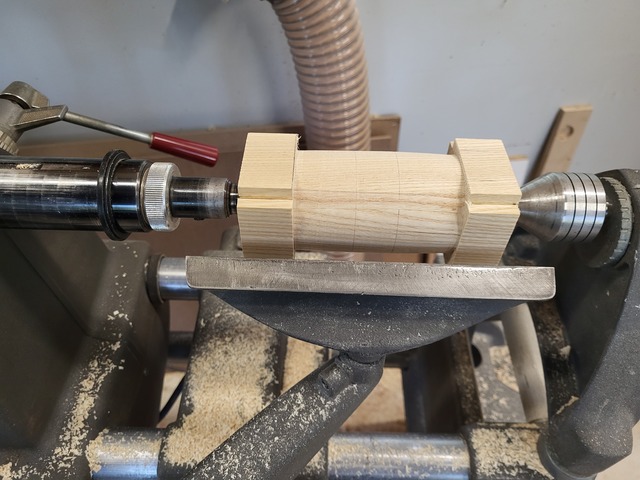
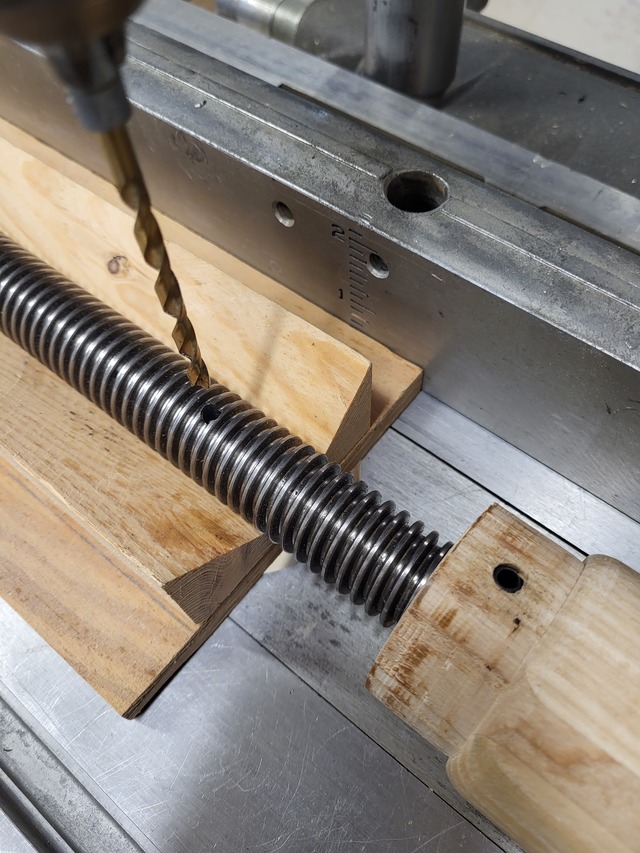
Chucked the large blank between centers and marked the length of the hub assembly, I wanted to leave the ends square to assist in drilling through for the handle. I did mark the location and then drew a centerline for locating the hole.
Back to the lathe I fine tuned the handle to fit the hole. I ended up with a little bit of a taper towards the center, I can live with that.
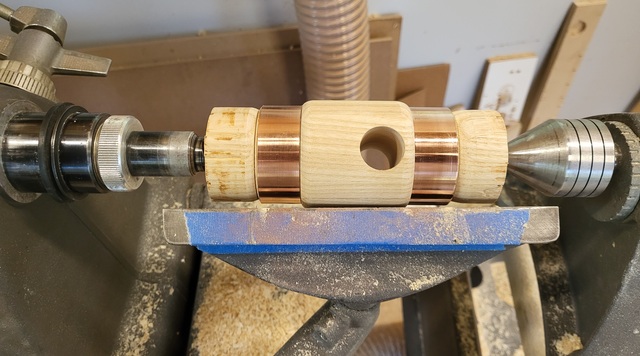
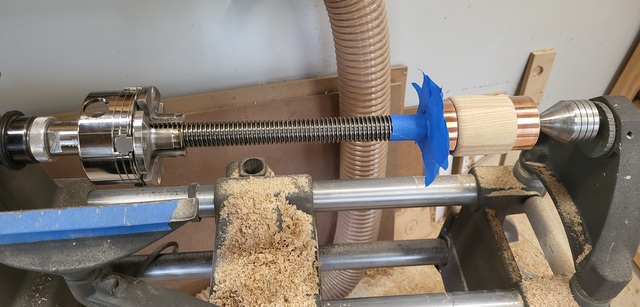
Chucked up the hub again to round over those square ends, then it's time to fit the rings turning between centers. I used the calipers to get close then sneaked up on the fit. The edge of the copper was a little rough, so I took a triangular file and smoothed up the copper and rounded it over. Also sanded the copper up to 320 and followed with 0000 wool to polish.
Next was to transfer over to the Nova Chuck, and drill a hole for the Acme Thread, I drilled that at 1-1/2" deep. Then cut off the excess that end and sanded it smooth. Then I flipped it end for end and cut that end off and sanded.
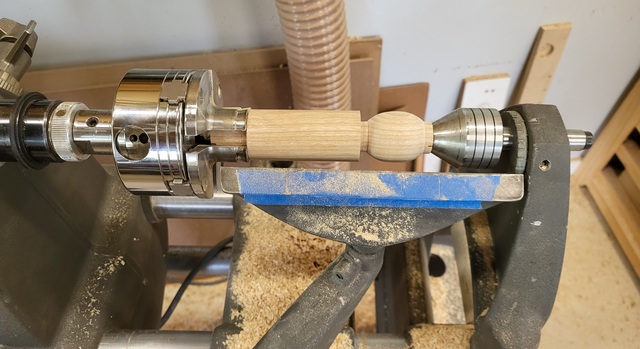
Next up was make some knobs for the handle, I checked that blank in the Nova Chuck and turned a tenon to fit the smaller jaws. (swaped jaws). Flipped it over and drilled a hole for the handle, then shaped the knob. Cut that off and repeat for the second one.
All of the lathe work was sanded through 320, I will drill a hole in the end of the handle to attach the knobs with a screw later.
Not to bad for a hub assembly.
It was time to epoxy the Acme Thread into the Hub. I used the Nova Chuck to hold the rod and coated the threads and the inside of the hole with epoxy and used the lathe to clamp it together, ensuring everything was straight and true.
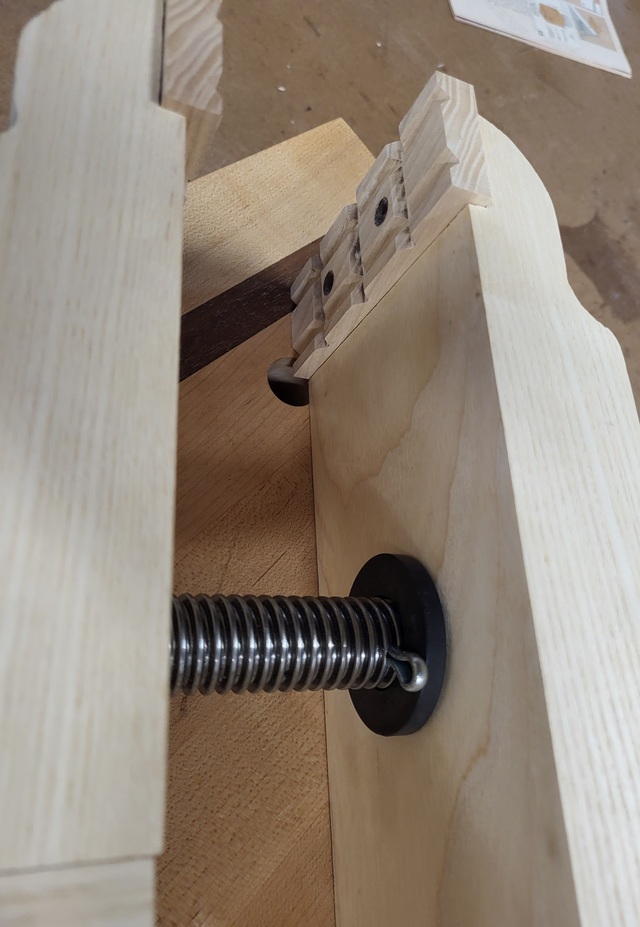
I let the epoxy set for a bit then set the drill press up to drill for a roll pin, which secures the Hub to the rod with a positive connection. I also drilled a hole for a cotter pin which is located on the inside of the front jaw to assist in opening the jaws. I did not have any cutting oil, but 3 in 1 oil worked.
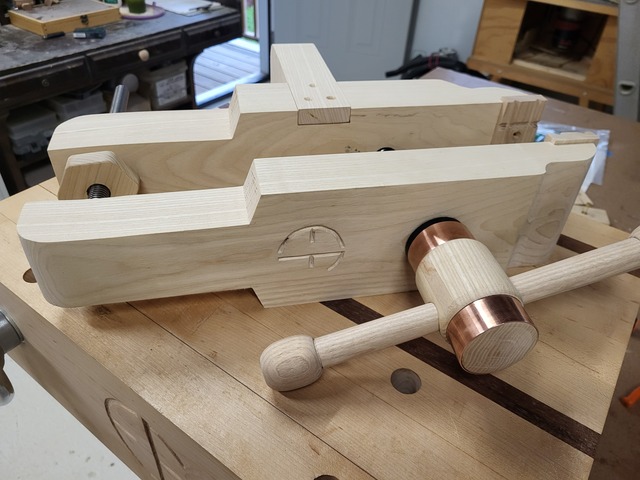
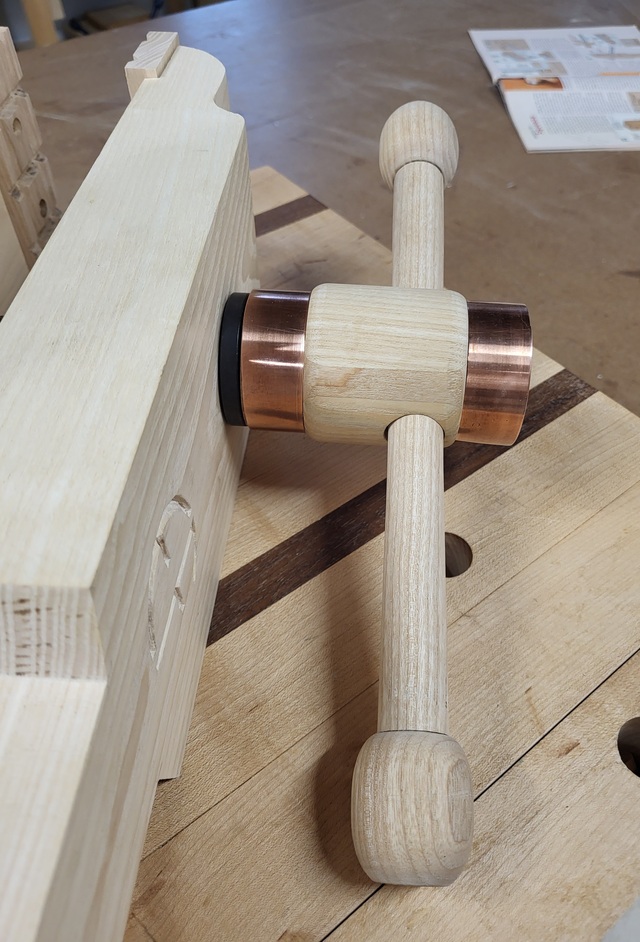
This is just sitting here, but all of the milling process is completed. I need to take it apart and do a final sanding then glue it together. A inside look at the position of the cotter pin, and one set of jaws. And a fancy handle assembly.
Still need to epoxy the rings in place and the lower rod. That roll pin will be hidden under the copper ring, which worked out well and another thing about making a couple of changes. Overall happy with this project, and I can check off another project off the project board.
As for the finish I think a few coats of Danish Oil (except for the auxiliary jaws) Need to get either some leather or maybe use cork for the smooth jaws.
Thanks for reading and following along, comments are always welcome and appreciated.
Looking pretty good, Eric! One trick I’ve taken to doing with brass and copper lately is while it’s on the lathe, I use a steel rod (I’ve got a nice burnishing rod for turning the hook on scrapers that works very well) to roll the edge of the metal over into the wood. Works pretty slick, and I like the more finished look to it.
Dave, thanks. I will have to keep that in mind for the next time I use metal on a lathe. I do have to admit the file worked pretty good though, a nice smooth edge. Rounding it into the wood would be nice.
OldTool, thanks. I have been getting better with the precision for things to fit together. I think I will like using this one, after it is mounted to the bench the top of the jaws will be at 44" off the floor. A nice comfortable height for me.
Overall superbly constructed, right down to the copper details and hiding the pin. I had an old vise missing a handle and use a flea market pair of rusty vice-grips for the handle, your's looks nicer 😀
Steve, thanks. it is going to work out well in the shop, I do not have a traditional bench vise in the shop. For that matter not a traditional bench either.