Removed the clamps and everything looked good, had to scrap some glue excess off.
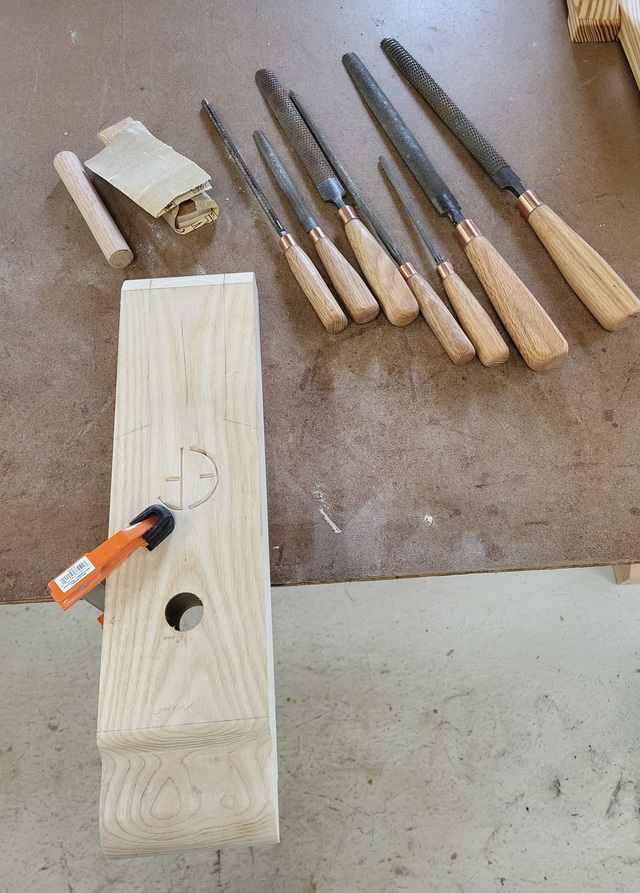
The first thing up was to cut the curves at the top and bottom of each jaw. For this I used the band saw and cut close to the line, making a few relief cuts as I went along. Then it was over to the bench to clean up all of the saw marks. To remove those, I used a number of files. then sanded smooth.
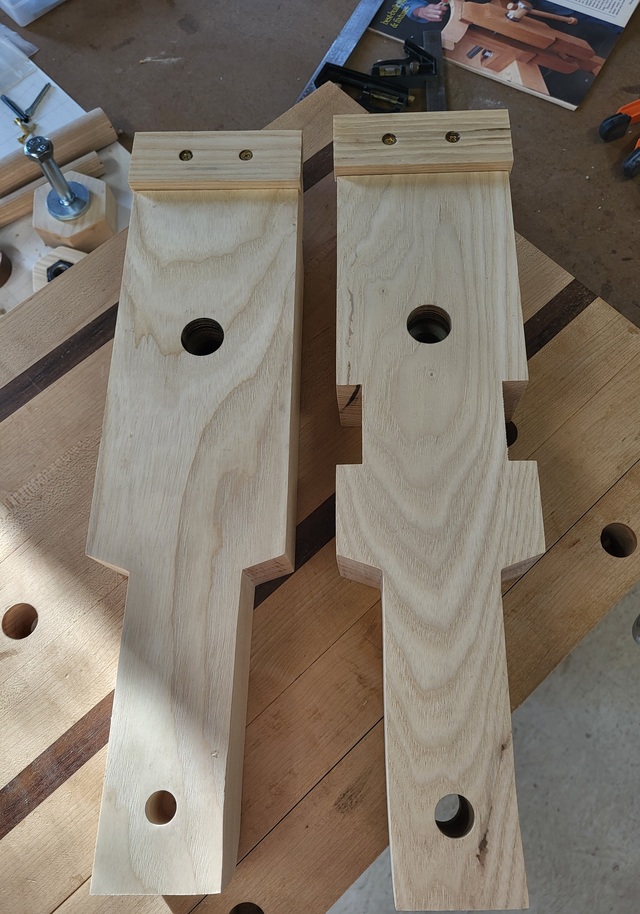
Next up was to cut a few rabbets and dados. the rabbets hold the auxiliary jaws in place, this I cut with the RAS and nibbles away the waste. The dados are in the side and hold the brace for the mounting the vise to the bench, this I cut over on the TS with a sled and nibbled away the waste. didn't feel like changing to a dado stack.
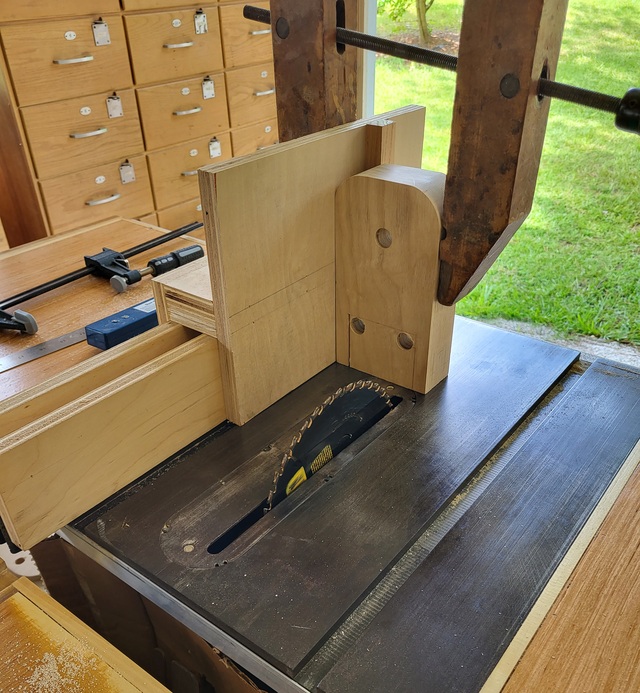
I then had to cut a deep dado in that brace piece. I decided to drill a couple of holes in the corners first to allow for the band saw blade to turn and cut the waste block out. To cut the sides I used the tenon jig over on the TS with the blade raised to 2-1/2". Had to think about this one, so out comes the large clamp. Safety First. I did have to go back and take off a tad bit for the fit.
Over to the band saw to cut the rest of the block out. At the bench I filed the base down a bit for a good fit against the back of the jaw. Over at the drill press I drilled the holes for mounting and countersunk them. Everything fits nicely.
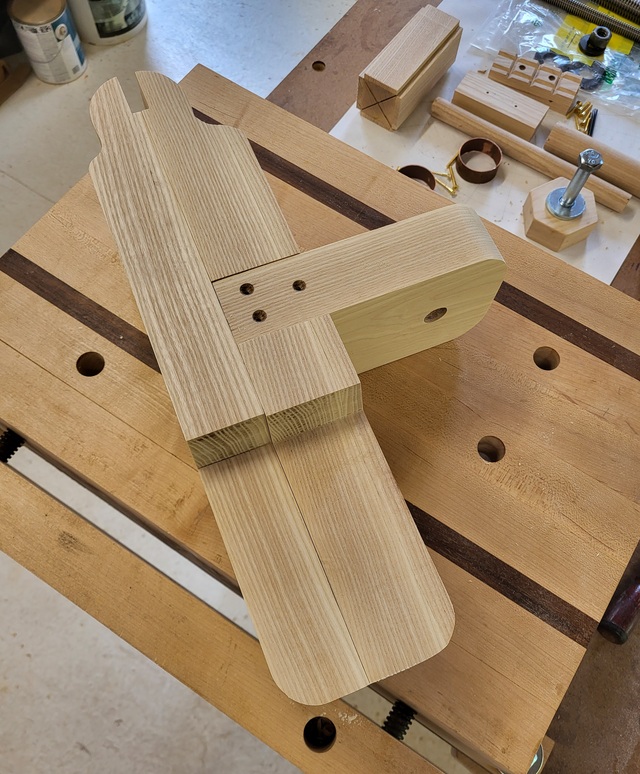
Up next was to get the auxiliary jaws mounted in place. I taped the auxiliary jaws to the main jaw to locate the holes needed for mounting, and back to the drill press. After that I used a steel screw coated with soap (Irish Spring) to cut the threads. Backed them out and ran the brass screws in (with soap).
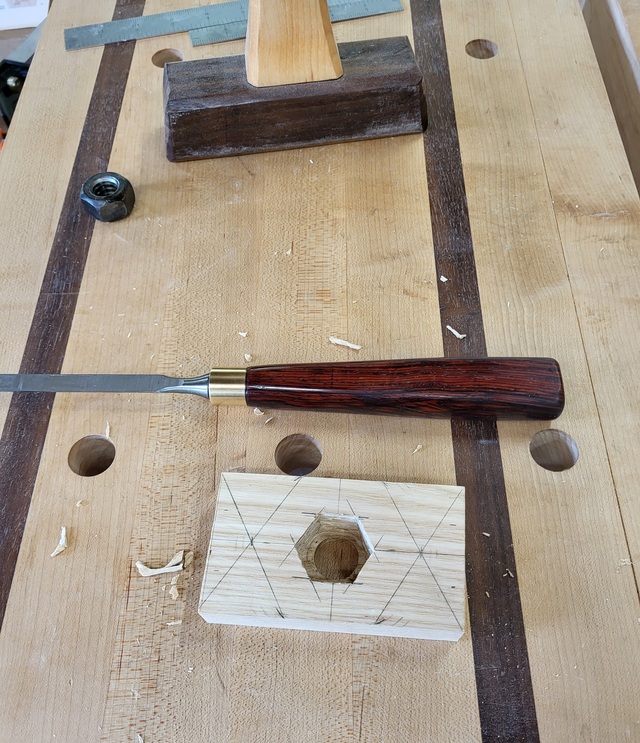
I needed another wooden nut, for the lower stop nut to keep the jaws parallel in use. I resawed some stock to 3/4" and laid out the shape along with the location of the steel nut. Over at the drill press to counter bore then a smaller through hole. Back to the bench to chop the mortise for the nut to fit in to.
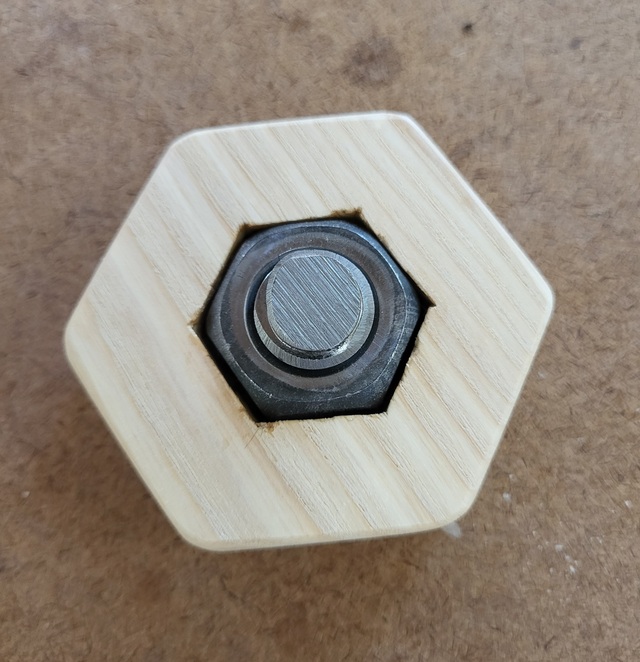
Over to the band saw to cut the waste off, then to the sander to sand off the saw marks and pencil marks. A little hand sanding to break the edges. After all of that the nut was epoxied in place (I did remember to clean the nut with Laquerre thinner). A completed wooden nut.
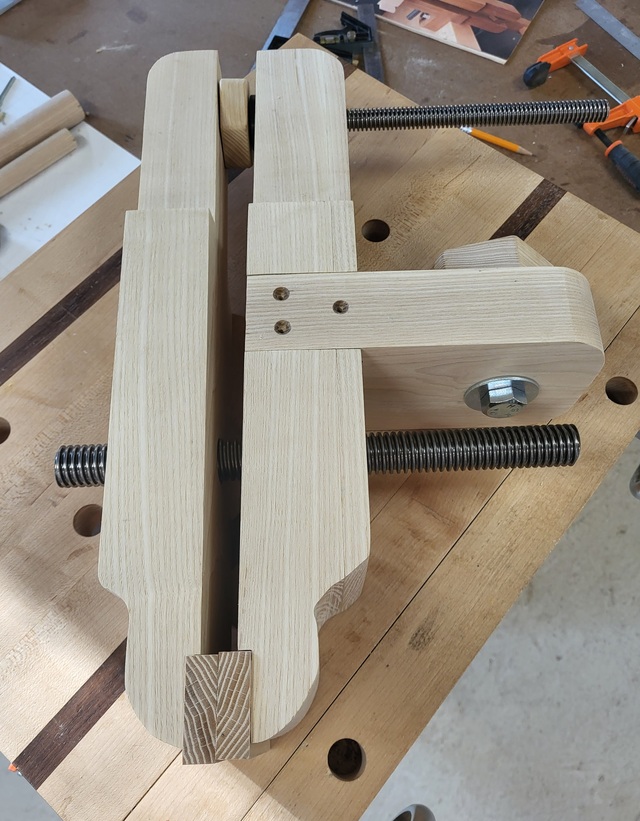
Overall this is coming together nicely. I did sand all of the flat surfaces with 80 grit and the ROS to remove all of my lay out lines and notes. I will go over it again with a finer grit and hand sand the edge to break the sharp edge before gluing it all together. But here it is just fit together.
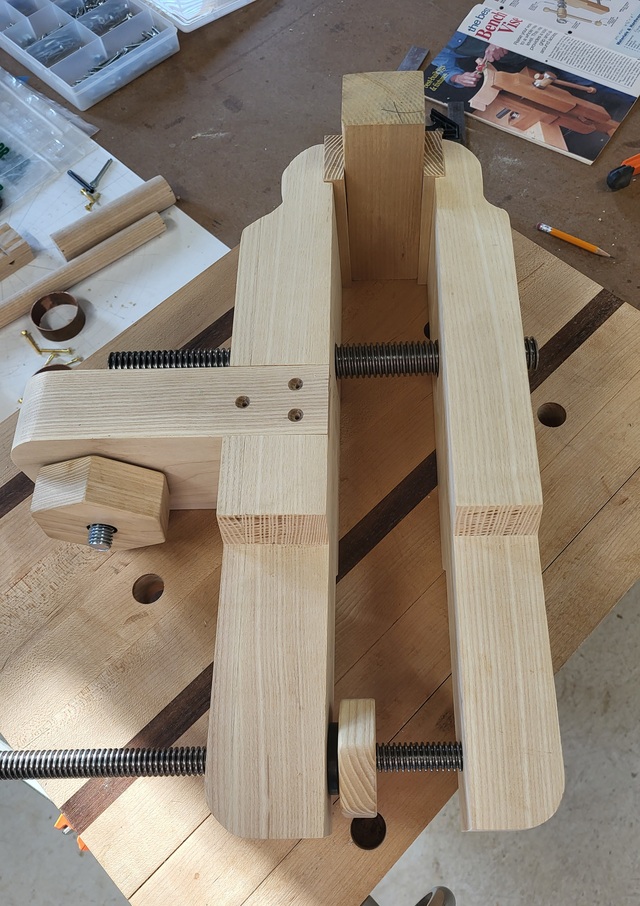
And with a 2" block sitting in the jaws. Notice there is about 4" or so of thread left so this little vise will open up.
Next up it's time for lathe work, hub and handle.
Thanks for reading and following along, comments are always welcome and appreciated.
Petey, thanks. It's Ash, I had some 8/4 sitting in the shop, that I dressed up before starting on this one. All of the parts came out of a 6' board 4-1/2" wide, and I still have a little bit leftover.
David, thanks. Going by the plans on this one, the hub will be a little different due to materials that I had in the shop. The lay out is the important part of this build, starting with square stock. I took my time with that layout too.
Petey, yea that Ash does have some straight grain, I was able to hand pick the board, not knowing what I was going to use it for. Just wanted to get some and give it a try working with it. So far it hasn't been that bad to mill, just have to watch for the burning.
WoodGuy, thanks. The lower thread will be epoxied into the front jaw, so it will move with the jaw. The stop nut can be adjusted keeping the jaws parallel.