With oversized lengths of veneer cut an jointed, I started work on joining the veneer pieces together in pairs to get the width needed. I'd need 16 sets to face the 2 sides, 4 shelves, and the top and bottom.
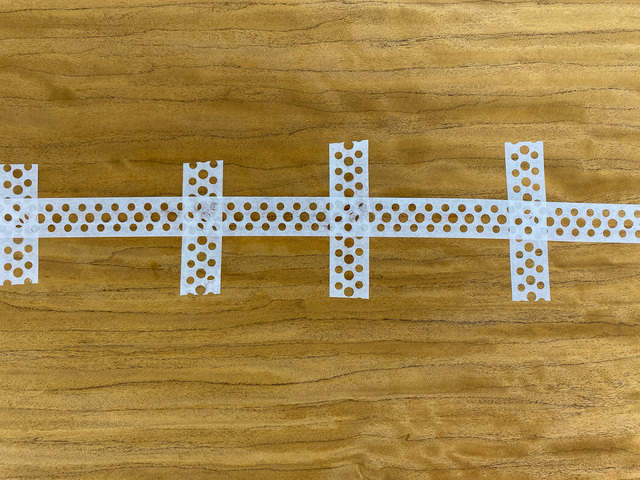
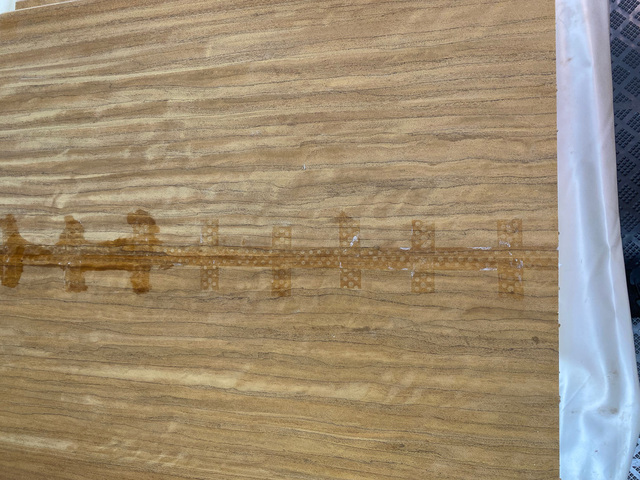
The veneer was fairly flat, but it had enough wrinkle to require temporary blue tape across the seam on one side to keep the joint tight while the paper veneer tape was applied on the other side. This was my first experience using veneer tape. It's dampened slight to activate the glue and placed across the joint. As it dries, it shrinks and pulls the joint together tightly. Once fully dried, I removed the blue tape on the underside.
I opted for the perforated tape so I could see the joint underneath as I was taping.
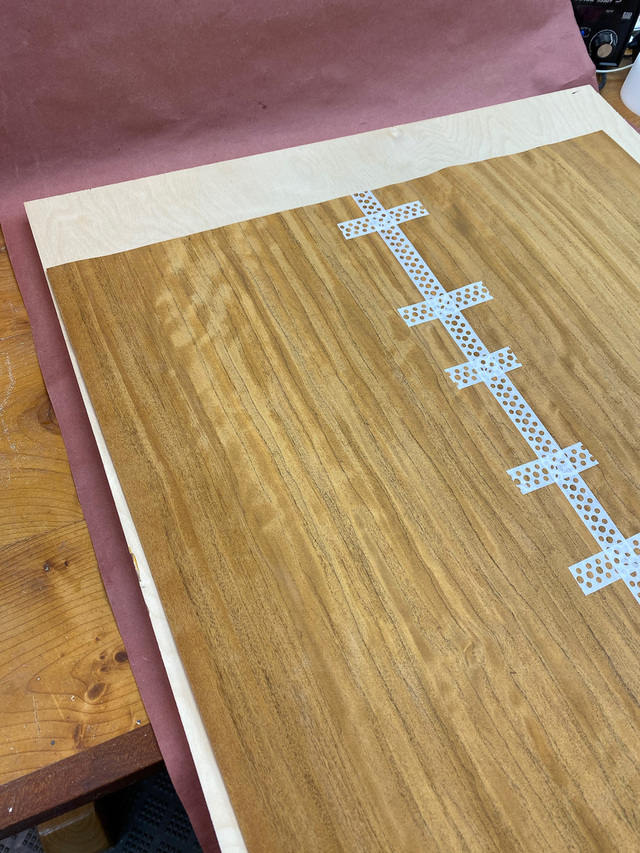
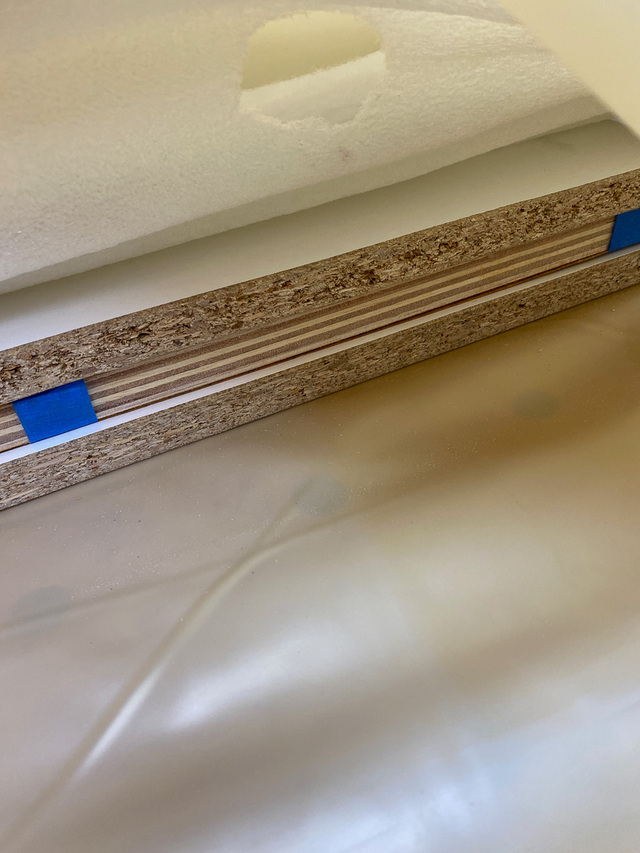
I used veneer glue from veneersupplies.com (EZ Bond), which gets rolled on to the substrate and the veneer placed on top. I prepared two panels of 22" x 24" and applied blue tape to the edges to prevent the veneer from shifting. Both panels were laid onto the bottom platen, which was already in the vacuum bag. Then the top platen was muscled into place (really awkward given the weight of a 2ft x 4ft section of melamine) and the breather placed over top.
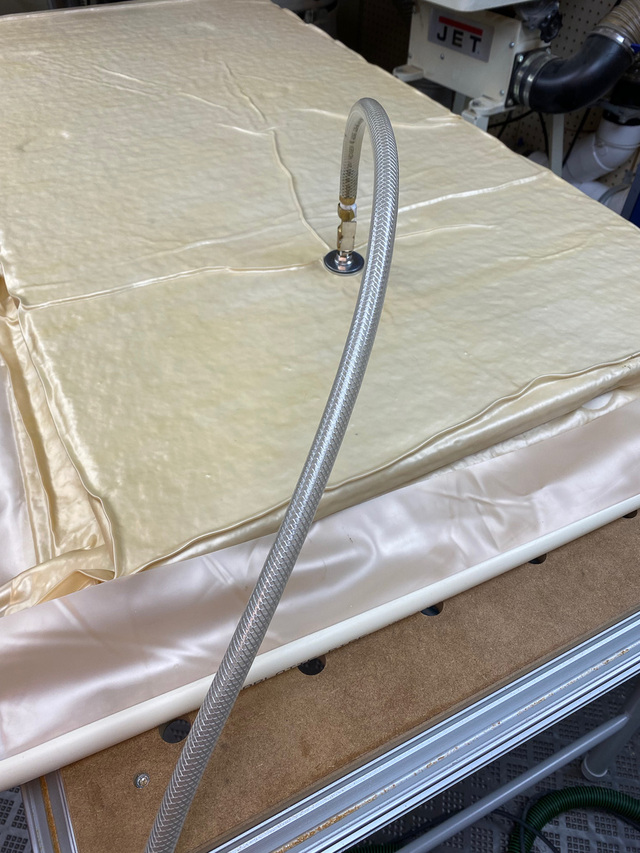
With the bag sealed, I hooked-up the vacuum pump. The glue instructions claim it only needs 60 minutes of clamping, but I found that it needed much more than that while under a vacuum. When I checked it after 60 minutes, the glue was still wet. I ended up leaving it for 5 hours. Since I could press only 2 of the horizontal panels at a time, it took a few days to complete all the veneering.
I let the glued panels continue to cure a few hours after being removed from the vacuum. The veneer tape could then be removed by dampening it again to soften the glue, and then it can be peeled off.
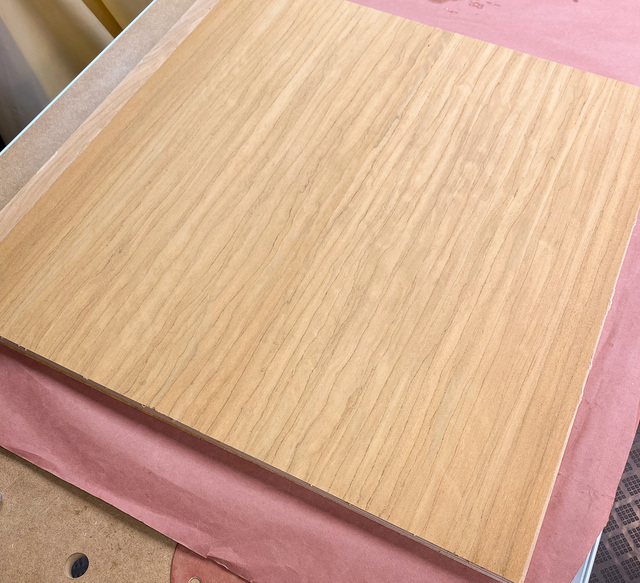
I will leave the bulk of the sanding until after all the joinery is done, but I did sand a couple of the shelf panels ahead of time to see how they would look without the tape residue. They turned out pretty nice.
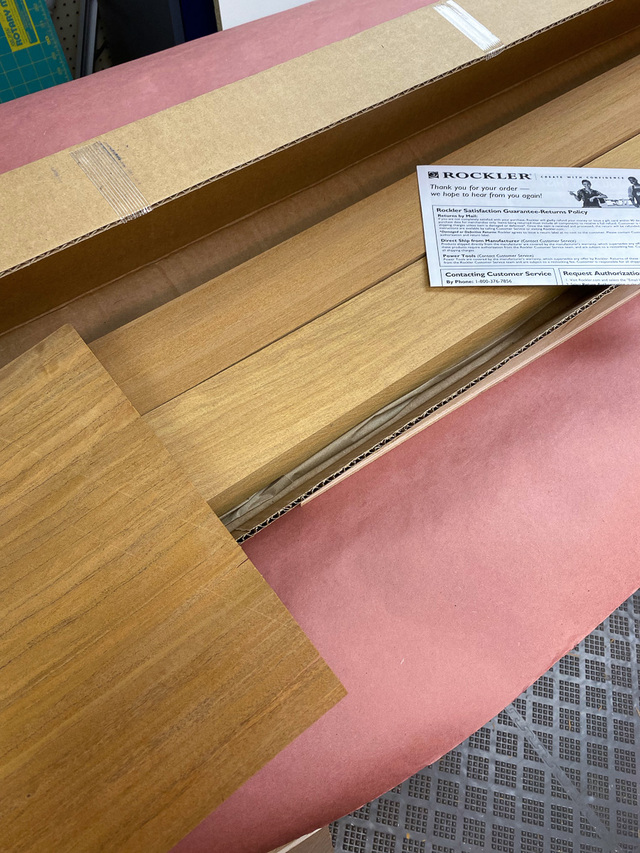
By this time, I had experimented with using the same veneer to cover the plywood edge. I wasn't happy with the result. It was just too easy to sand through at the corners, and I didn't want to have super-sharp edges. I decided to go with a hardwood edge instead. I found that Rockler sold Izombe lumber, so I ordered a couple pieces. The color match was close enough.
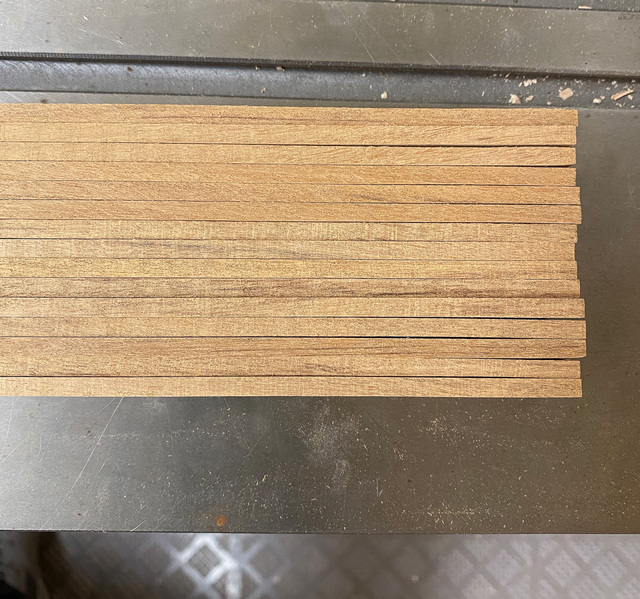
To minimize waste, I used the bandsaw to cut down one of the planks into approximately 3/16" x 7/8" strips. I ran them all through the drum sander on the face sides until the saw marks were gone.
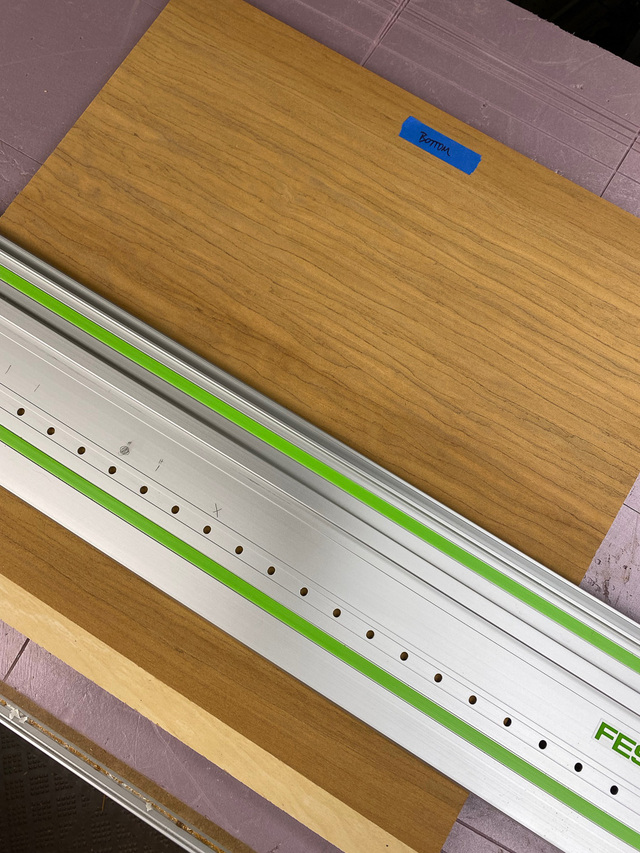
I started with the least visible piece - the bottom panel - and cut it to the correct width with the track saw. Ideally, I would have cut one edge with the track saw and then switch to the table saw for the opposite side to get perfectly parallel edges. But my table saw isn't in my shop and I didn't want to go outside in the cold weather to use it. With the generous reveals relative to the side panels, I reasoned that a carefully measured track saw cut would be fine. This worked out okay, but I think if doing it again I'd suck it up and go use the table saw. Because I didn't, I needed to maintain a specific reference edge on each piece when making all crosscuts to the final length.
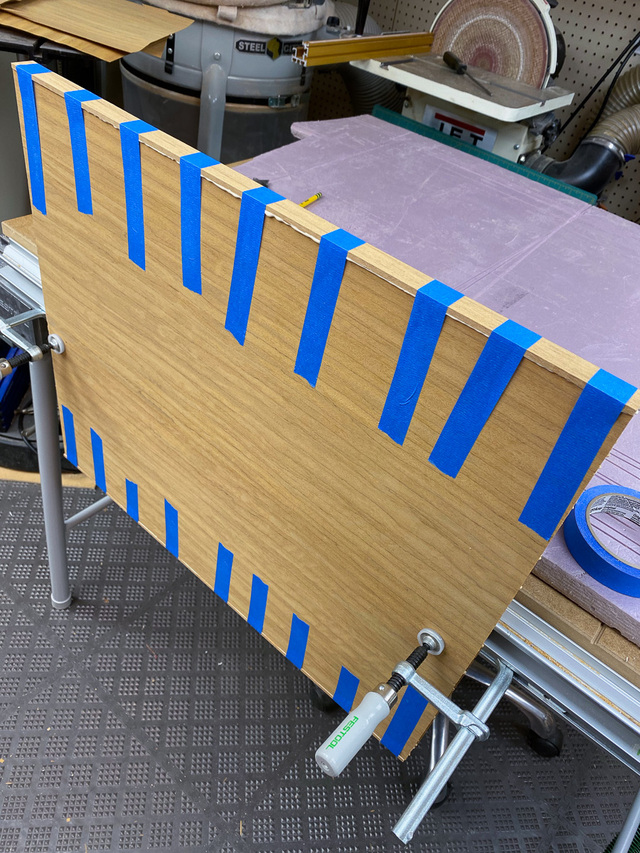
With the bottom panel cut to width, I applied the hardwood edging using blue tape to clamp it in place. If I had Bandy clamps, I would have used them instead.
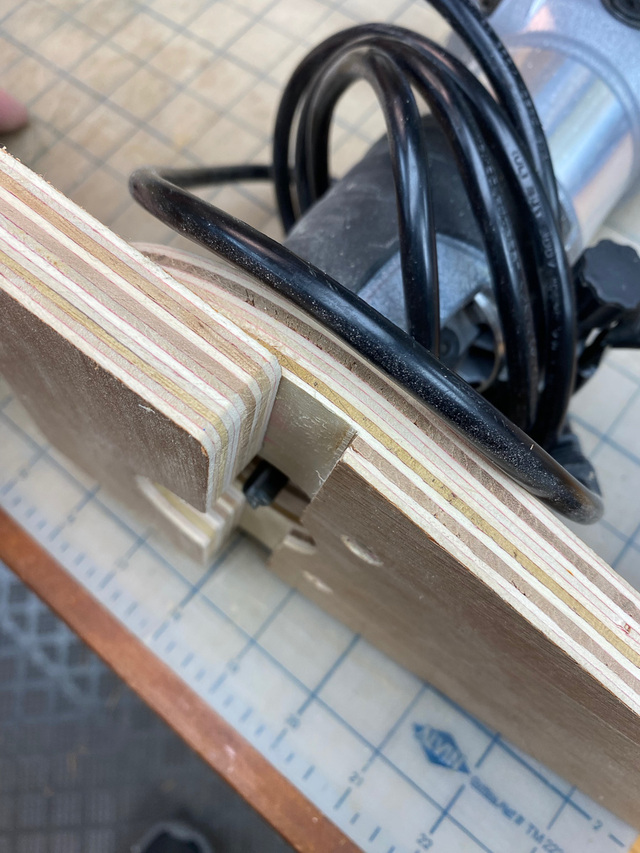
Once the glue had dried, I trimmed-off the excess. I keep a dedicated trim router in this jig to flush cut edging. In the photo below, the left side is a fence that rides along the edge that's being trimmed, the right is a shoe that rides on the surface of the panel. The router has a straight bit set to a depth that just skims the surface of the panel.
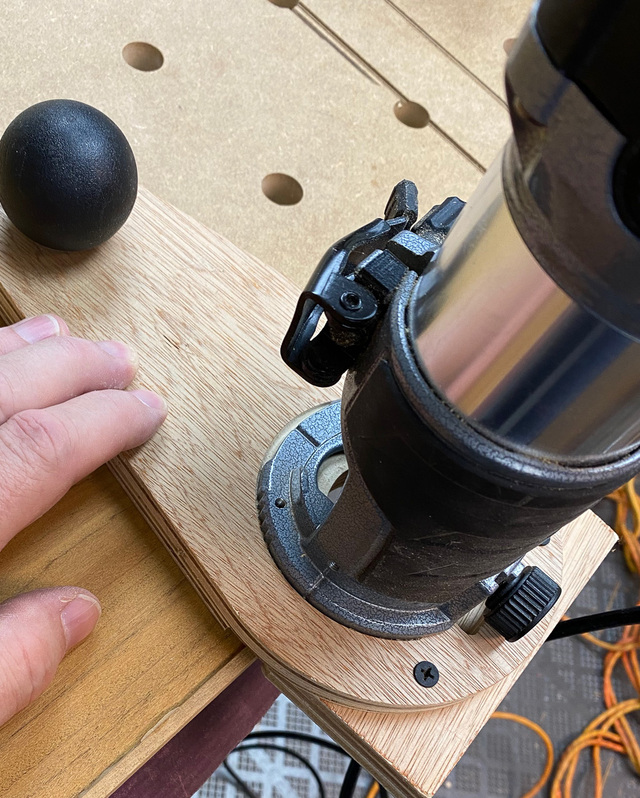
With the panel clamped to the bench, I run the router from right to left for a climb cut. The amount being removed is so small, it's easy to manage. This keeps the bit cutting towards the panel and avoids any tear-out. It trims both the wood and the glue squeeze-out.
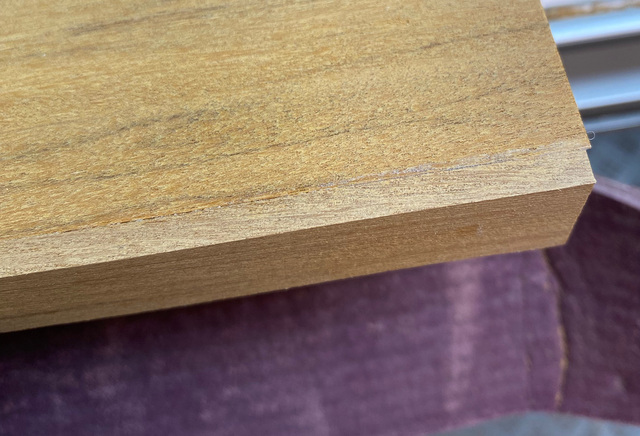
Here is the trimmed edge. I did find that I had some small gaps (maybe 1/64" max) between the edging and the plywood. I saw this on all of the remaining panels no matter how much blue tape I used. It's too small of a gap to be able to fill effectively. It may not be noticeable once I complete the sanding. If they are, I think my best bet is to use a wax stick after final finishing. I'm happy to take suggestions here. I did consider sawdust and glue, but I experimented with this and it's very easy to get blotches with Rubio if you don't get all the glue sanded off. With the thin veneer, I didn't want to risk over-sanding.
I finished-up applying the hardwood edging to the front and back of all of the horizontal panels. Next, I'll get the sides cut, wrapped in edging, and start fitting the horizontal pieces.
Good call on the thicker leg veneers, they get bumped and scared living life in a house and veneer would get ugly fast.
I haven't tried the EZ Bond but 1-2 hours in the bag is typical. What "they" don't say is large panels need much more time since the center areas don't get as much "breathing room"
The big thing with leaving stuff in the bag for too long is supposedly that fungus/mold can start to take hold. Never experienced that though.
I use that same veneer tape, it's like licking envelops 😝 Found some very fine misting sprayers on Amazoo that do good for wetting, but just a sponge or wad of towels can do the same job (but may smear off some of the glue). Watch out for the removed tape, that polka-dot glue pattern can return with a vengeance during finishing.
Get a girlish giggle when thinking about you making that from an "Ill Zobmie" 🤠
Pottz - at 5 or 6 ft they're not noticeable unless you know what you're looking for. But no matter how far away I am, I can still see them in my mind's eye. 😀
Splinter - thanks for sharing your veneering experience. I definitely can benefit from that. I did apply a piece of veneer tape to my test board so I could see if any glue residue would still be present after sanding. I did find that while sanding, there was a point where I couldn't see the polka-dots from directly above, but I could see them at a shallow angle. So I know to be watching for that. I'll also be cleaning the surface with some mineral spirits prior to finishing, and hopefully that will reveal any remaining trouble spots.
For wetting the tape, I setup a shallow container (1" deep or so) with a damp kitchen sponge in the bottom. I could pull the tape with one hand while the other pressed the tape lightly against the sponge. Worked great.