I found that the izombe is a little fragile on crosscuts with some chipping/flaking, even with the tracksaw on the MFT. I assumed (but didn't confirm) that dados would be even more problematic. I decided on Dominos for the joinery.
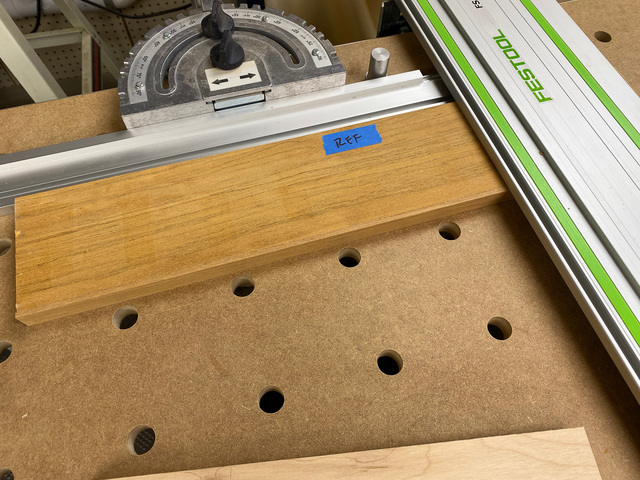
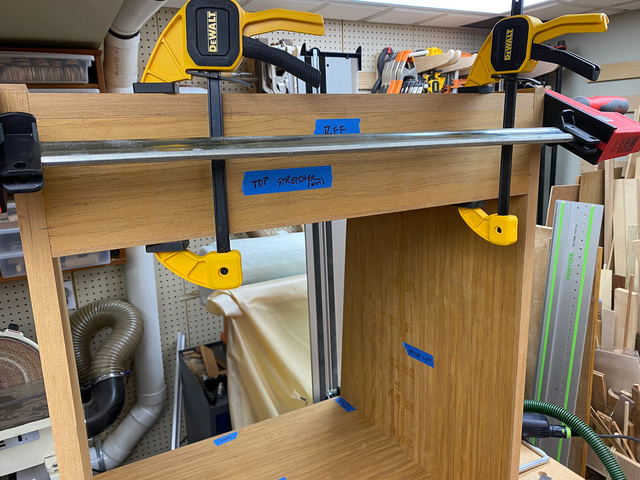
The next step was to cut the fixed horizontal components to the same length - top, bottom, shelf, and 3 stretchers. I'm not a fan of the stock track hinge for the MFT - it needs to be verified for square any time you move it. Ordinarily, I would index the track to tall dogs, but the width of the largest panel was too large, so I opted for the hinge and its fussy setup.
With the track square, for each piece I trimmed one end slightly, flipped the piece end-for-end referencing the same edge against fence, and cut it to final length using the flag stop.
With that done, I started adding some reference lines along the back edge of both side panels for the shelf locations.
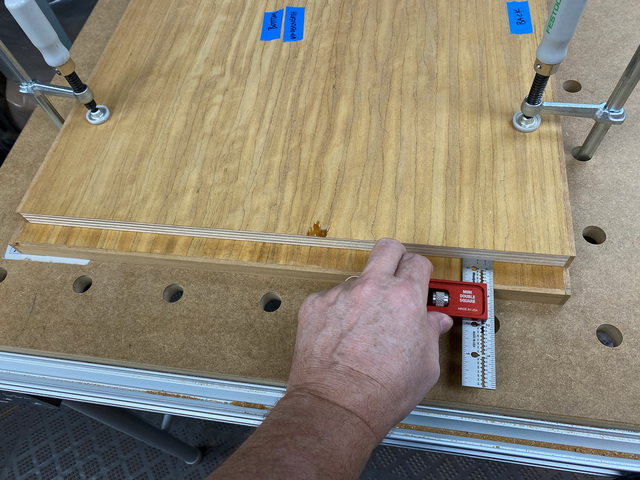
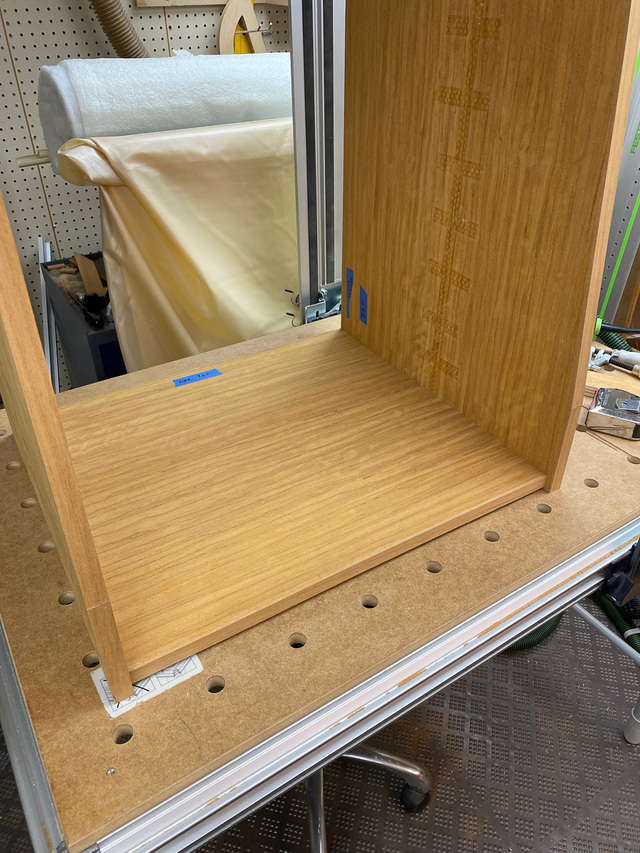
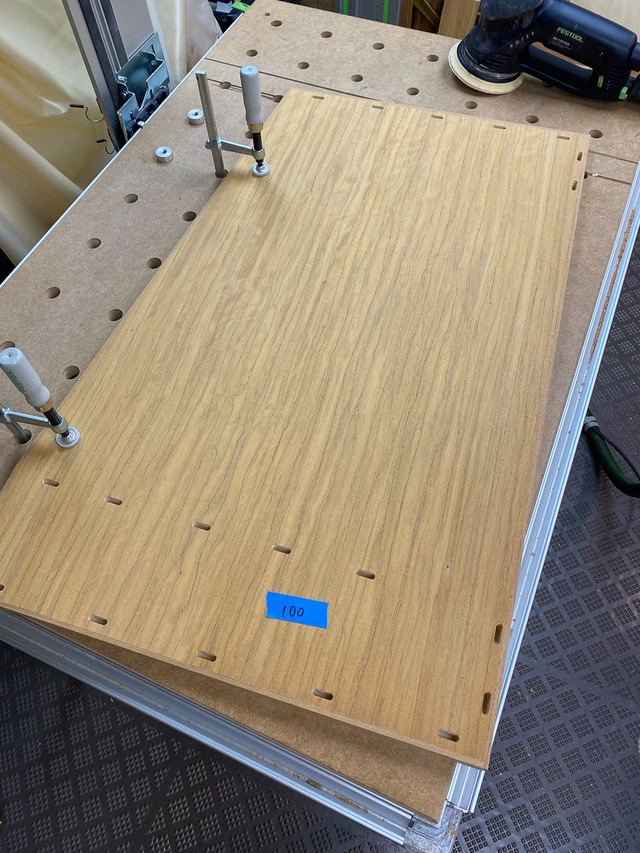
Here, the bottom panel is folded on to the side panel, and they're aligned along their rear edges. I used a small square to verify uniform offset from the lower edge of the side panel. The dark area on the panel is a CA glue repair of some flaked veneer. That side of the bottom panel will face the floor, so nobody will see it.
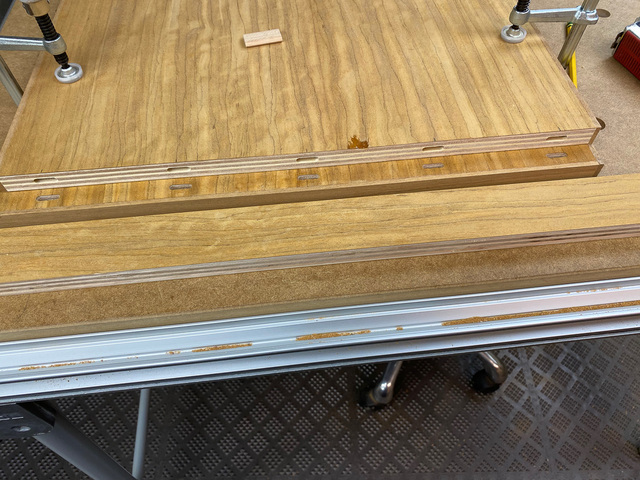
With the Domino positions marked and the pieces clamped together, mortises for both pieces are cut from one set of marks. The scrap in the foreground was there to support the fence on the Domino while cutting.
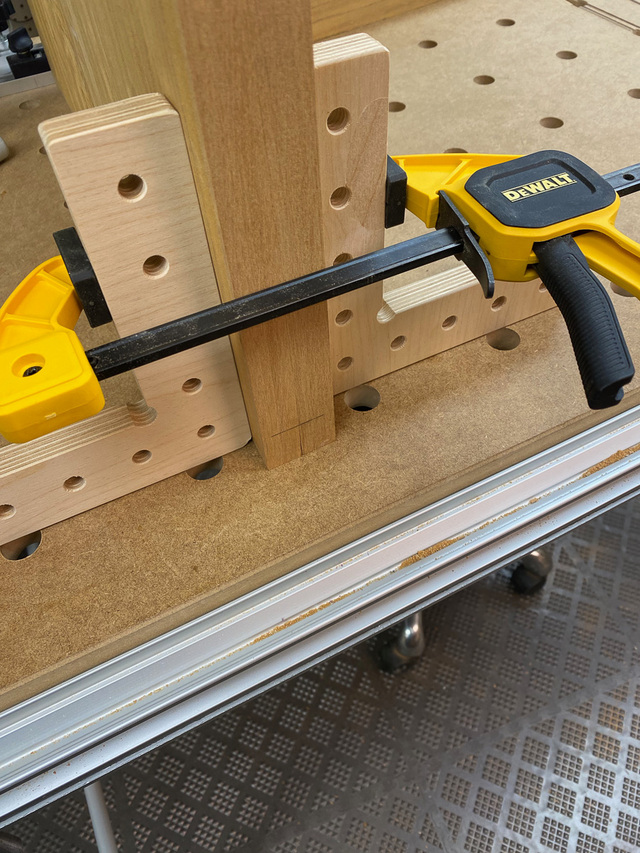
Test fit.
After the same procedure for the other side panel:
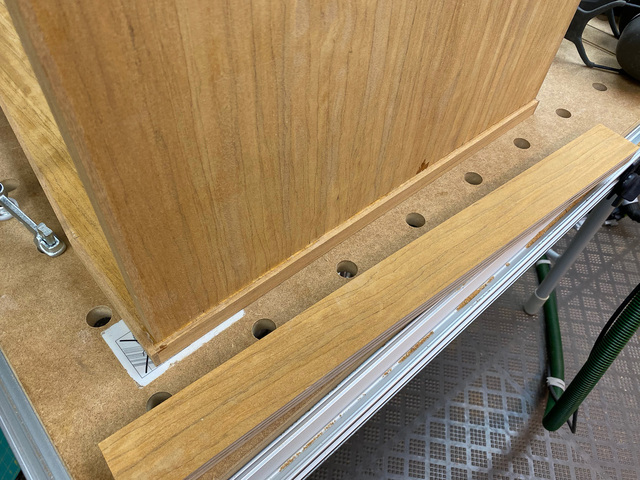
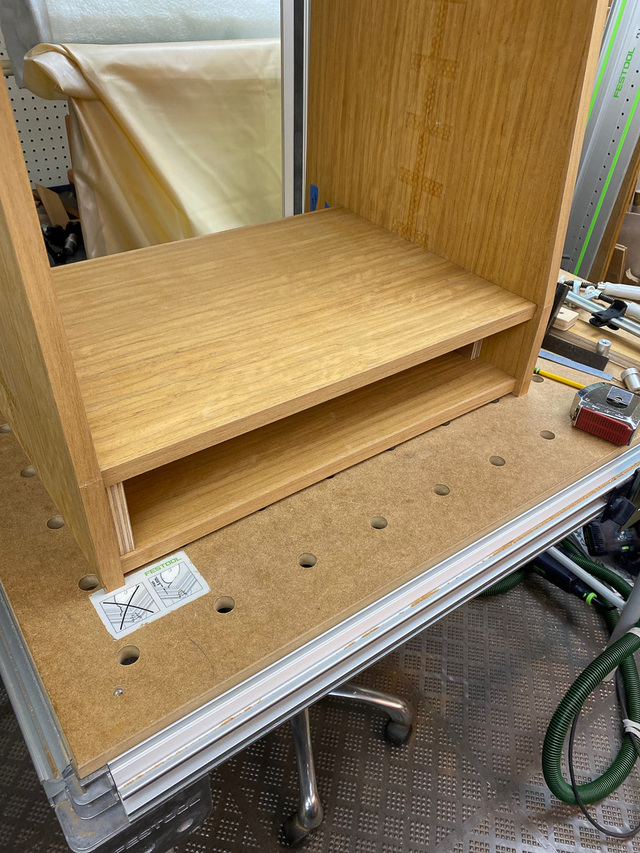
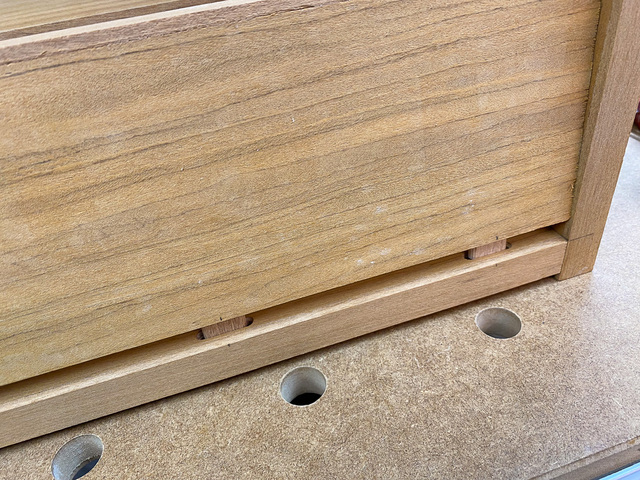
I used the shelf support stretcher and an equal-width scrap of ply to set the position of the fixed shelf.
The same Domino operation was repeated for the fixed shelf and the top.
I then worked on mortises on the long edges of the stretchers.
For these, I used the medium Domino setting to make wider mortises to give some wiggle room for alignment during glue-up.
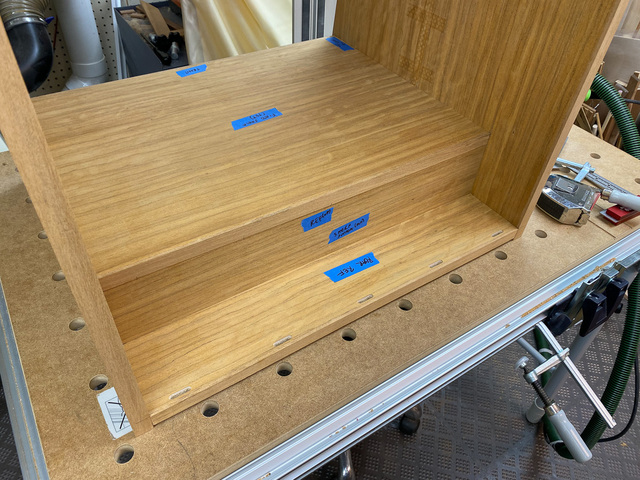
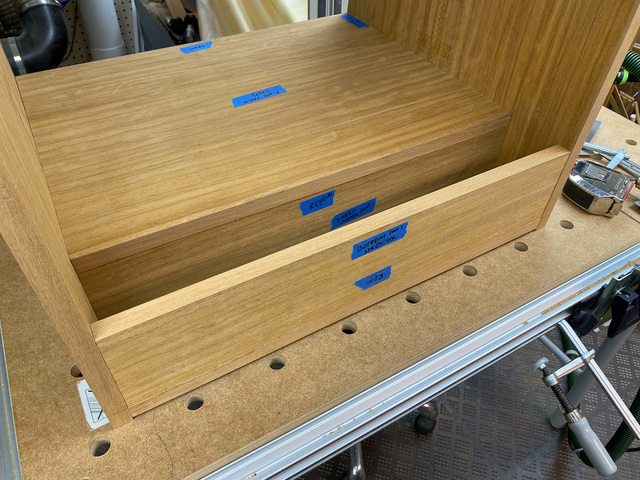
With all the mortises cut, I could start sanding all of the panels. Since I'll be doing that over different days, I mark the last grit used for each side so I don't have to try to remember where I left off.
Next I need to work out the details for the removable rear panel and how that will attach.
Coming along nicely, neat work as always. For fragile work with the track - or table saw I usualy make a scoring cut in reverse, only about 1-2 mm deep. That makes clean cuts and no tearout. But takes extra time of cource
"The good chair is a task one is never completely done with" Hans Wegner
Thanks guys. I am taking it slow and enjoying the process.
Ty - I'm finding that the edge of the cut on the track side is pretty smooth. It's the one on the underside that can get a little ragged. Probably because the kerf in the MFT top has widened over time and is not fully supporting the edges along the cut line. I should probably flip or rotate the top to get a fresh surface for the saw kerf.
Also, the ragged edge isn't typical tear-out. It's kind of flaky - little tiny bits lift away. It may just be a property of this particular veneer.