


Share your craft projects
Make new craft buddies
Ask craft questions
Blog your craft journey
Craftisian Blogs
view blog series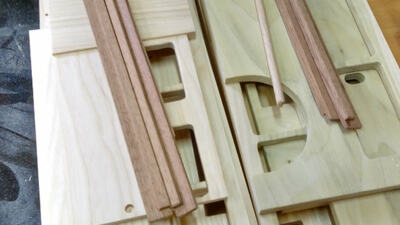

[001.jpg][01.jpg][002.jpg][02.jpg][003.jpg][03.jpg][004.jpg][04.jpg][05.jpg][06.jpg][07.jpg][08.jpg][09.jpg][10.jpg][11.jpg][12.jpg][13.jpg][14.jpg...
[01.jpg][02.jpg][03.jpg][04.jpg][05.jpg][06.jpg][07.jpg][08.jpg][09.jpg][10.jpg][11.jpg][12.jpg][13.jpg][14.jpg]
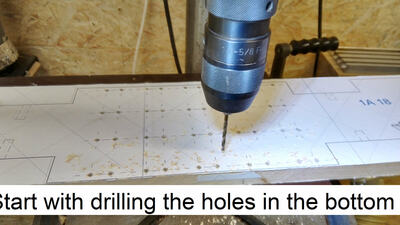
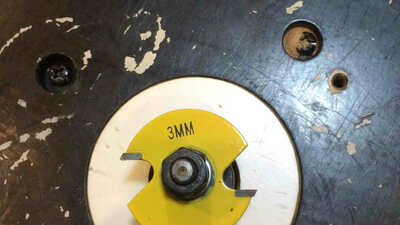
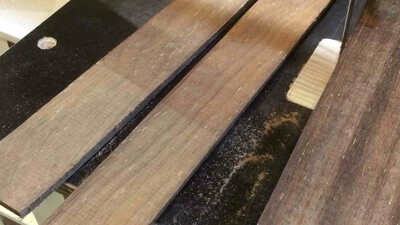
Serie of making the tracks for the excavator.
[01.jpg][02.jpg][03.jpg][04.jpg][05.jpg][06.jpg][07.jpg][08.jpg][09.jpg]
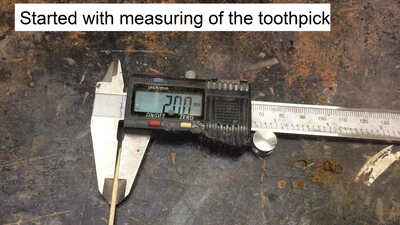
Serie of making the tracks for the excavator.
[01.jpg][02.jpg][03.jpg][04.jpg][05.jpg][06.jpg][07.jpg][08.jpg]

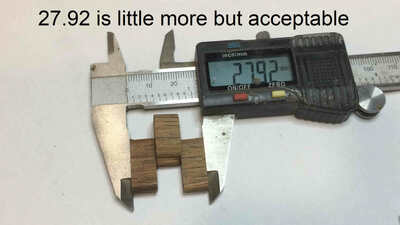
Serie of making the tracks for the excavator.
[01.jpg][02.jpg][03.jpg][04.jpg][05.jpg][06.jpg][07.jpg][08.jpg][09.jpg][10.jpg][11.jpg][12.jpg][13.j...
Serie of making the tracks for the excavator.
[01.jpg][02.jpg][03.jpg][04.jpg][05.jpg][06.jpg][07.jpg][08.jpg][09.jpg][10.jpg][11.jpg][12.jpg][13.j...
Serie of making the tracks for the excavator.
[01.jpg][02.jpg]
[03.jpg]
.
If you don't have a drumsander:
.
CLICK HERE
.
[04.jpg][05.jpg][06.jpg][0...

Serie of making the tracks for the excavator
[01.jpg][02.jpg][03.jpg][04.jpg][05.jpg][06.jpg][07.jpg][08.jpg][09.jpg][10.jpg][11.jpg][12.jpg][13.jp...

Boys and Girls,
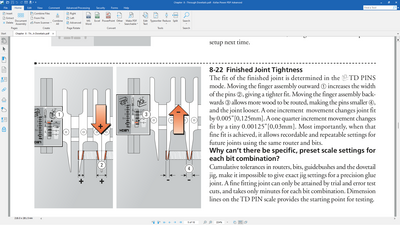
While I hate reading, I’ve always found an instruction manual a useful tool in the workshop… as a last resort.
Ever since I can...
[01.jpg][02.jpg][03.jpg][04.jpg][05.jpg][06.jpg][07.jpg][08.jpg][09.jpg][10.jpg][11.jpg][12.jpg][13.jpg][14.jpg][15.jpg]
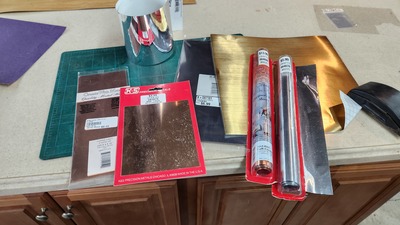
These are some materials I use for models.
[20230610_141557.jpg][20230610_141405.jpg][20230610_141434.jpg][20230610_141531.jpg][20230610_141545.j...
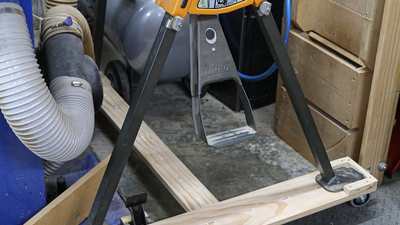
Boys and Girls,
My Triton Super Jaws is parked in front of my compressor and egg-nishner when not in use out in the open, and it's a pain to move ...