Share your craft projects
Make new craft buddies
Ask craft questions
Blog your craft journey
Craftisian Blogs
view blog series
Boys and Girls,
The board has been dogged and...
This small mill has two doors. This is done so the housing is accessible even when the wings of the mill are turning in front of the door.
[Image]
...
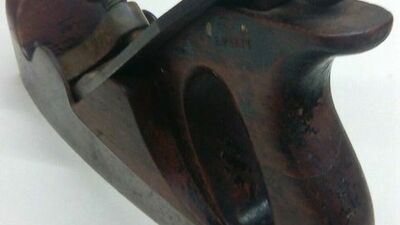
After looking for many years and losing many auctions, I finally won a Norris A5 smoother for a reasonable price. I knew it needed a lot of work, ...
Boys and Girls,
The previous blog covered the...
Boys and Girls,
This blog is about drilling t...
Boys and Girls,
Another one of Murphy’s relat...
Under the guise of 'sharp fixes everything,' I went after the cutters with a vengeance after the first couple of blog installments to ensure the an...
An Overview
[Image]
Welcome to Part One of a short blog series that is a hands-on presentation of the Stanley #444 Dovetail Tongue and Groove Pla...
On the drawing there is a small bit showing how the mill is situated
[Image]
So i will try to recreated that. First by laying it out on a sheet o...
To prevent debris from getting into the screw, there is a weed and trash screen in front of the screw.
[Image]
There's also some sheet pile to pr...
This time a simple part: the main spindle of the mill
[Image]
Just a square piece of oak
[Image]
Adding some stopped chamfers
[Image]
Using a...
Next on my worklist is the "schroefbak". It's the part where the screw is placed in.
On the drawing this is made of concrete.
[Image]
The mill is...


.png)


