Bentlyj
in almost 12 years
More from Bentlyj
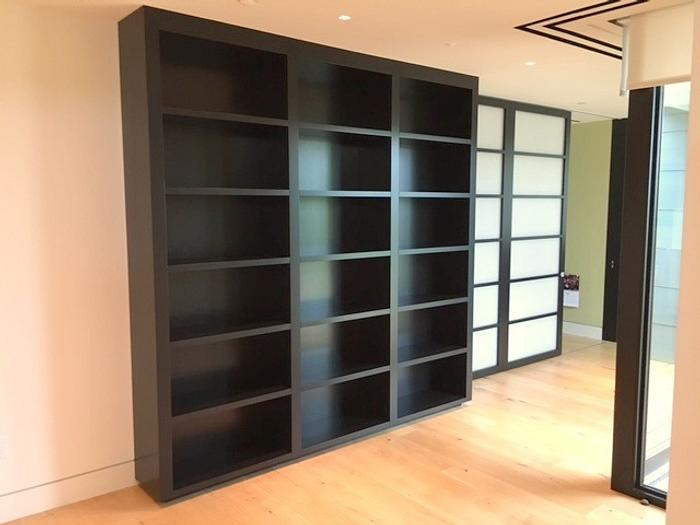
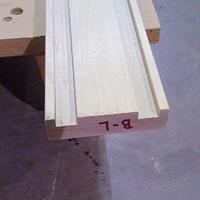
Painted Wall Cabinet
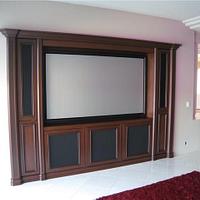
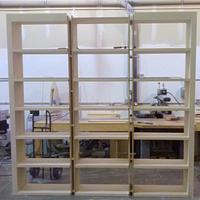
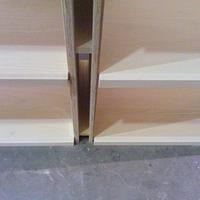
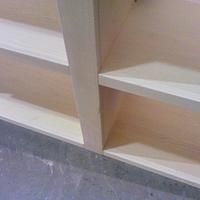
This was built to look like one unit when installed. I built 3 separate cabinets and left the center stiles off.
After I installed the 3 separate units, I put the stiles in place and then added the top section in the center last.
To save time during the install I went to the home and made a template that I scribed to the ceiling. I transferred the scribe onto the tops of the cabinets before painting. Worked better than I expected. Nothing had to be cut on the job except for the toe kick.
Some of the requirements/challenges :
The rails had to be in line with the rails on the big sliding door next to it. (The framework with the white panels is a sliding door)
The big sliding door rolled behind the wall unit so there were no studs and nothing could be screwed through the back wall.
The cabinets sit on a 2" kick, Not big enough to bring the cabinets in flat and stand them up.
There was an entryway that was tall enough, so brought them in the house, stood them up in the entryway then slid them standing up on a blanket into position to lift onto the kick then shimmed to the ceiling.
Scribe the finished toe kick (built and painted with the 2 returns already on) and slid into place to finish it off.
Figuring out how to do something you have never done is what makes a good challenge.
15 Comments
Main Street to the Mountains
Thanks Steve,
I appreciate the comment on the finish.
It's hard to see, but if anyone has ever painted black, everything and anything shows.
Had to be nearly perfect for this home, if not it would have been rejected.
I'll just say, Very high end client and leave it at that.
Figuring out how to do something you have never done is what makes a good challenge.
Scribing and fitting is an art and you seem to have the knack.😉
Nice work!
The early bird gets the worm but its the second mouse that gets the cheese.
Thanks Paul,
I try to live by my signature line when it comes to doing a job. Every job has it's own challenges.
The trick is recognizing them and taking the right steps to accomplish them. It's what makes my job interesting for me, otherwise I would be just another box builder.
Figuring out how to do something you have never done is what makes a good challenge.
working with my hands is a joy,it gives me a sense of fulfillment,somthing so many seek and so few find.-SAM MALOOF.
Excellence and perfection in your work ethic. Stuff to aspire too and live by!
It looks like you solved all those problems perfectly! So how does it keep from tipping over? Is it attached to ceiling and floor?
L/W
“Those who would give up essential Liberty, to purchase a little temporary Safety, deserve neither Liberty nor Safety.” Benjamin Franklin
Yes, ceiling and floor. The kick I used panel adhesive to the floor and under the cabinet, and on the back as well. The ceiling was screw into the trusses and then I adhered panels to cover the screw holes.
Figuring out how to do something you have never done is what makes a good challenge.
...woodicted
Petey


