This was my very first project posted at LJ on the 5th. April,2016… (nine days before my birthday… hint, hint).
Unlike now, lasers/CNCs were less unpopular due to lack of exposure, but being a thrillseeker, I ignored the traditionalists and I bit the bullet… ouch… went to the dentist and posted the article on my return home.
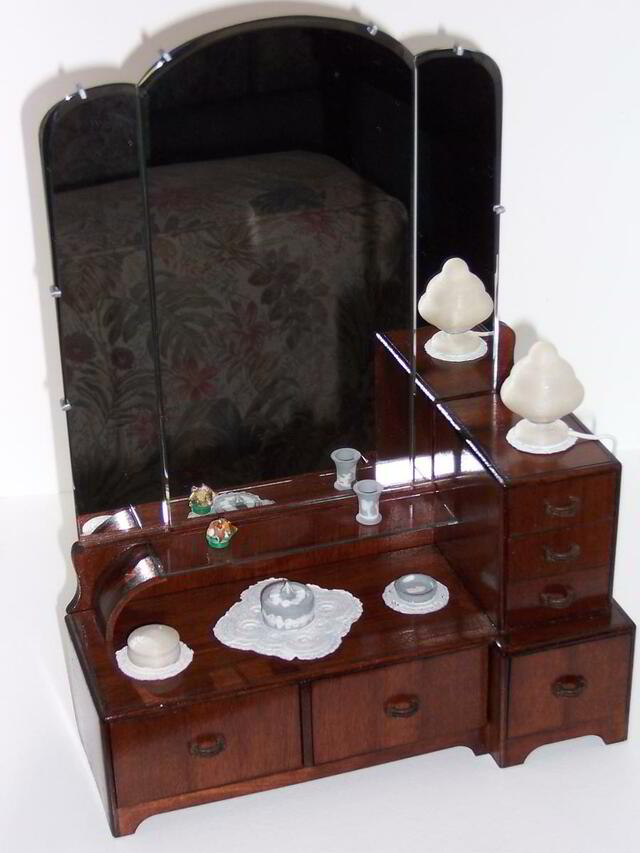
This is the replica seated on the actual item. The photo was unavailable at publishing time.
All the little knick-knacks sitting on the replica were 3D printed representatives, derived from the photos of the dust catchers resting on the original.
It was basically my only commercial undertaking using a laser I purchased back in 2010 with the hope that I may set my daughter up in business and I could borrow it to engrave a few pens… unfortunately she lost interest 1 week after I signed a non-refundable cheque and I was burdened with an expensive laser.
I have brought this across for several reasons.
Marking my laser territory…
Trying to create an anchor for laser/CNC contributions.
Highlight how you can evolve and include technology into a woodworking project.
Re-reading I have found many mistakes/inconsistencies, however, have decided to retain the original script out of respect for who used to be a younger author.
It’s a long read which many would probably find boring, however, I feel it’s an interesting exercise outlining the ah-hoc evolution in a workshop by a novice.
I completed this project in December 2013, long before I got into "Toys and Joys" model making and my introduction to LumberJocks. I have been requested for a sample of my laser builds and though this article is not a "how to do" procedure, I managed to salvage some old photos to put together into this presentation.
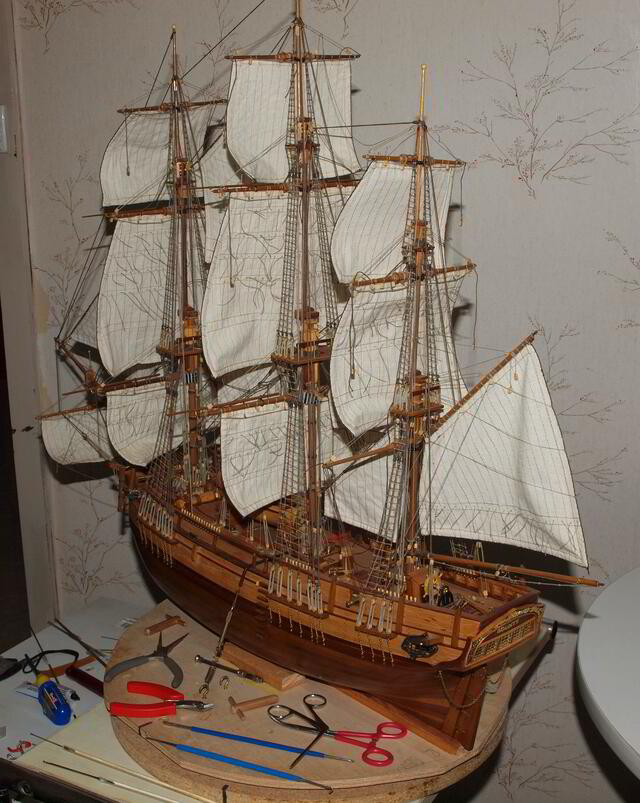
I was approached by a hairdresser friend to see if I could miniaturise an heirloom dresser for one of his clients (for anonymity and simplicity let's call her Pam). Due to circumstances, the dresser had to go but she wanted something more than just photos as a keepsake. Due to my experience in model making (I'm still working on a model of the Bounty that I started in Y2K) I was asked if I could make a miniature of the dresser.
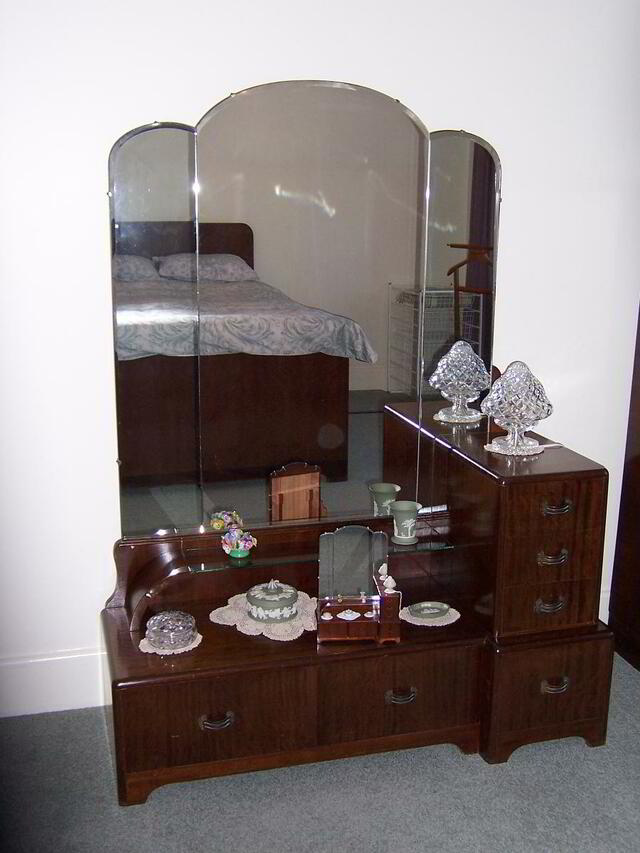
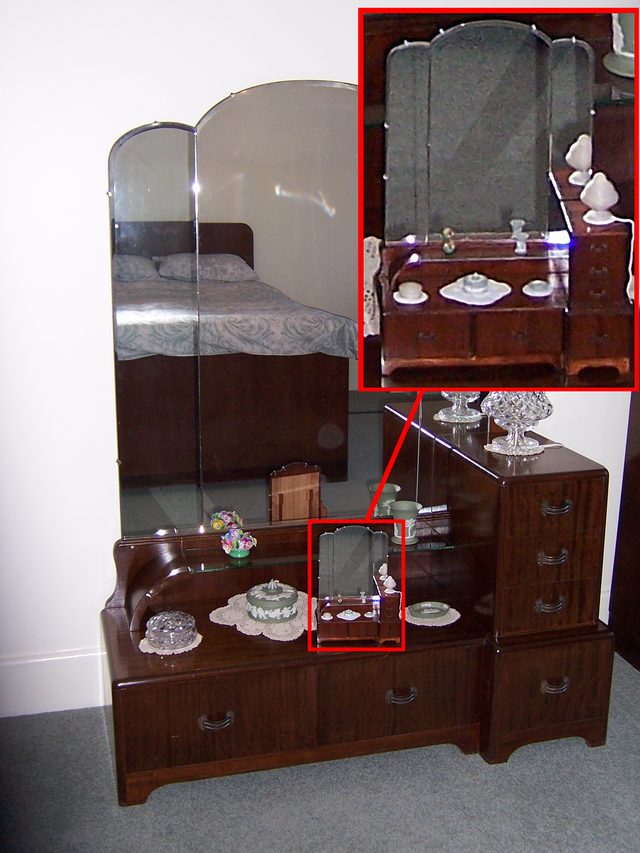
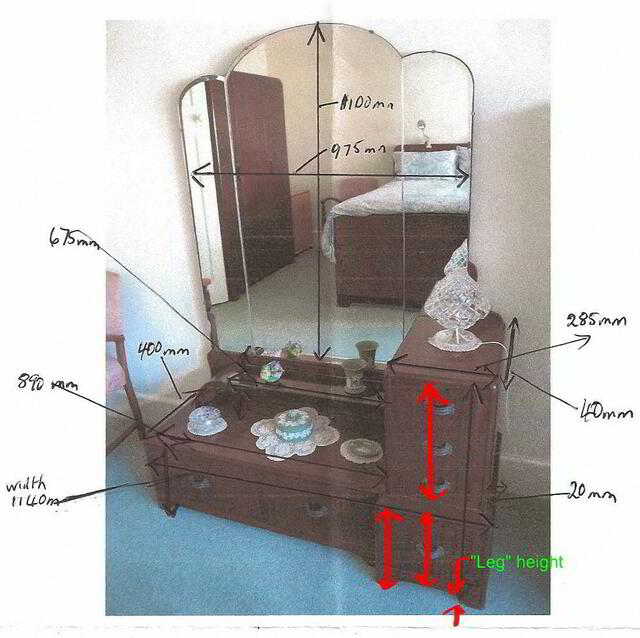
Originally this was the primary picture presented to me with basic measurements.
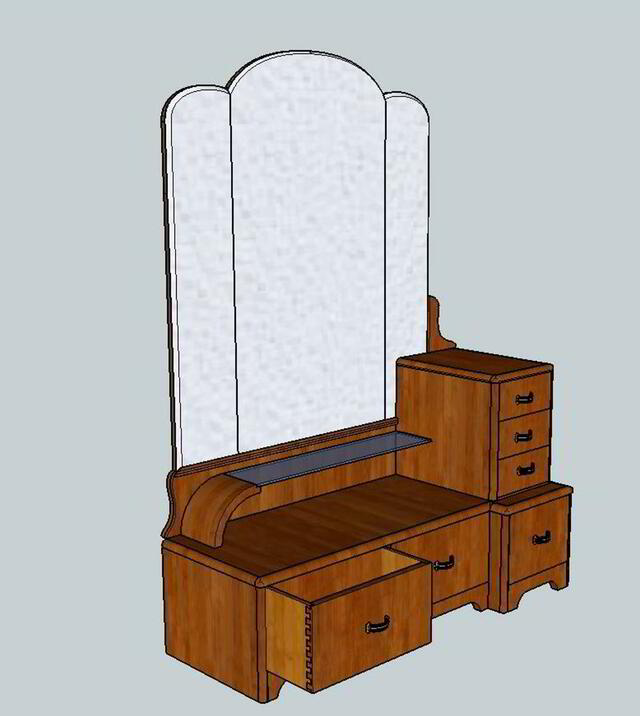
There were several other pictures presented to showcase the back of the dresser and the insides (without the drawers etc.). Due to isolation and availability of parties, I could not take measurements myself so the pictures and correspondences shuffled back and forth until final measurements were established (and jelled together), which resulted in the following model in Sketchup.
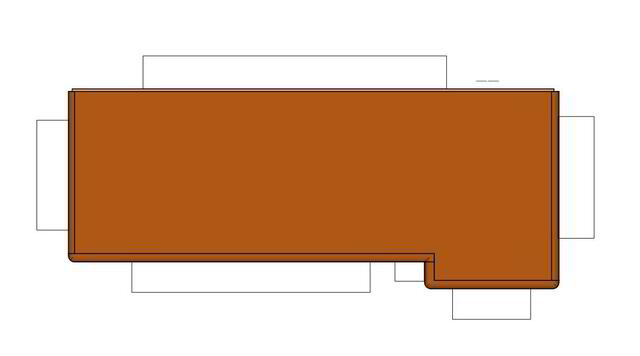
At this point Pam was not sure of what size she wanted so I printed off several different sizes (1:4, 1:6, 1:8 and 1:10) using Layout which is part of the licensed Sketchup Pro package. The printed "parts" had tabs attached (using rectangles drawn in under Layout) so they could easily be glued together after cutting out to give an idea of expected physical miniature size. We agreed on 1:6. Below is the example of the dresser top with the "glue tabs",
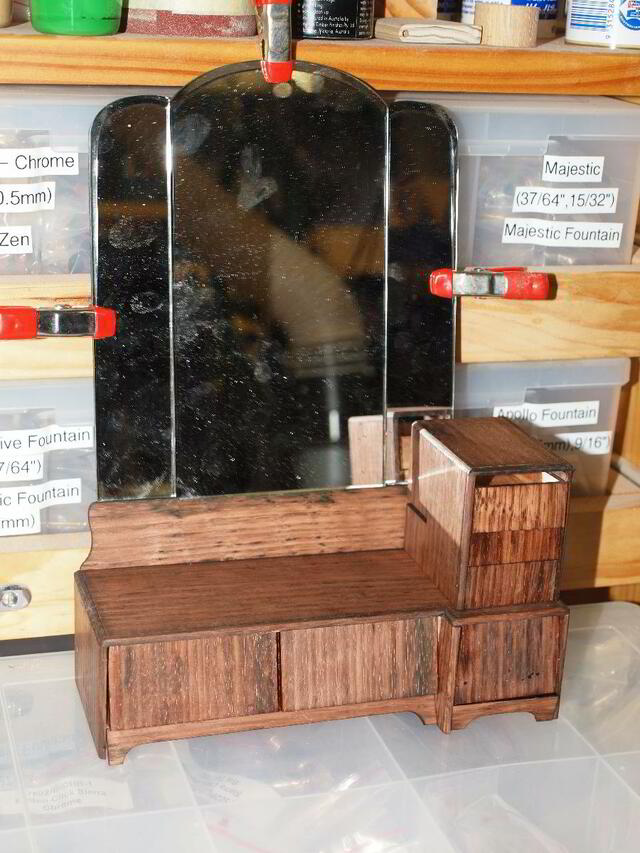
The parts were then cut on the laser (and lets not start a laSer/laZer debate here) out of Tasmanian oak which is a very rough grained timber and stained walnut. This was just a prototype and a trial run for the real build. This prototype confirmed the use of CA as opposed to PVA glue.
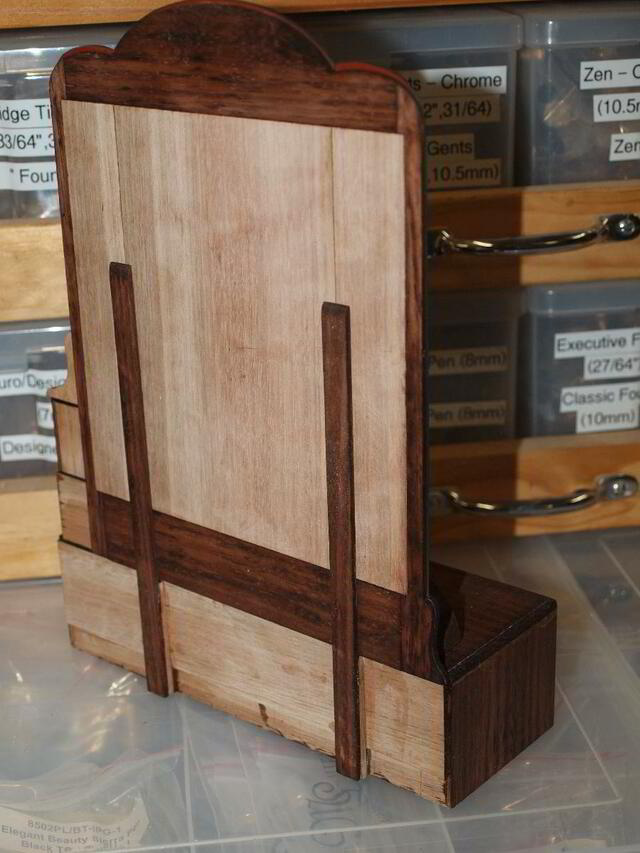
I tried for total mimicry, so the back was replicated as per the real McCoy, down to the mirror frame, back supports and even the scrap chock blocks at the back. The inside of the carcase had all the original timber replicated as well as all the internal "hidden" drawer mistakes. All mistakes and dodgy craftsmanship was replicated (often not by choice, oops… I quickly realised why/how the original mistakes were made). This was going to be an exact miniature replica and whenever I accidentally corrected a mistake I went back and stuffed it up to plan. This was an agreement I made with Pam after discovering the first original build mistakes when I had certain close up pictures of the actual dresser sent to me.
I was then faced with the task of making the drawer knobs/handles. At the time of contemplation (I tried many combinations with varying degrees of failure [ranging from total to fully]), I visited the Melbourne Working with Wood show where I first saw a 3D printer being demonstrated and immediately saw it's potential. What spurred me on was the fact that I (and even you) could design and 3D print direct from Sketchup (even the free version). There was a wood show special on the 3D printers that I could not refuse, so I became the proud owner of a UP Plus2 3D printer with heaps of free filament. I then went on to designed a knob as close to the original and this is the result. Sketchup design of the handle.
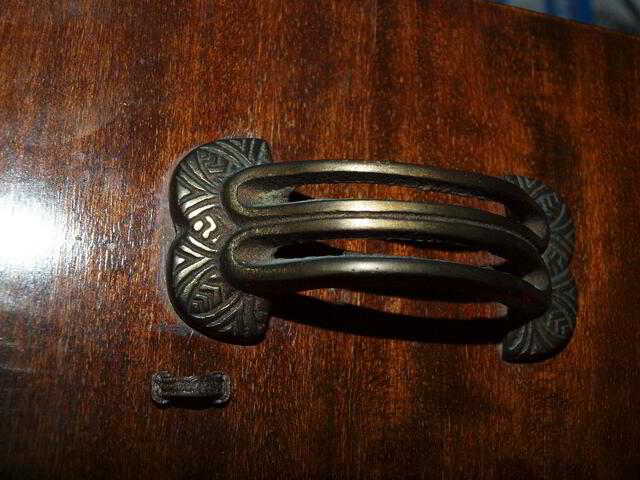
The real thing(s)... the 3D handle is just below left of the real handle. The graininess of the 3D printing simulated the pattern of the original handle to a tee and printing in brass coloured filament removed the need to paint it.
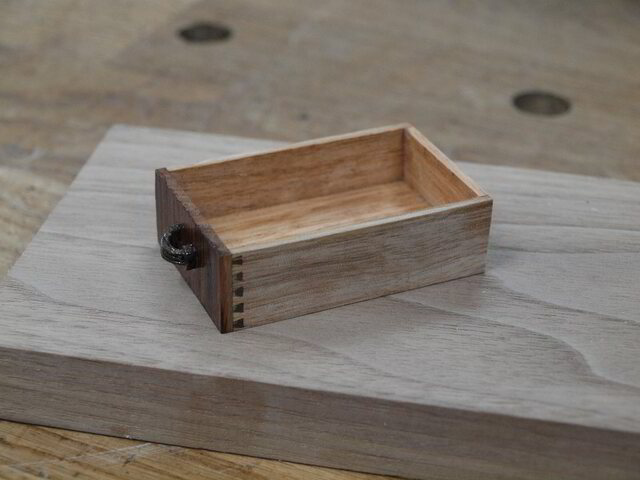
During a visit to Melbourne, I eventually met Pam and was able to take away one of the drawers as a sample. The following is a comparison of the real drawer and the drawer front from my prototype.
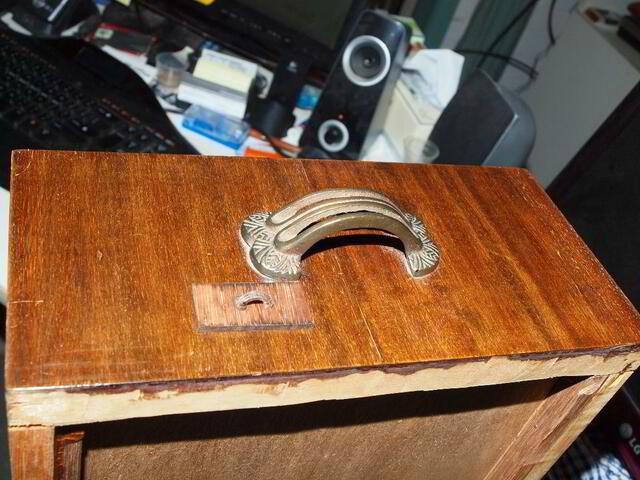
The prototype with the handles.
I threw in this picture just to showcase my dovetails on the drawers sides (I won't mention they are laser engraved). You need to look close due to poor lighting.
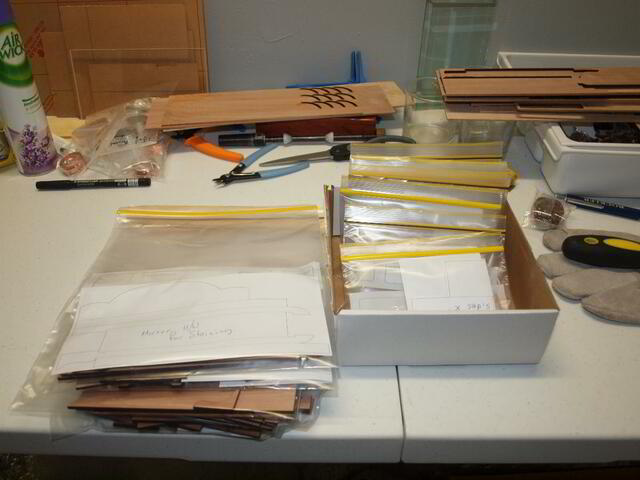
Having confidence in the laser accuracy, especially after the prototype build, I cut all the pieces and grouped them in baggies.
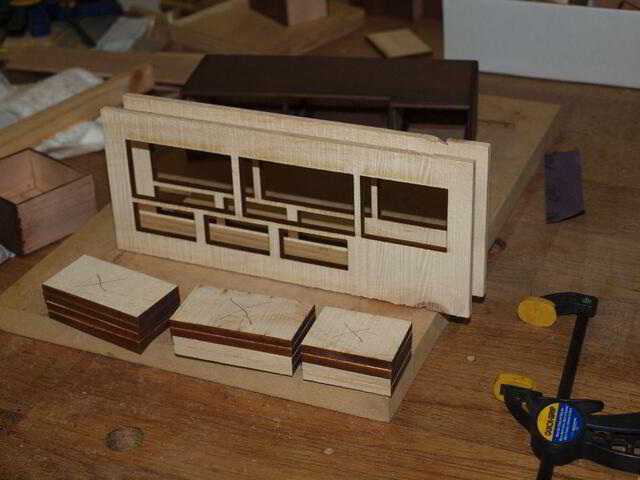
Bulk cut the drawer sides and bottoms from tassy oak.
as that reflected the quality of the original drawers.
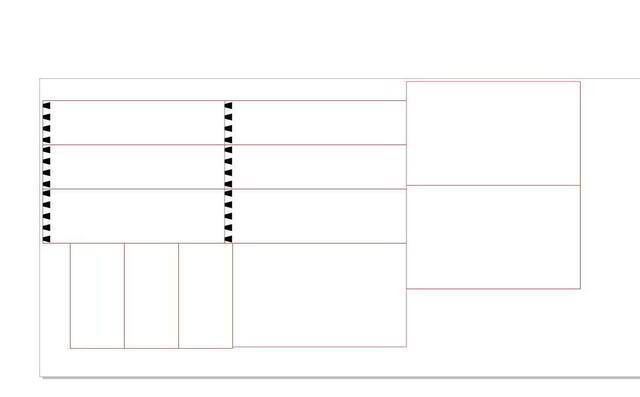
Unfortunately I didn't take pictures of the dovetailed drawer sides, however, attached is the prepared drawing for the cabinet drawer’s parts which gets sent/printed to the laser. Red (which are all the lines and not clearly shown by the picture) is for the cutting and the black is for engraving (the dovetails)
While I was at the wood show buying my 3D printer, I also purchased some Tasmanian myrtle for the project. As the model was only 1/8" thick I only needed a small board (it measured about 90mm x 350mm x 19mm)... in the shade. Components were assembled, received a light "wash" of walnut stain to enhance the myrtle's natural colour and ready for finishing. I applied a wipe on poly….. (with a brush)
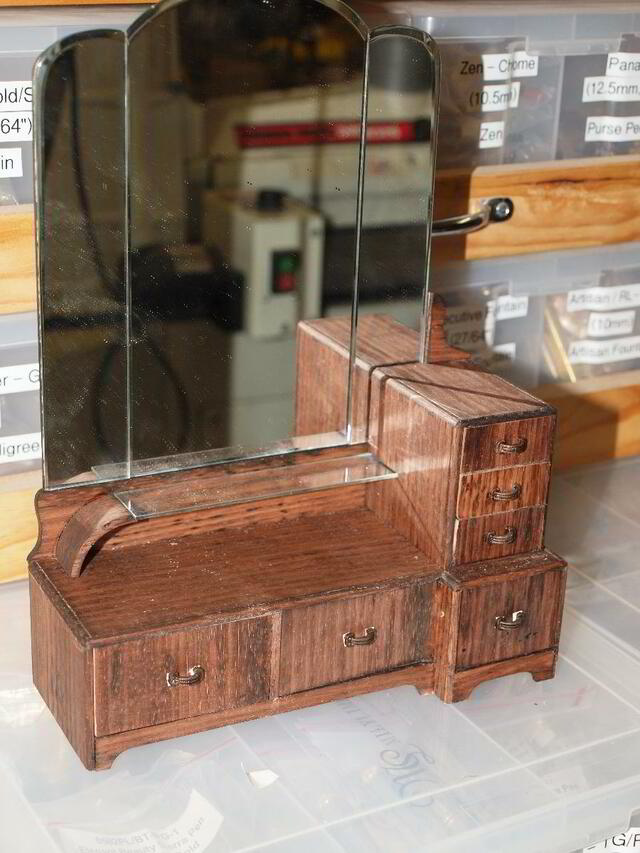
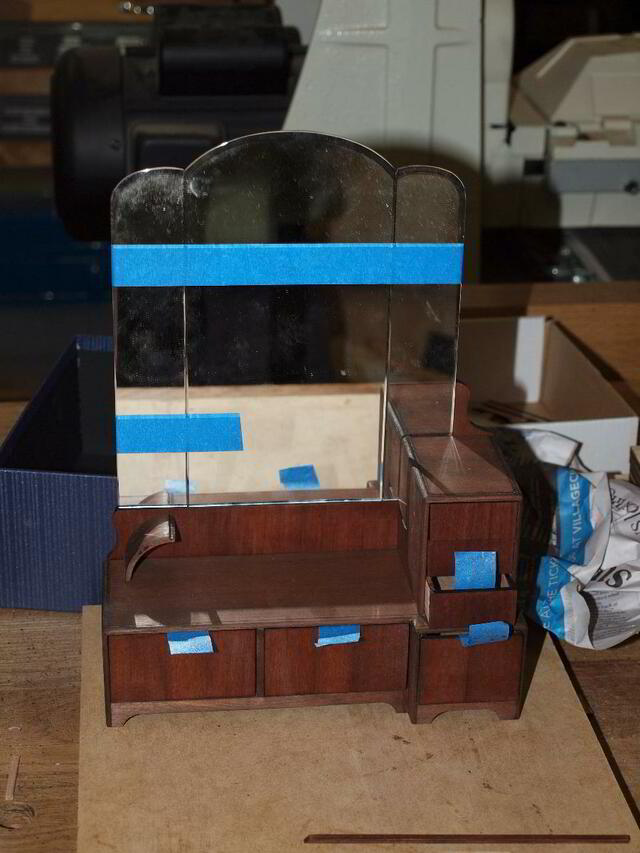
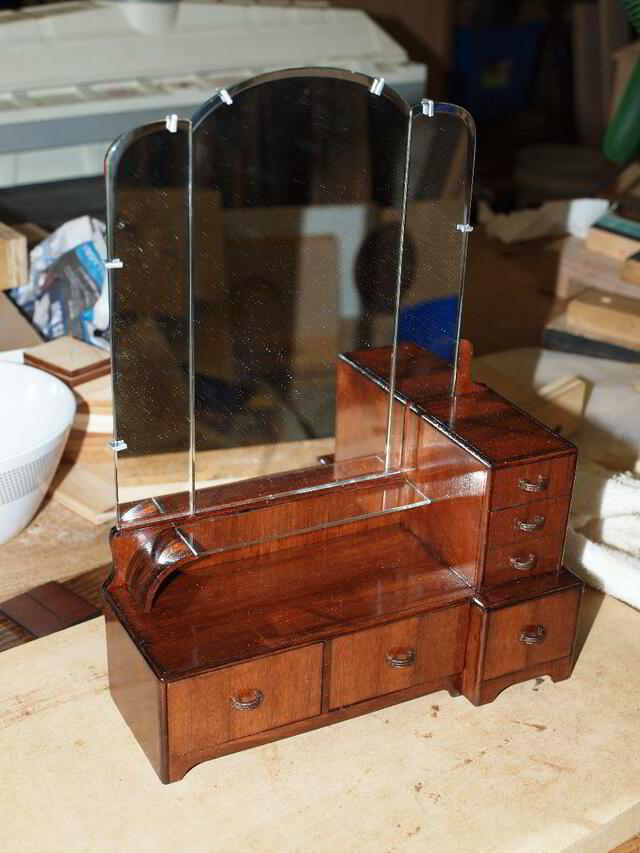
The finished dresser. Fortunately a close friend of mine is a glazier and he supplied the 3 piece, bevelled, wing mirrors and glass shelf to perfect scale.
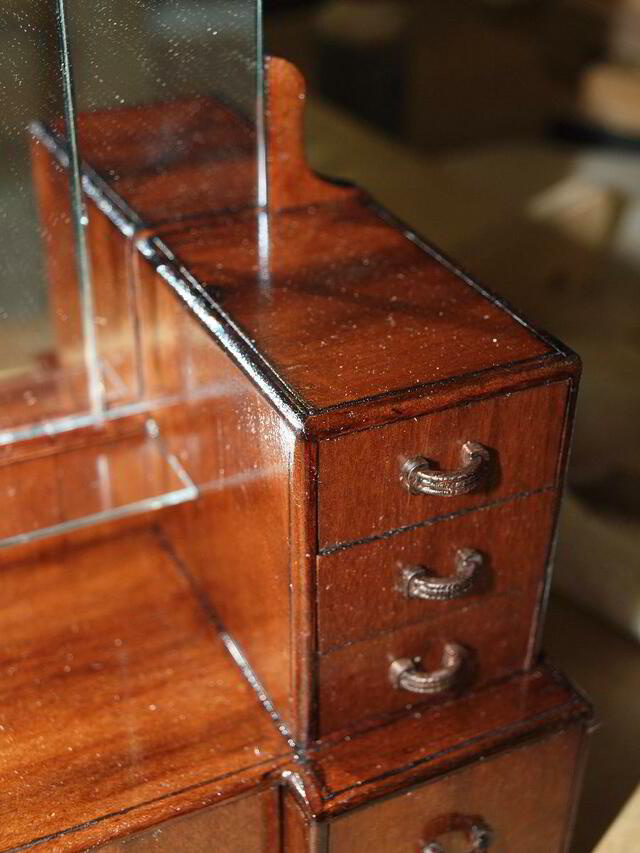
A close up of the drawers and handles (and the "banding").
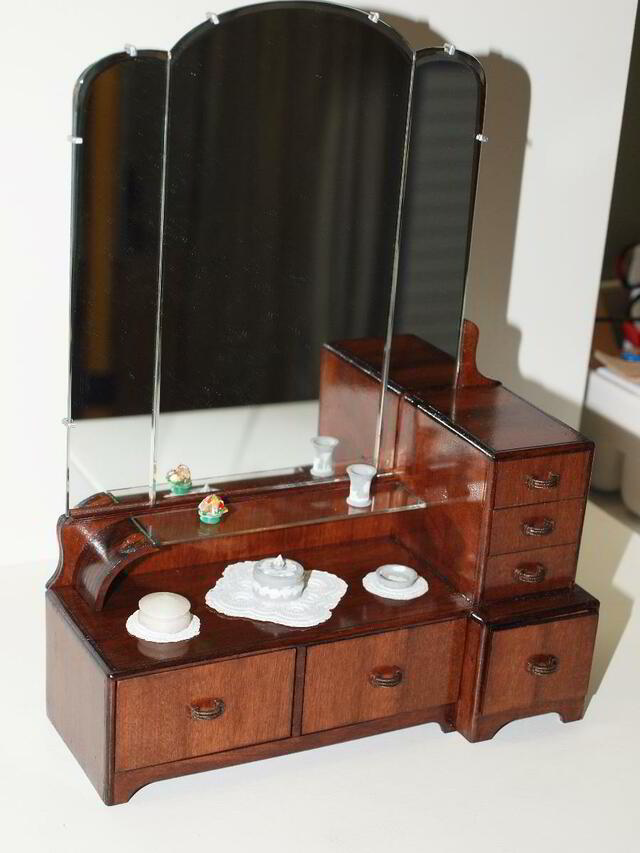
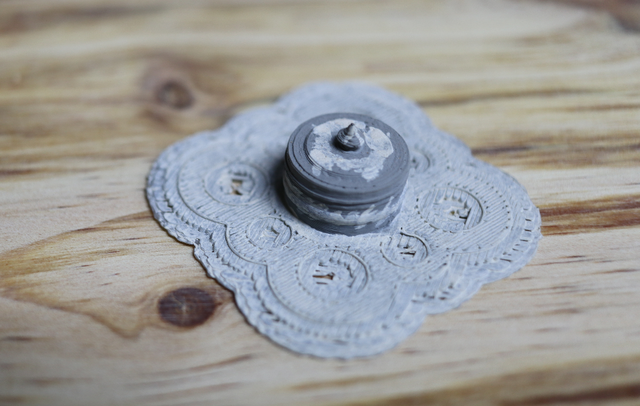
I also designed the knick-knacksPam had on the dresser using Sketchup and 3D printed them. It so happened that the raft (which is the base printed to build the model on and is normally broken off and discarded after printing) used by my 3D printer happened to look similar to the napkin the vases rested on. A coat of model paint and the full replica was "finished".
This is one of the first samples I tried to 3D print, that I still have,
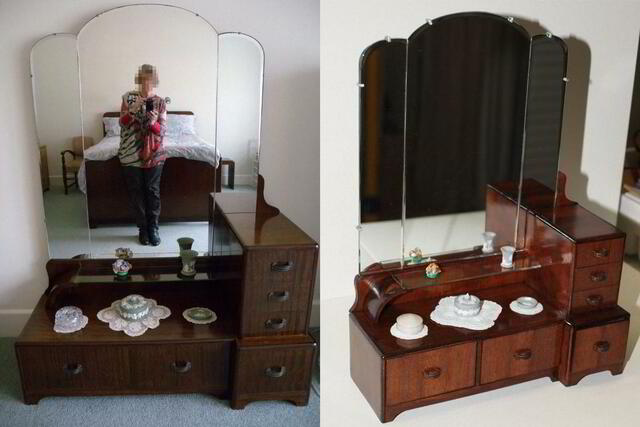
This is a side by side of one of the original pictures and the completed model.
I subsequently found out that Pam moved the lamp aside while she was moving the dresser to take pictures at various angles, so as an after thought. the lamp was designed in SU and 3D printed. While building this presentation it actually registered in my "vino" soaked brain that the lamp was actually in the very first picture presented to me as displayed at top of this article (but missing from subsequent pictures - added this disclaimer to reassure myself). Unfortunately my transparent media was not as transparent as the glass lamp but I give myself "E" for Effort.
The two bits of timbercraft, including the lamp, together. The model posed for a selfie on/in the middle of the real dresser before it was put out to pasture.
Oh yeah, for those that may be bemused by my mentioning my Y2K (circa 2010) started project. Were you paying attention or did you have your grandson read this article by proxy??,
If your first cut is too short... Take the second cut from the longer end... LBD
thats an incredible minature duckie.i actually read your whole thread,well....most of it-lol. ive seen the ship before also very impressive to say the least.
working with my hands is a joy,it gives me a sense of fulfillment,somthing so many seek and so few find.-SAM MALOOF.
Double Petey's amazing comment. That is some fine skill to make such a detailed miniature.
Brings up a philosophical question. At was point does one switch from a laser to but large into small and with to a 3D printer to make small into large. Then there is the question of can one device make the other?
That ship is something else, hate to guess the number of hours involved.
Idea for a clock: Needs some scurvy stricken sailors blowing chunks overboard on the hour
I remember the original post - barely 😁. An excellent model and interesting write up. The ship is amazing - there was a time I thought I wanted to do one of those but I was mistaken.
Thanks all for your kind comments... It was an experience and a great learning curve... the reaction of the recipient should have been enough... she insisted in slipping quite a few extra shekels for the effort... some idiot declined.
Though one of the things it taught me was that I could never charge what stuff I make would actually cost... materials are normally bugger all, but the labour with the oopsie corrections prices me out of any market.
It was this project that convinced me to never go commercial, and only undertake "free contracts" for close friend.
James McIntyre commented about 6 hours ago new I was wondering how you did the beveled mirror. The glazer did a fine job. It must have been hard to put a bevel on such small parts.
The glazier was a close friend that came to Australia with my family on the same boat after the 56 Hungarian revolution.
He learnt from his father who was a master craftsman in glazing and until he retired, his small 2 man (brother) team, create works that very few in Australia could produce.
The mirror was a perfect recreation and was an art by itself.
If your first cut is too short... Take the second cut from the longer end... LBD
You and your Hungarian friend brought old world craftsmanship to Australia. You also built a wonderful ship. There must be a reason why the word ship is in craftsmanship.
What type of boat did you take to Australia? I’ll bet it looked like the one you built. Lol Merry Christmas!


![Kitten Clock. [Contains “r Certificate” warning] - Project by LIttleBlackDuck](https://pic.craftisian.com/t/0d3089b772c441a5a7050dc3c666d544.jpg "Kitten Clock. [Contains “r Certificate” warning] - Project by LIttleBlackDuck")

")
")
")
")
")
.png)
.skp%20-%20SketchUp%20Pro%202016-000382.jpg)