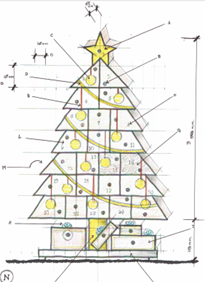
Early in 2022 my nephew asked if I would like to make an Advent calendar for his family - the one they had was well past its best. Aware of me dabbling in woodwork, having made boxs for his wife, and my two great nieces, he thought it would be something that I would be interested in. Lots of little drawers/boxes possibly some marquetry in the decoration and also a challenge. So, I said yes! He sent me some ideas – essentially a Christmas tree with lots of little drawers for gifts.
Word got out and my niece asked if I could make one for her family as well. My wife and I decided to do one for our adopted Australian family, and another friend wondered if one for his grandchildren in the UK might be possible!! Hmm!
So, one became four, and it seemed that a bit of mass production would be required – some CNC perhaps? I have a friend who has done a range of laser CNC engraving for me over the years, makers buttons, engraving on my boxes, even some laser cut marquetry. I knew also had a CNC router.
A discussion with Len, and yes, he was hooked on helping with the idea, and the four quickly became six, with the addition of two more for trees his grandchildren!
The six didn’t seem a problem, as while we were programming for one, cutting another five would be easy…… Well yes, but …………………!
Size would be determined by the size of the plywood that would fit his machines. The laser being small than router, meant wehad to cut the tree fronts in four pieces. We decided on the following basic design.
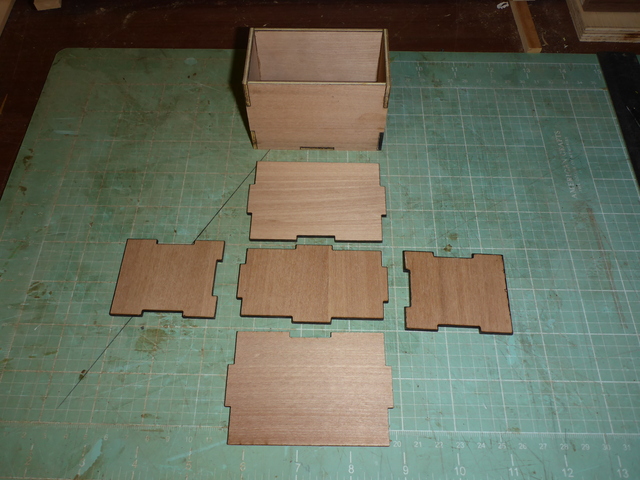
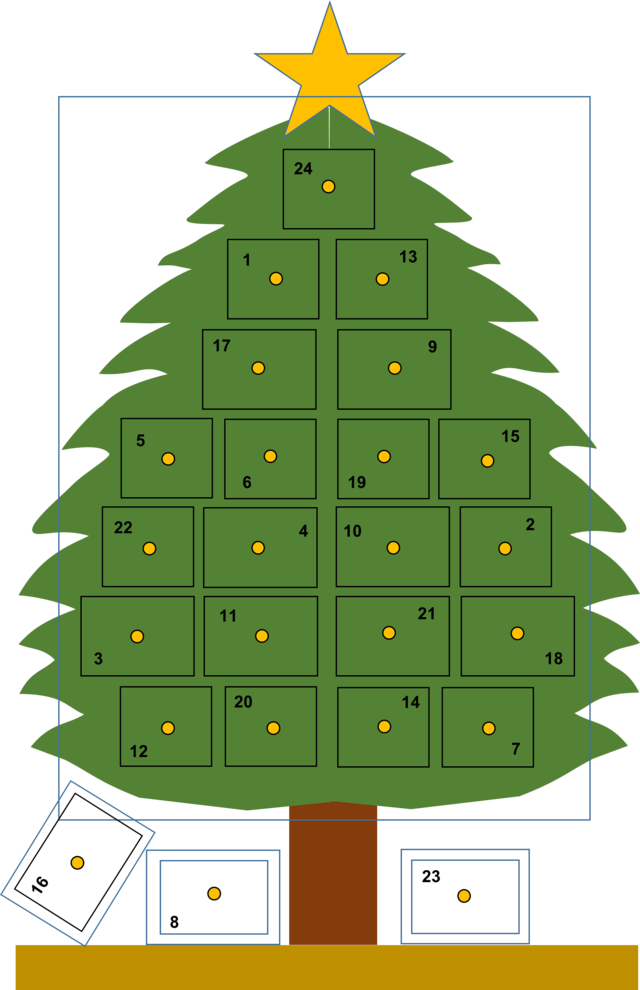
A back and a front separated by a framework for the drawers, with some additional 'presents' under the tree to make up 24. We stuck to just two fifferent sized drawers for ease of manufacture. After some tution from Len I worked with 'V Carve' software to come up with the programmes for the cutting - quite a learning experience for me. However these need quite a lot of editting by Len, but it was a good start.
The backs were cut on the router.
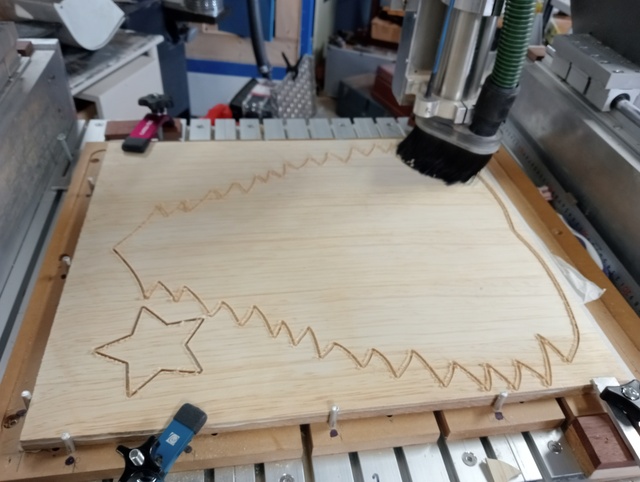
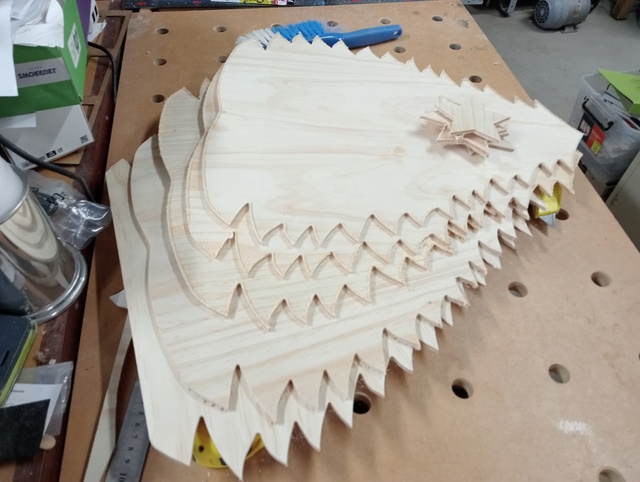
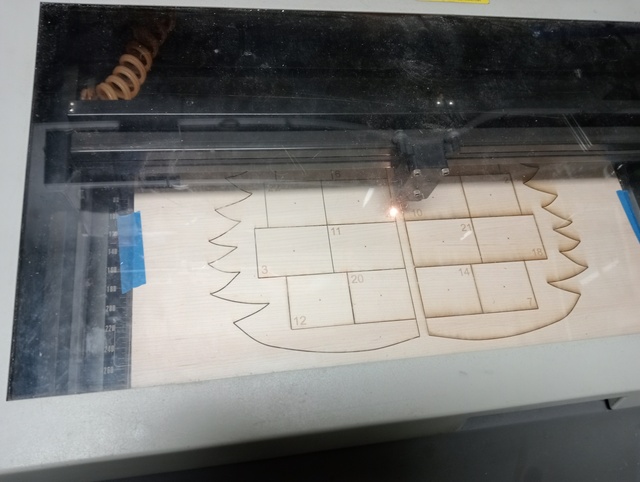
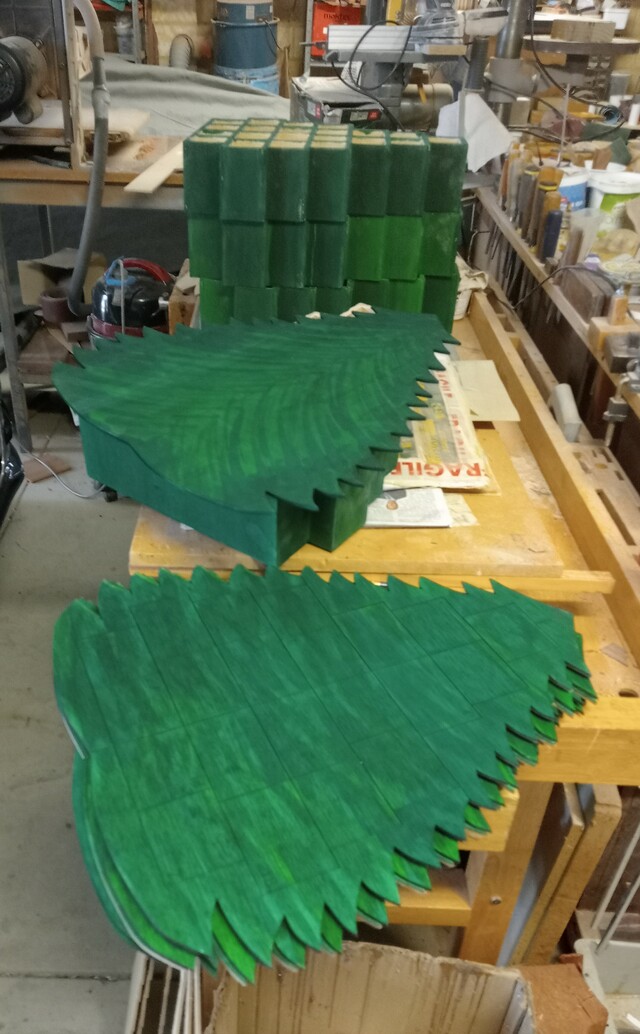
The fronts in four pieces, with integrated drawer fronts, on the laser.
We added numbers to the drawer fronts but these didn't work, and also a dot to mark the centre for the drawer knobs.
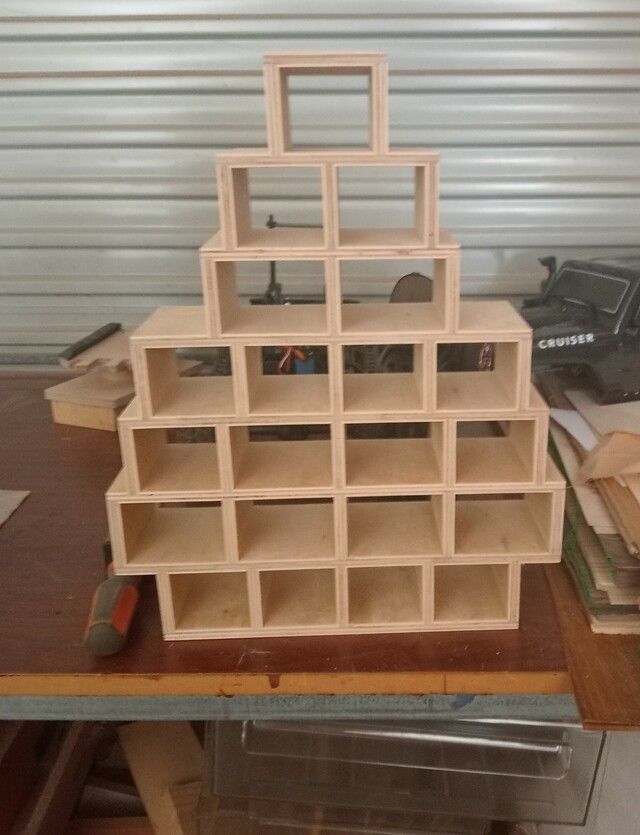
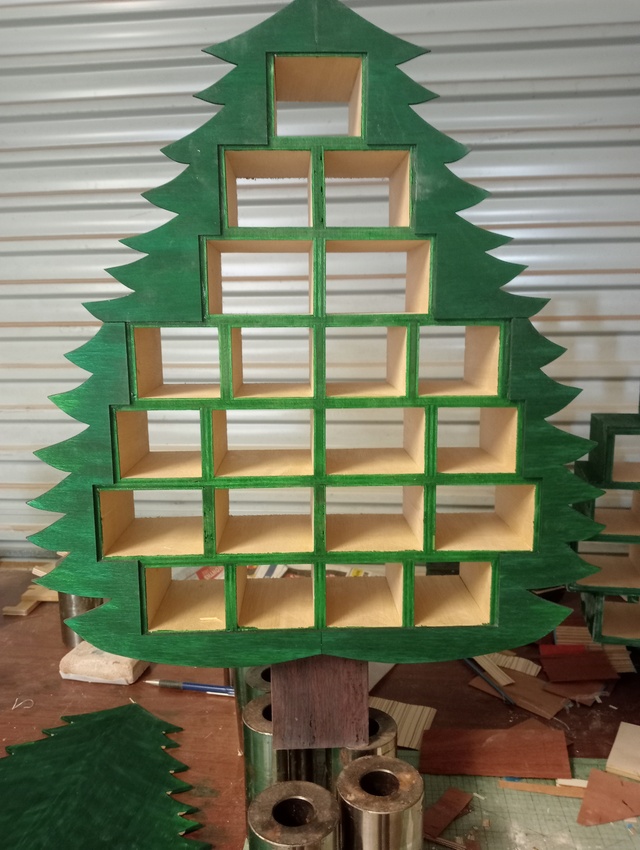
The frame work for the drawers used housing joints and were cut on the router as were the 'present' boxes for under the tree.
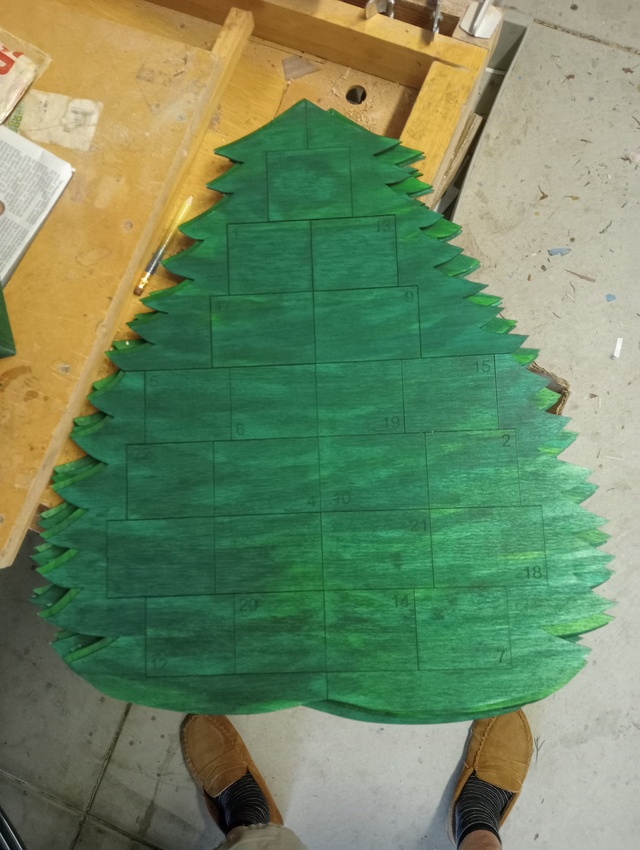
With the fronts and frameworks assembled we used two tones of green leather dye/stain to make the trees look more realistic.
I was hoping that would be it, but I soon decided they needed a better finish, so applied 3 coats of polyurethane.
With the trees assembled it was time for the drawers. The back of the tree being left off to enable the drawers to be glued to the green fronts.
Yes just a few drawers - 144 in total and with the extra front, and a bottom that came to 864 pieces the cut, finish and glue up!! Now we were realy were into mass production!! For the drawers we used some CNC box software that just required the sizes punching in and it did the rest for a simple finger joint construction. To fit the drawers to the tree, once glued up, a drawer was placed and wedge into position in the frame, and the green numbered drawer front glued on. The open back of the framework allowing pressure from the clamp to pull the drawer front down onto the framework, and the drawer onto the front - hope that makes sense to you! This worked really well with hardly any fine adjustments required. The fact that all the green drawer fronts had been cut together along with the front frame, ensured they fitted. With all the drawer fronts glued on, the back of the tree could be glued on.
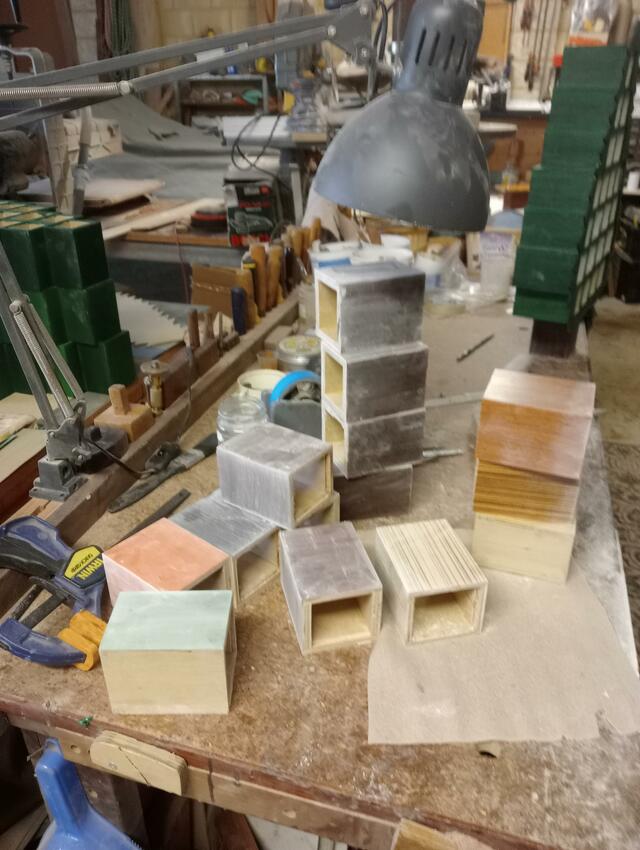
Then the 18 presents under the tree, and 6 tree trunks were made.
These were glued up first and then veneered. They presents have a couple of dowels underneath that locate into holes in the base. The trunk fits over blocks attached to the base and the bottom of the tree. A couple of screws hold it in place and mean it can be taken apart for storage until the next Christmas. The star has sprinkled gold dust under a couple of coats of polyurethane. It has a small frame on the back which enables it to push fit onto the top of the tree.
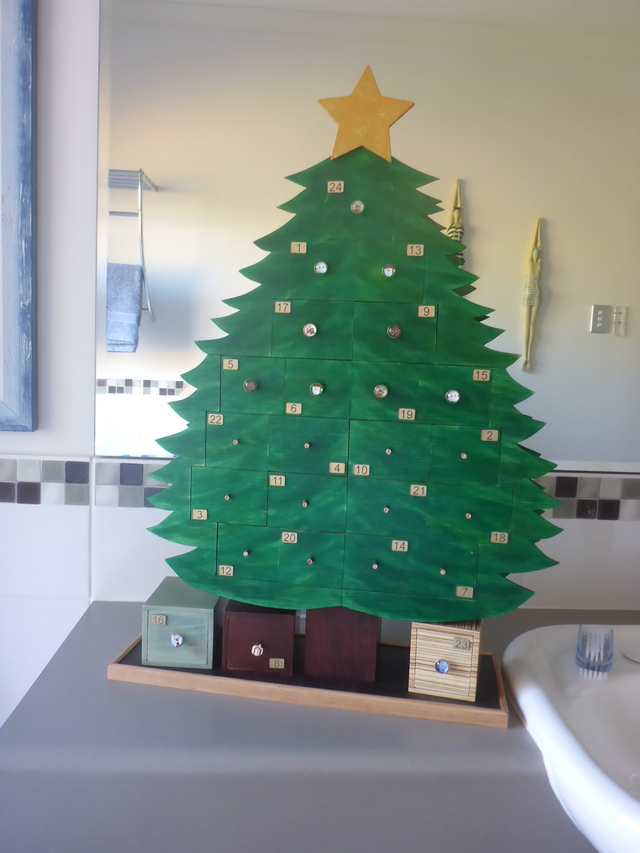
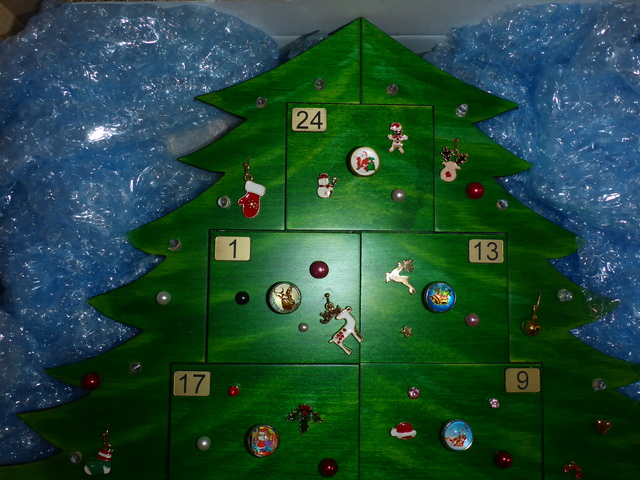
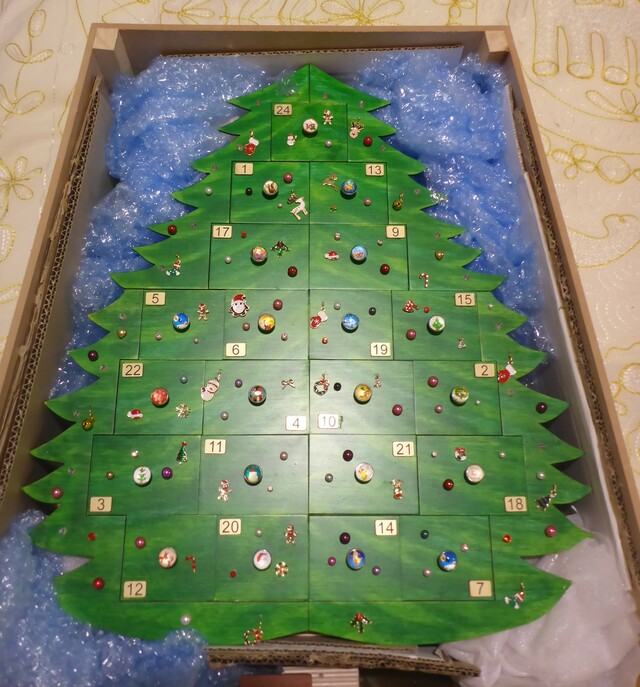
A finishd tree before all the knobs and baubles were added.
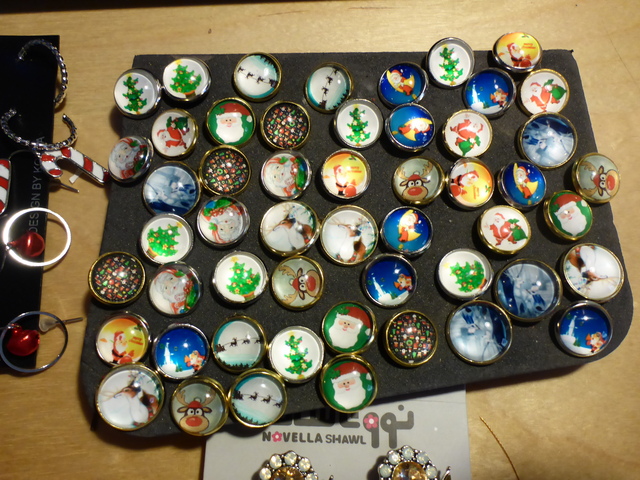
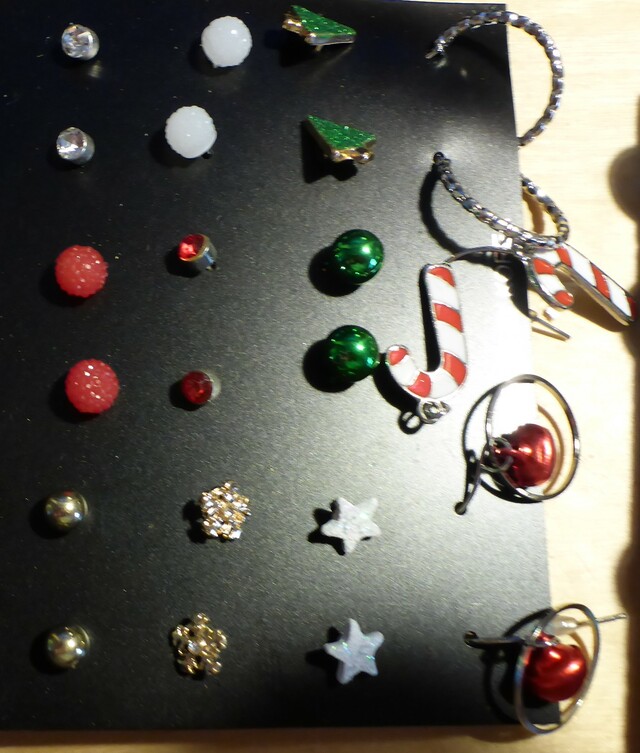
Over the years I've often used ear rings as knobs for boxes. I found some amazing Christmas cabouchon stud earrings on my favourite AliExpress web site - they were perfect. 4mm dowel was used as the knobs stem, and then a 1mm hole drilled in it enabled the earring to be fixed in with super glue.
Continueing the earring theme I got more, and more, and more Christmas earrings as the baubles to put on the tree!!
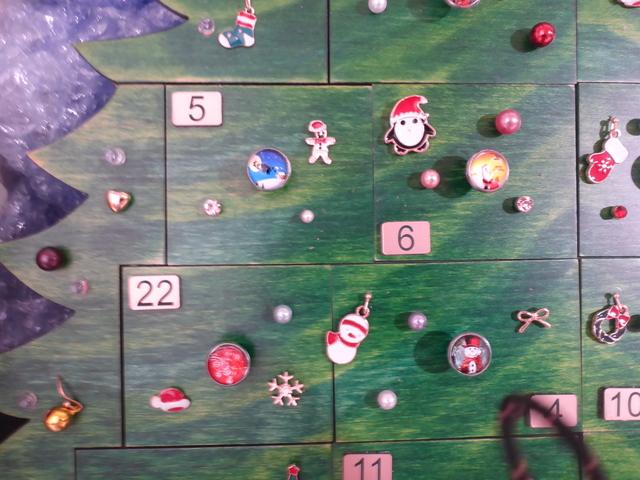
Unfortunatly the numbers on the drawers got lost once the green stain was applied so we made new ones and applied them with double sided tape.
Must say I got quite pi.... ed off cleaning up and making the 144 drawers, and could only do a few at a time. But the over all effect turned well, and Len and I were pleased with the overall results.
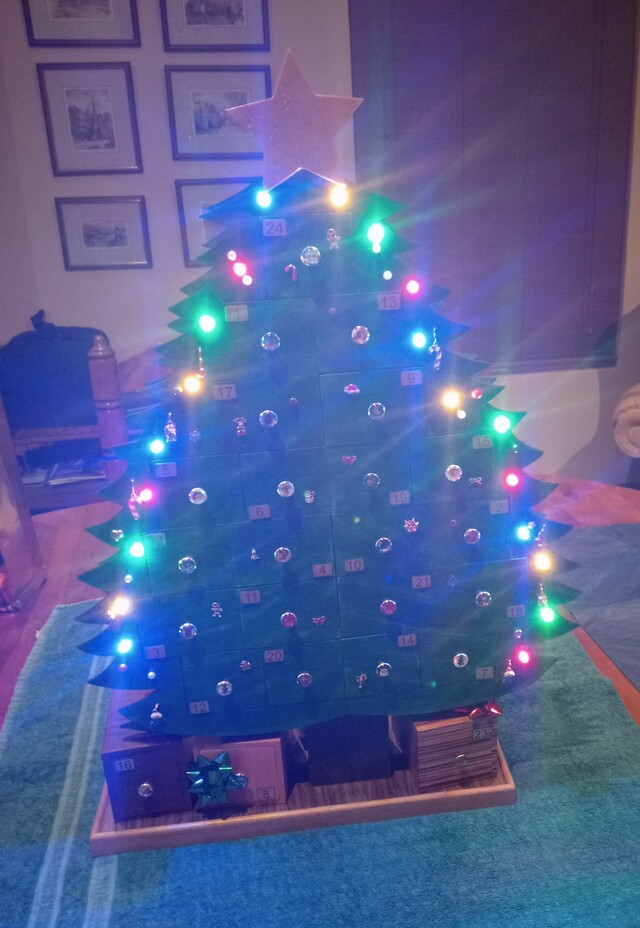
I found some $2 battery powered Christmas lights in our local Red Dot store, that I thought would enhance the trees a bit more. Sorry this is the best picture I have!
The final job was to make some packing cases for the 6 trees, five of which were going overseas! By some miracle I've just found out that the size of a packing case just fits within the maximum 'girth' dimension, allowed by Australia posts International shipping service ...... wow was that lucky!
Packed and ready to go!
Unfortunatly the gestation of the deisgn took a long time, so they were finished too late for the oveseas ones to be sent off in time for them to arrive for 1st December - but theres always this Christmas, and yes there's just 345 shopping days left!!
Don't know about your setup, but, People tend to assume that with CNC(/laser) it's a poof and it's there. Many forget the design, time and effort... probably most would have ignore the 144 ears without rings... and Aliexpress does not have an affiliated link to Alibaba's Alakazammagic creations... the shekels must have mounted... then the postage... I don't want to sound tight, but for me the cost is "in matterial", nevertheless, such gestures are seldom reciprocated.... not that I'm keeping score... BS,I must be to mention it... but it's a fact.
Again, 👍👍👍👍, good onya.
If your first cut is too short... Take the second cut from the longer end... LBD
Yes Ducky, the CNC only saves time cutting out, and ensures accuracy if your programing is right ..... but all the design, trialing, cutting time etc, etc is still there! I spent a few days with Len doing this, but he did most by himself. The baubles earrings etc came to A$197 around US$135 for the whole lot for 6 trees, and that included postage! AliExpress is cheap, cheap, cheap! They are also good for smallish pieces of exotic timbers.
MsDebbieP, the trauma of 144 drawers ………… not hard, or difficult, but boring and time consuming. Len did the working out of how best to fit the pieces to the sheets of ply we had, then he then over saw the cutting of all 740 pieces. I had the task of cleaning up and gluing together the majority of the drawers. So cleaning off the smoke stain from 740 pieces. Around 300 of which were covered with transfer tape, as some ply wasn’t good laser ply. So, Len covered a face with transfer tape to prevent the smoke stain. That meant the transfer tape needed peeling off, another big job as it tended to tear at the corners of the finger joints requiring 3 or 4 attempts. Jigs to make to aid the glue-up, then cleaning up 864 outside surfaces once the drawers were glued up. Then gluing on the fronts to 144 drawers .................
A set of drawer pieces, and a spare 'present' drawer.
A jig for gluing up the drawers - there were 5 of them! Lots of clamps and rubber bands were used !


.png)