Geisha - a Japanese style box

926
24
This project, finished mid-way through last year, seemed to have got lost when that other site changed its format.  So, I thought I would post a revised version here as a way to introduce myself.  Thanks to Brian for introducing me to Craftisian.   Hope you enjoy reading it. 
 
Back in April 2022, I was sked to run a marquetry course for my woodwork association here in Western Australia.  So, I thought I had better do a bit of practice to remind me of the techniques and to get my hand back in! 
 
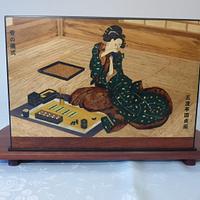
Having been in Japanese mode for a few years now, I had always wanted to make a box decorated with marquetry images of Geisha.  Having been to Japan some years back I had visited an exhibition of traditional Japanese woodblock prints of the mid 1800's and was inspired.  Given that the woodblocks used to produce the original prints were carved from solid timber, I thought they would be relatively simple to reproduce in marquetery – hmmmmmm well sort of! As an added incentive I had purchased some geisha woodblock print style fabric the other year specifically to make a furoshiki - fabric cover, for just such a box, when I eventually got round to making one.


First up was the decisions on what prints to use for the box. To some extend this would govern the size of the box, nothing too small or the marquetry would be a nightmare to cut!

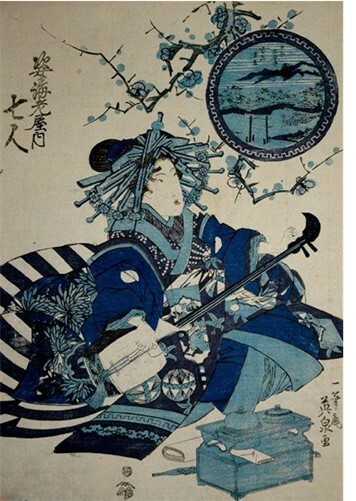
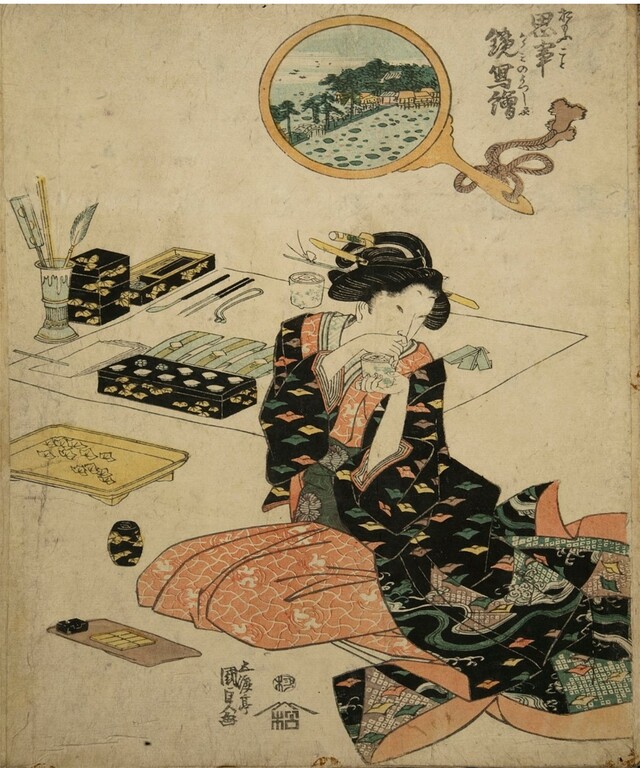
Following a long internet search I decided on the following three. 
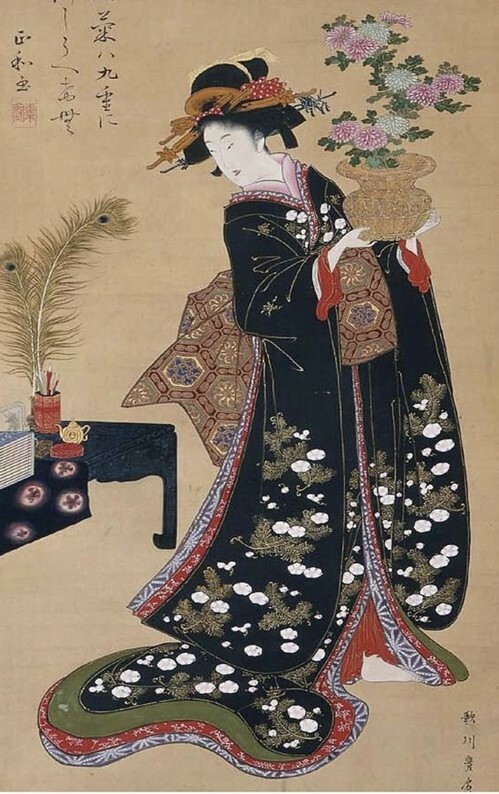
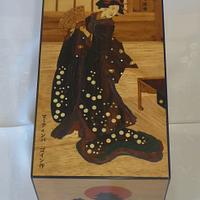
The top. 
 
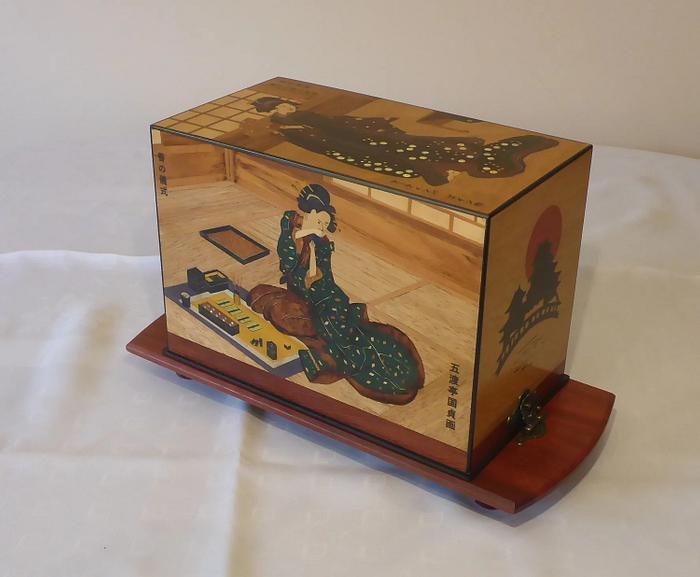
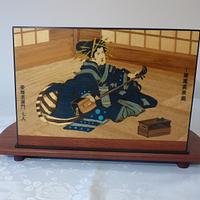
The sides. 
 
To make them fit the box I changed the images slightly to make them easier to cut and to give them the correct orientation. The top print was called Lady with nine chrysanthemums, but I decided the vase of flowers with 9 tiny chrysanthemums would be way too hard for marquetry.  So I change it to Lady with a fan! The side prints needed making wider, to fill the space so I extended the Geisha’s kimono's and shifted some of the background accessories around. Typically, most woodblock prints of Geisha’s only have the geisha and perhaps a mirror or table included in a very plain background.  However, I decided to put my geisha into a traditional Japanese rooms complete with tatami mats and wooden screens. 
 
The background for the top.

The background for one side. 


The finished main panels before being assembled into the box. 
 
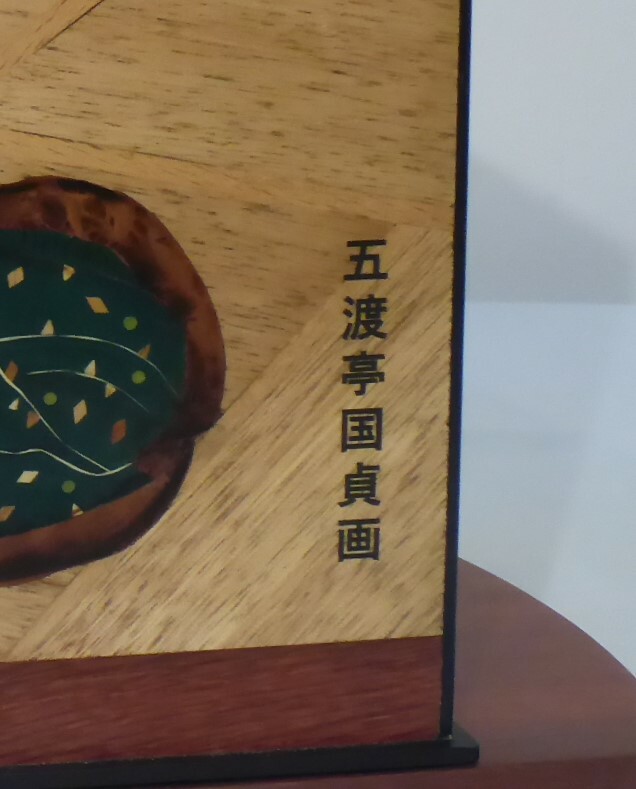
To finish off the outer Geisha panels in a style that reflects traditional woodblock prints, I worked with a friend to laser engrave sets of Kanji characters on each one that gives its title and the original artists. 

 
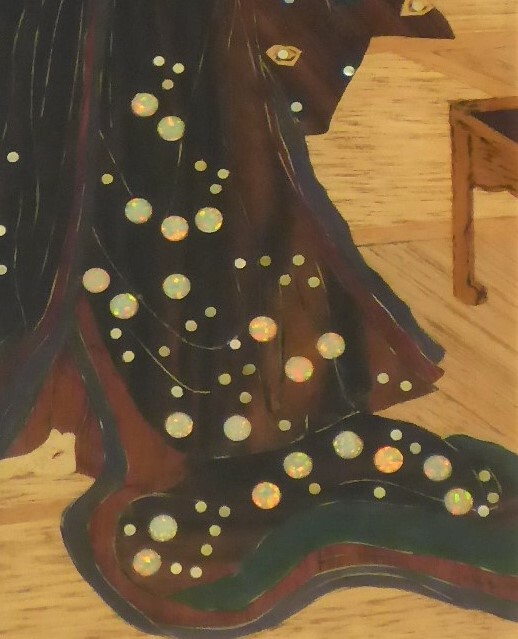
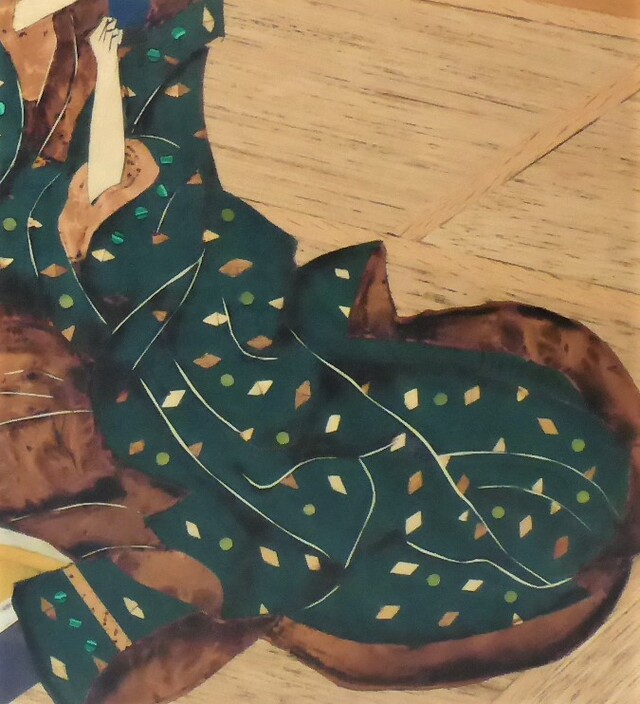
Once assembled, the main panels were also enhanced with dots  and discs of Mother of Pearl, Opal, Malachite and Turquoise.  Plus I tried my hand with some pyrography, rather than sand shading, to add detail, though I may have been a bit too heavy handed with this!!

With the images for the top and long sides decided, I decided that similar images derived from woodblock prints would be complicated once they were reduced for the ends of the box. Wanting to keep to the Japanese theme, I started looking for some small traditional Japanese landscape scenes that wouldn’t detract from the Geisha panels. I found some landscape silhouettes, with the theme of the typical red Japanese sun.  But I had too many, so as I wanted to use them all I decide to put one inside the lid!   Being relatively simple landscapes with only two coloured veneers, plus the background, these were the first panels I cut.  Perfect for getting my hand in for my marquetry course. 
 
The small end panels Hemeji Castle, and the floating Tori gate at Miyajima.   Mt Fuji for the inside.  These are the marquetry panels before they were glued onto their backing. 
 
Mt Fuji for inside the lid. 
The fine detail of leaves and extra shadows were added once it was glued onto its backing.  Essentially fine gouged groves in the finshed and polyurethane panel filled with black filler, rubbed down and then varnished againit was finished.  It need to be finished or else the black dust  would have filled the oak grain of the background.
 
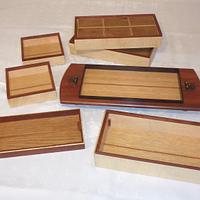
 As for the overall style of the box, I went for a bento box - a traditional Japanese food/lunch box.  These have a number of stacking trays with some smaller boxes for pickles etc. under a lift-off cover. So, the lift off cover would have the Geisha marquetry panels, beneath which would be five stacking trays, resting on a base tray.   The base tray idea, was inspired by the work of Suda Kenji, one of a handfull of woodwork master craftsmen bestowd with the title - Japanese 'National Living Treasure'.  If you haven't come across his work then do check him out.


One tray contains a set of six small boxes. 
 
These are made from woodie pear with kanji characters for one to six on their lids.  They also have the Genji-mon or Ko-no-zu Chart symbols, for chapters 1 - 6 of the classic Japanese novel The Tale of Genji.
 
The last of the lift off trays has its own small internal tray.

 
All the trays are made from Lime with Woodie Pear used for the bandings.  The bottoms are 'home made' plywood with Oak on the inside and a cherry veneer band across the middle, and Jarrah underneath. The set of small boxes are made from Woodie Pear. 

The internal stacking trays sit on a shaped base tray made from Jarrah, with an Ebony edge to help locate them. 
All my work is finished with an Australian brand of polyurethane varnish - Cabots Oil based satin.  Its applied with a brush in numerous coats possibly up to 10, which is rubbed down between coats with 400 grit micro mesh.  I use 600 as I apply more coast and then the final ‘polishing’ is done using micro-mesh and/or wet and dry paper up to 3000grit.  Wax polish is then applied with a cloth and buffed by hand to a sheen. 

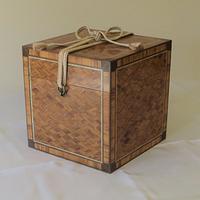
To finish of Geisha in a traditional Japanese way, it is presented in a protective Tomobako - a wooden case, made from Cedar, tied with a traditional Sanada Himo tape. 
 
I added some more Kanji character engraving to the top of the Tomobako, that gives its title Geisha, my name, and where and when it was made. 


 Geisha is then wrapped in a traditional Furoshiki cloth, tailored by my wife, tied with an Obi  -a kimono belt. 


Thank you for looking and for reading this far! Please ask if you have any questions. 
 

24 Comments

Wow! Beautiful work.
You are a steady handed patient man!
Welcome aboard Martin! 
I have long since run out of words to praise your incredible artistry and craftsmanship so please accept ….. WOW!! again. 
I do understand the problems of taking larger art work and trying to make smaller marquetry that fits on a box. Your solutions and execution of them were perfect.
👍👍👌👌

The early bird gets the worm but its the second mouse that gets the cheese.

Glad to see you posting here, Martin!!!

You may or may not recall my comments last time I saw this magnificent work.  Well, all I will add are a couple additional comments:
That you gave pride of place on the front of the box for the names of the original artists out of respect, earns my highest esteem!

It would have been so cool, yet likely extremely difficult ( or not even possible), if you had included the mirror (third sample) and the scenery within.  I am stealing that idea for sure.

It sucks, a lot, that you just posted the three exact images that were to be on the box I am working on presently, namely, Hemeji Castle, Mount Fuji, and the Floating Tori Gate.  Only difference would have been that I was going to "Paint" them.  Now I have to rethink my plan.  

You know, I was being sarcastic, right?

Anyway, cannot wait to see more from You.

No Bees. No Honey. Bees Lives Matter

wow your work is outstanding,i dont have words to describe it.

working with my hands is a joy,it gives me a sense of fulfillment,somthing so many seek and so few find.-SAM MALOOF.

A beautiful piece of art, well done.

Main Street to the Mountains

Good to see you here, Martin, and good to see your work again. It’s as lovely as last time.

May you have the day you deserve!

Not pissing in your pocket, but that is beautiful work Madburg... I may have abstained from commenting previously at LJ being lost for words (and minimissing activity since joining here).

Unfortunately my poor knowledge of Japanese art is restricted to some laser engraving of samurai on puzzle boxes and love of sashimi.

Welcome, and good to see another great work drifting out of Aussieland, by the three members crowie, RC and yourself(at least have put their hand up or been dobbed in to their down under status)... and me like in a bad car accident.. running up the rear to serve as a bad example.

If your first cut is too short... Take the second cut from the longer end... LBD

Just amazing artwork. So well done. 

Ryan/// ~sigh~ I blew up another bowl. Moke told me "I made the inside bigger than the outside".

I'm lost for words Martin. Really enjoyed seeing this work of art and reading about it. Thanks for sharing it.

Andy -- Old Chinese proverb say: If you think something can't be done, don't interrupt man who is doing it.

Went back to have another look.  Noticed that the Geisha on the front is playing the Incense Game; where as in the original that doesnt appear to be the case?

No Bees. No Honey. Bees Lives Matter

WOW,,,that is one beautiful box!!!!!!!!!!!!!!!!!!!!..Cheers, Jim

Cheers, Jim ........................ Variety is the spice of life...............Learn something new every day

I also have run out of words to express how amazing your work is. Thanks for sharing, I always enjoy seeing your projects. There sure is lots of talent in Aussieland.

.................. John D....................

Great looking box with some fantastic craftisianship.

Figuring out how to do something you have never done is what makes a good challenge.

I think my response to you all got lost in the sending, as it doesn't appear above.  Thanks for all your comments, its always great to get feedback from those who appreciate what you've done.  For some of you that remember my Japanese Incense chest


and its contents


You may have picked up that one of the Geishas on the front of the box is playing Kodo - the incense ceremony.  You may be able to pick out some of the equipment in the marquetry in the picture above.  When I started the Incense Chest I was  considering using the woodblock print  for the top, but decided to go down the teak diamond parquetey theme.
Thanks for showing this incredible project !!!
It is so good to see you posting your work here! It is an absolute treat to see our creations. I look forward to seeing every new project of yours.
I faintly think I remember that box.  Long long time ago? Maybe the original LJ site?
Great work.


Figuring out how to do something you have never done is what makes a good challenge.

No, BentlyJ, it was only last year. I entered it in our Australian Wood Review magazines, 'Maker of the Year' competition. It was an online photo competition,  where you were allowed only 5 photographs, so very difficult to do it justice.  Anyhow it won the Box catagory. May be I'll copy the old LBJ post across. I'm now working on some more bits and pieces to go with it.
I always look forward to reading your project posts and looking at the pictures of your wonderful creations.  
Great work Mad. What type of paint did you use on the characters clothing on the Marquetry? 

That’s a lot of ebony. Where do you buy yours. 

Welcome to the fun side of the island.  

James McIntyre