I built this pair of speakers in late 2004/early 2005. They were designed by Dave Ellis, with help (crossover) from Dennis Murphy. At the time, Dave Ellis sold both finished speakers and kits. I bought the kit, which included everything except the cabinet materials.
Back then, I had my own personal website, and it contained detailed information on how I built these speakers. The kit was well-respected then (still is), and many audiophiles were interested in building them, so I was just contributing to the cause.
My website is long gone, but I’ll spare members here from the gory details. I’ll post some construction photos below for anyone who is at least a little bit interested in seeing the inside of a speaker.
The cabinets are made of MDF covered by Honduran mahogany veneer. The front and back panels are made of two layers of 3/4” MDF, and the sides and internal braces are single-layer. The cabinets’ inner walls are damped by a layer of vinyl floor tiles and acoustical foam. The cabinets are heavy and as inert as I could make them.
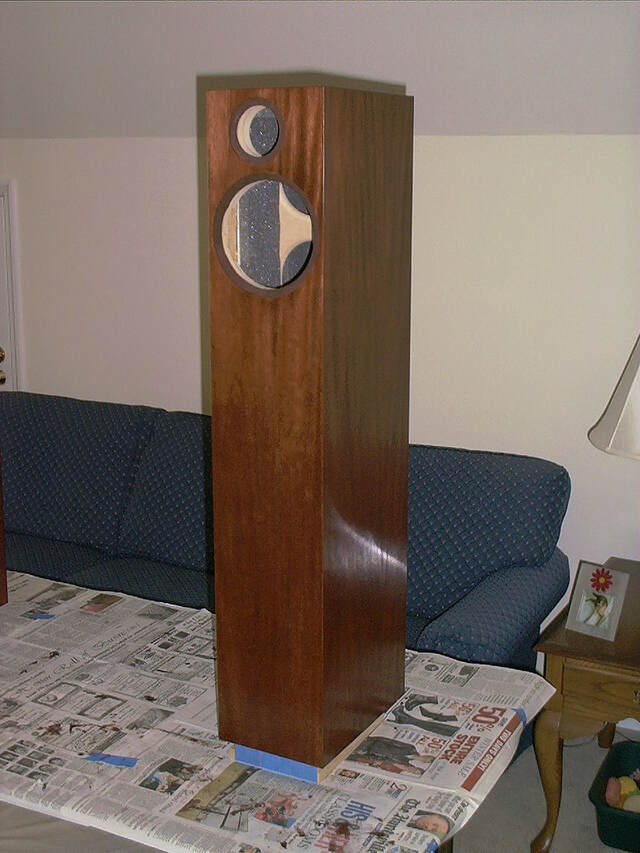
The main cabinets are 40” tall, 7 1/2” wide, and 10” deep. To make them more stable, I added a 9 1/2” wide, 13 1/2" deep base. I also added a 1/4” spacer board (painted black) between the cabinet and base to provide some visual separation. To make it easier to access the crossover (the electronics that route high frequencies to the tweeter and low frequencies to the woofer), I mounted it on a removable access panel.
Fabric-covered grille frames are held in place with magnets. The magnets in the cabinet are under the veneer and are invisible when the grills are removed.
The finish is Zar rosewood stain and Old Dad’s semi-gloss wipe-on poly. I think Zar stain is now sold under a different brand whose name I can’t recall, and Old Dad’s disappeared years ago. Both were good products.
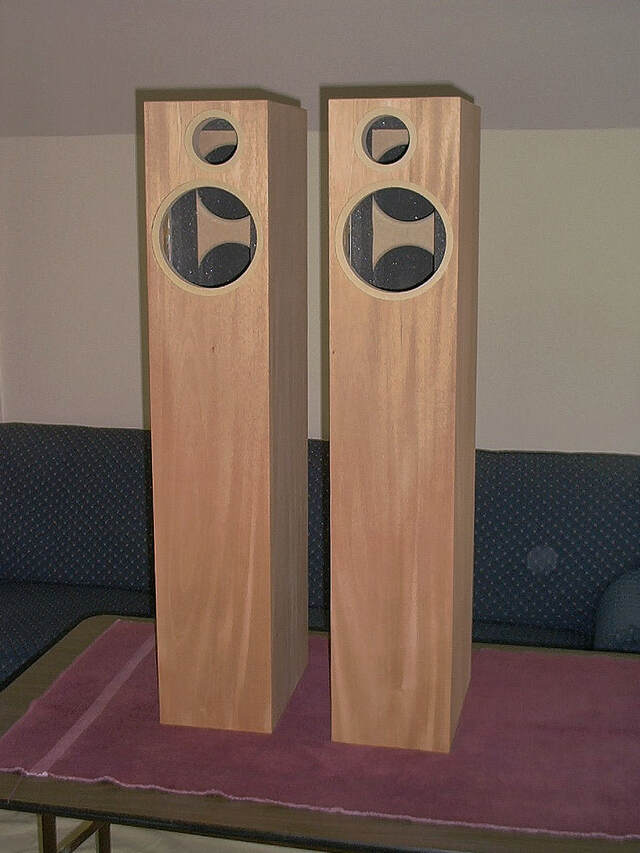
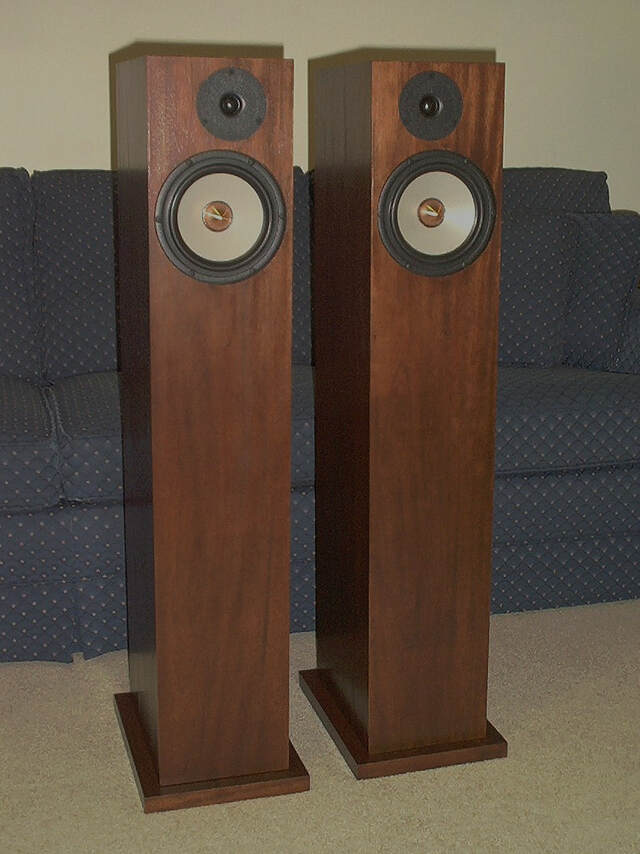
Here's what they look like in our current family room.
That’s it. Now I’ll include some construction photos and notes.
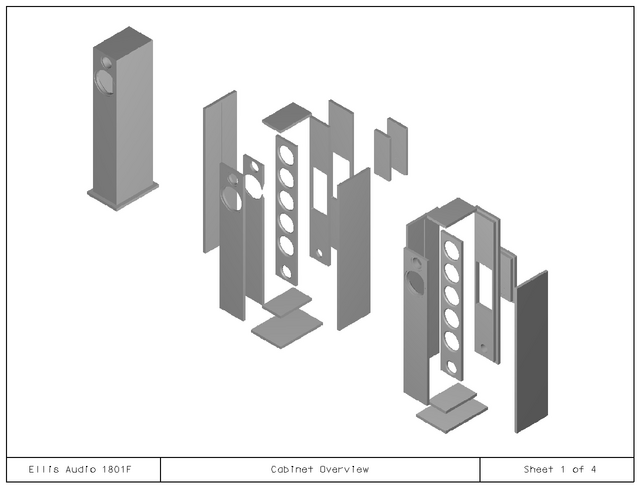
Here's an exploded view of a cabinet.
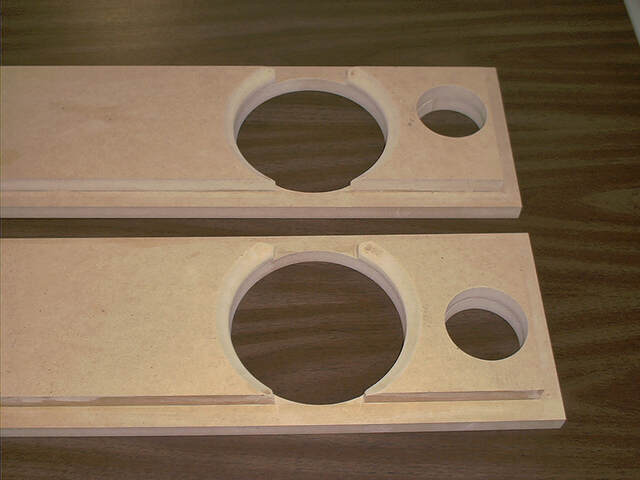
I created rabbets by gluing smaller inner panels to the outer front/back panels. The back of the woofer cutout is chamfered to give the cone more breathing room.
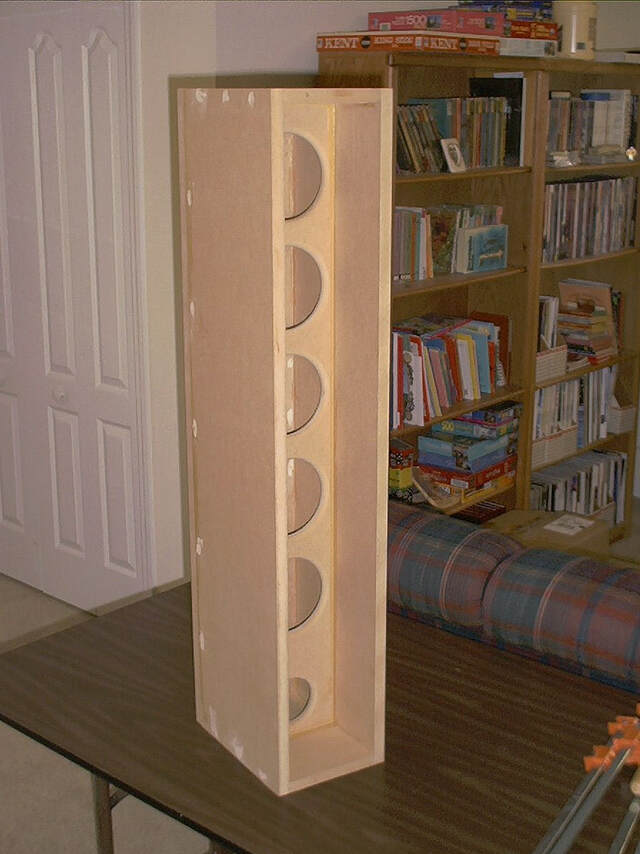
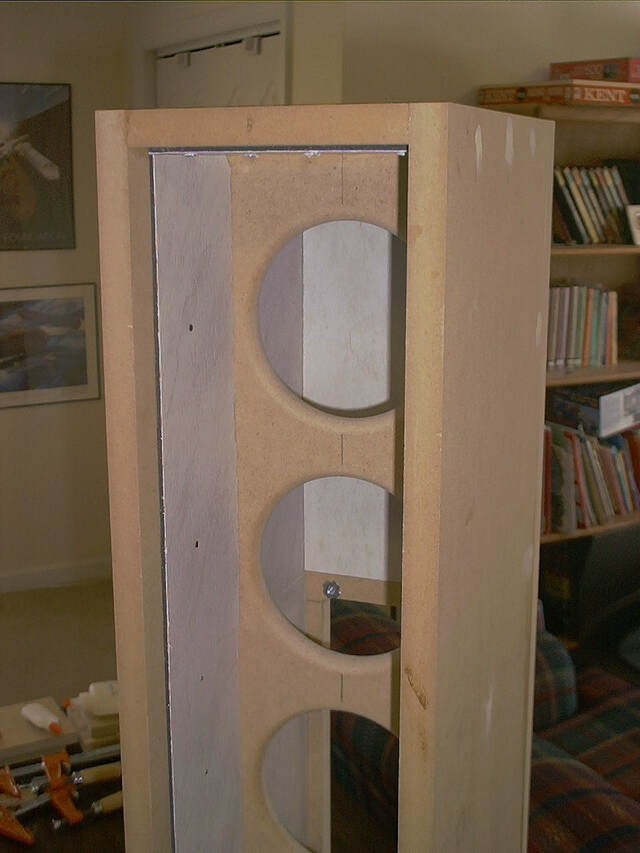
Here's a finished cabinet, minus the front panel. I didn't have enough clamps back them, so I used finish nails to align the pieces and act as clamps during glue-up. I sunk the nail heads and patched them with wood putty. I cut dados in the cabinet sides to hold the center brace.
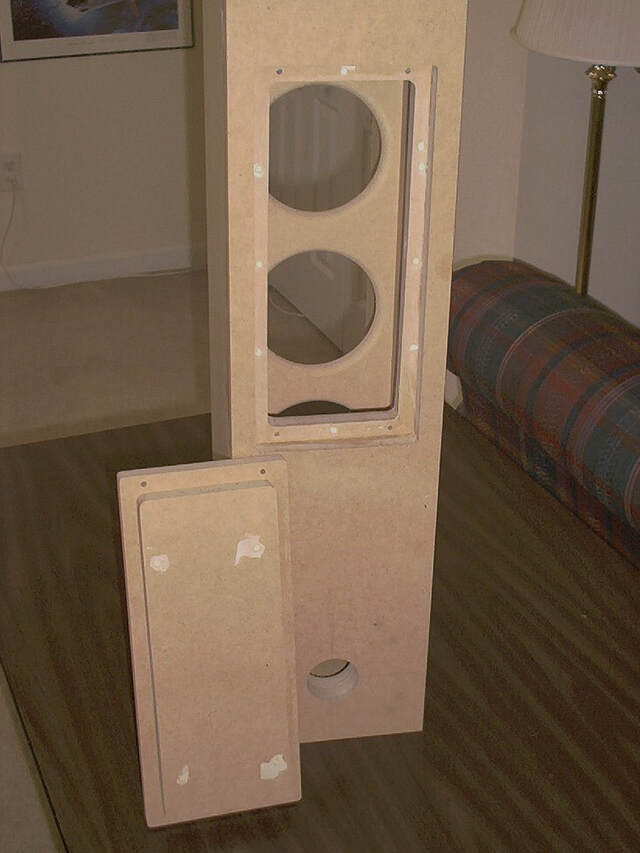
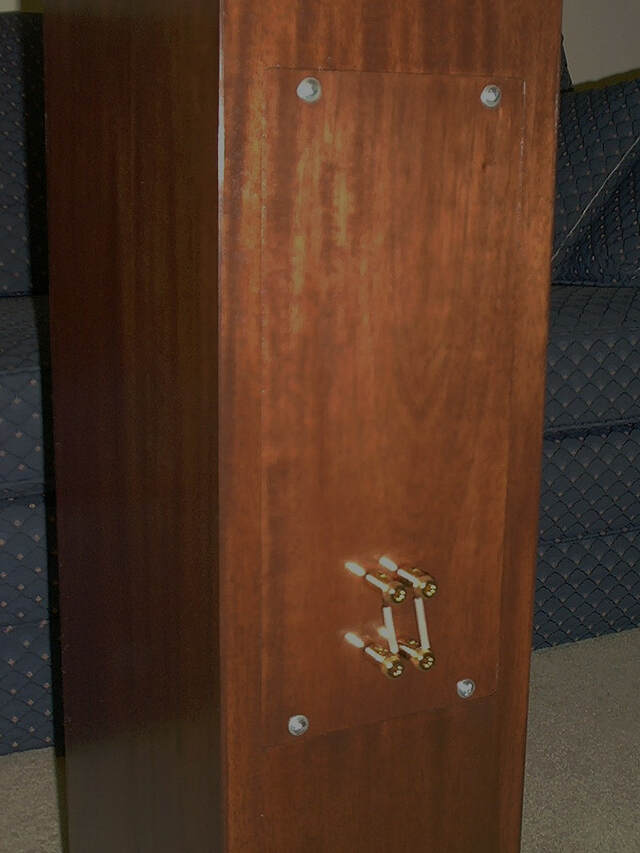
Here's the back of the cabinet with the access panel for the crossover.
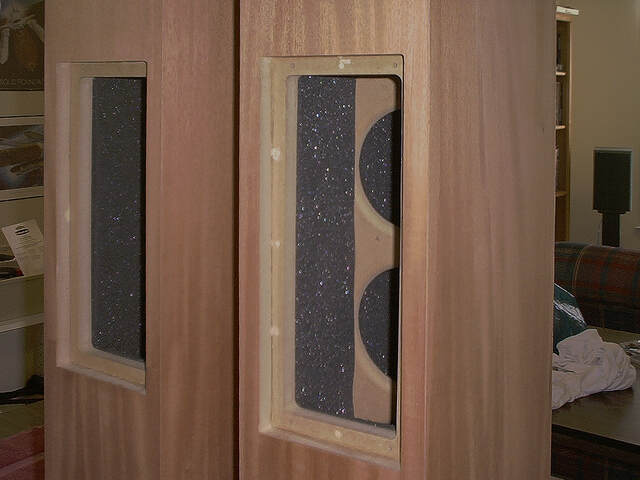
I lined the inside of the cabinet with dense vinyl flooring tiles. It was self adhesive, but it didn't stick to the MDF very well, so I screwed it in place.
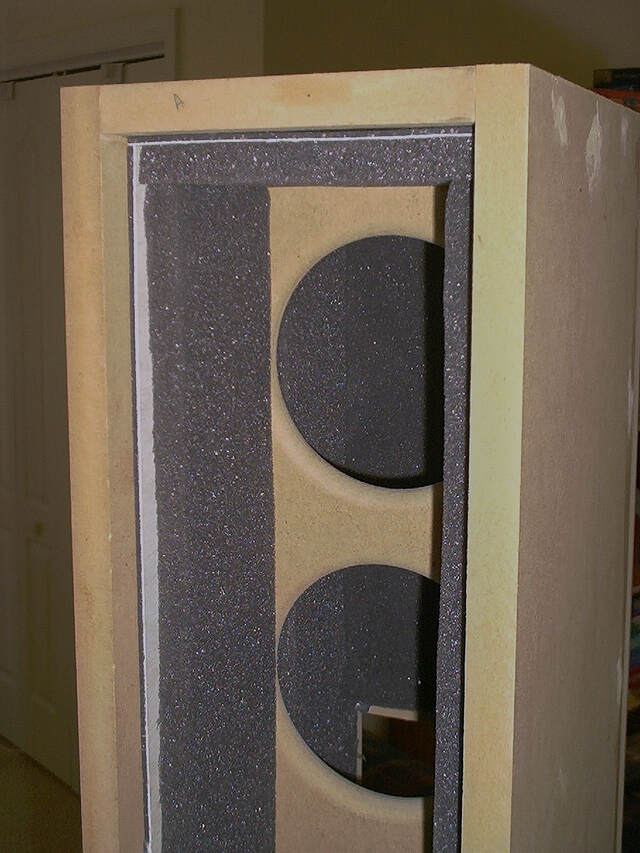
I hot-glued acoustical foam to the tiles.
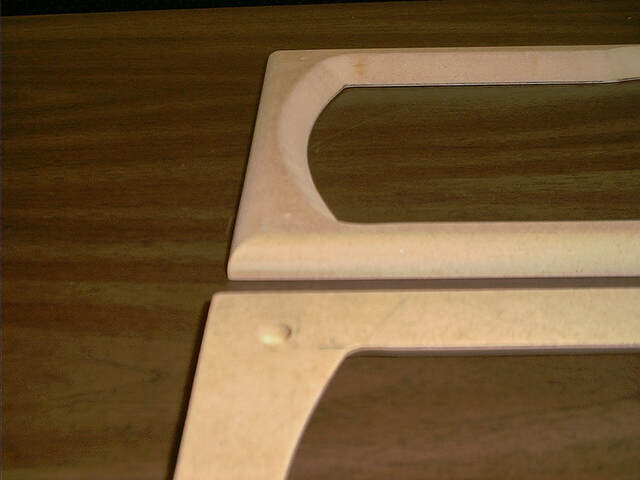
Here are the grille frames. I had to build them before I veneered the cabinet because I needed to glue the disc magnets that hold the grille in place before veneering. If you look closely, you can see small holes in the front corners of the frame at the top. I used those to position the mating holes for the magnets in the cabinet's front panels.
Here are the veneered cabinets from the front...
... and the back.
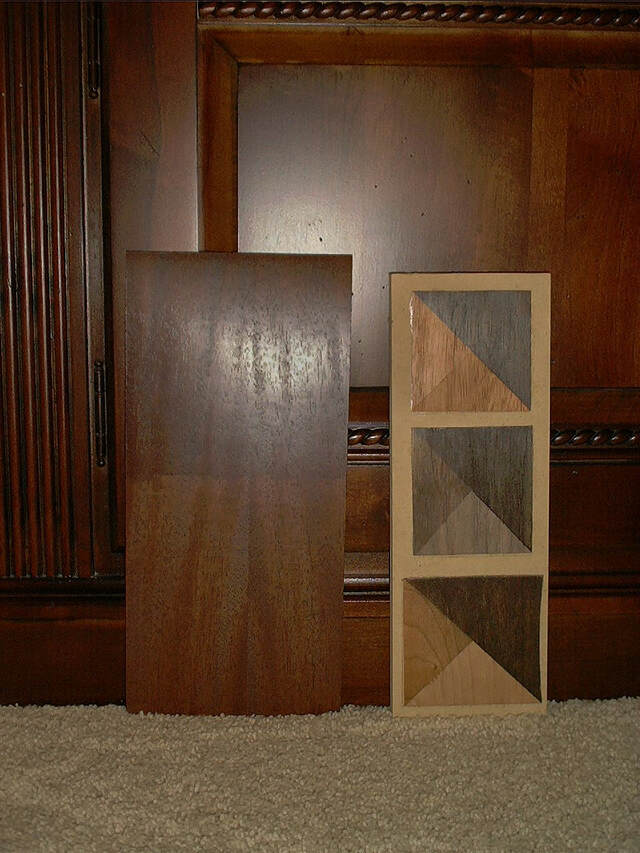
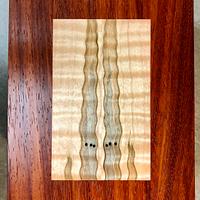
I wanted the finished speakers to match a large armoire-style TV cabinet. I tested samples of cherry, walnut, and mahogany with stain and stain+poly. The big piece of veneer on the left is mahogany with two applications of stain at the top and one at the bottom plus poly. My wife and I opted for the two-coats-of-stain finish.
Here's a cabinet with two coats of stain.
Here's the same cabinet with three coats of wipe-on poly.
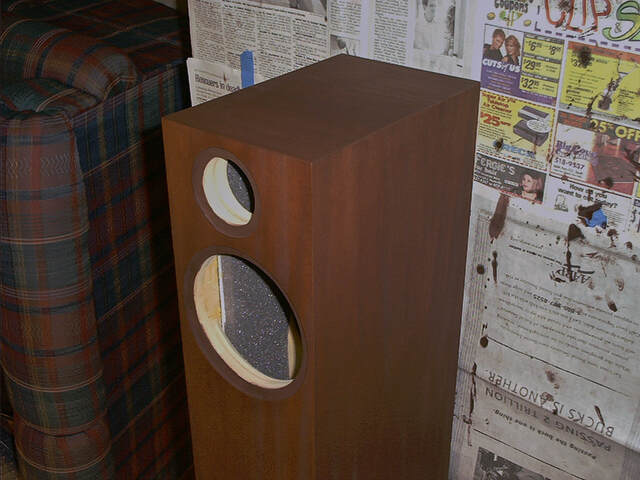
Here's a full cabinet. I can't believe I did all of this assembly and finishing work inside the house, in a carpeted room. I was doing a lot of the work at night.
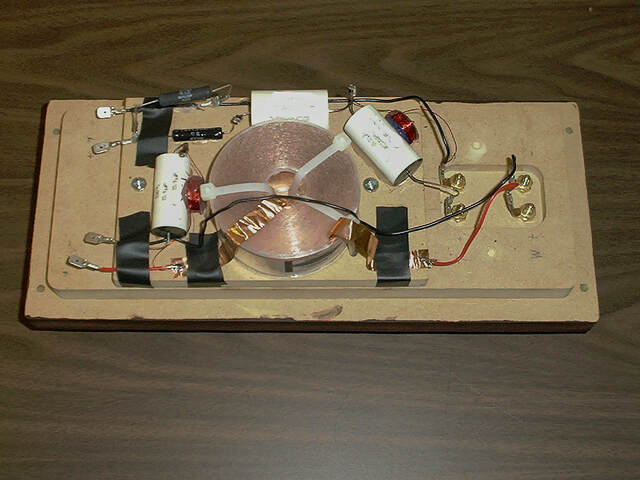
Here's the crossover mounted on the inside of the access panel.
Here's the access panel screwed in place with the binding posts for the speaker cables at the bottom.
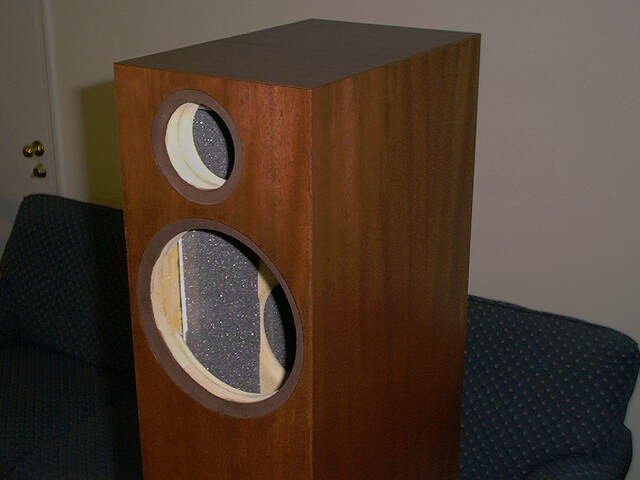
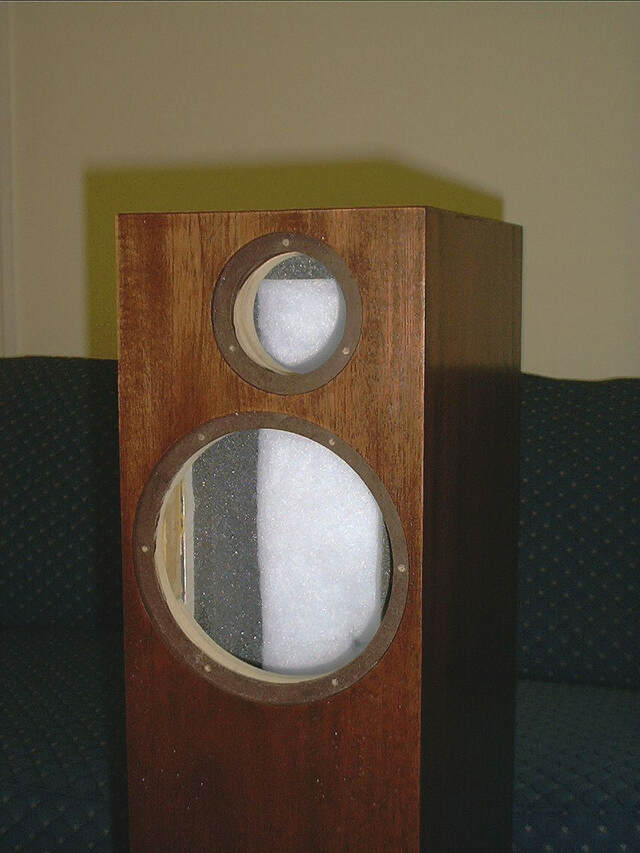
The kit called for adding a bit of polyfill right behind the drivers. With it in place, the cabinets were ready for the drivers and wiring.
Here are the complete speakers, ready to make music.
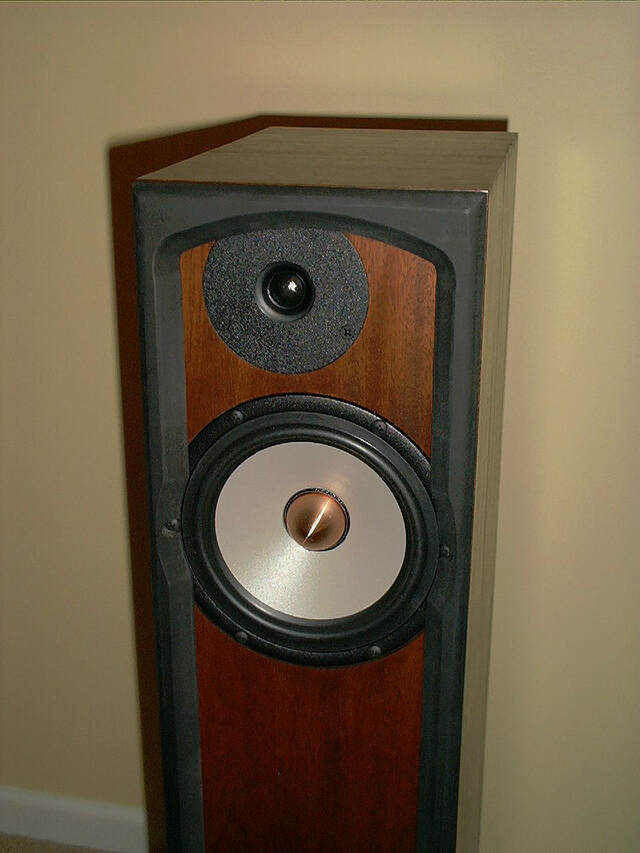
Here is a grille frame in place. I tapered the inner edges to reduce diffraction effects. The frames are black so they don't show through the grille fabric. The fabric is attached to the frames with 3M spray adhesive on the back (not shown).
I'm always fascinated by speaker design and builds. Mechanical, audio, and electrical engineering all in one. I know who I'll tap for advice if I ever take on a speaker project. Nice work, Ron.
There ya go again…mixing hobbies! They look, and I’m sure, sound wonderful Ron! Still debating an Anthologies build. I’d like… just once…to build a pair of speakers! It’d be nice if my ears were 50 years younger than the rest of me…. ; )
These are excellent sounding speakers. They don’t have the deepest bass in the world, but they go deep enough for most music. Those woofers (they’re actually mid-woofers), or their descendants, can be found in very expensive commercial designs.
When I built my other set of speakers, I intended for them to replace these. The new ones do have better-defined, deeper bass, but they don’t convey the emotional nuances of vocals and other instruments as well as these.
RCCinNC, you should just do it. There’s nothing like listening to speakers you’ve built yourself. I’ve had aspirations of learning how to design my own, but I’ve never actually tried. It can be an expensive hobby.
Thanks, oldrivers. Yes, I consider their sound to be excellent. To find equivalent sound quality in a pair of commercially available speakers, I think you'd have to spend something on the order of $2000/pair.
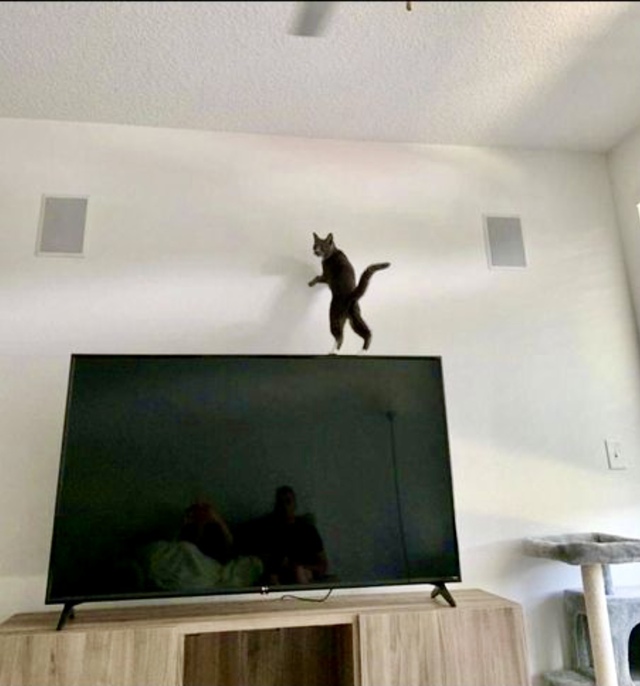
James, I thought that was some sort of unusual cat sculpture at first. Now I'm pretty sure it's your actual cat. He/She looks like a tightrope walker. :-)


 - Project by Ron Stewart")