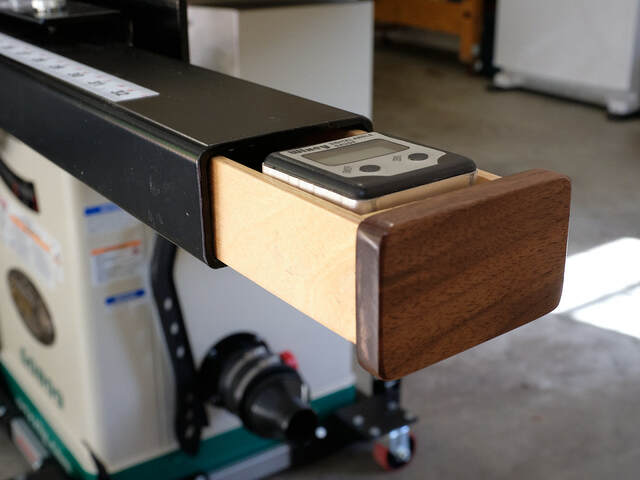
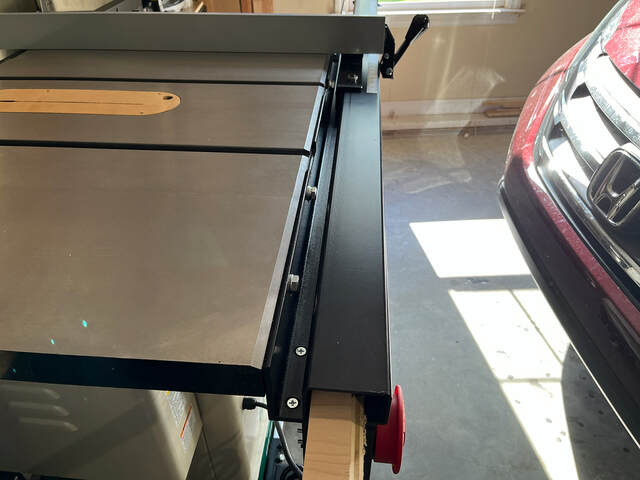
I recently purchased a Grizzly G0899 table saw. It seems like a great saw (solidly built, smoothly operating, and much quieter than my old jobsite saw), and I like it a lot, but it has virtually no features related to storing accessories like the miter gauge, blade inserts, blade wrench, etc. (It has one hook to hold a plastic push stick that I’ll probably never use.) My first step in adding some storage is this pair of drawers that slide into the open ends of the fence rail tube. (The idea is not mine. I saw it in a comment and photo from Scrappile in Steve Rasmussen’s Outfeed Table for Table Saw project. I thought it was brilliant the moment I saw it.)
The drawers are narrow and shallow (2 9/16” wide by 1 7/16” tall externally), so I made them long (30”). So far, I’m using one of the drawers to store the blade wrench and Allen wrenches needed to make various adjustments. I don’t yet know what I’ll store in the remaining space, but I’m sure I’ll find a way to fill both drawers eventually. To my disappointment, my Wixey digital angle guide (which I use every time I tilt the blade) is a hair too tall to fit.
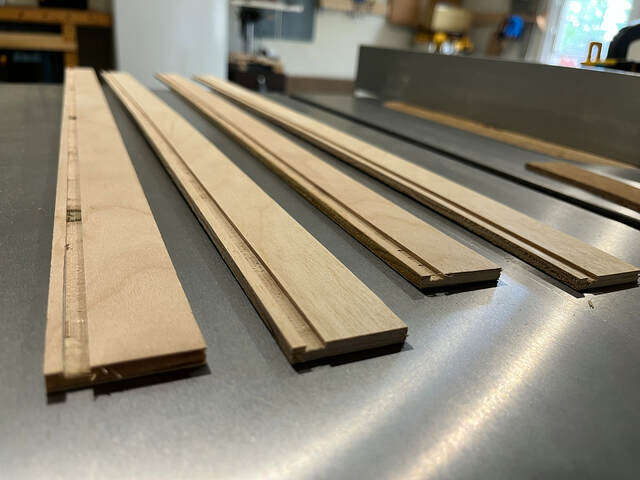
The drawers were very simple to make, and I was able to use leftovers from other projects. The sides are 1/4“ birch plywood, the bottoms are 1/4" luan, and the ends and dividers are 1/2" birch plywood. I used 3/8“ walnut for the drawer faces/caps. For now, the dividers are press-fit. If they start sliding around, I’ll drive screws through the bottom panels to secure them.
I have an as-built SketchUp model, but this was one of those projects where it was easier to just piece things together as I went along, using the inside of the rail tube as a guide and taking care not to make the parts too tall or wide to fit.
The only non-obvious thing I had to consider when building the drawers relates to how the rail tube is mounted. The tube is bolted from underneath to an angle bracket attached to the table, and the bolt ends penetrate the bottom of the tube and into its interior. A U-shaped drawer wouldn’t work. To deal with that, I raised the drawers’ bottom panels by 5/32” to clear the bolts and notched their back panels.
I’ve included a few construction details below. Thanks for looking!
Construction Details
I cut the smallest grooves ever (about 1/16” deep) into the sides to hold the bottom. The grooves in the front and back ends are a hair deeper than 1/8“.
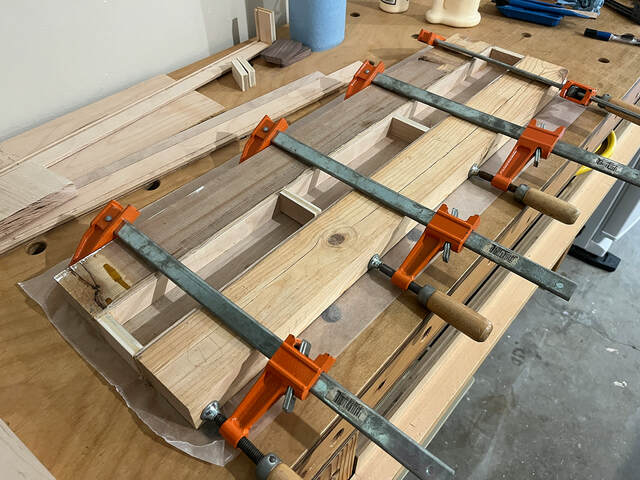
I didn’t feel like using anything more complicated than butt joints between the front/back and sides. To minimize sliding during glue up, I started by using hand pressure to “clamp” the pieces to one side.
After the glue set, I glued and clamped the other side. I used the dividers as temporary spreaders to make sure the long sides didn’t bow in (unlikely given the thick cauls I used), and I used minimal pressure.
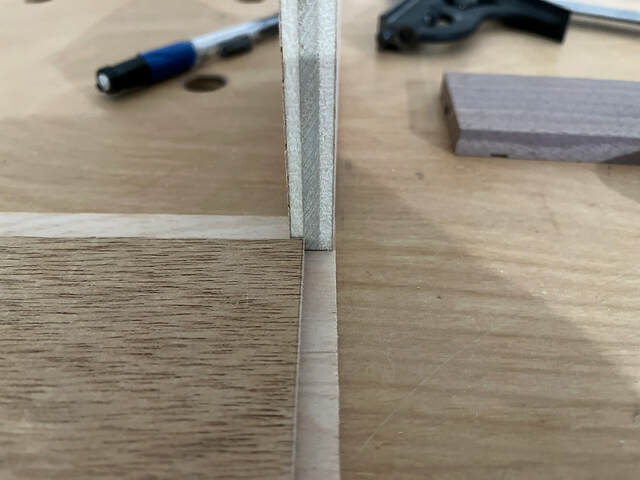
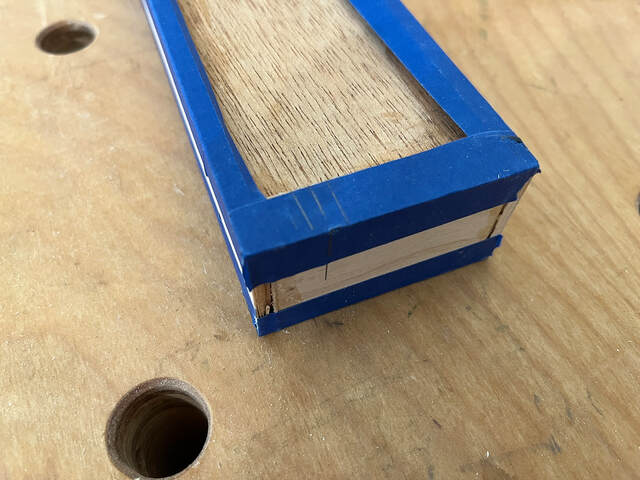
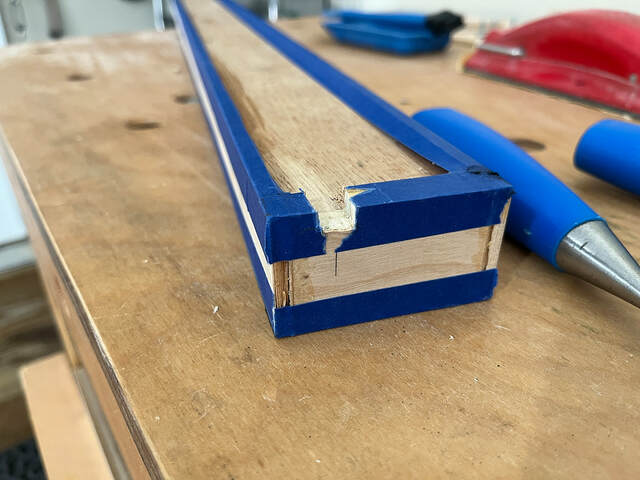
To test the fit of the drawers and locate their bolt notches, I covered the edges that would contact the inside of the tube (which is very grimy) with painter’s tape and pushed the drawer in until it contacted the first bolt end. I pressed hard enough to leave a little divot in the tape. Then I centered a 3/8” notch around that location and made the notch with a saw and chisel. It’s not a pretty notch, but it’s good enough for this application.
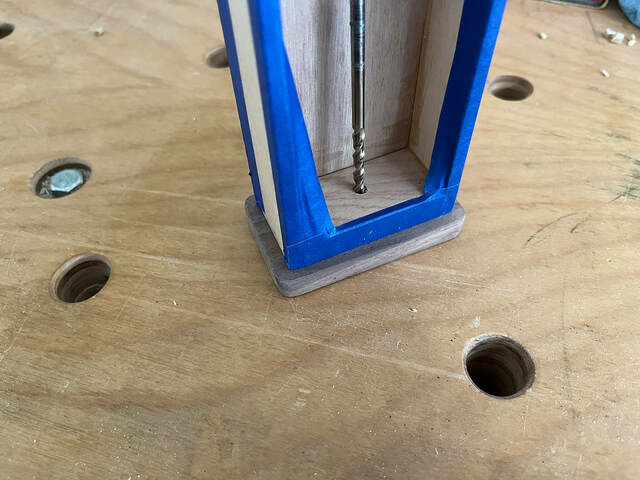
In preparation for attaching a drawer face, I drilled a hole into the drawer front. I attached a piece of carpet tape to the drawer front and pushed the drawer fully into the rail tube. Then I used painter’s tape to hold the face in position and pushed the drawer from the opposite end until it firmly contacted the face. (To do that, I had to use the other drawer and a length of scrap--the rail tube is 63" long.)
Then I removed the drawer, used a drill bit to mark the pilot hole in the back of the face, and drilled a short pilot hole. To finish up, I reamed out the hole in the drawer front (so I could slightly reposition the face if needed), applied glue, and used a 5/8“ lath to act as a clamp. I put the drawer back in the rail to verify that the face was in the correct position before the glue dried.
For finish, I sprayed on a few coats of lacquer and then rubbed on some paste wax.
Thanks pottz (and Scrappile for showing the way). I'm trying to think of good ways to use some of the space inside the cabinet for additional storage. I already used wood from the pallet the saw came on the make a bottom for the cabinet so I can store a hose that came with the saw (that connects to a blade cover) inside, but there's some extra space in there.
Any storage is good and having the tablesaw items close at hand is even better. Oh, and congrats on the new saw! Look forward to seeing future projects.
I have then in my fence tube. Not as long, (deep). one side has the tools need to change the zero clearance insert and blade. the other side is pencils. Great use of space.


 - Project by Ron Stewart")
 - Project by Ron Stewart")