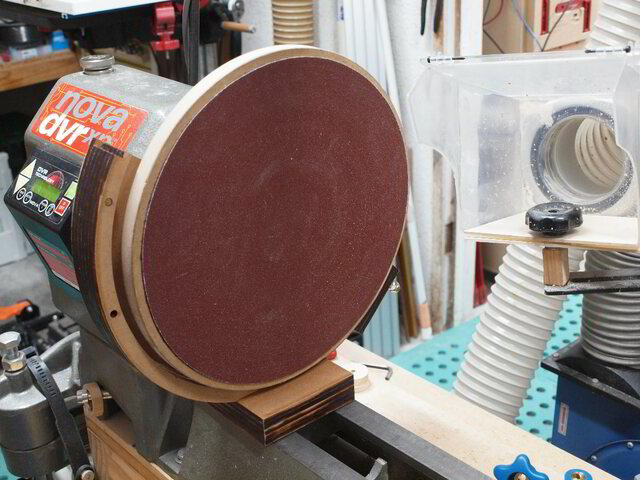
I kindda underplayed my last blog about Lathe Spindle Threads… The original query was actually about the thread on my “larger 320mm backing disc”,
mounted with a hook & loop, 304.8mm sanding disc.. which after a few vinos, I label as a worthy engineering meter (I hate imperial feat).
Now that I have made mention of it, it would be remiss of me to just abandoned it as solely published on the LJ site on the 17th. July, 2018.
So for all the ex-pat members smart enough to have avoided it the past 5 years, I suggest you read on as it’s only gonna follow you around on the internet till you inevitably relent.
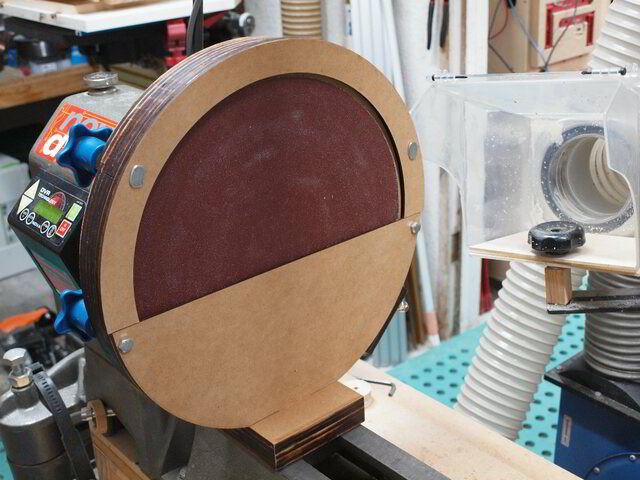
PS. Don't freak out at gallery picture #5... I have reverse on my lathe.
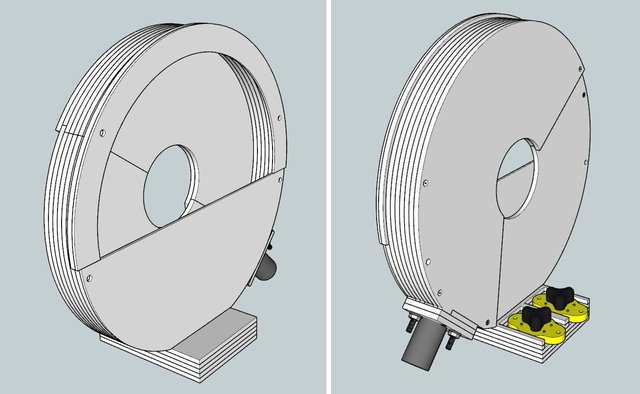
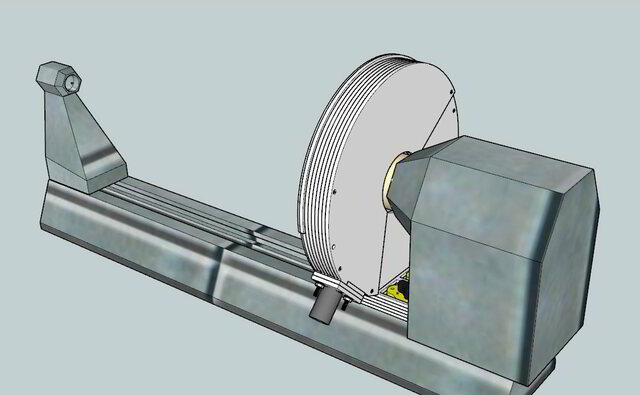
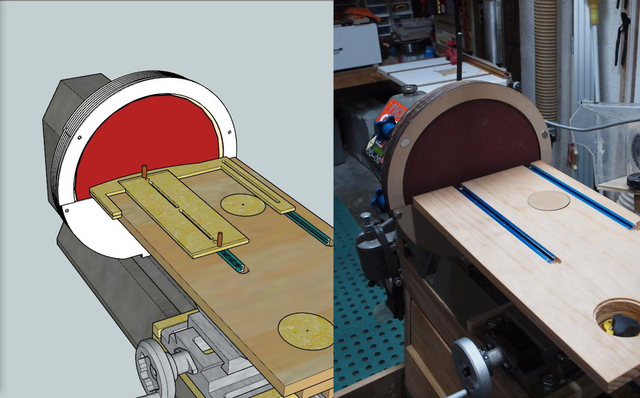
This is a follow up of my Lathe disk sander with micro adjustment... Take 2. regarding the threat of dust collection. After making my 320mm disc, I remembered the mess that the 230mm disc made. Even before mounting a sanding pad to the starter (I believe that's what the hook part is called) it was up to the office… a top up of red… and started to design a dust collector in SketchUp. After much brain-storming I finally came up with a design that I was prepared to attempt to manufacture,
peek-a-boo
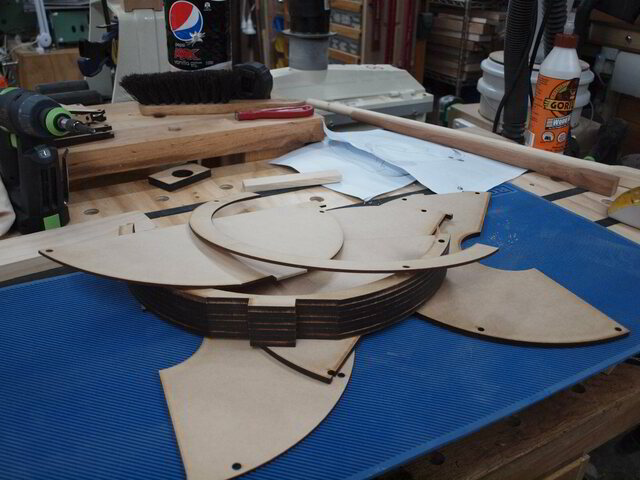
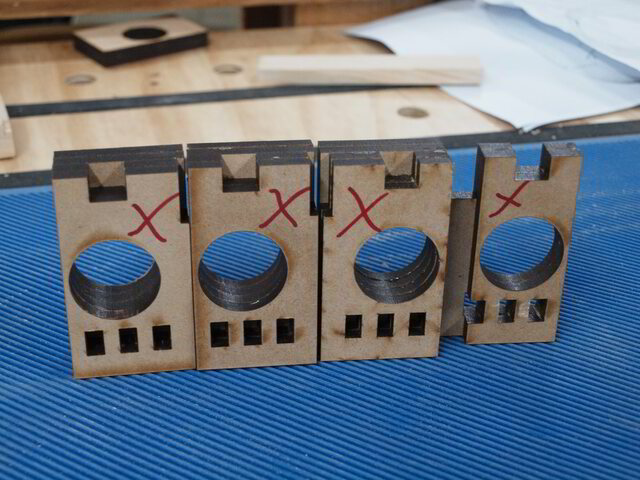
As per a lot of my past projects, I chose to laser cut the parts out of 6mm MDF and where I needed bulk I used my tried and tested lamination principle. Pieces (ribs) glued together.
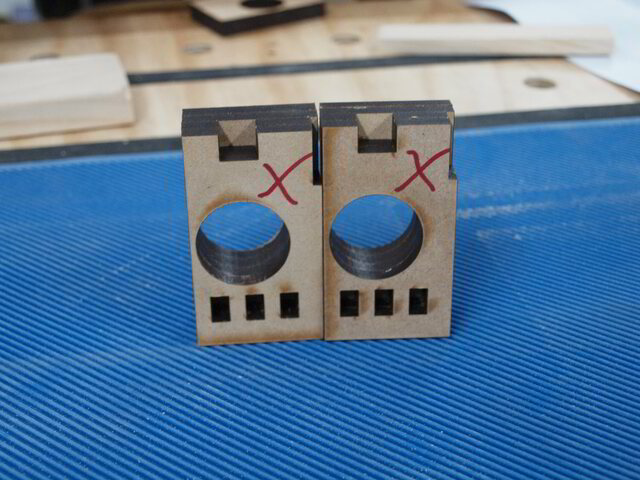
I came up with what I thought was a clever idea for attaching dust extraction. Problem was the designer didn't write any assembly instructions so I managed to screw it up… I assembled the front 2 pieces in reverse … the top nothes on the side should have been on the LHS,
Not to admit defeat, I cut some duplicate pieces and re-laminated. I cannot say I do not learn from past experience… I did learn and repeated the same exact assembly screw up
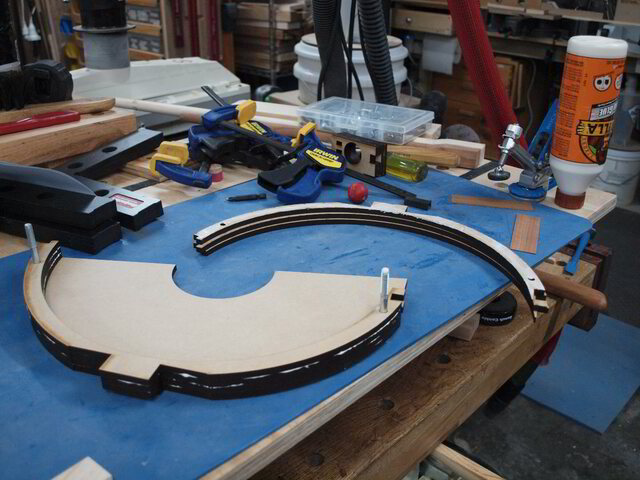
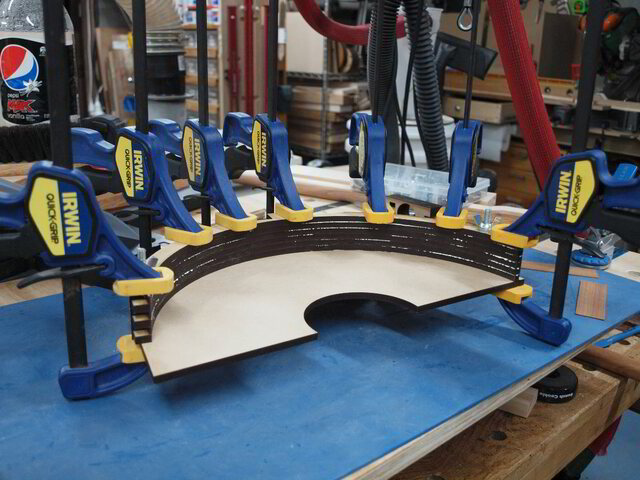
More cutting and assembly and while the orientation was correct, the lamination alignment wasn't…
normally I use alignment dowels, however, this time I tried a new method… clamps with clamping squares,
with mixed results… (back to alignment dowels on next project).
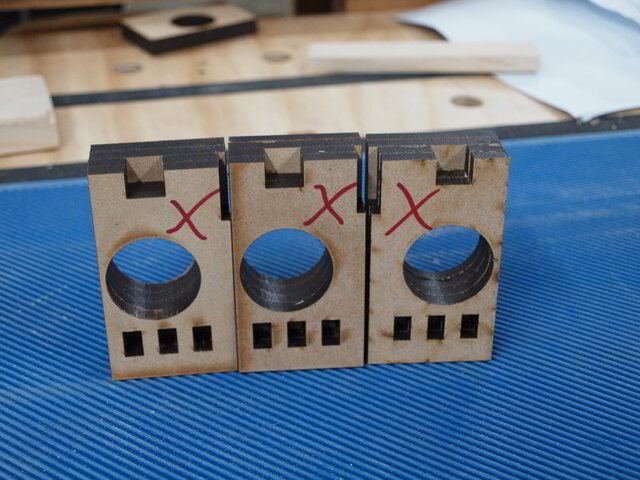
Fortunately the laser never sleeps so it was ready to make another production run. Finally got it together, properly aligned and oriented, only to find I forgot to turn X-Ray on in SketchUp and when I tried to attach the extraction port to the cover bottom half, some parts overlapped… Laser wake up! Modified, cut and laminated…
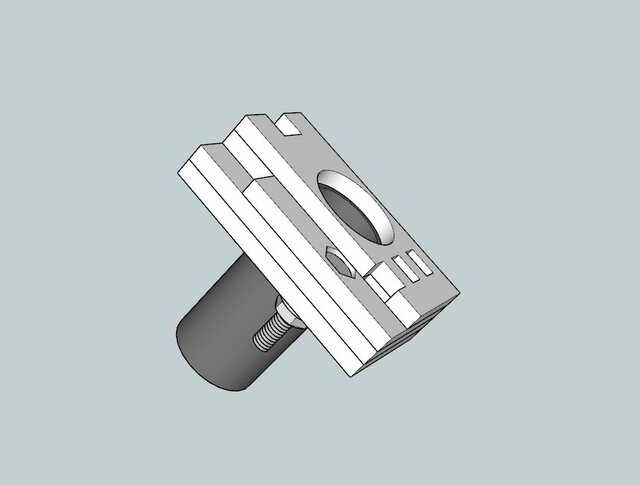
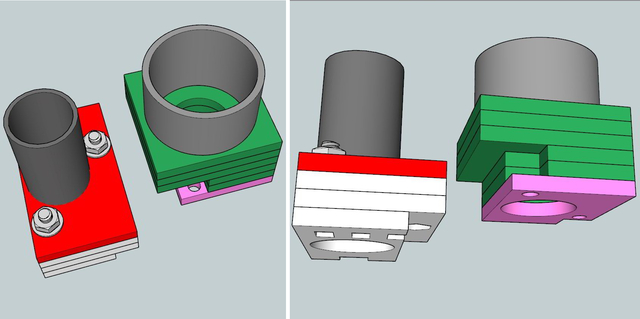
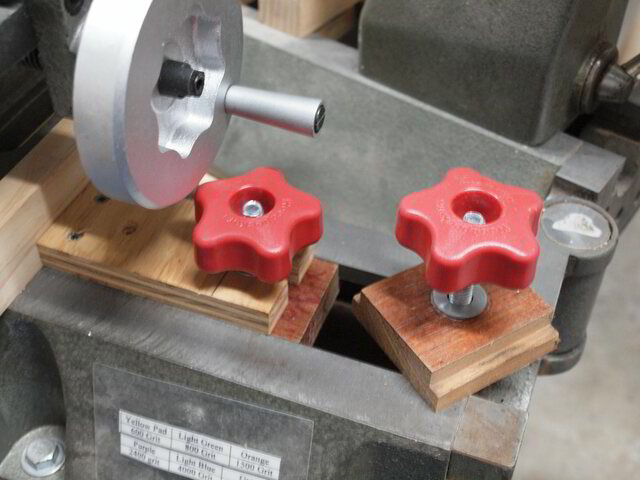
quickly running out of glue. Then it hit me…all those casks of vino… just kidding… the extraction port was spec'd on a hard to find shop-vac hose and if I needed to use another hose I'd be screwed. Came up with a new modification so that a different diameter shop-vac could be fabricated and easily attached using these 2 (currently not in action) bolts,
yeah, more cutting, laminating and glue purchasing. While I never got around to cutting the pieces, here is a mock-up of what might need to be made using laminated MDF… the pink part is the same component as the red on the left while the green parts are what would be glued onto the pink to accept the different diameter hose…
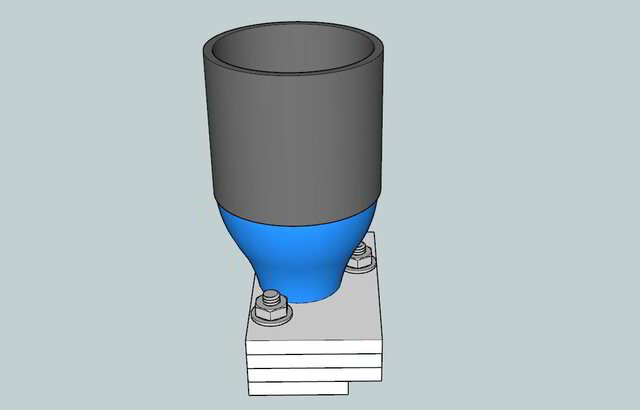
Alternatively I could 3D print a new coupler… the blue part that fits directly in the original port and designed such that the hose (grey) fits either inside or outside the coupler…
above it's configured for an outside fit. (Don't try to make sense of the above... it's a note to myself for the future.)
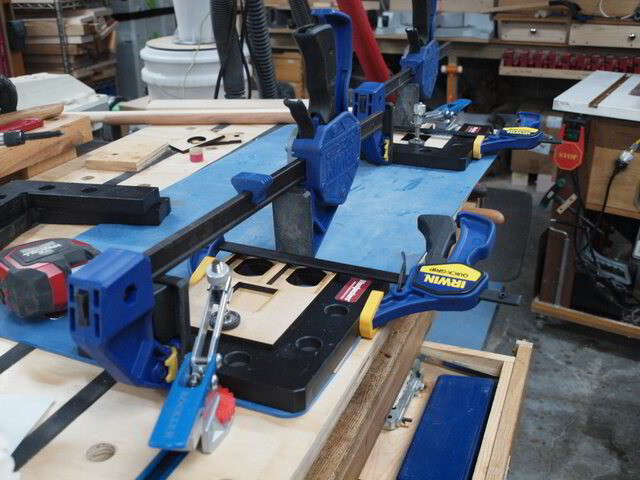
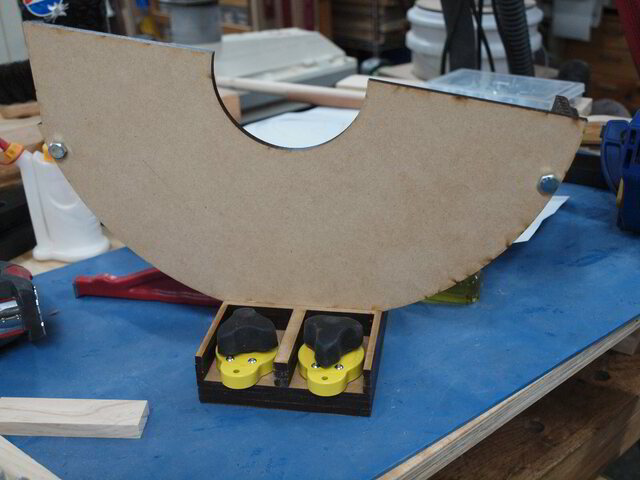
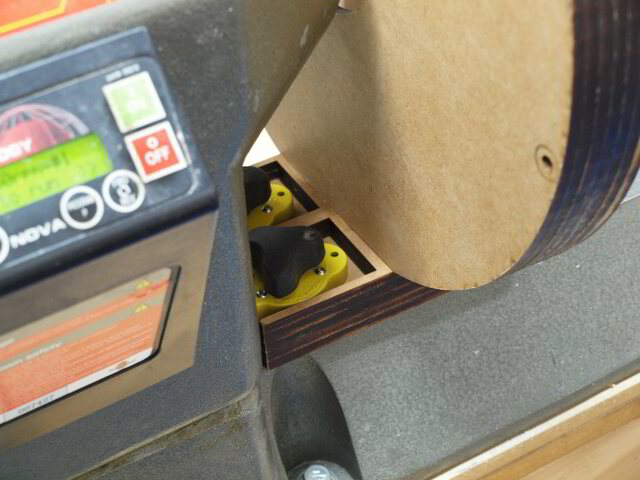
The base was designed to be mounted to the lathe bed using mag switches,
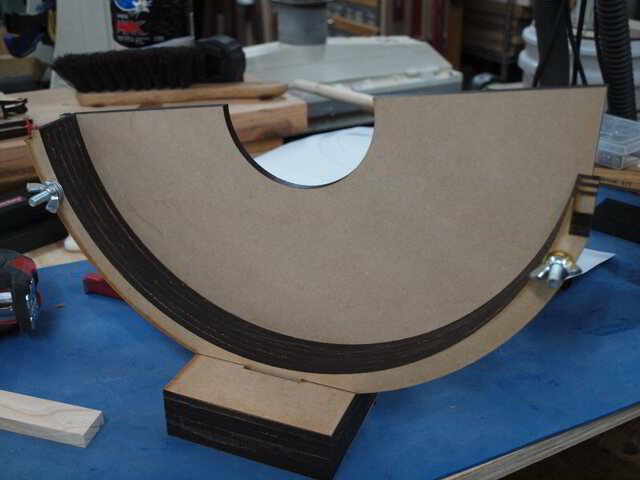
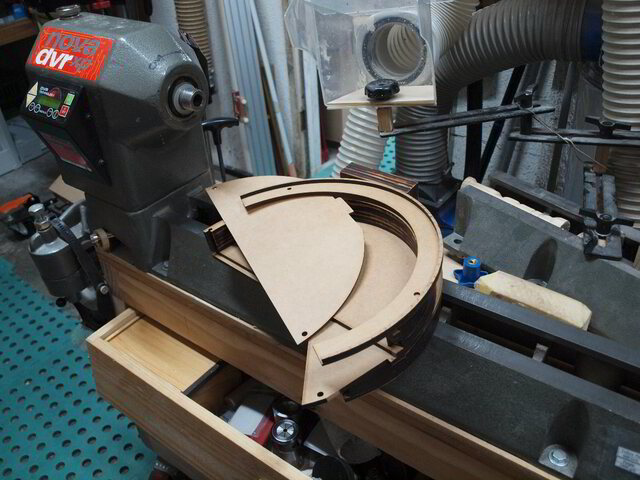
The body of the collector was designed in two halves so that when the top half was removed I could easily thread the disc onto the spindle. The bottom ribs and backing were laminated
The same procedure repeated with the top half
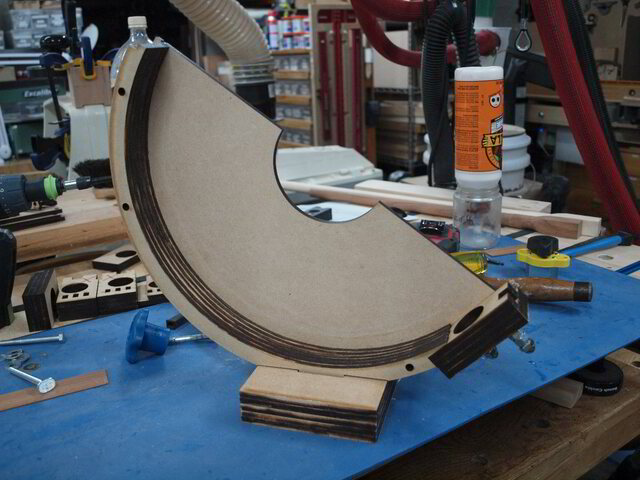
Then it dawned on me that the extractor port was up far too high (90°) rather than closer to the bottom. The lathe bed prevented bottom placement so I compromised at 45°. While I had to recut the bottom pieces, as they each had a tab to locate in the base, the top pieces remained the same… though I believe I had to manually drill a ¼" bolt hole (has been modified in SU). The base, bottom half and extractor port were glued together,
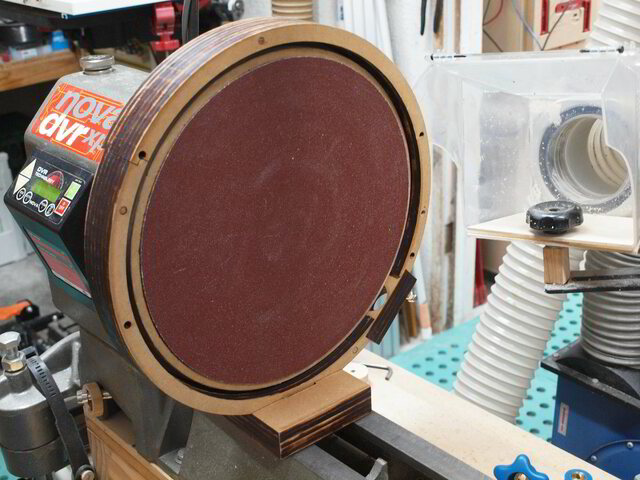
Now let's assemble it on the lathe.
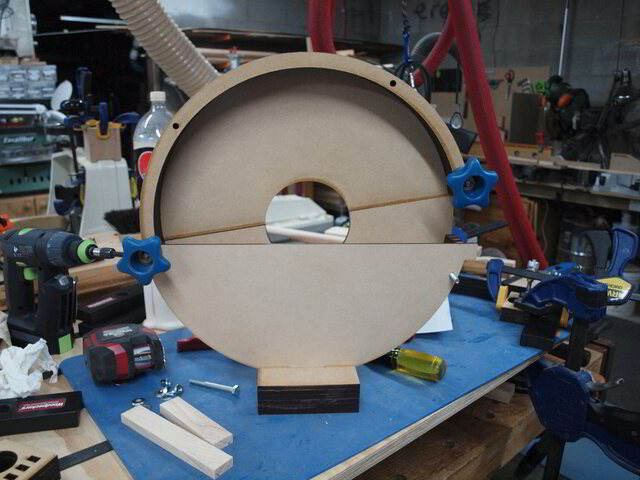
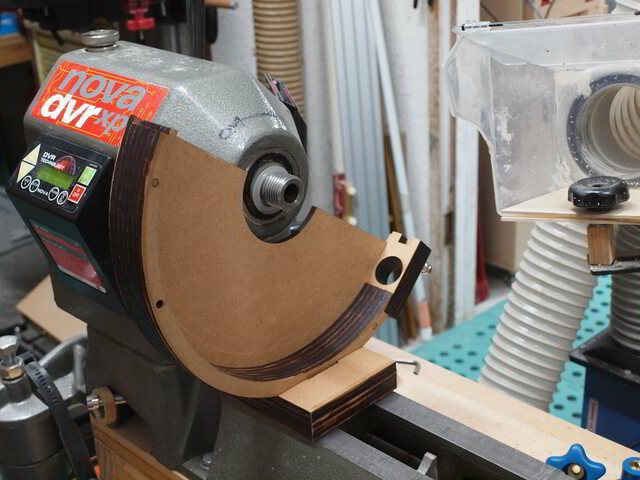
Bottom half attached by the base using mag switches on the lathe bed,
The disc threaded on,
Base and bottom half brought forward to touch the back of the disc,
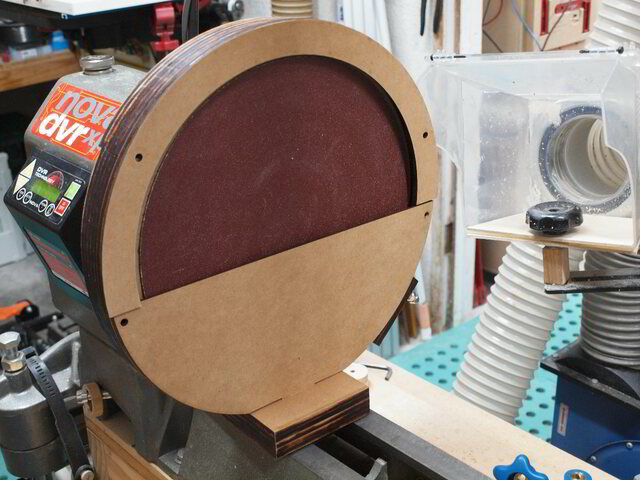
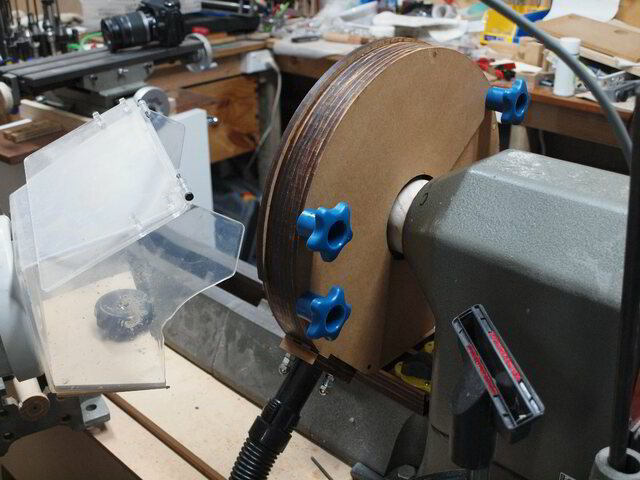
Attached the top half,
Added the bottom front cover and the top collar,
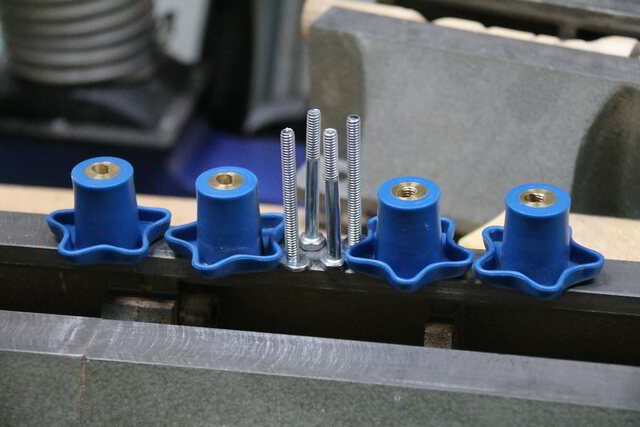
Added the hardware… used slip nuts to minimise threading,
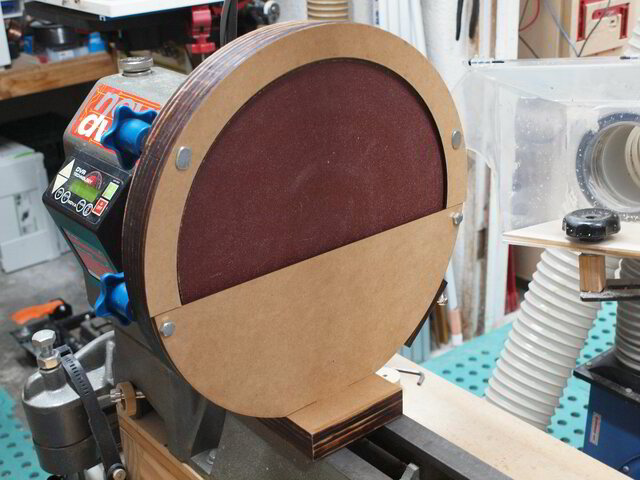
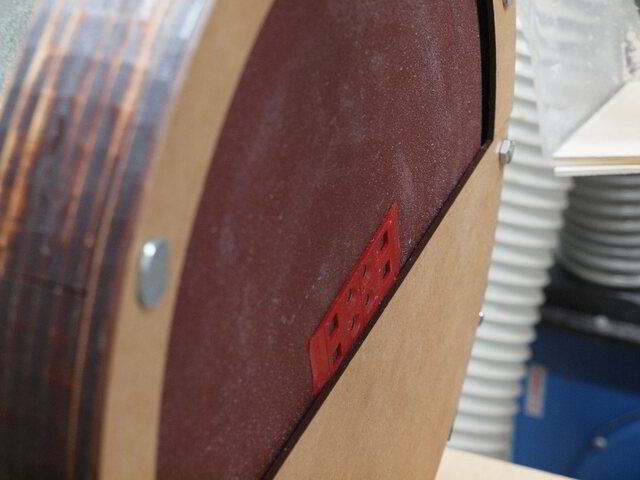
Used a 1/16" shim to set the clearance between the disc face and the front bottom cover,
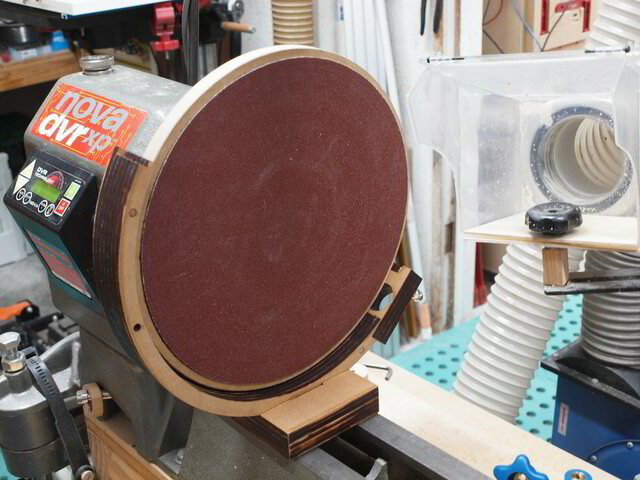
Locked in final position using the mag switches and ready for use,
Don't forget the dusty,
Close up,
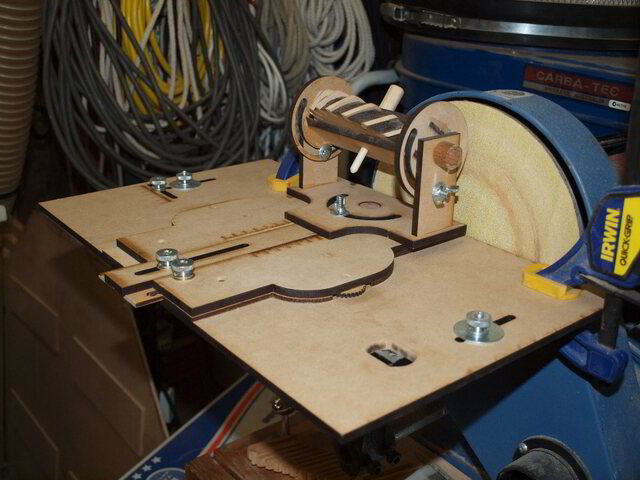
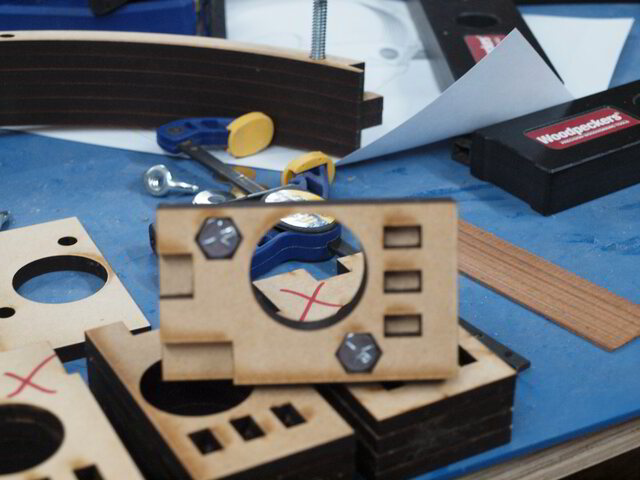
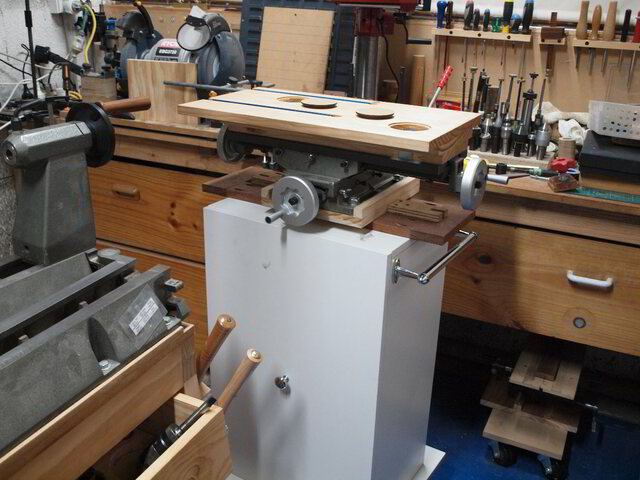
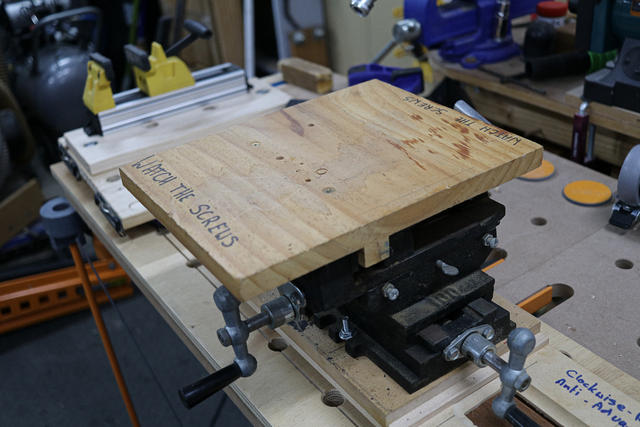
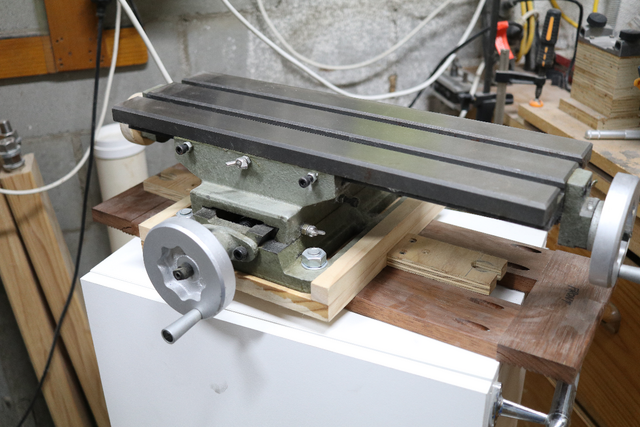
All that's left is to mount the milling table…
AND… don't forget to read the lathe's instruction manual so you'll know how to operate it. For those averse to reading (like me) I have created a video so you don't have to read the above drivel… Unfortunately I hate waste and as I was too lazy to bring my scrap bin up into the office none of the lengthy video finished up on the cutting floor.
PS. In one of the video's close ups I noticed a bit of flaky skin around the ear… So did SWMBO… I spent the rest of the day running away from the missus and her dust buster… run away… run away!
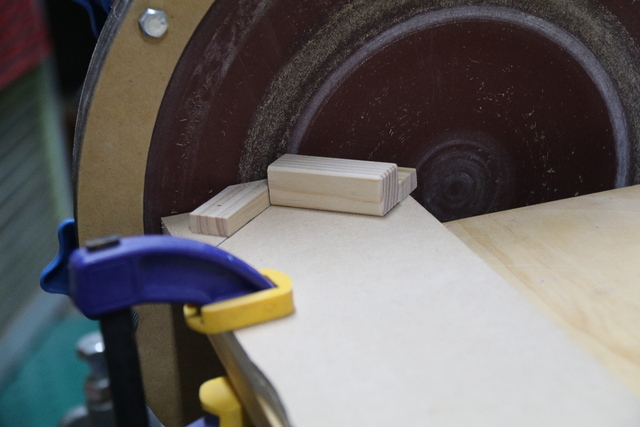
If your first cut is too short... Take the second cut from the longer end... LBD
That is some fine engineering Duck, how well does the DC work (is the cavity all clean after you remove the covers)?
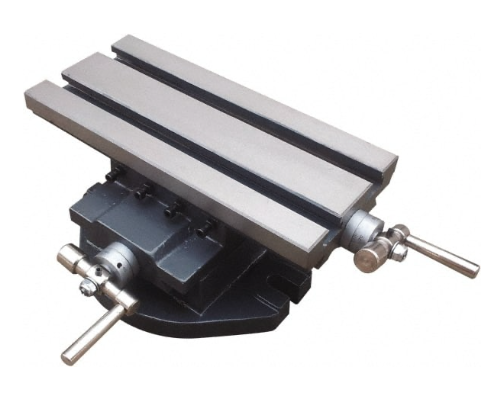
Having the XY stage is a clever move, you can really dial in the diameters when making circle stuff. I bought one of those (cheap) for my DP but yes it sucks for trying to turn a DP into a mill. May have to ponder attaching it to my 12/48 disc/belt sander like you show.
I'm guessing those mag switched hold well. Your tolerances are all very close and if the mags shifted you would soon have your DC coming at you apace 😱
Glad you do left/right FUBARs as (or nearly as) much as I do. Even multiple times too!
I don't have a lathe and do have a 12/48 disc, but having the variable speed of the lathe and ability to quickly swap out the discs is aces! I only have one disc and can't find any more, besides it is a major disassembly process to reach the set screw holding the disc to the shaft.
as hard as i always try to avoid reading your long tutorials you sucked me in again on this one. i did manage to avoid it way back at that other place though. nice engineering and wright up. since i already have a big delta combo disc/belt sander it will of no use to me but many here will probably copy this.
working with my hands is a joy,it gives me a sense of fulfillment,somthing so many seek and so few find.-SAM MALOOF.
A nice addition to the lathe, and the engineering is over the top on this. I bet it does work well. I could use something like that with the shopsmith, off to the drawing board.
I also have a disc/belt combo, but it is one speed... too bloody fast. Also it is hard to mount control tables /jigs on the poopsy tabletop supplied with it... I tried modifications, but the speed and mounting clamps got the better of me.
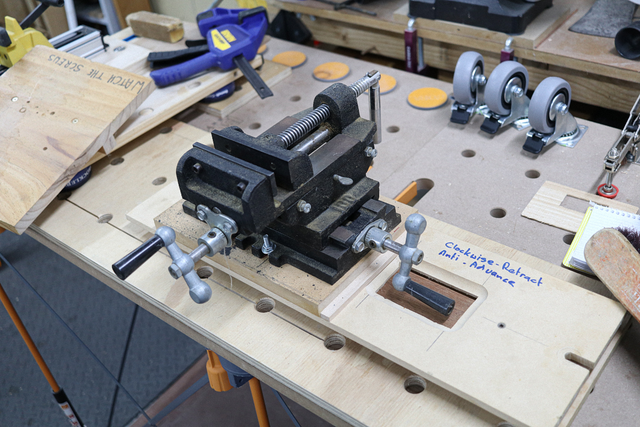
Many woodies have one of these 2 way vises for use on their DP, which I believe Splinter is referring to, however, the woodies I know, never considered moving it over to their lathe. I did mine quite a while back, and had to alter some of the "vice's directional layouy" for easier movement (I made reference to it in the video). Then it was a simple case of adding a tabletop to it, The above is an old one (left over from my DP), as I have customised all mine to this new 2 way tabletop held on by mag-switches.
I appreciate it's nowhere as good as a metal milling table, but for me it's a cheap/simpler compromise.... though the milling table was not cheap. Nevertheless I can now clamp material down (not on the one pictured just above), control the feed better and take advantage of my variable speed. Furthermore I can reverse the lathe and sand on the RHS, extending the coverage.
I'm just hoping this blog may give some out there a few ideas... you don't need a laser, but for me why not use what I have.
If your first cut is too short... Take the second cut from the longer end... LBD
Don't tie one of those vises to my ankles and toss me in the ocean, I have a unit similar to yours (but of course a heck of a lot more chinsy!
Never worked for what I wanted to use it for, now I'm just thinking about using it for setting my coffee on. won't need to shuffle over to my cup anymore as I could just crank it into position.
Thanks Dutchy... I don't mind if people like or dislike, but I love it when they get some ideas, even if it's from something that just a prop and not necessarily the subject of the blog.
If your first cut is too short... Take the second cut from the longer end... LBD
Duckster...that is really cool! I love the mag switch attaching, and the x-y table for the sanding table! Very in-genius, even for a intoxicated Aussie! Well Done!! I like Pottzy have a 12" disc, free standing......
trying to Moke .... have a 12" disc, free standing......
I also have a 228.6mm disc/belt combo, that I use for those quick dirties... though the belt does get more use.
To get greater precision, I found the standalone disc (at least my setup with the "revolting" flip top) was a tad difficult to work with. I made too many dedicated jigs and was looking for a more generic X-Y movement. The dust extraction was the bonus.
Unfortunately there are too many pigheaded people out there that are so set in their ways and the equipment that they bought, they blatantly refuse to consider any alternatives to their modus operandi. MY intention is to provide food for though... allbeit trying to lead jackasses to water.
If your first cut is too short... Take the second cut from the longer end... LBD
That is a sweet setup! It would take me more time to make those drawings then build the thing, of course I'm still the old school pencil and paper type.
-- Paul--- Creativity is allowing yourself to make mistakes. Art is knowing which ones to keep. — Scott Adams


. - Project by LIttleBlackDuck")
… - Project by LIttleBlackDuck")


.png)