Watching the amicable banter on the Box Swap 2023unfold didn’t quite succeed in giving me that warm fuzzy desire to participate, however, it made me embarrassed with the pathetic Maze Puzzle BoxI made a few months ago… end even the subsequent upgrade #1and upgrade #2didn’t do much to bolster the ego… so after a bout of pussy footing about with my tail between the legs I ventured down belligerent path of another boxing match.
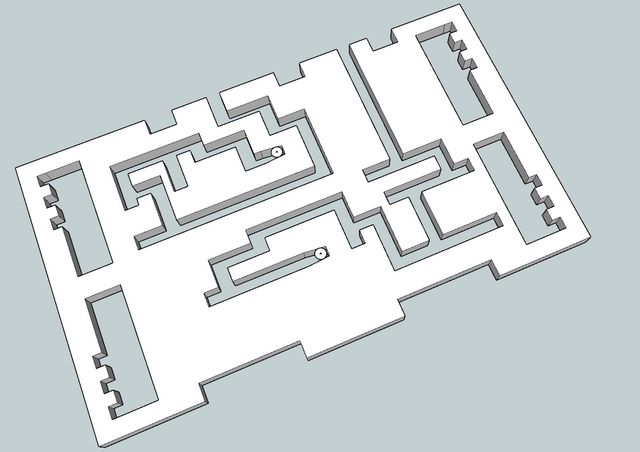
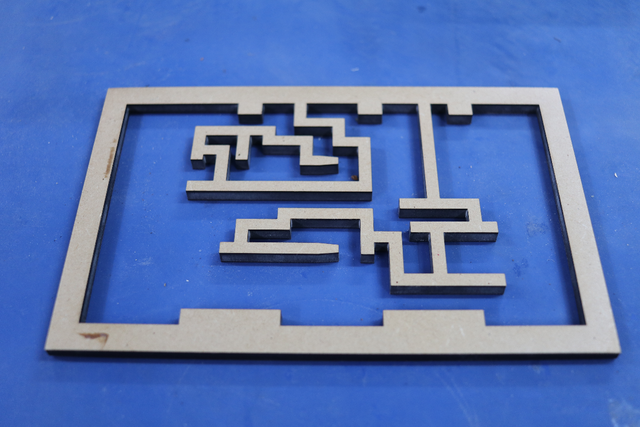
After some inspiration from a Pinterest idea, I designed a dual pathed maze using SketchUp,
to be navigated using two independent pins,
controlled by sliders,
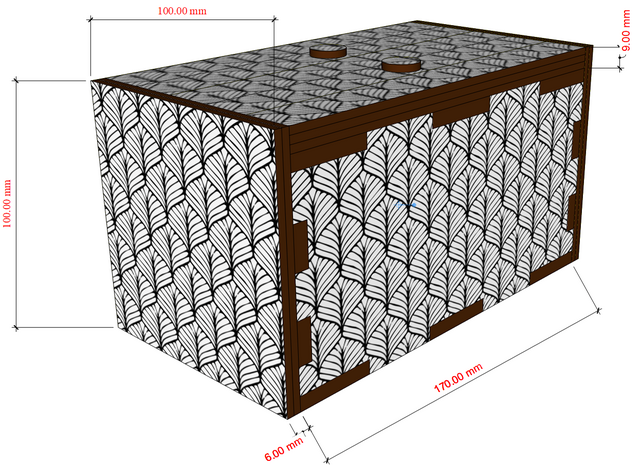
then it became a case of designing a box around it (100mm x 100mm x182mm),
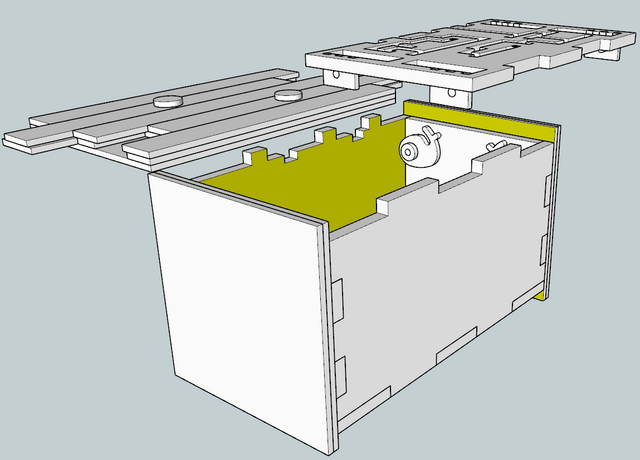
I designed the maze to be on top but still wanted to represent a box, so the maze sitting on top had to be removable… but only after the maze was solved.
I came up with the design that by moving the sliders on the lid and navigating the maze, after it’s removal, the maze could be free using these locking mechanisms,
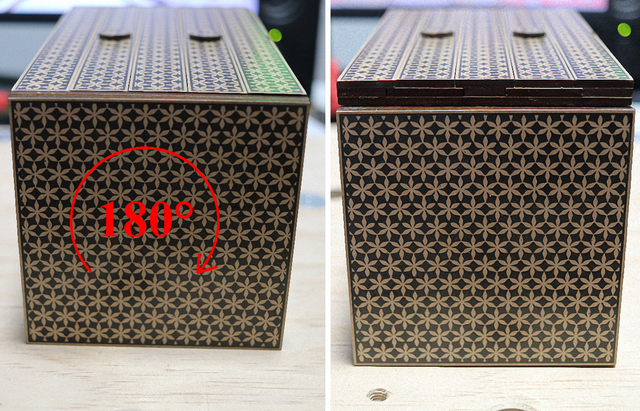
To permit the movement of the sliders, the sides had to be rotated 180° on uncentered pivots to permit the sliders to extend over the ends,
Unfortunately I cocked up the design and rotated the sides too far down, permitting the full lid, including the lids “base”, to be moved sideways
allowing access to the locks, so the maze could be unlocked before solving. I labelled this as an ingenious feature for people that couldn’t solve the maze.
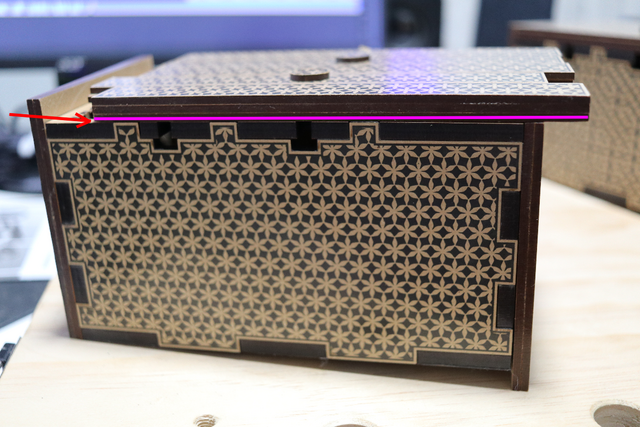
My latest design (V3), somewhat featured in this post addressed that issue by moving the rotated end 2mm higher trapping the base,
and I now have to retract that "feature" in this version.
The SketchUp design can be viewed here if you so wish,
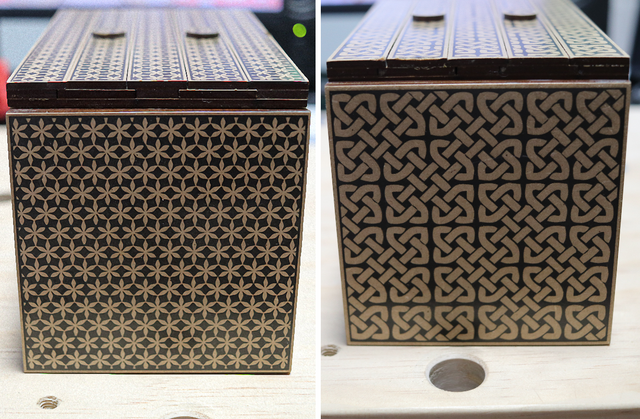
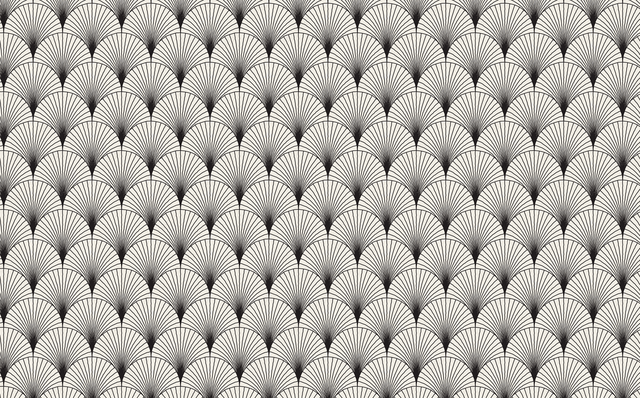
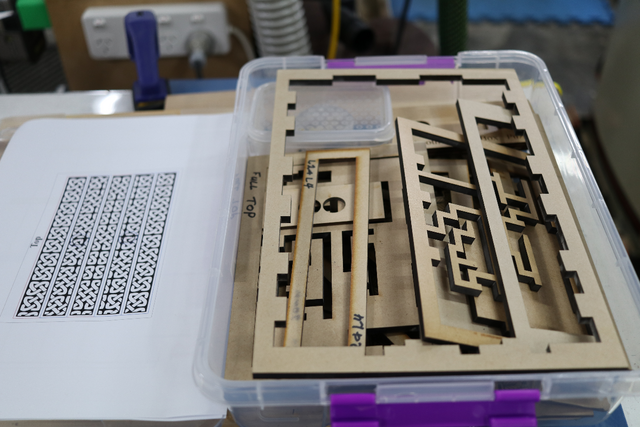
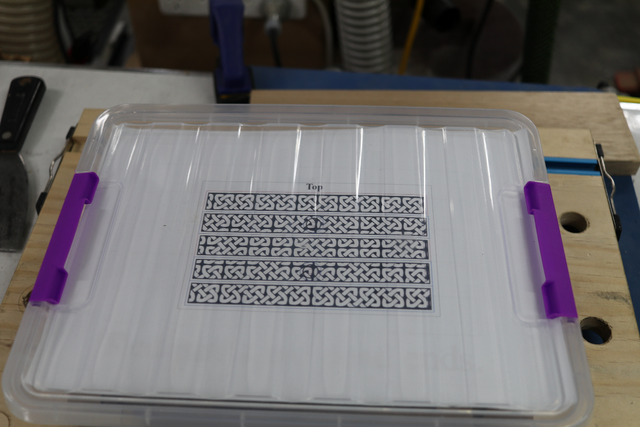
To give the box some substance, I downloaded a number of small Japanese Pattern vector art, extended them by duplication and stitching till I had sizes big enough to fit the sides of the box
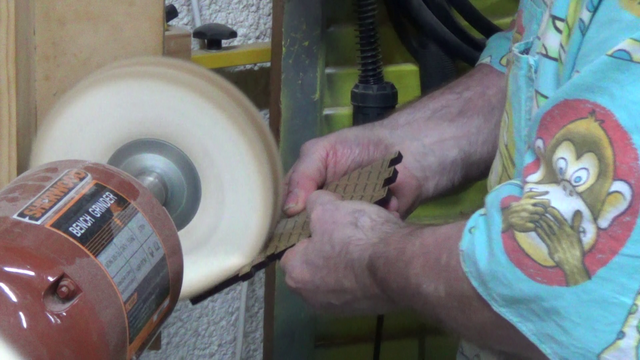
Selected patterns were engraved and Timbermate backfilled to pretty them up. After sanding, they were buffed to a high sheen using my Beall Buffing System
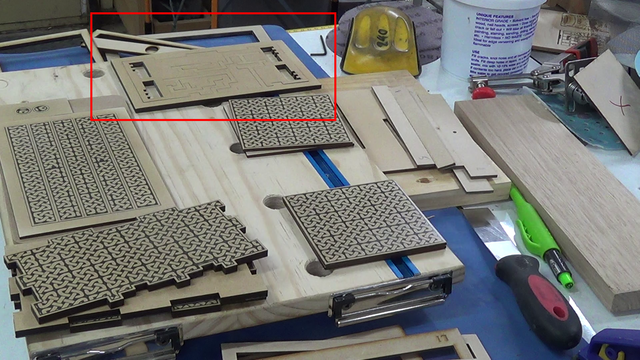
For sanding, glue up alignment and buffing I used a heap of jigs/templates to facilitate the production line,
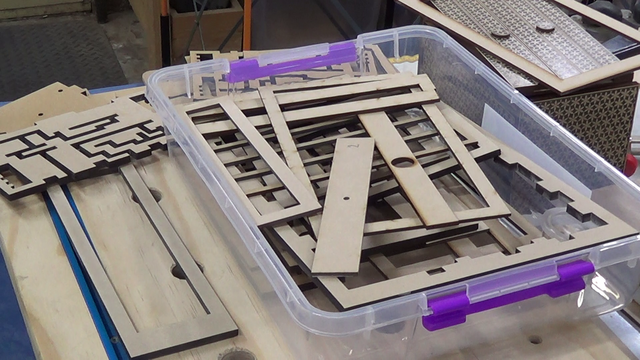
And eventually boxed and stored for the next iteration,
If only to remind me how (as well as the YouTube videos).
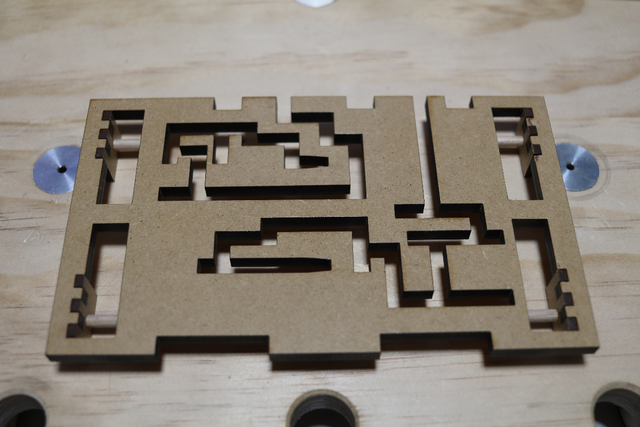
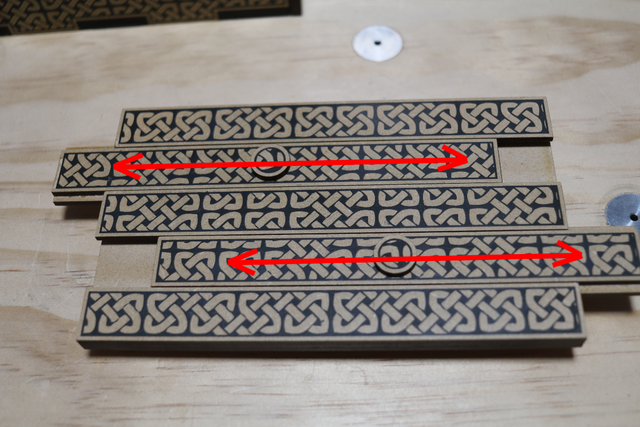
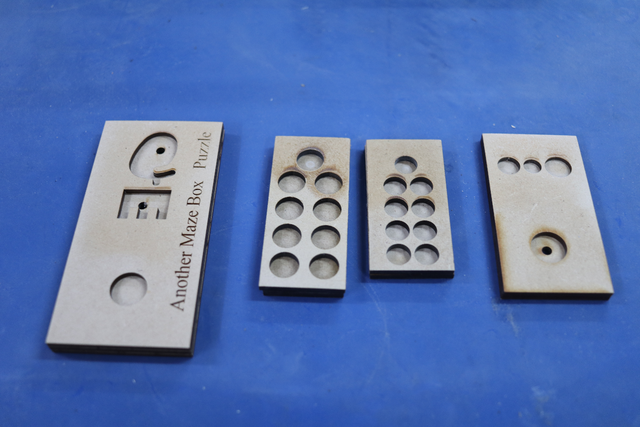
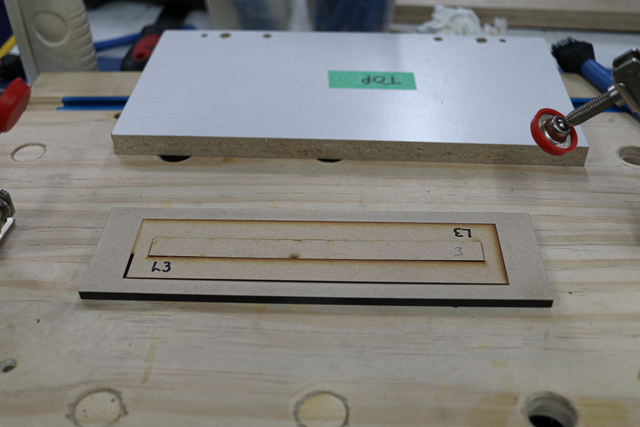
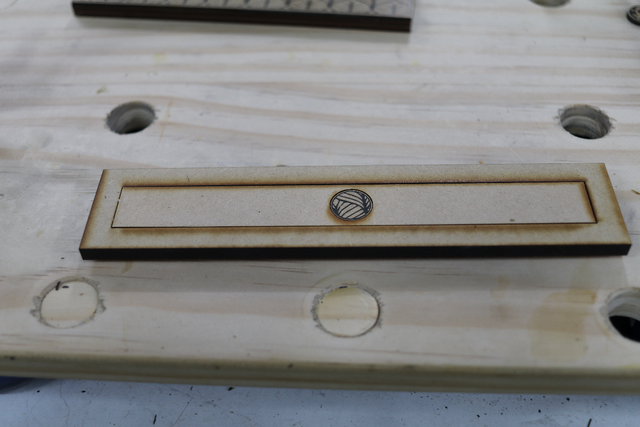
The border around the maze was kept to hold the maze while sanding and buffing,
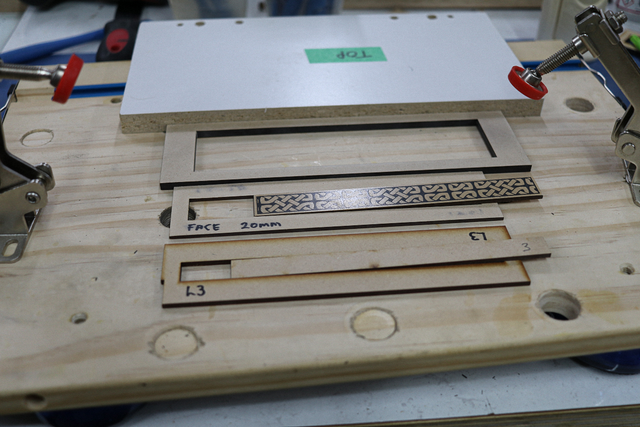
These templates were used to align the sliders to control the placement of the runners and guides,
(which I would not have needed to include here if people took the time to watch the videos… yeah, I know, I always brag about “time is precious” and here I am encouraging wasting it… DOH!).
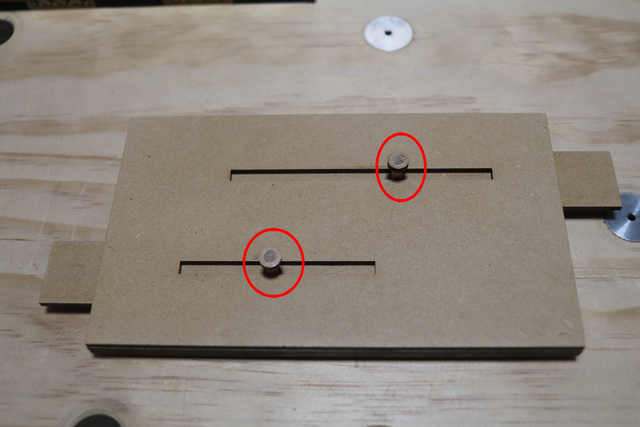
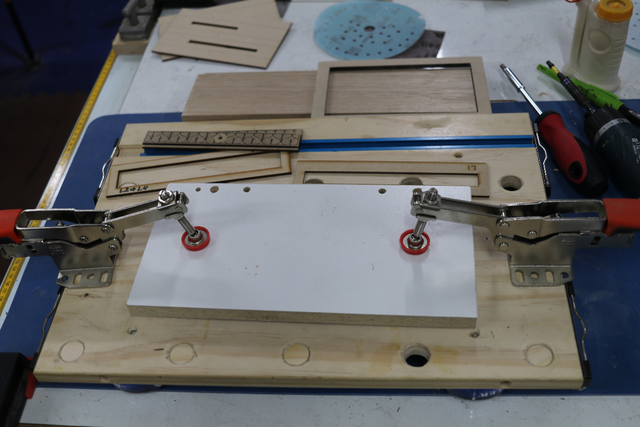
During glue up my mini work-benchcame in handy to clamp down the parts during glue-up
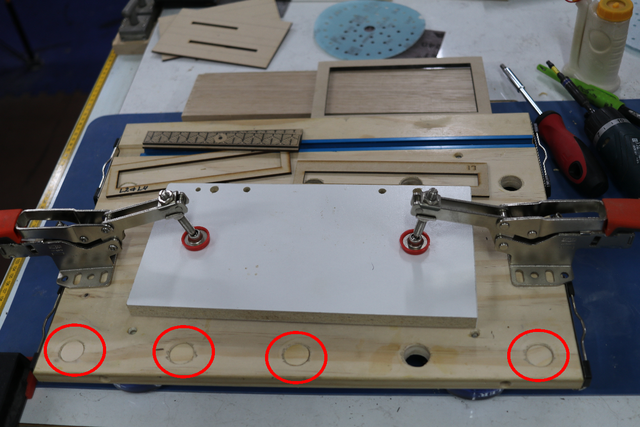
to flatten them out due to warping caused by the moisture from the Timbermate. The picture reminds me of a review I would have like to have done about those circled MFT style bench plugs…
(oh well, will have to wait).
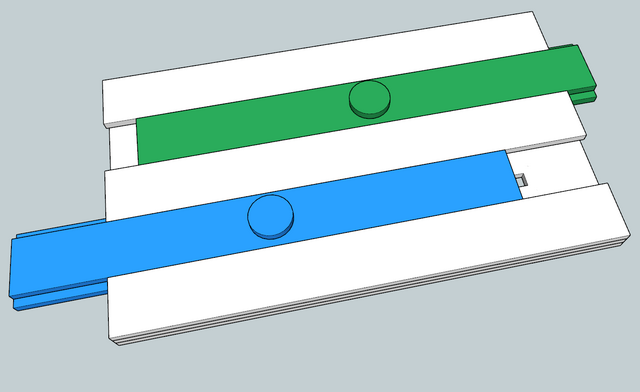
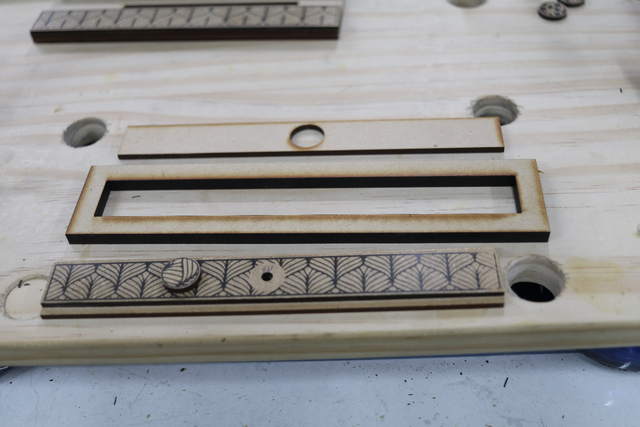
These two templates were used to align the buttons for gluing on the appropriate sliders,
Found that I needed to use medium viscosity CA to glue buffed pieces together (and hold).
The buttons provide a grip for the sliders and they hide the dowel used for the guide pin.
The rotating ends are so aligned to drop its profile by 7mm which will permit the protrusion of the 6mm sliders over the end (and a 1mm spare clearance) leaving 2mm of the lid captivated by the sides.
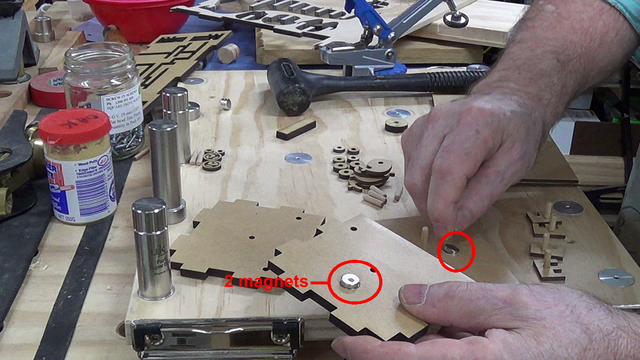
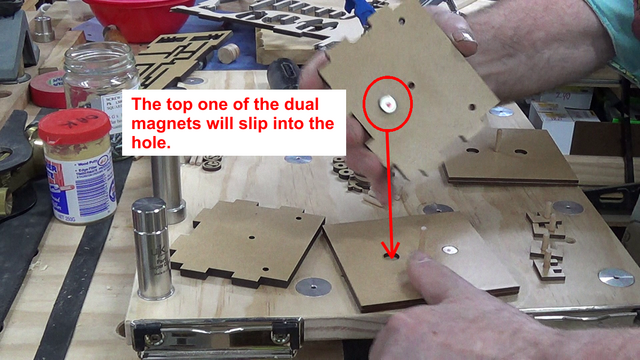
Alignment is assisted by 3 x 10mm magnets on each end. One is permanently glued to the box’s end and the other two sit loose in 3mm deep 10mm dia. holes cut in one of the dual laminates that make up the rotating face,
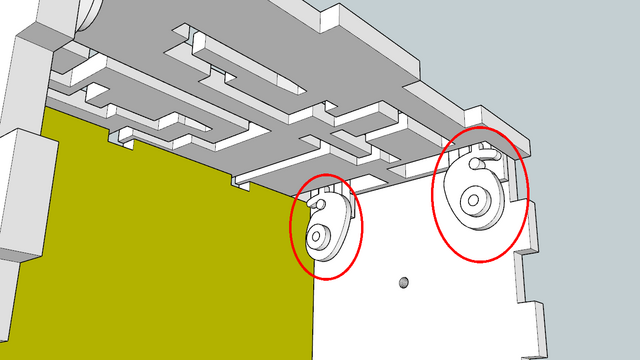
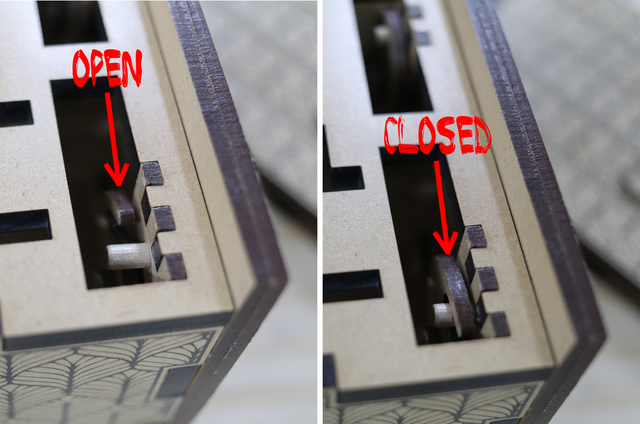
Once the maze is solved/off, you can access the maze locks and spin them out of the way,
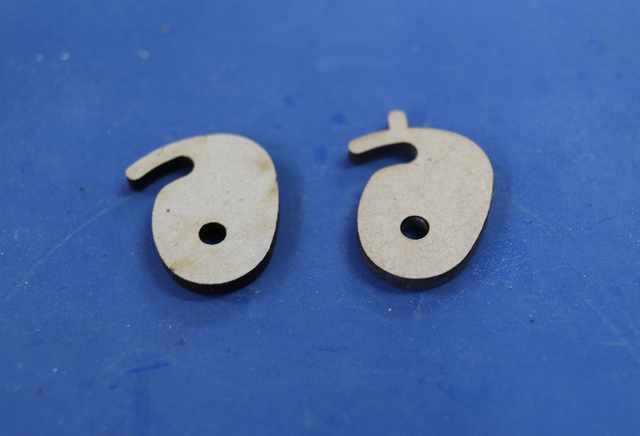
I redesigned the “spinner” with a little dicky-do, to provide better grip for manual rotation,
Like my other Maze Box Puzzle, this maze can be redesigned and interchanged with either an easier of harder pattern (maze).
For anyone interested, here are a couple of YouTube videos I made on this box.
The presentation has been split up into 5 parts to make your endurance less torturous. These are the parts:-
1. Preparation,
2. Assembling Jigs,
3. Small Pieces,
4. Box Assembly,
5. Conclusion and Solution,
Also for any thrillseeker, the files I used can be downloaded using this link.
The box is designed around the use of 3mm and 6mm sheet goods. MDF is my choice of cost and unavailability of ply locally.
There is an imperial version of the SketchUp model based on 1/8” and ¼” thicknesses… unfortunately it made the length and width awkward measurements.
Thanks for looking.. and as pottzy would say “Don’t encourage the bastard by nice comments!”
If your first cut is too short... Take the second cut from the longer end... LBD
Brilliant! The vector art looks great; I like the Ginko leaves one especially. Also, cool that you can change the mazes. Looks to me like a marketable product there.
Just jaw dropping! Not saying that because I'm in awe of the creativity, design, and effort put into this marvel monstrosity, my jaw is dropped at the sight of you wearing the nightie at the buffer.
I suppose if I show this to the wife, she'll want one to store my nuts in when she is out of the house. I usually keep them sorted by thread size....
Wish the idiot author didn't write as long blog... takes ages to scroll down to the comments.
Thanks all for your kind comments... even pottzy put the venom in his back pocket.
With the influx of new laser owners... those patterns are withing your reach... its only multi-pass engraving, backfilling and controlled sanding... though the cutting has to be otherwise... You don't need to think puzzle or even a box to make them. The boring task of "tabulating" 37 patterns have already been done in the referenced PDF. Unfortunately I have no idea what yazall laser software being used, however, if a format is desired, I can see what Corel will create.
WildBrianWood .... I like the Ginko leaves one especially. Also, cool that you can change the mazes. Looks to me like a marketable product there.
That is also my favourite and I have a V1 and V2 of that design... As I gave my V1 away, had to be done in V2, but I had to change tack for V3. The changeable maze is a handy feature, but only if someone else may take up the idea for marketability.... but then again, if our govermin keeps sucking us pensioners dry, I may have to grow a mustache and set up a market stall. JMcI, those bloody eggs with their scrambled brains, test my patients.
If your first cut is too short... Take the second cut from the longer end... LBD


. - Project by LIttleBlackDuck")


…")
…")
…")
…")
…")
…")


.png)