In 2019 we decided to convert the dining room floor to hardwood.
I asked my wife "Do you want inlays to match the kitchen floor?" "Of course!" was the reply.
I asked my flooring guy if he wanted to do them or if I should. He said "You do it, my knees don't want to"
Here are the steps:
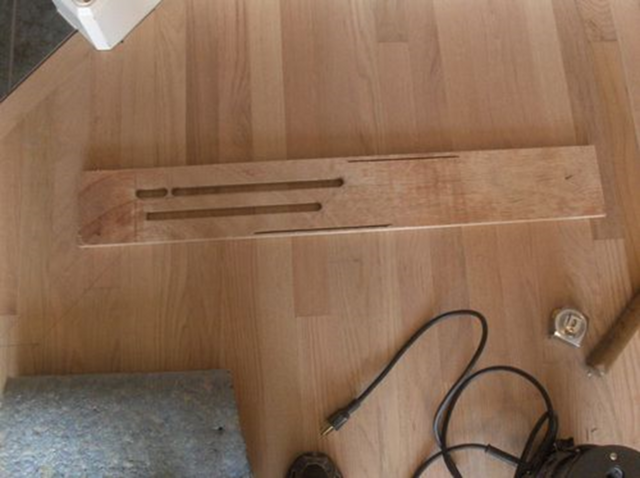
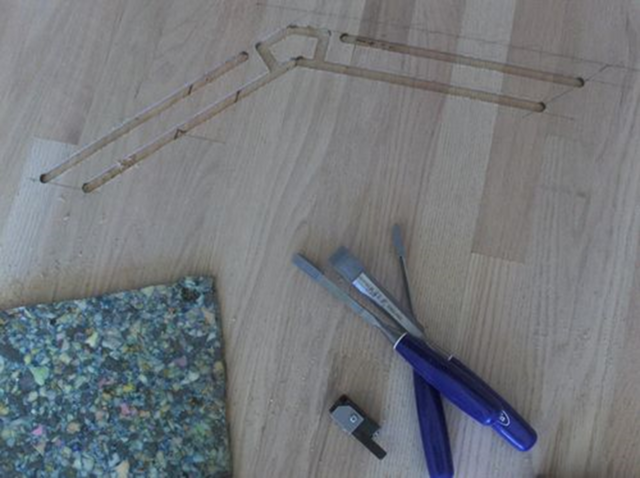
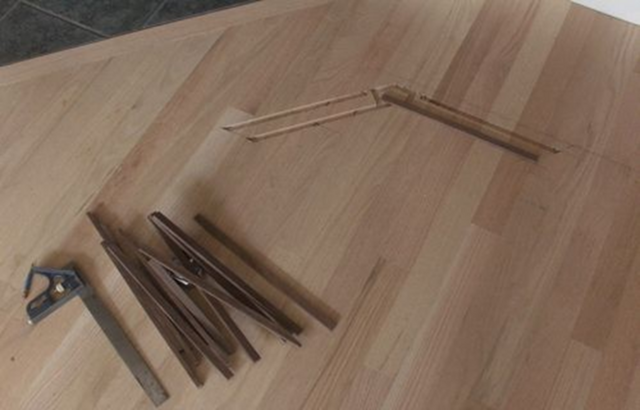
Make a template. Here are some dimensions:
1. Space between the stripes: 1" 2. Stripe width: 1/2" 3. Gap between stripe and box: 1/2"
The template is sized to be used with a guide collar on the router. You might be able to see a small block on the left end of the lower slot. The template layout is for a square corner. These 45 degree corners need a shorter slot on the lower opening.
I do a test run on a chunk of plywood or anything big enough to allow the full template to be used.
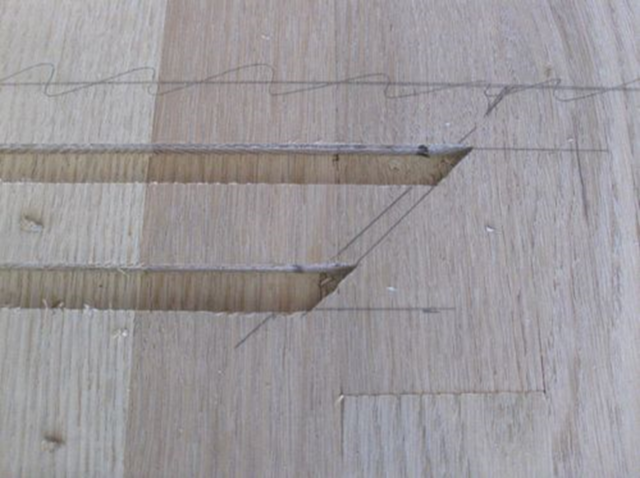
Next lay out the design. The pencil marks are hard to see here.
Then locate the template. Two nails are used. The left nail is placed so the hole will be in the next set of slots. The right nail hole will be covered with filler later.
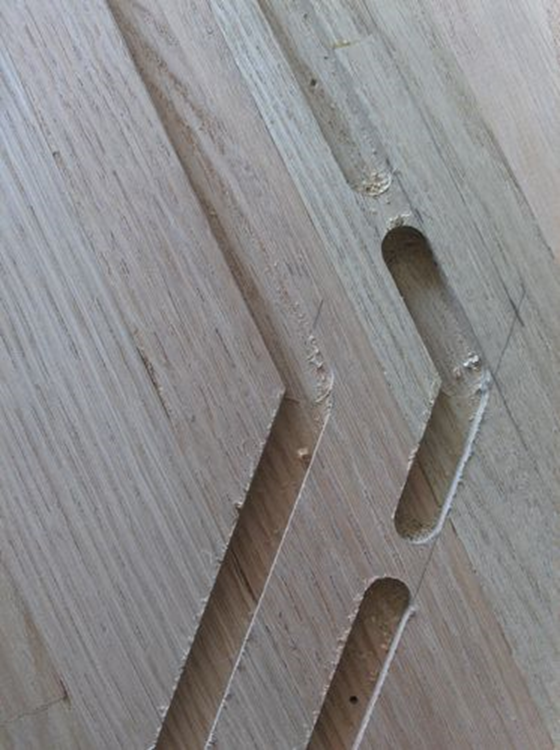
Here is a closer view.
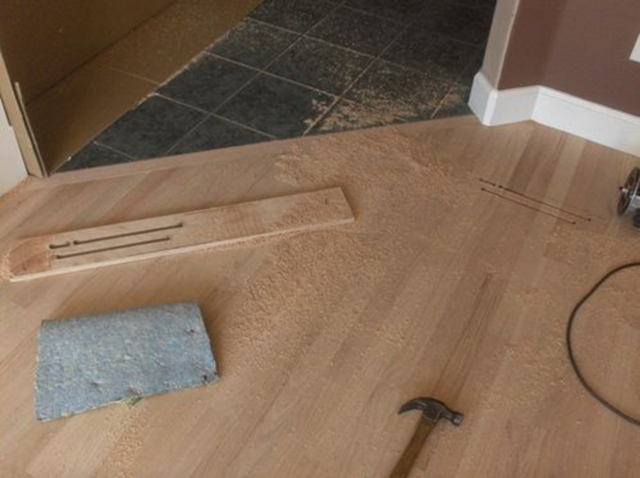
Cut the pattern and move the template. I make the cut in 2 or 3 shallow passes. The grooves are deep enough to reach the top of the tongue and groove joint in the flooring. Note the cardboard set to limit the travel of sawdust. The piece of old carpet pad is for my knees.
Flip the template to cut the other half of the pattern. Again, I place a nail so the hole lands under the inlay.
Then cut second half of the pattern.
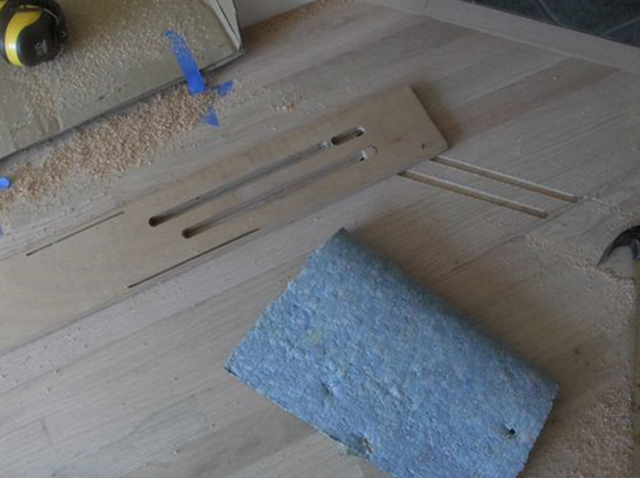
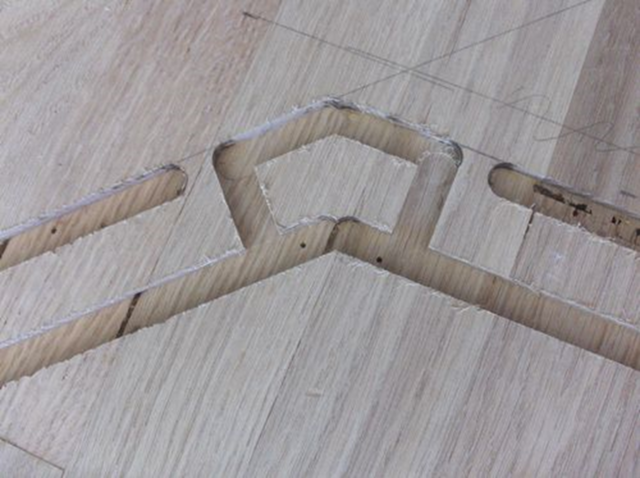
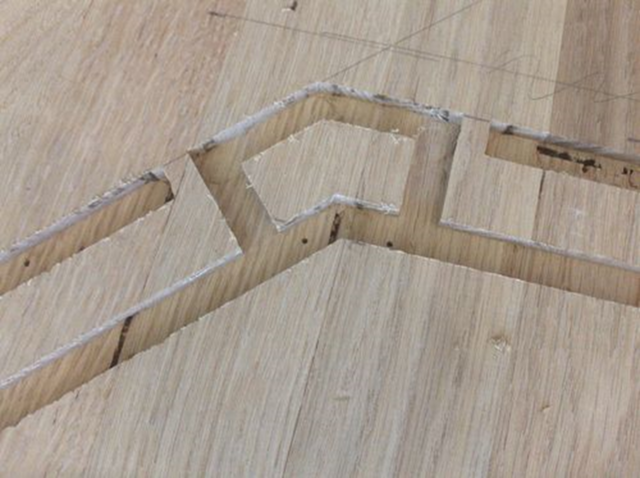
Use the short slot in the template to cut connecting groove. Get ready to cut sharp corners.
Here you can see the nail holes that will be under the inlay strips.
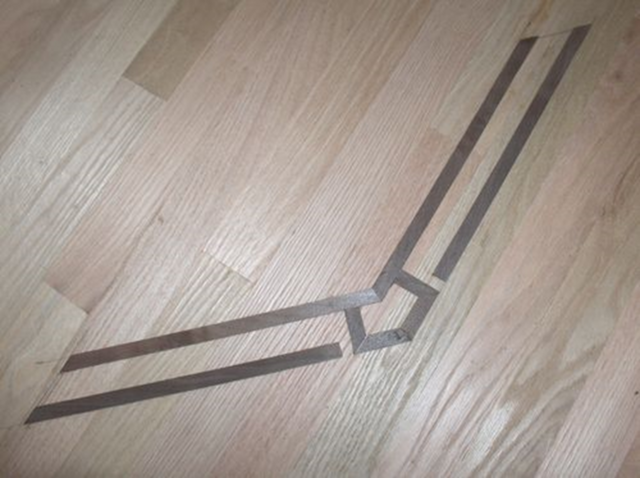
Now the corners are sharp.
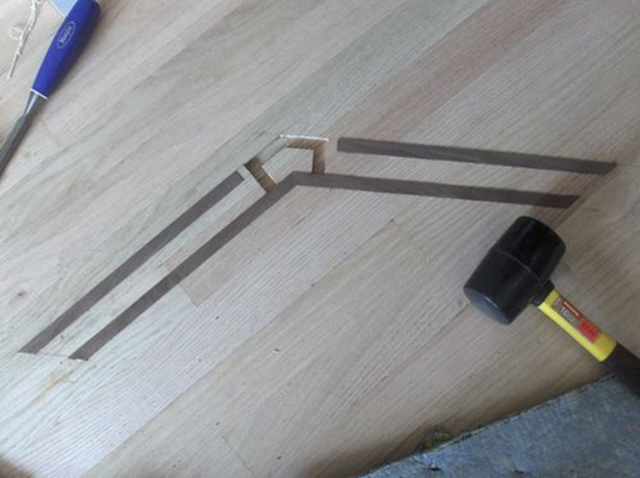
The next task is to cut a bunch of walnut sticks that are a tight fit in width. Use the practice piece to test the size of your inlay stock. Ideally you want a snug fit. If it's a little loose that's not a big deal. The floor installer used filler to take care of tiny gaps and nail holes. Make the strips a little thicker (1/32" is plenty) than the depth of the router cut. The floor sander will level them out easily.
Trim each strip to exact length, add glue and tap into place. The most important place for a tight fit is between the inlay pieces. The wood filler is contrasting in color and will show up in any gaps between the inlay pieces.
Repeat until finished.
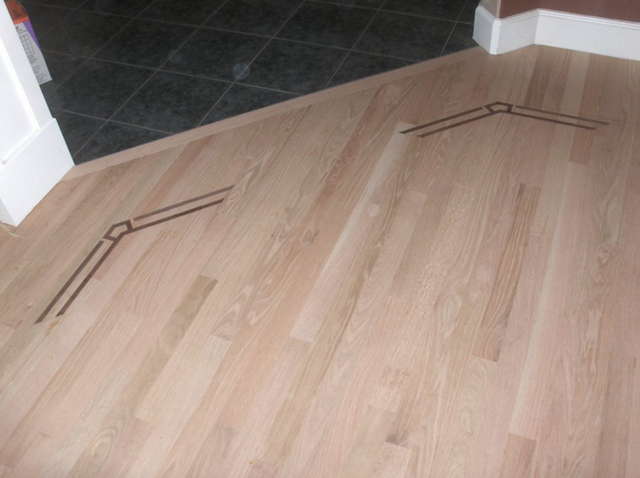
This project took about 20-25 hours.
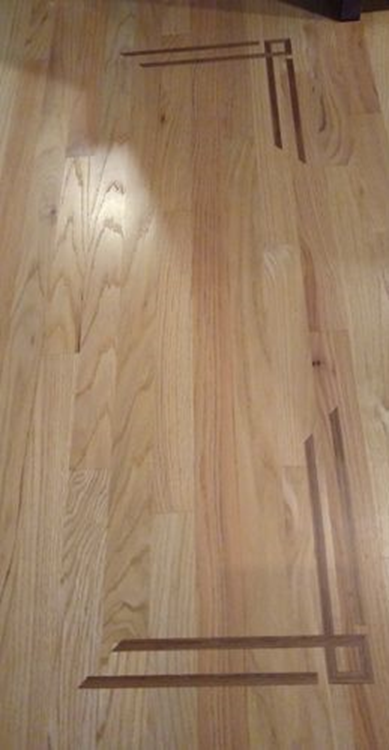
Here is what the square corner pattern looks like. They were made with the same template back in 2001.
LBD - I do not have a laser, but I am in the process of installing a CNC (slowly - I have a lot going on 🙂). Template making is one of the plans for it.
Steve Rasmussen .,... LBD - I do not have a laser, but I am in the process of installing a CNC (slowly - I have a lot going on 🙂). Template making is one of the plans for it.
Handy move... I never surrendered to that dark side because of the mess (router swarf) and the need to secure to timber. With the laser it just lays there and even goes to sleep.
If your first cut is too short... Take the second cut from the longer end... LBD
When I first got my Shaper Origin, several of their sales videos were geared towards doing just what you did, but doing it as a vendor/installer. They produced some beautiful compass rose work on a couple customer’s floors in San Francisco (probably employee’s floors when they first got started). It’s a compelling reason to own the tool if you did speciality floor install, I suppose!
Ryan/// ~sigh~ I blew up another bowl. Moke told me "I made the inside bigger than the outside".
Beautiful job!!! Remember it from LJ, also remember thinking making the first cut in the newly laid flooring boards I would take a deep breath. Going to be hot tomorrow in the Couv.
Thanks for the comments! A well secured template and a practice run calms the nerves a lot.
LBD - I'm currently setting up the dust collection. I need to start a blog to show my (slow) progress Dave - yes it it going to warm up. Wednesday looks to be 100 and I'm going to be framing houses that day.
Steve, all I can say is you've got nerves of steel to put a spinning router to a newly laid floor. If I were to try this - and it's most certain that I never would - the existing hardwood floor would be drenched then cupped from the sweat off my forehead. Needless to say you did a fantastic job here, it looks magnificent. It really adds beauty to the floor, one grade A job well done.
Yeah, I was going to make a similar comment - that took some serious courage and confidence to tackle this project. It turned out great, so obviously you had it all in-hand. Great job, Steve.


 - Project by Steve Rasmussen")
 - Project by Steve Rasmussen")