I asked some friends to choose something I could make for a housewarming gift for their new home. They wanted me to make new frames for their two pieces of antique stained glass. It took a couple years but I got started in late 2014.
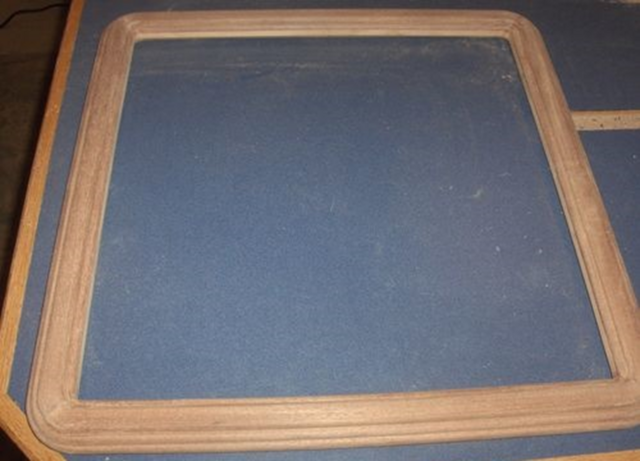
The request was for an Art Deco look. I made a design with layered round-overs and rounded corners. Since they were to be hung in windows, I made both sides finished.
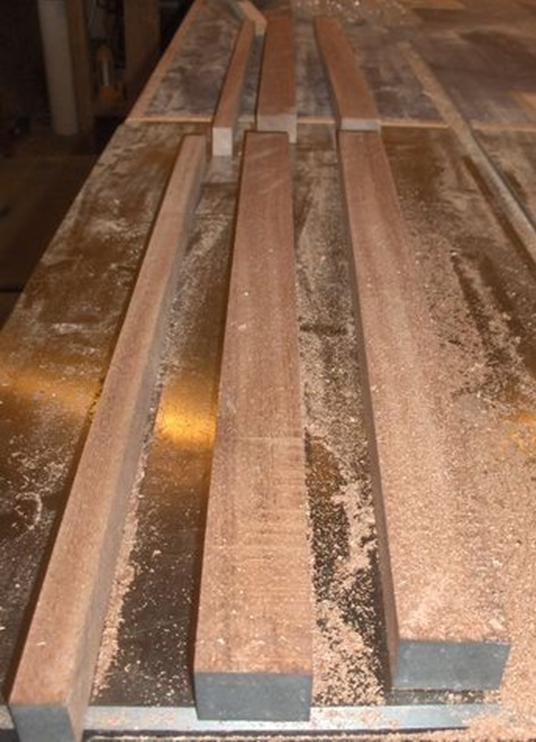
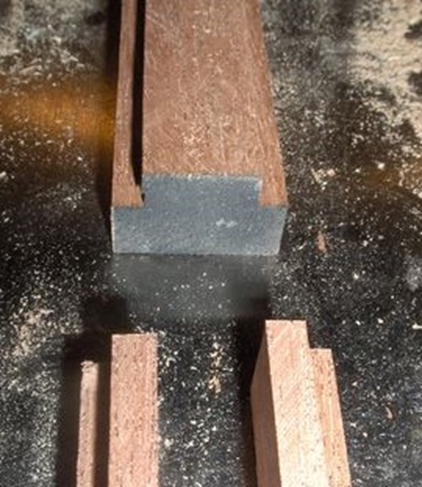
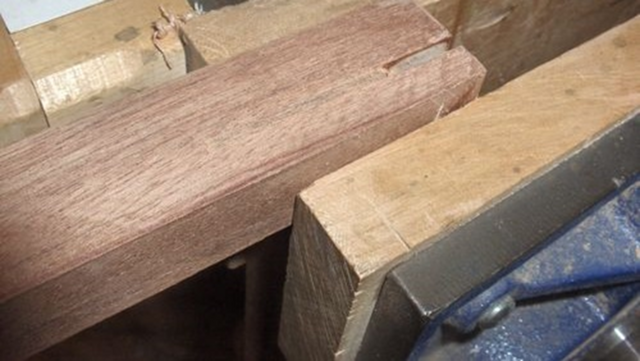
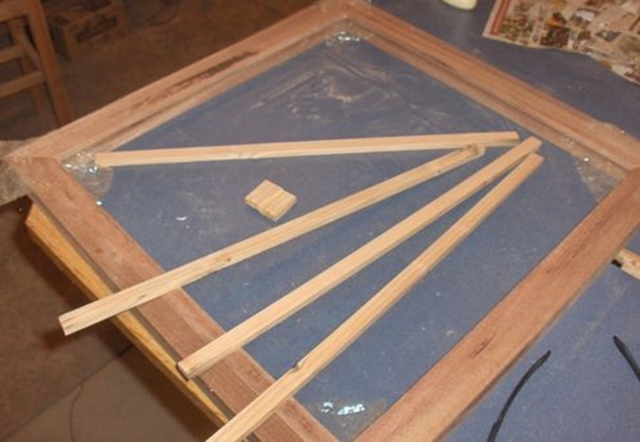
The wood for a frame is cut from a single mahogany board. The retainer frame is made from the smaller pieces shown.
Rabbets are cut for the stained glass and the retainer prior to assembly.
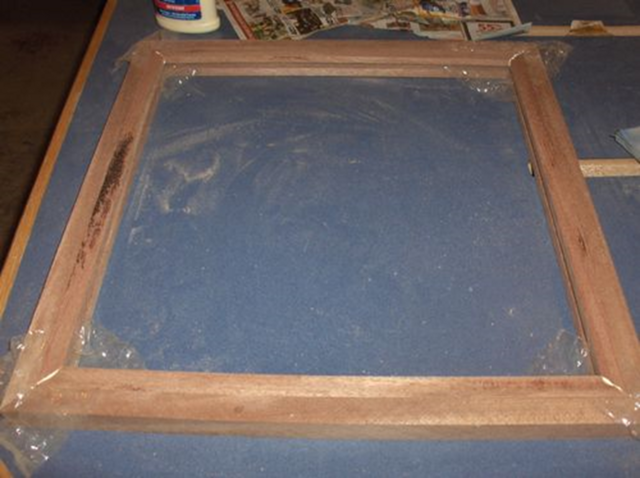
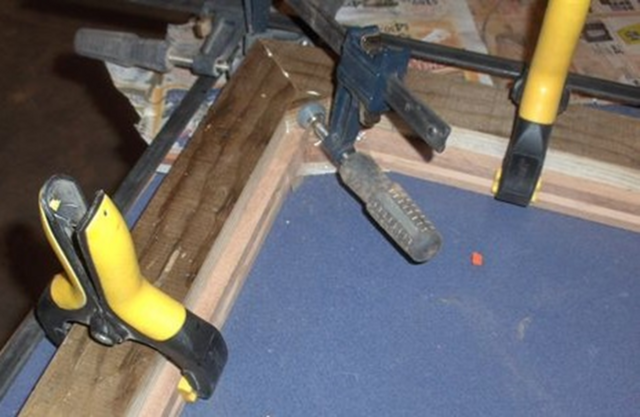
The frames are glued up.
And then the retainer frames are fitted and glued in place. Note the plastic wrap to keep the glue from wandering.
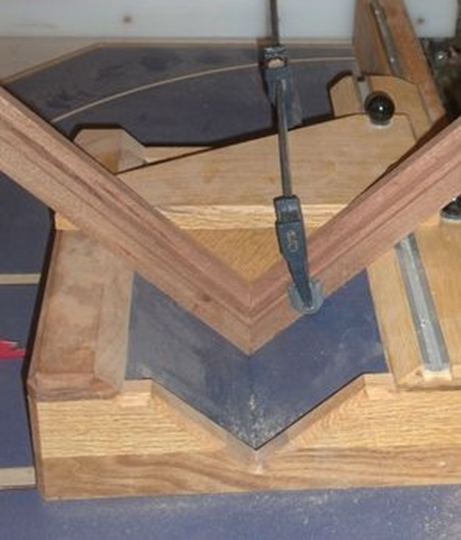
The frames and retainers are cut for splines. This is especially important for the retainer frames since they are so fragile.
It’s not easy to see, but the splines for the frame are set extra deep to accommodate the rounded corners.
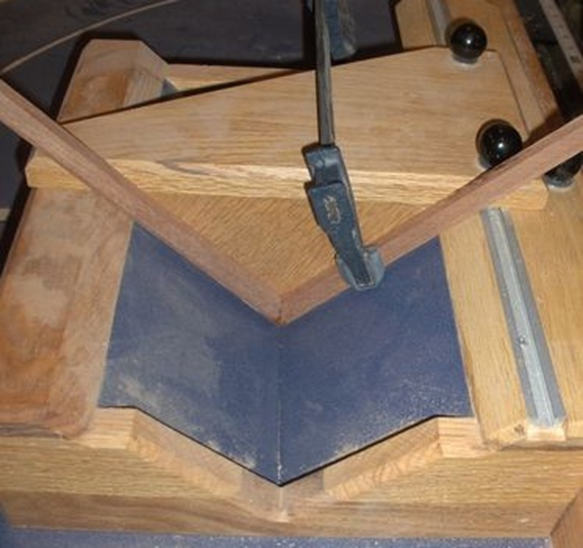
Filler strips are used to fill in the recess for the stain glass. These end up serving as the guide surface for the router bearing (for some of the cuts).
The outside corners are cut with a band saw and sanded to the line. All the outer profiles can be referenced from outside edge with the router fence.
Some of the inner profiles need a reference surface. This fence is set up to shape one inside corner at a time. An offset collar is used to achieve the correct spacing of the profiles.
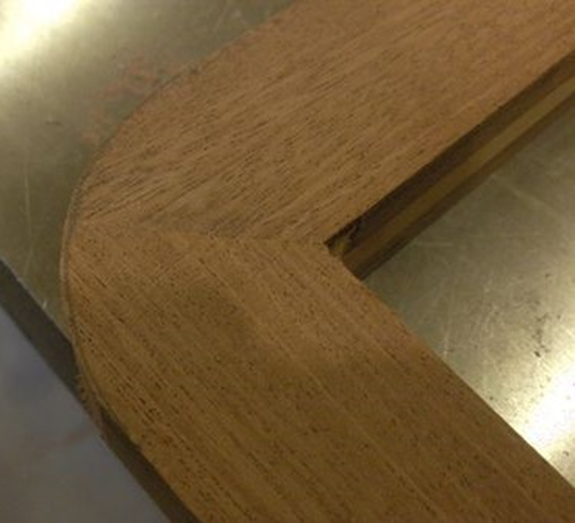
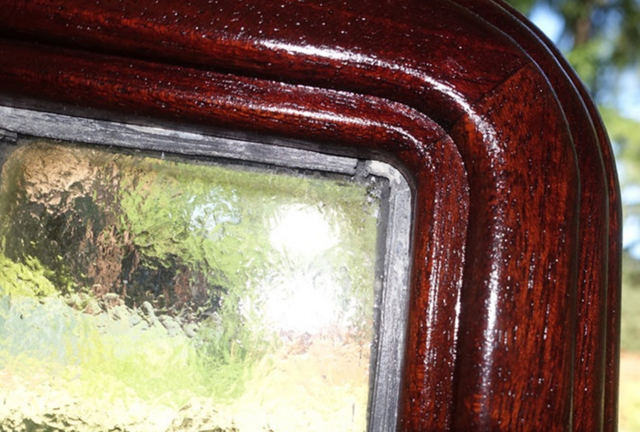
Here is the finished shape (viewed from the front).
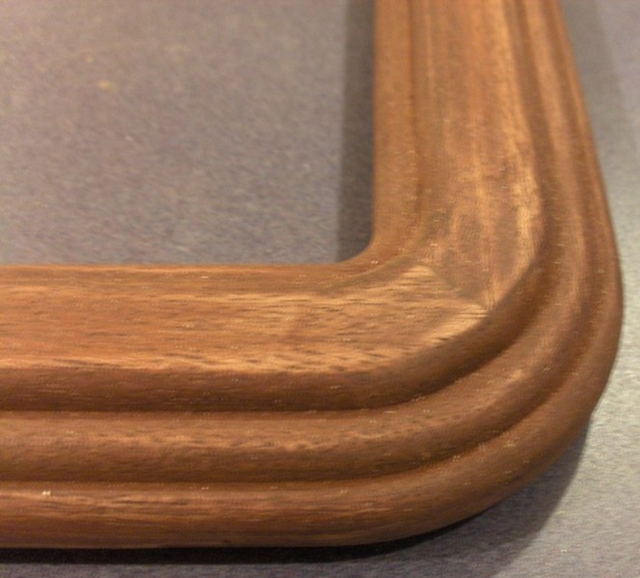
A close up of the outside corner.
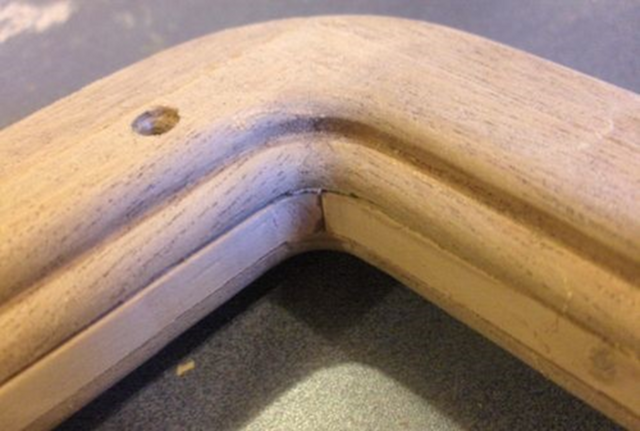
And here is the inside corner (viewed from the back). You can see the filler strips still in place.
After shaping, the filler strips can be removed.
The frames are finished with an oxidizing layer of potassium dichromate and then clear polyurethane.
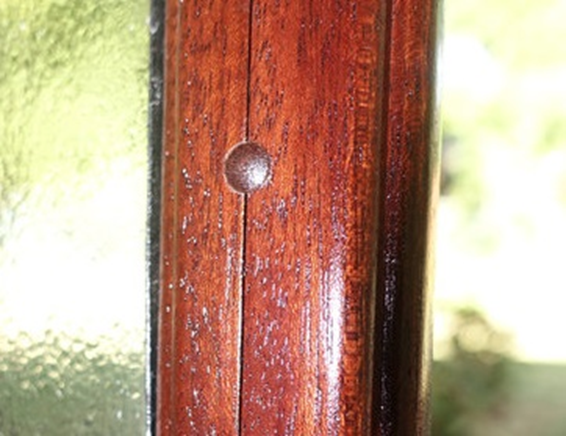
A final detail is an orientation plug set into the frame with a matching recess in the retainer. The plug has a slight dome shape.
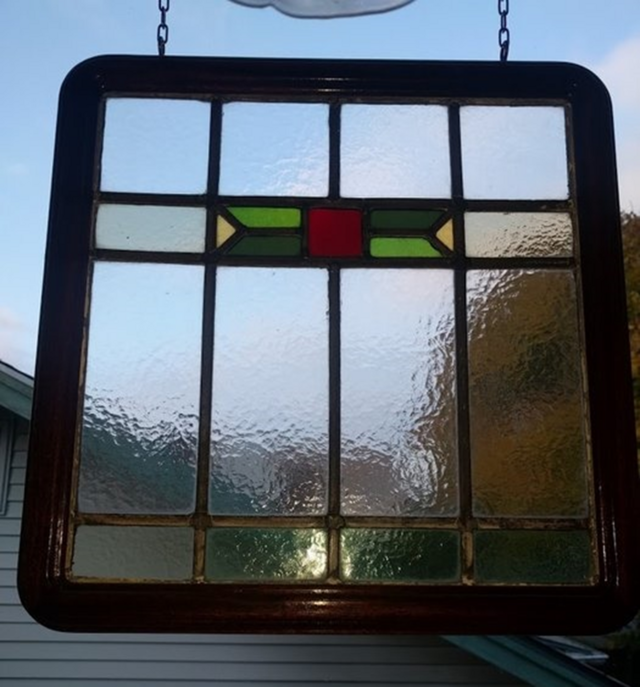
The larger frame was started in September 2014 and finished in December 2014. It took about about 18 hours from design to finish.
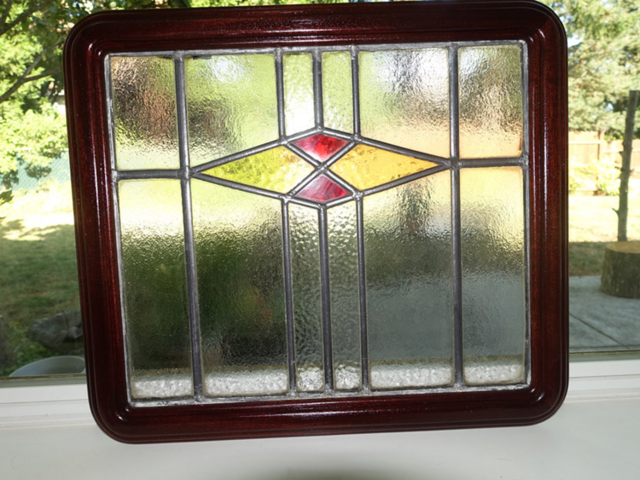
The smaller frame with the diamond pattern was stated in February 2014 and finished in August 2016. It took about 24 hours.
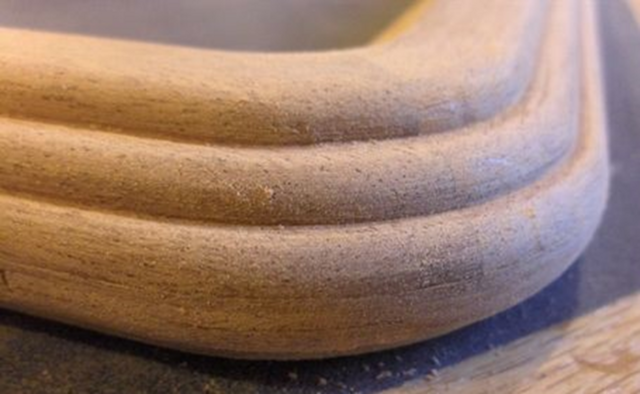
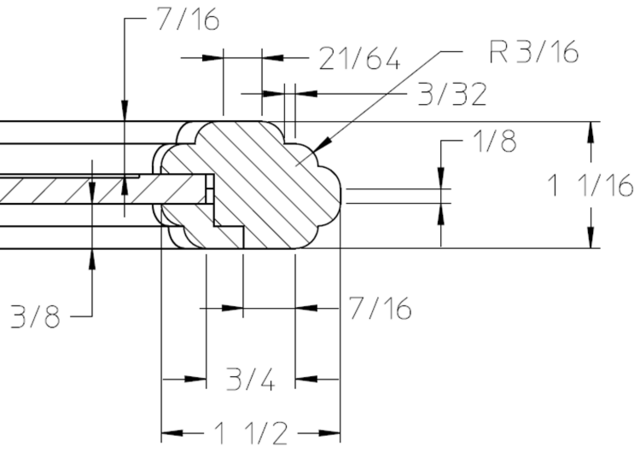
For reference here is a cross section of the frame. The frame corners start with an inside radius of ¼” and end at 1 ¾”.
This was a fun project. It was my first effort with an Art Deco style design. The requirement for the frame to look finished from both sides provided a new set of solutions for me. This was also my first time working with leaded glass.
Had to read it twice in case i might offend you with my comment.... for the frame, for the lead glass... every phobia has a story behind it.
The lemon I bought in downtown Churchill was from an owner builder that was a lead lighter and should have limited himself to his profession. When I moved in the whole house was "embellished" in lead light/glass. I didn't particularly like it but was prepared to persevere. As I found more and more issues with the house, I grew a profound dislike towards the owner and as he was a lead lighter, a detestation for the product. Over time got rid of all his fottprints with the exception of the one on the front door,
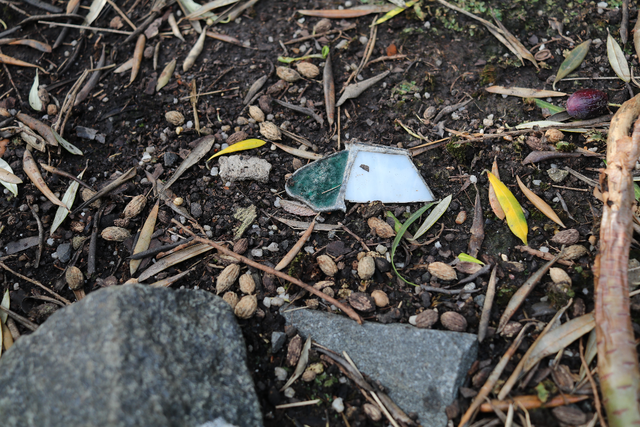
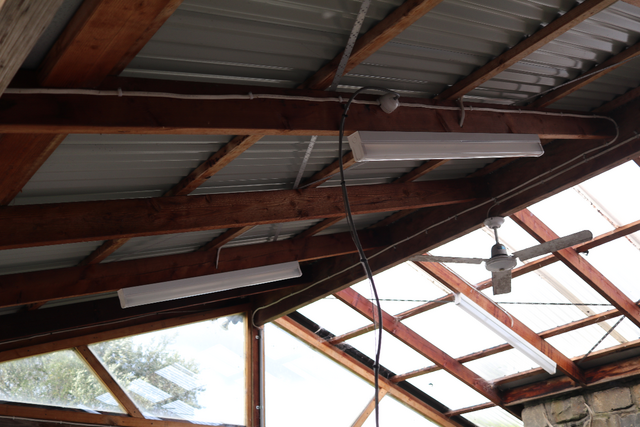
and the back door, I've been here since 2010 and I still find bits of his "handiwork" scattered around the yard... it took me about 30 seconds to search and find this piece (amongst my rubble), that I haven't managed to bin... yet... I did have to partially unearth it. Fortunately my sparkie's SWMBO loved lead light so he replaced all my lead light shades with neons in the back area, there were 16 of them.
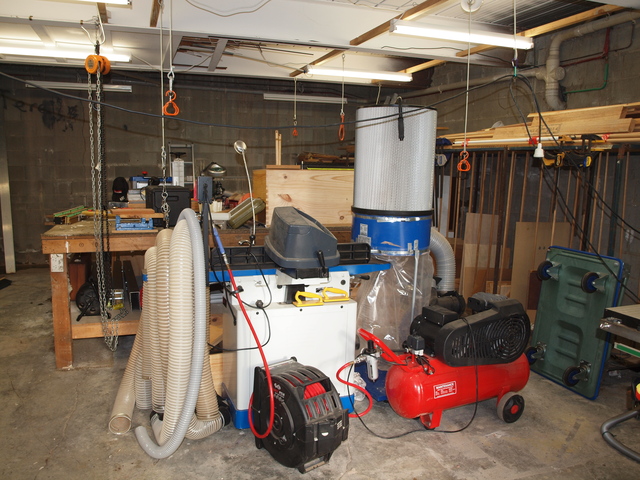
The guy used to teach lead lighting in his garage/basement... the glass rack and monster work bench is what initially attracted me to the property, People still ask me what I was smoking when I signed the papers and if I had a formal property inspection performed, I'd still be living in Richmond (about 2.5K from the Melbourne CBD).
Sorry about the blog hijack eRasmus, but I had to vent my spleen after seeing that frame's content.
If your first cut is too short... Take the second cut from the longer end... LBD


 - Project by Steve Rasmussen")

")
")
")
")


.png)
.png)