This project was started in 2015 and completed in 2019.
I spent 20+ hours getting the design details worked out. The biggest challenge was the arched detail but also a sliding tray on the inside. Once I got that figured out I was ready to build. I took several photos during the build.
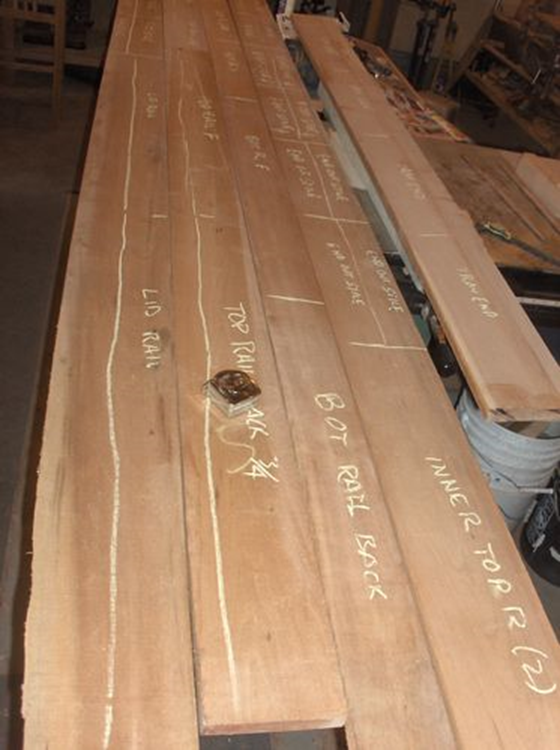
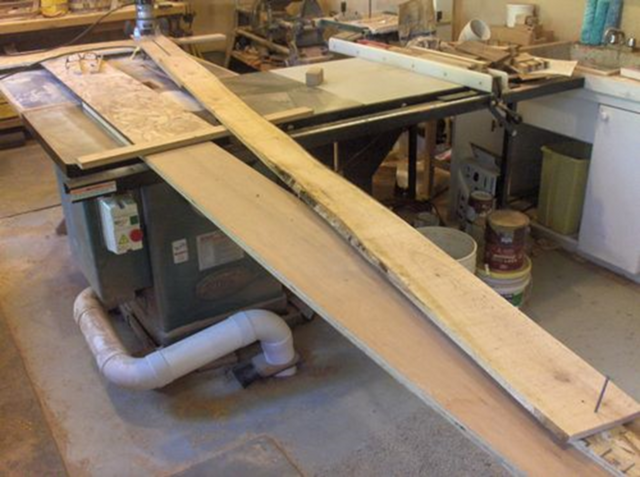
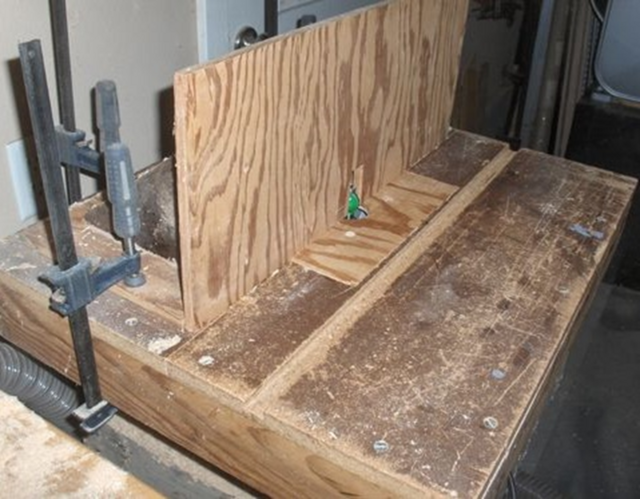
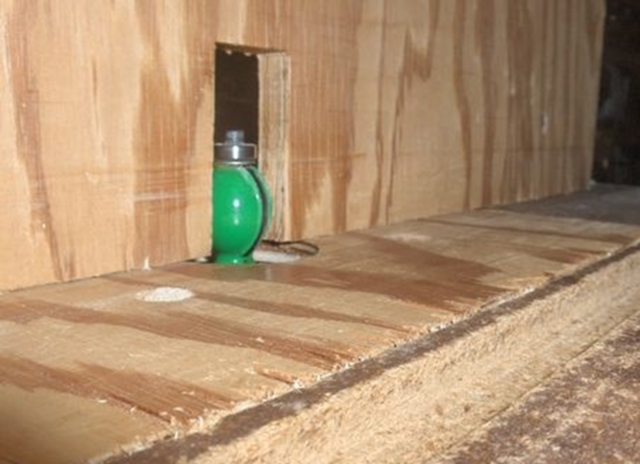
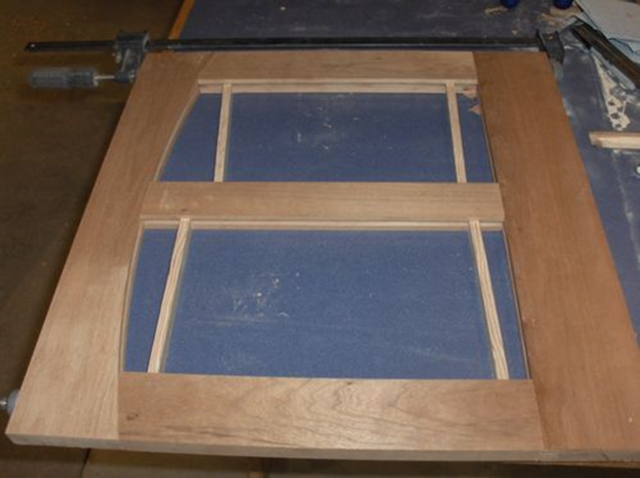
I had just enough cherry for this project. No spare material meant it took a bit of time to lay out all the pieces. The next picture is not that great, but I set up an extra long trammel to cut the arc for the arch templates.
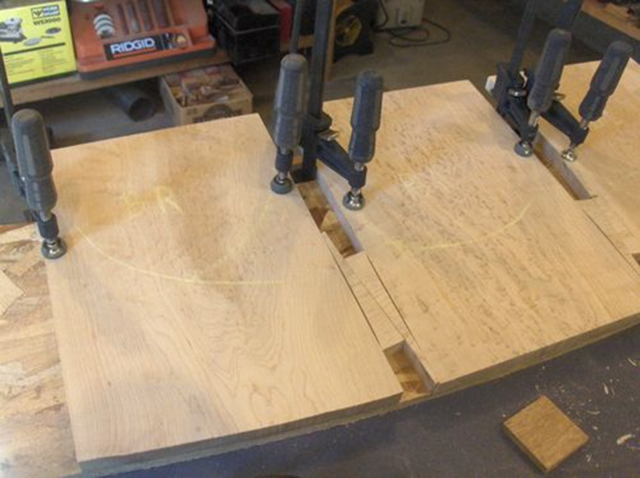
Here is the template in use. I took care to make sure the panel blanks were positioned correctly.
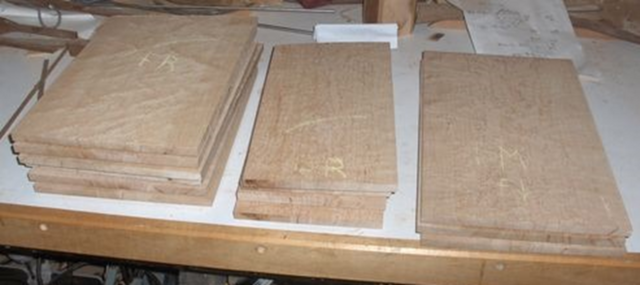
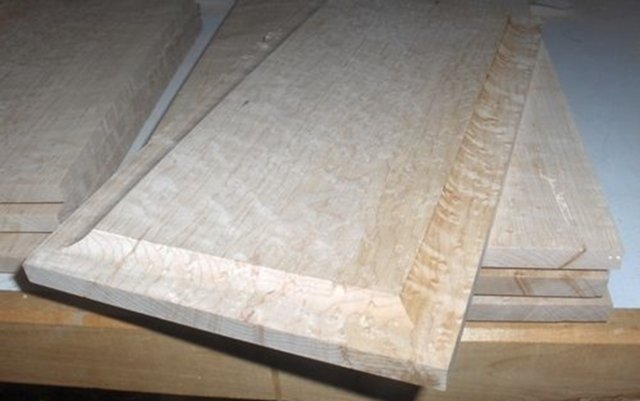
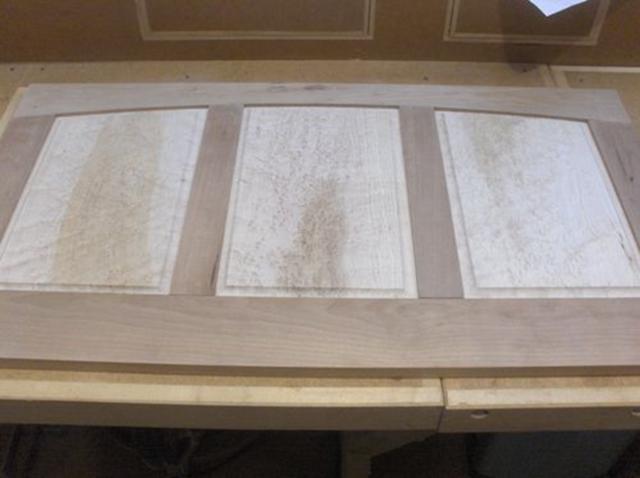
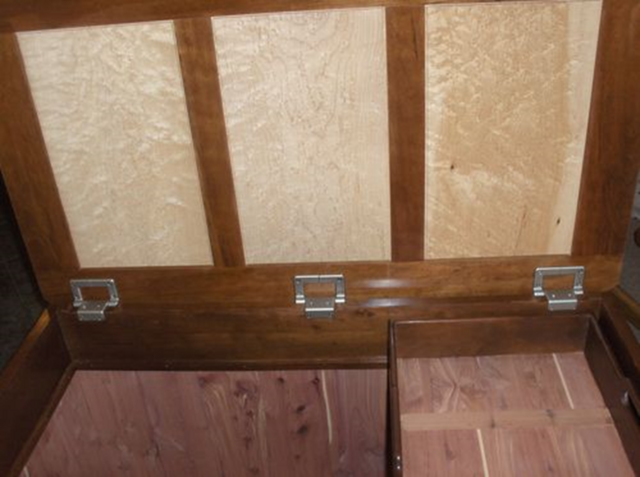
Here are all the bird's eye panels. I was lucky enough to have a plank wide enough for single board panels. The wall panels were re-sawn to 1/2" thick while the top panels were kept a full 3/4" thick.
I cut a profile on each panel with a tall fence on the router table.
I took multiple passes to get the cut to full height.
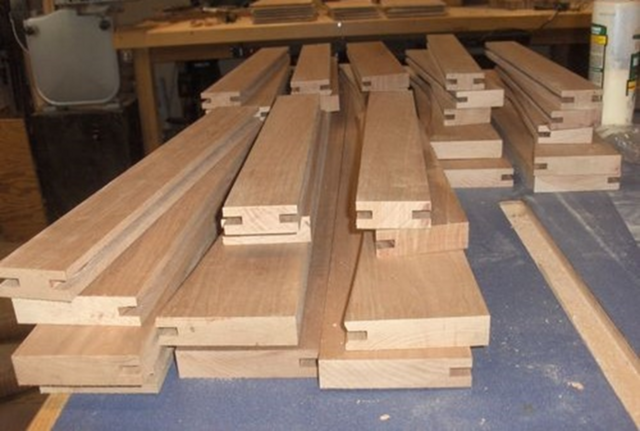
Panel grooves were cut into all the rails & stiles.
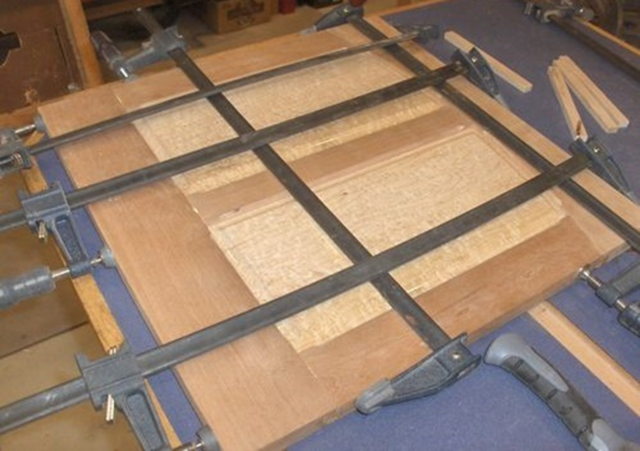
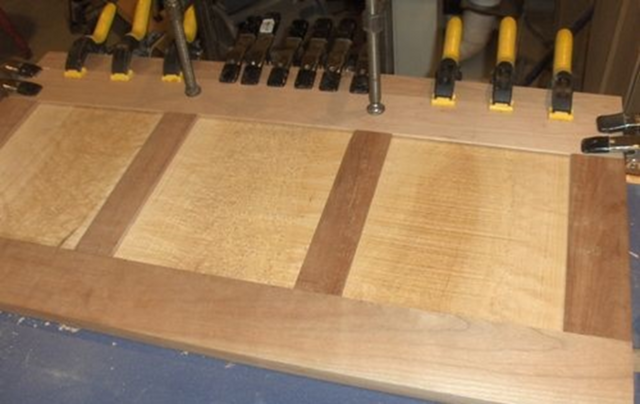
Dry fitting.
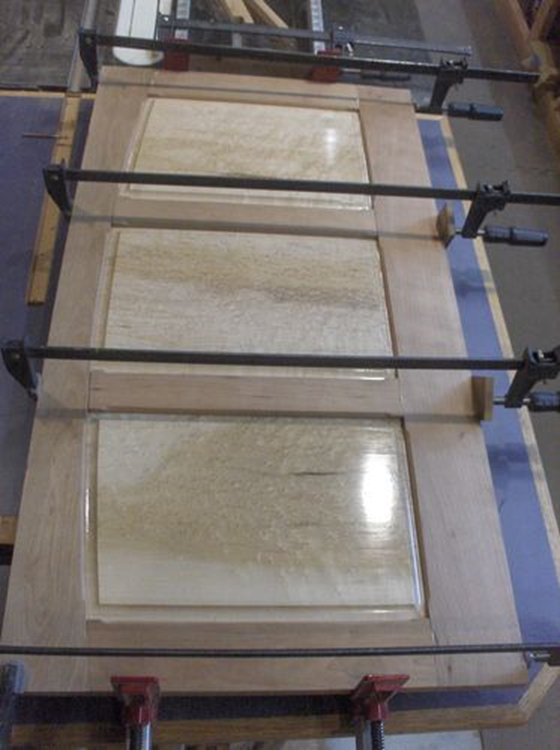
Glue up. The maple panels were pre finished.
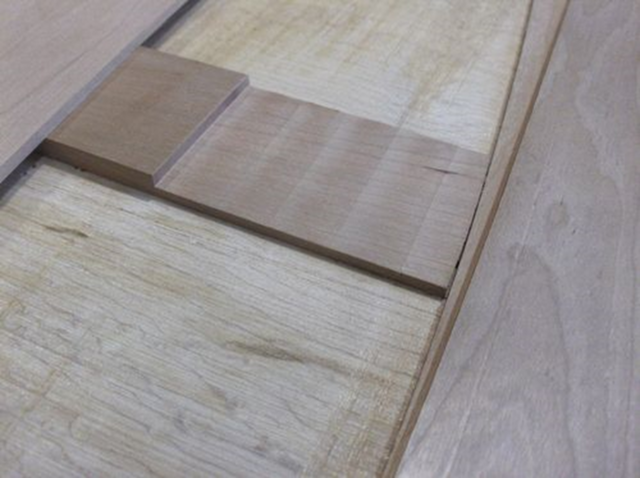
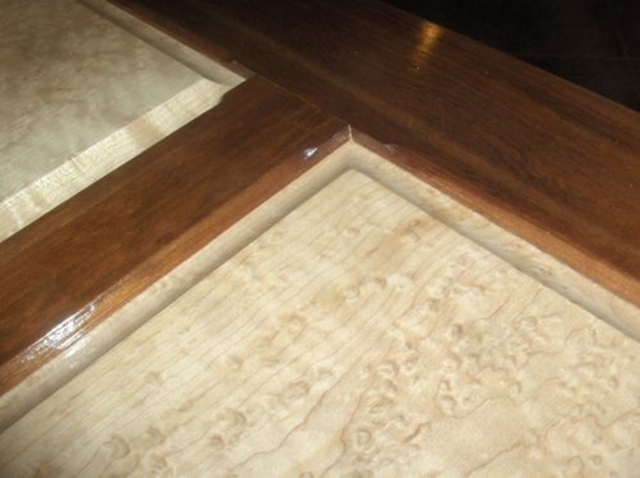
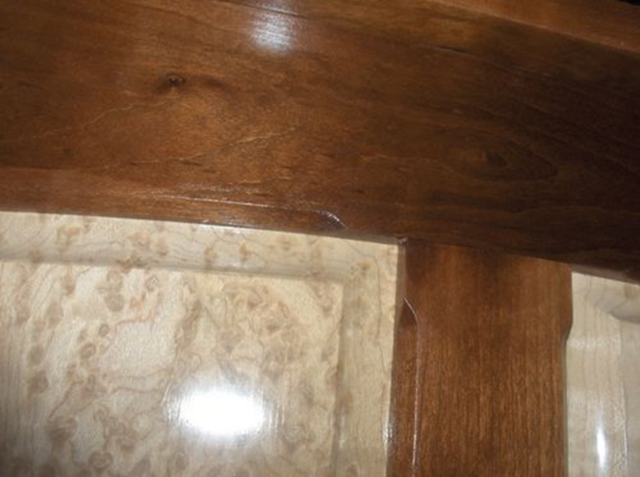
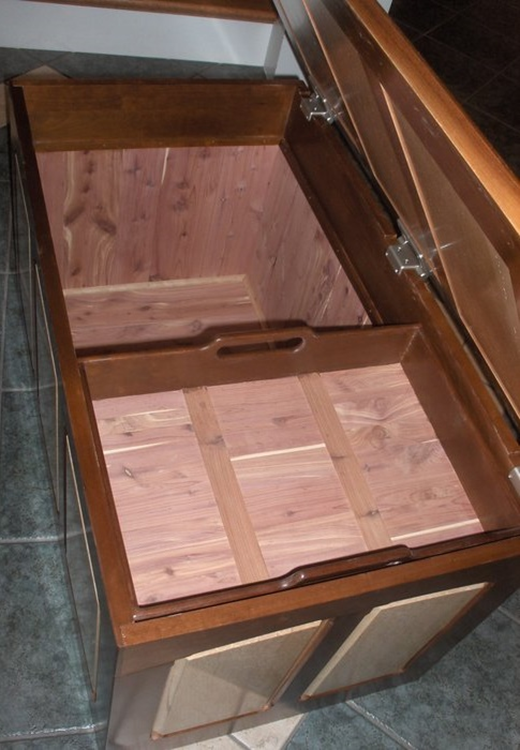
The birds-eye panels are 1/2" thick for 2 reasons. One was to save weight. The other was to provide room for a filler piece of cherry on the inside. This piece covers the arches on the inside and gives a clean look for the sliding tray.
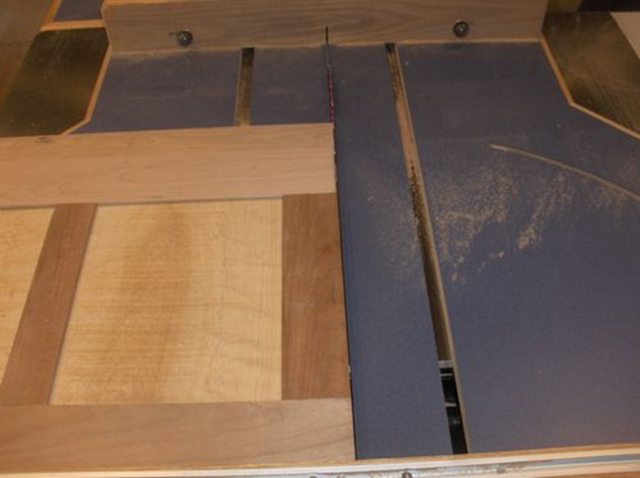
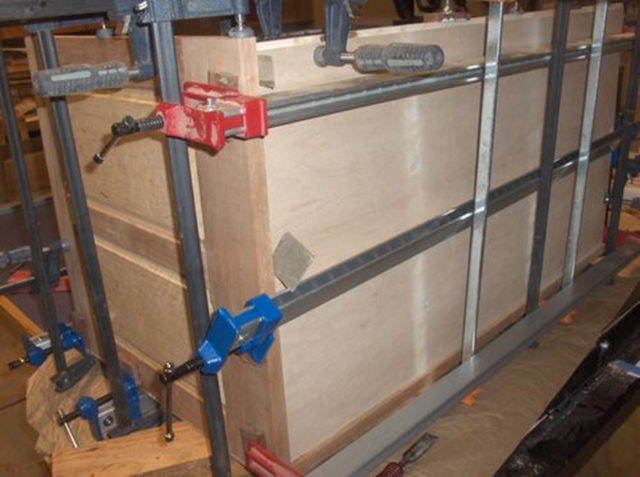
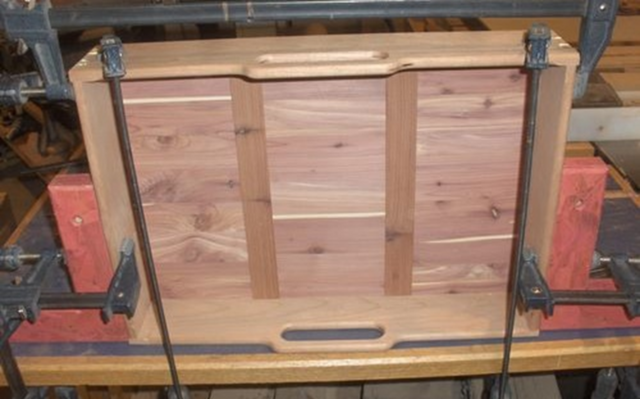
The wall and top assemblies squared up with the crosscut sled.
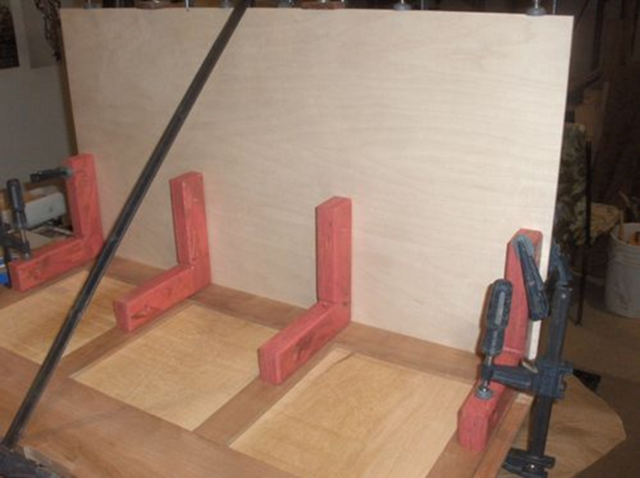
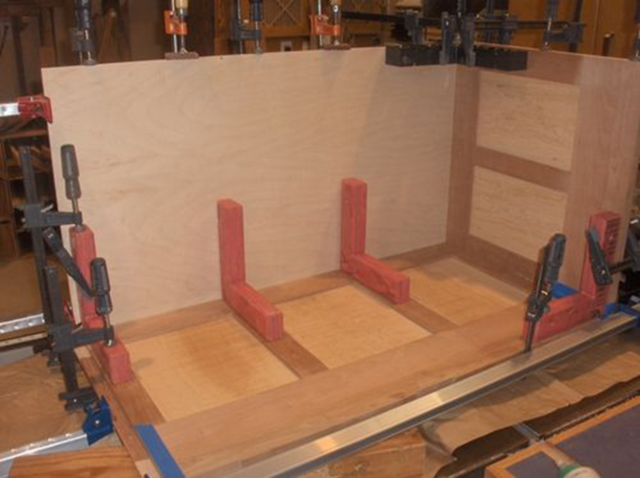
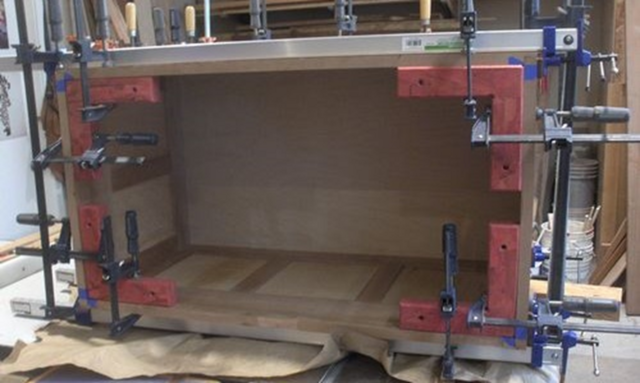
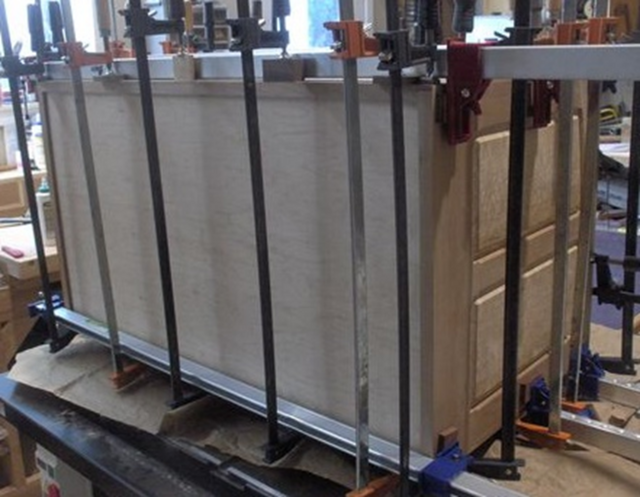
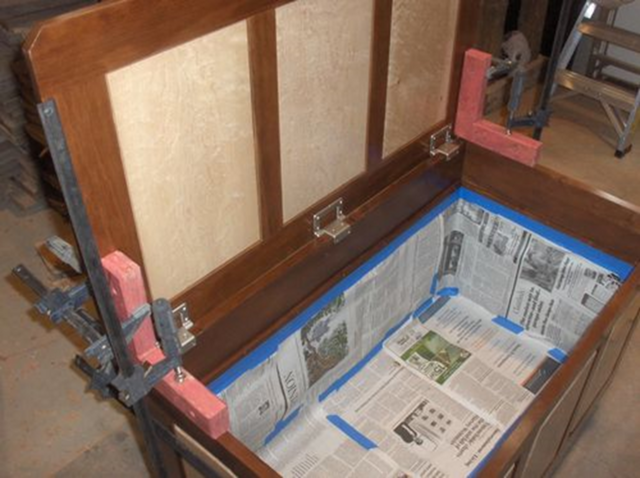
The next set of pictures is of the final glue up of the case. The floor is 1/2" plywood with a rabbet.
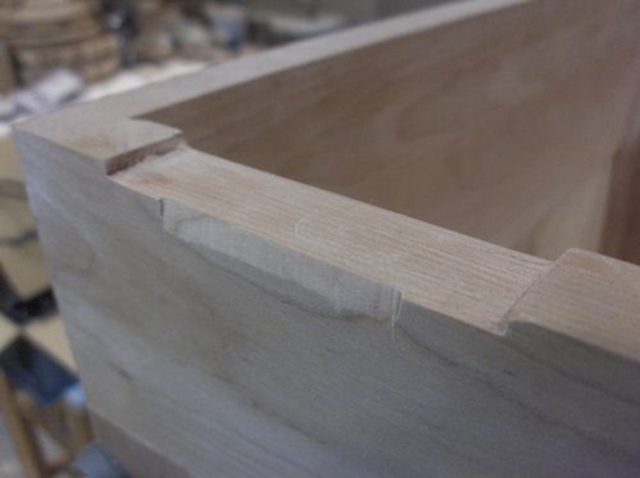
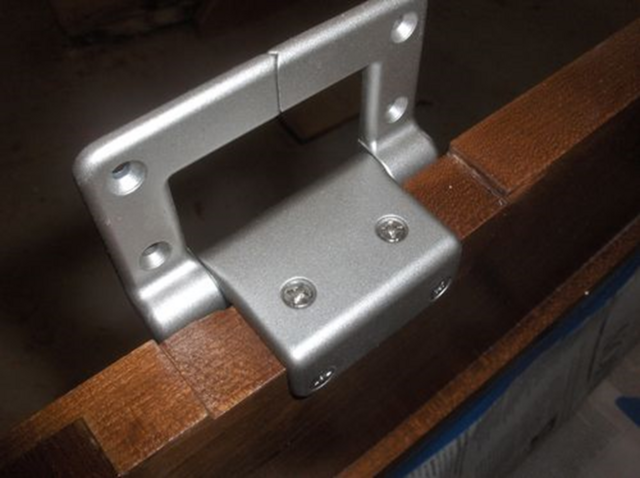
The torsion hinges were located and notches cut. The frames are 13/16" thick so I had to provide clearance for the hinge barrel.
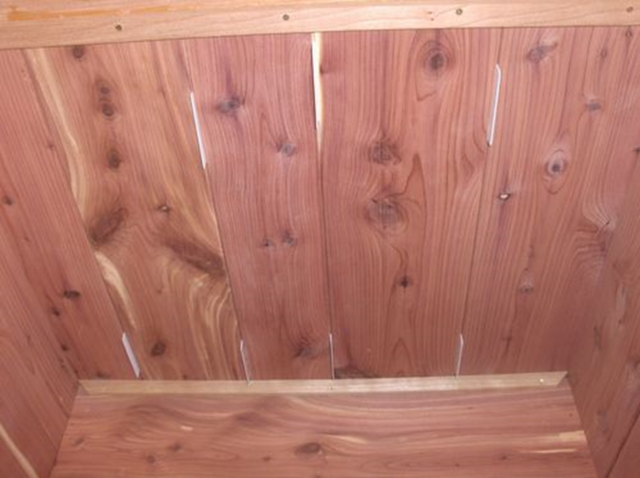
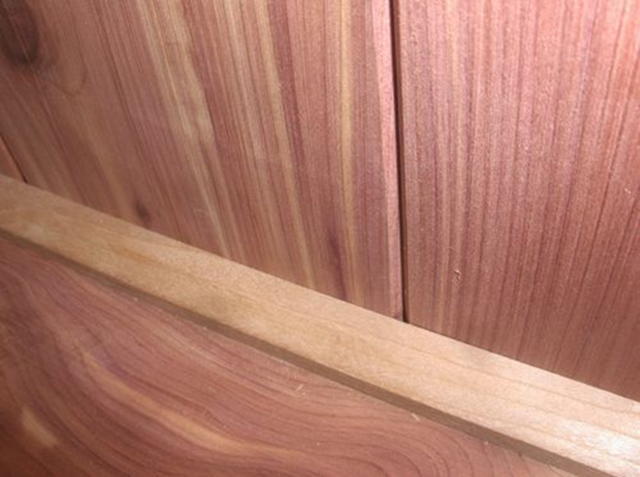
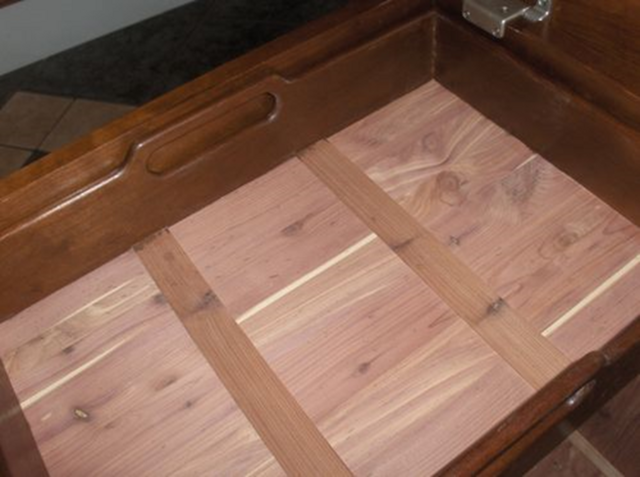
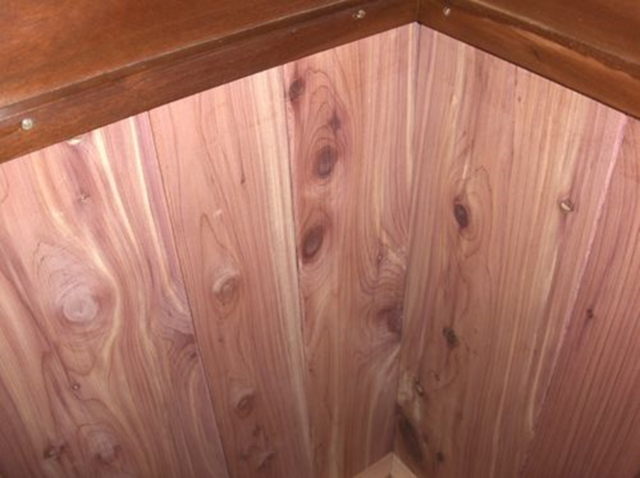
The aromatic cedar lining is made up of 1/4" thick pieces.
The pieces are spaced slightly to allow for expansion. Cherry retaining cleats are held in place with brass nails.
The edges of each cedar piece have a 1/8" chamfer.
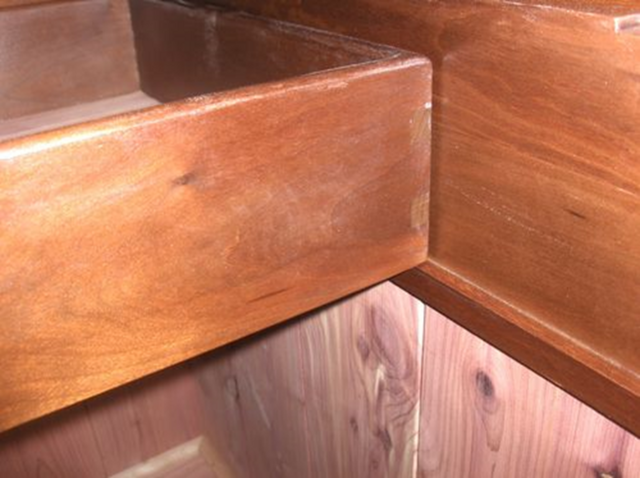
The sliding tray is cherry with a cedar plank floor. The tray slides on the retaining cleats.
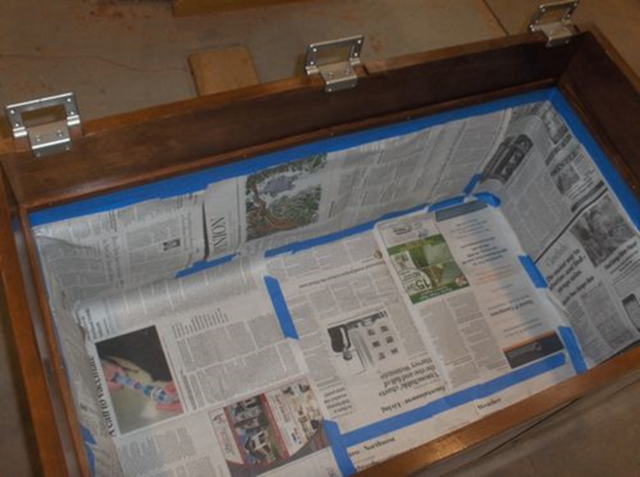
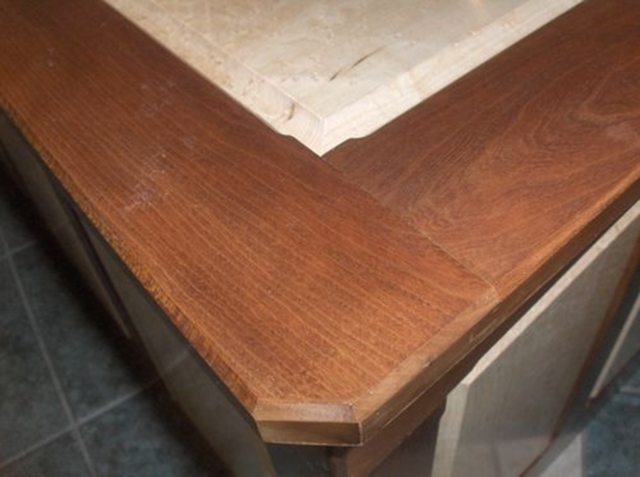
The cedar is unfinished and is masked off while the cherry gets a couple coats of potassium dichromate and then water based polyurethane.
The hinges are first installed on the chest back wall.
Then the top gets located for the hinge mounting.
This was originally going to be a wedding gift but by the time I finished it was a wedding/house warming gift!
SplinterG - the photos are pretty accurate for the color. I tend to use a fairly strong concentration. I also suspect this might have been steamed cherry. I'm not sure - it was given to me from a friend.
Without doubt that is a fabulous chest. Wood selection along with a well thought out design, and a great attention to details during construction and finishing make this top notch first class all the way. That long reach trammel to achieve a consistent arch across 3 panels is really thinking outside the box, great work. Two thumbs up.


 - Project by Steve Rasmussen")
 - Project by Steve Rasmussen")