I’m not one for paying shipping costs to Yankeeland for presents to yazall, however, for Christmas, accept my offering of some more mundane reading material.
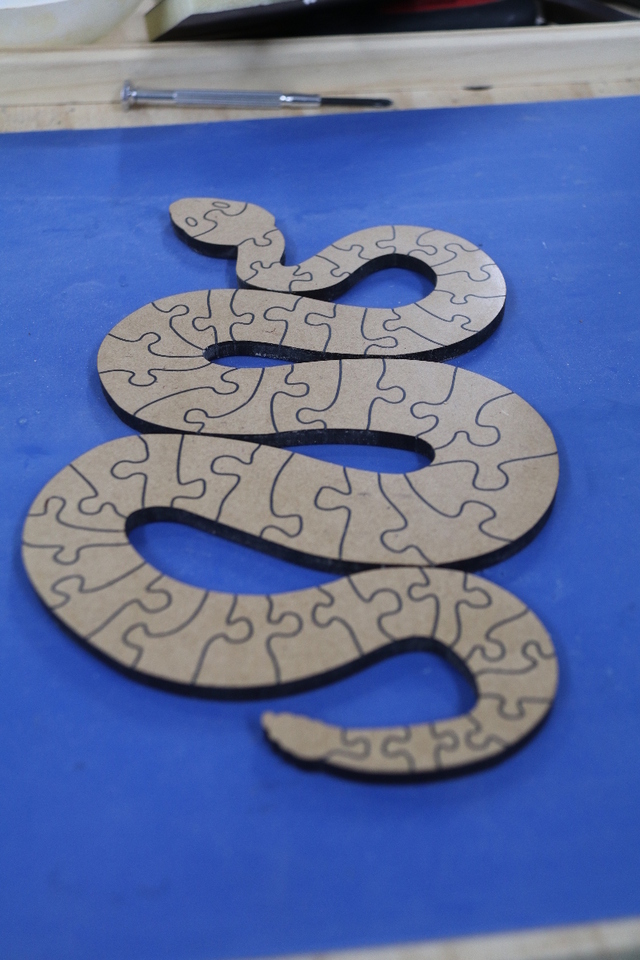
Brought over to grace the pages of Craftisian with my sanity invasion back on Apr 29, 2020…
The original puzzle took up far too much real estate propped up on its stand in my cabinet and I thought that if it was discretely secreted away in a box, it would not suffer as much space greed and scare the bjesus out of innocents’ spotting it… some people are just born stupid… After building the box I had to find that extra bit of space for it, and without replacing the original, it became a tad short of that magical space saver… DOH!
Nevertheless, thinking it was sheer brilliance before the above revelation, I hit SketchUp and designed a box in my now typical "mortice and tenon" laser cut MDF method.
using a breakdown of the snake imported from CorelDraw (the original project never made it into SketchUp), placed in the box,
The measurements finished up at 95mm x 115mm x 55mm high… why, because I wanted a final measurement of exactly .600875m³ (sounds humongous said like that)... not some namby-pamby imperial measurement.
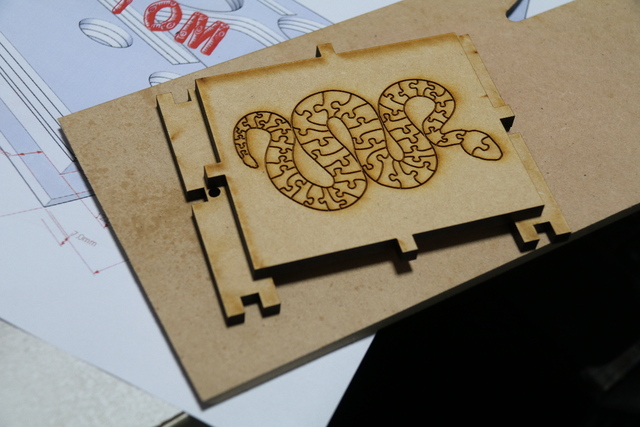
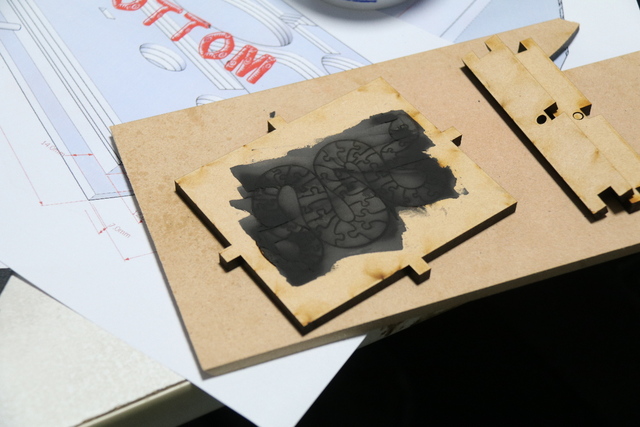
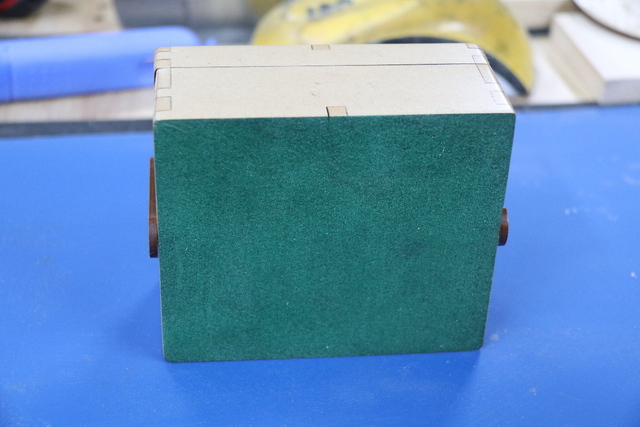
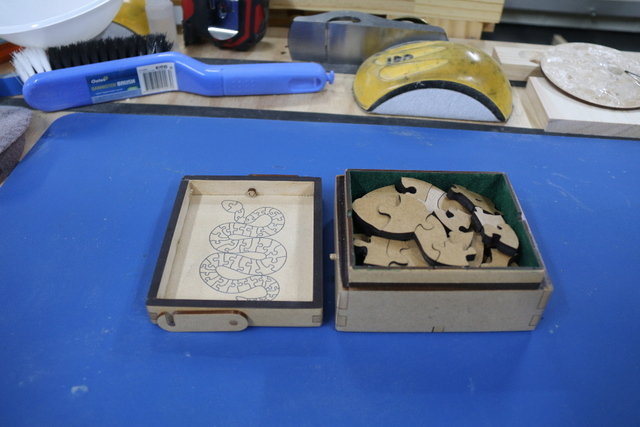
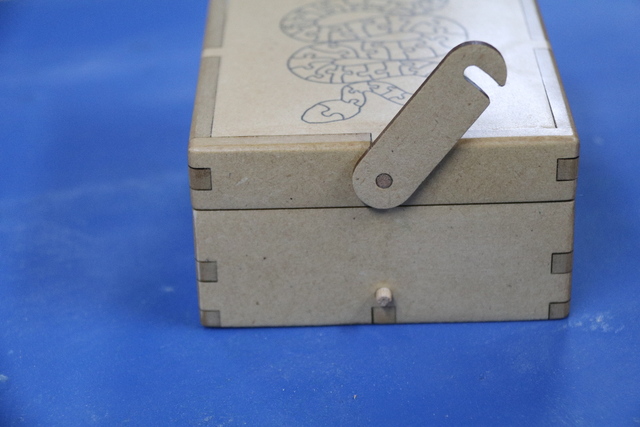
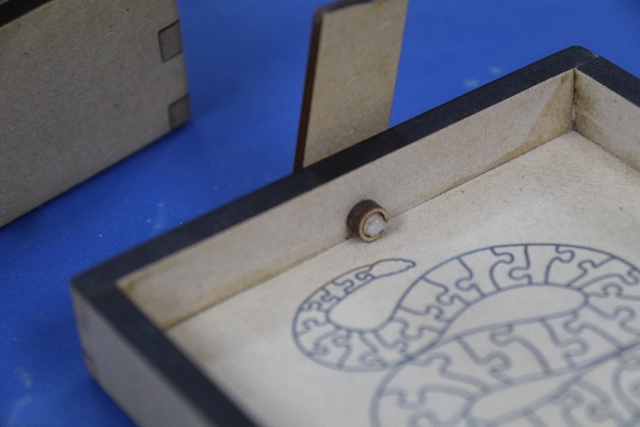
No matter how hard I tried, I could not fit the full sized solution into the box similar to the original puzzle, so the compromise was to engrave a scaled down image of the snake's solution on top of the box (pickies #1 and #2). To provide for the more difficult skull side down option, I engraved an image under the lid in the appropriate orientation (picture #3)
Did a trial run with the skulls down (pic 4) and even with the solution in front of me, it took some effort to solve, bit by bit (pic 5)…. and finally solved in pic 6. Turned out that the lack of a frame added a few extra degrees of difficulty.
After engraving the top (and underneath)
the pattern was filled with ebony wood filler,
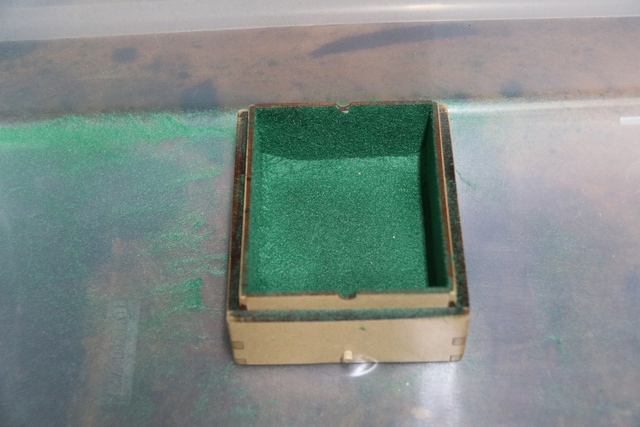
sanded and repeated till there was a level surface. The box was superglued together. The inside of the bottom half (actually 7/10th.) was flocked,
as was the bottom
to provide some cushioning on hard surfaces. The snake was then placed into the box
to test for actual fit as opposed to on paper.
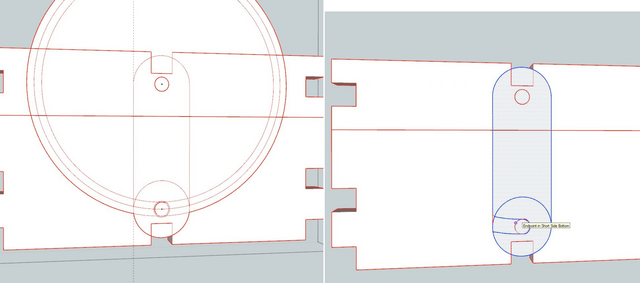
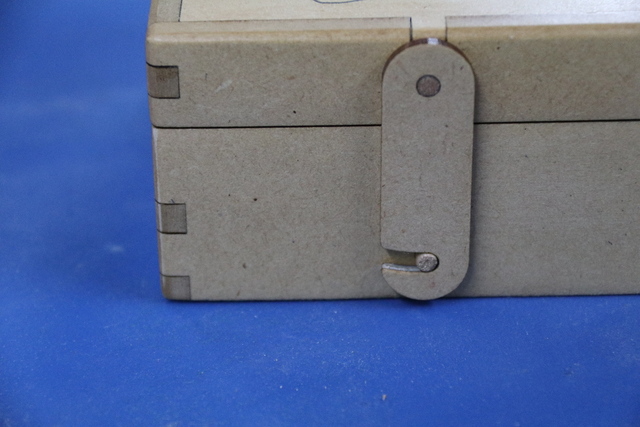
Being difficult to attach hinges to 6mm MDF, I used my swing arm method to secure the lid. To get the arc of the swing right and fashion the locking part of the arm, I used a series of circles in SketchUp to get the exact profile for free but secure movement,
to create the following action,
Secured inside with a wooden retaining ring,
I was too anxious to finish the box, I skipped the tunging and went straight to the buffer… while lack of oil doesn't seal the MDF, I do prefer the lighter hue.
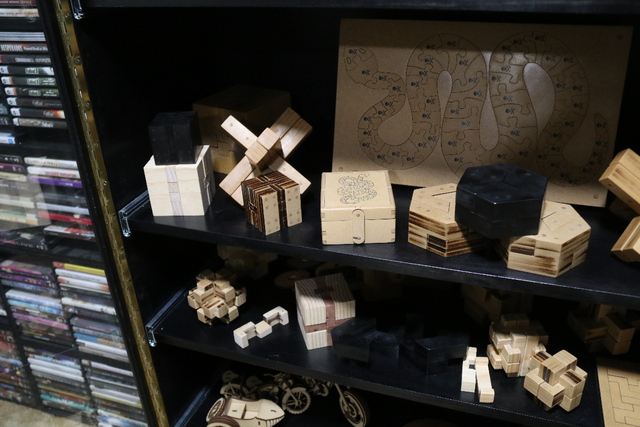
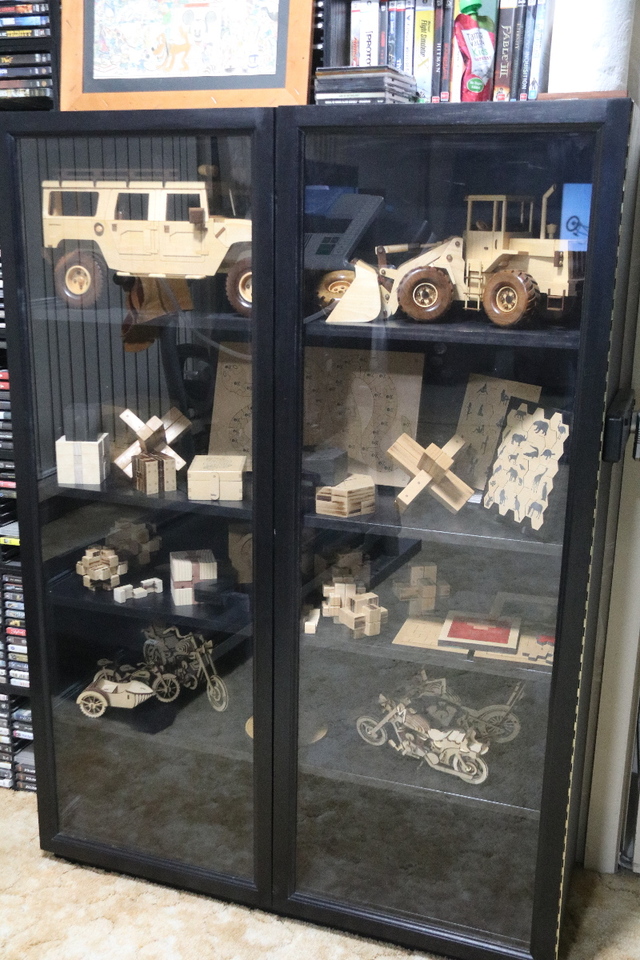
After finishing, a lack of freeloading visitors due to the C-19 lockup, prevented me from gifting it and finished up much like the ark in the movie Raiders of the Lost Ark, in my catch all crap cabinet,
as we fade off into the sunset!
GR8, I made a video, just for you, but not of this project so I won't lead you to it… get your drink elsewhere!
That's all for this one… Keep Safe ALL.
If your first cut is too short... Take the second cut from the longer end... LBD
I agree with the no use on the MDF. Burn on the edges gives those nice lines that make it look like you went all in on the stylin'
You might consider sneaking on of these kits into a tomb somewhere to be discovered. The archeologist will be =come famous and you have something to chortle about 🤠
Now about that flocking, so 70's! but it does lend a touch of elegance 👍
As a youngun, back at then turn of the 60's, I always used to have pet snakes. I could fill a book with my domestic experiences with snakes... like my unique graves fro them and my flying snake. However the following story always comes to mind first.
on social outings, I used to take my snakes with me and often while driving the car, the friendly ones curled up on the drop down arm rest (one actually propped up and regularly seemed to look out the windscreen)... the not so friendly were often put in the glove box to stop them from crawling down near the pedals. One night I forgot it was in the glove box. The next day going to work (my snakes were banned from uni and work) I started the car up and heard a crunch. Opened up the bonnet and there was minced meat everywhere. Apparently with the cold of the night, the snake crawled out the back of the glovebox and nestled up to the warmth of the radiator next to the fan... you can guess the rest.
If your first cut is too short... Take the second cut from the longer end... LBD
This is one of my favorites from you. I might have to go for the 20 watt upgrade laser to replace my 10 watt. I feel it is just a little too weak for some of the things I'd like to do.
Thanks awsum, it is one of my favourites as well. The only thing I don't like is having to buff all the pieces individually which detracts from "mass production". Unfortunately I like to present it with the snake sanded char free and buffed with my Beall 3 wax system. Being a jigsaw spraying jeopardises fit... now if I could change the size of the laser kerf... The bigger snake(s) are much less issue... hmmm, maybe a bigger box could be the go.
I can buff the pieces together if I keep the frame they are cut out of, but too many (for my liking) gets tossed about and dented/broken that I have to be re-cut and buffed... however the re-cuts can be held in their "frame" and stop my fingernals getting polished.
If your first cut is too short... Take the second cut from the longer end... LBD
InkScape can do proper 2D shrinking I believe. I know that with the stuff I do if they are closed shapes, I can set up for an offset distance from the path, either inside or outside.
Have you tried a vibrating tumbler? Seems a quick way to rid of the loose burnt remains.
Somehow though I'd miss the comments you make when the buffer decides to take one of your pieces and give it a toss. Be great to see a montage of all the events. Not to belittle the dangers and ruining of your fine work of course!
SplinterGroup commented about 1 hour ago new InkScape can do proper 2D shrinking I believe. I know that with the stuff I do if they are closed shapes, I can set up for an offset distance from the path, either inside or outside.
Have you tried a vibrating tumbler? Seems a quick way to rid of the loose burnt remains.
Once I have an image converted to vector (Corel has a good version) I can scale up/down by either length or % without detail loss (characteristic of vectors)... Most of my puzzles start of as full size and where practical, they get miniaturised to about 50mm for mass production.
Never considered a vibrator... wouldn't that round off the sides/edges as well as removing the burns.
Usually it's not an issue to remove as long as I keep the frame it was cut out of. When it comes to material, I try to be frugal and seldom leave more than a 1mm border... I need around 30-50mm to make sanding easy... I then just have to either not lift the sander when finished or sand without the shopvac... should start using the drum sander... just hate swapping out my normal 80/120G usually on the drum with 180/240G.
If your first cut is too short... Take the second cut from the longer end... LBD
Depends on the media used. Ground corn cob is very gentle and so are walnut shells. It really only attacks soft stuff.
Sounds like you have a dual drum unit? I swap out grits on my single so often that it only takes a few seconds. Surfaces are simple, nooks and crannies on the sides are a nightmare.


.skp%20-%20SketchUp%20Pro%202018-004191.jpg)
.skp%20-%20SketchUp%20Pro%202018-004192.jpg)