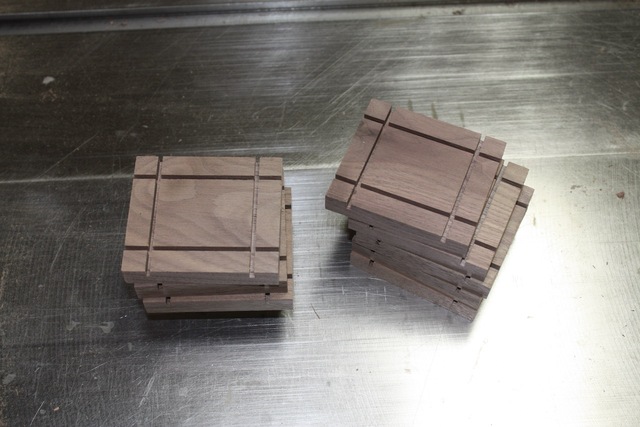
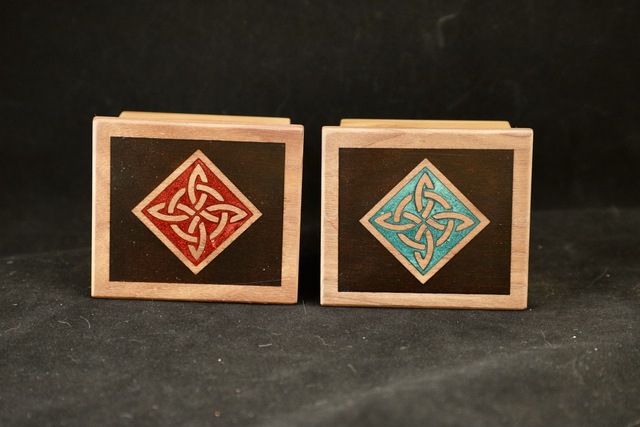
Missed the Valentine's Day opportunity, but finally finished these buggers. Needed to fill some empty space at the gallery and needed some cheaper "impulse buy" stuff. Hopefully these won't be too much of a pain!
Ring boxes, can hold one or two rings inside with the (hard to see) pair of ring-rolls I installed in the bottom. Box is 2-3/4" x 2-3/8" x 1-7/8" high. Lid overhangs about 3/16" on all sides and the expose part is 1/4" thick. Bottom sides are 3/8" thick.
Base is apricot with a 1/8" oak plywood panel bottom, lids are walnut. Walnut splines.
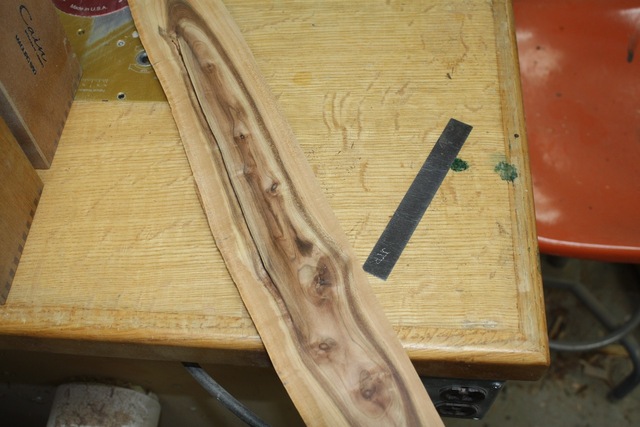
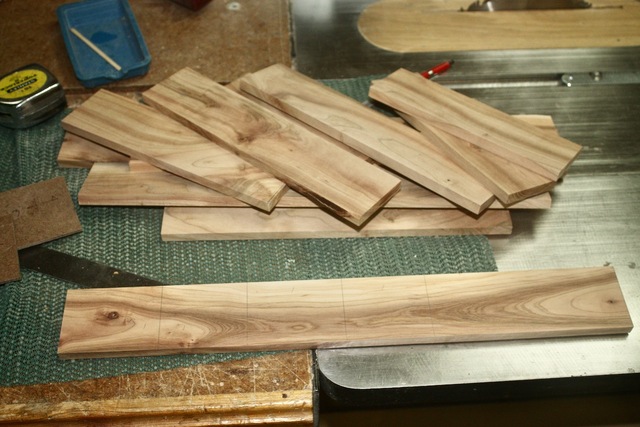
Have a bit of salvaged apricot that has been drying for years, decided time to use up some of the smaller stuff which was big enough to avoid any defects. The small stuff also has some nice grain and color.
Making 10, so needed to prep enough for the job + spare and hopefully get some grain wrap around the sides. These are about 3"+ wide and I marked out where to make some bandsaw cuts. Squared up and cut to length. Widths (height of the box) are within 1/2" but still random.
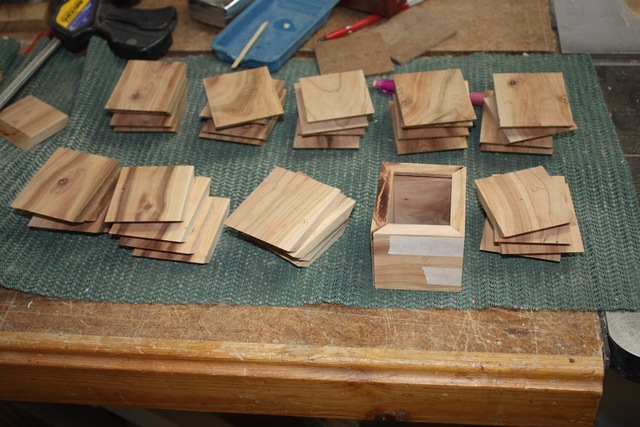
Cut the miters and tested the tape wrap method for glueup to make sure everything aligns. Just right, a little "spring" left for the last corner.
Used TB-3 since it is the closest color match.
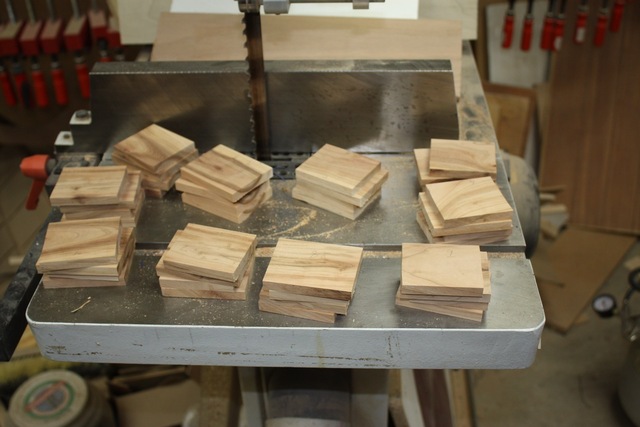
You can see (middle back right/left) the uneven widths (all are flush on the bottoms). Left that dimension long until I could check for how much room I needed with the ring-rolls and ring. Didn't want too deep or given the size it might be a bit difficult to get the ring in/out.
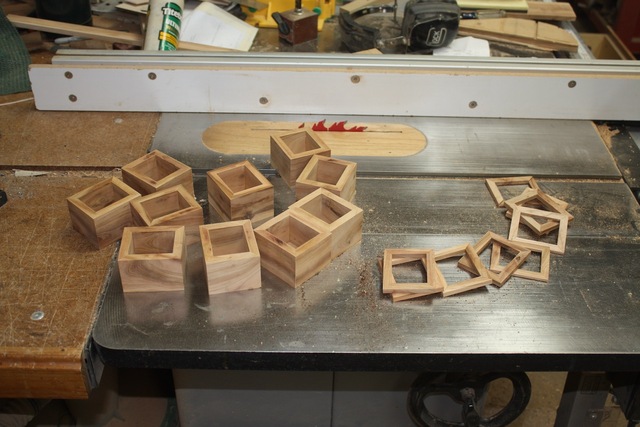
Rip blade to cut to final depth, wonder what to do with the cutoffs, mini photo frames?
Tape around the top prior to slotting for splines for keeping the glue squeeze-out under control.
These slots were done with a FTG thin kerf blade.
Walnut splines, cut close on the BS then a quick touch to the belt sander followed by finer grits and the ROS.
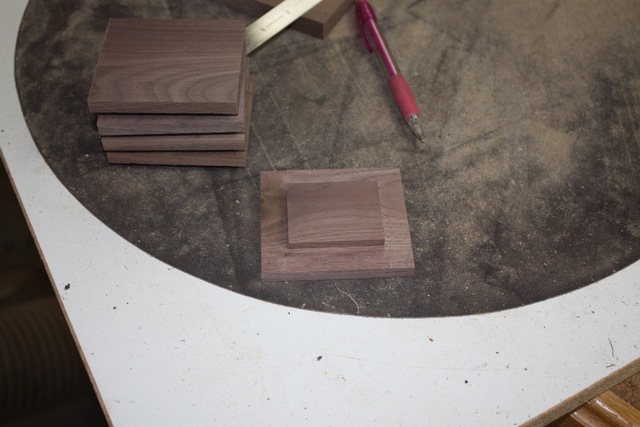
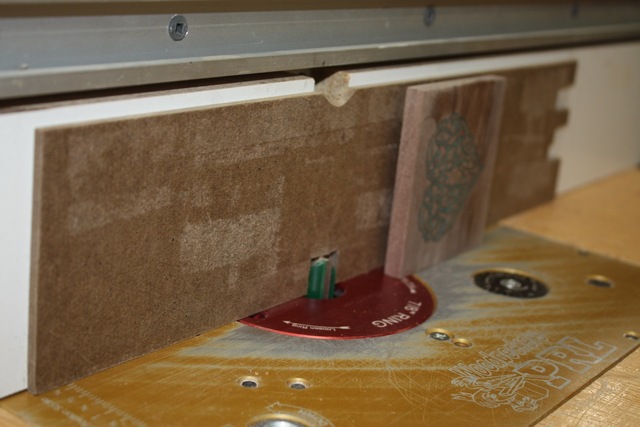
Top caps are also walnut. Cut to size and kerfs cut to demark the stub that'll fit into the base opening (about 0.010" oversized for later fitting).
I'll remove the excess with a straight bit in the router table. The kerfs also help prevent blowout from the bit when cutting cross-grain.
To the laser shack!
Going to do the acrylic resin and mica fill which has worked out surprisingly well.
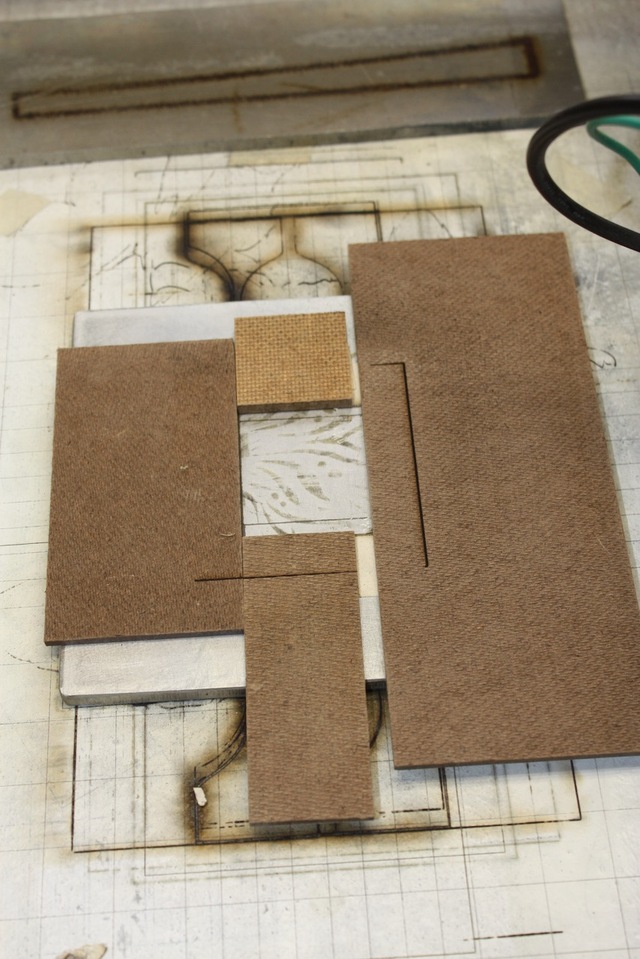
12 lids cut (two spares for biffs). Needed a placement fixture on the laser bed for quick turn around. Hardboard and double sided tape to the rescue!
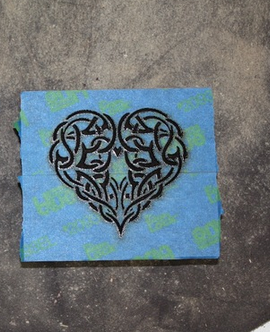
Painters tape to seal off the wood before lasing, keeps the resin out of the wood pores.
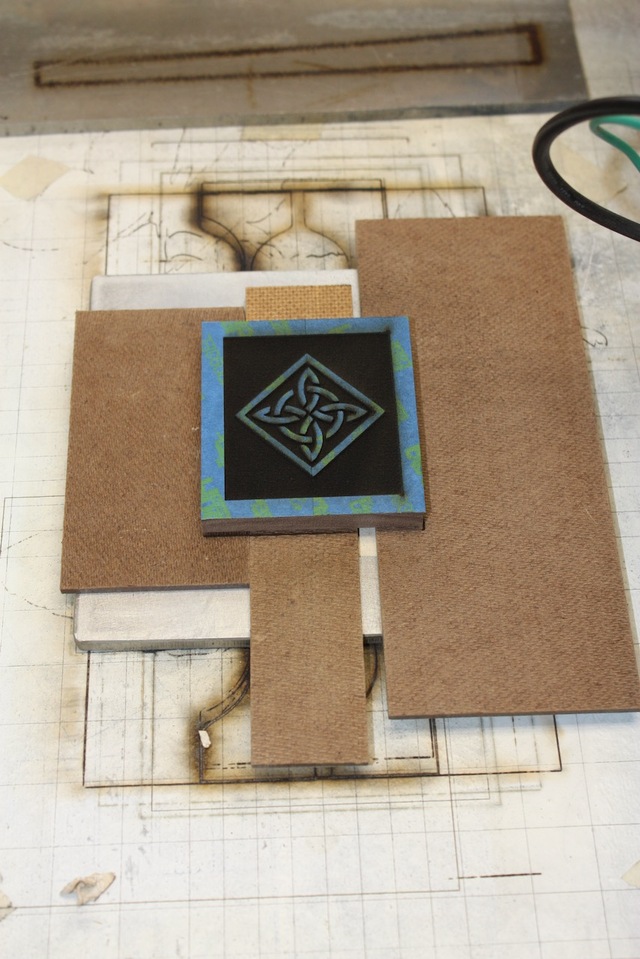
In place, burn, swap in the next lid.
Nice to have everything centered!
Ready for the resin fill Basically just flood it in the burn and leave it a bit muffin topped.
Set up the router for some final sizing of the stub to get an "easy press fit". Not too tight or so loose it falls off.
Great job Splinter and a, for the details... Did you ROS or drum the surface? If not backfilling (just raw engrave), I've always found getting those small pieces of tape an absolute pain.
If your first cut is too short... Take the second cut from the longer end... LBD
LBD, I just touched these to the belt sander (80 grit) until I could "feel" I was almost getting the tape to make contact. This left a small bump of resin and these lids being small I just used my ROS (80g) to work down to the tape without messing it up. Easy enough to peel it away then.
Found a scraper worked most excellent to shave down the remaining resin (and bits o' tape) to bare wood. I always inlay deep enough to have meat left for final sanding cleanup.
For unfilled. no real need for tape IMO, but a scraper (or box cutter razor blade) makes quick work.
Nice work, Splint. I like your trick of masking the box corners before cutting the spline notches.
You do some amazing work with the laser and resin. I’ve never used a laser. I take it that it burns away enough of the wood to leave a reasonably deep depression where it hits so you don’t have to scrape out any material?
Thanks Ron 😃 Yes, one could burn completely through 3/4" wood with several passes. I try to get deep enough to get a fill that can grip the sides well and handle some surface work with a plane or sander if needed.
For the cutoffs when you trimmed the box height, maybe put together in a collage? Or stack in a rotation to create a pencil holder? The options are endless. 😉
Boxes are very nice. I liked the tape to control glue squeeze out and TS cuts around the tops tp help with tear out on end grain. Well thunk out process.


.jpeg)
.jpeg)