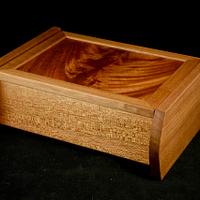
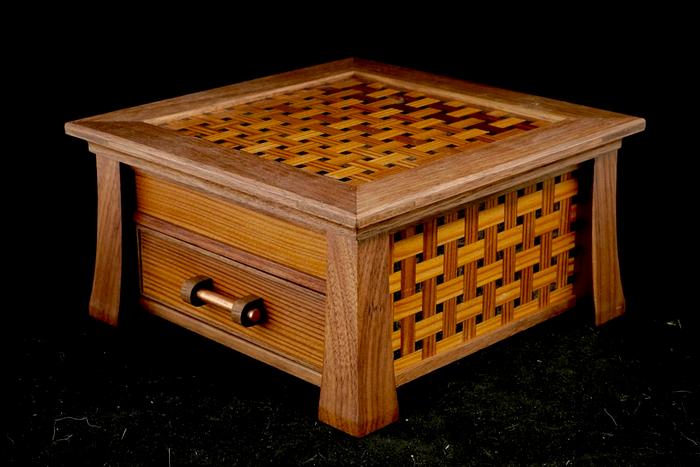
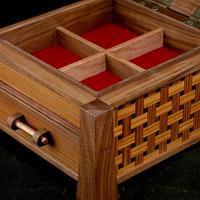
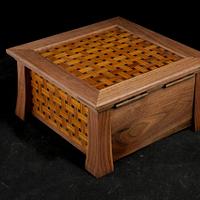
Wanted to try a few more of these designs since they are about as simple as it can get. Made three panels, 6"x 6". Box lid with the frame is about 8"x8" and it all sits about 3-1/2 tall.
Previously I used Zebrawood but this time I wanted to see what some fumed Larch would do. All pieces were cut on the laser and being rectangular, I just set the size, measured, then adjusted for "perfect" dimensions.
Small panels are easy enough to assemble with a few reference lines to get started. Bigger panels need something better so as the layout spreads, things don't get wonky. This time I used a printout of the design covered with some clear contact paper (sticky side up).
This is then veneer glued to some 1/4" BB plywood with some random Bubunga as backer.
Now for a box to use them. Decided one panel for the lid, and 3" height means splitting up panels for the sides.
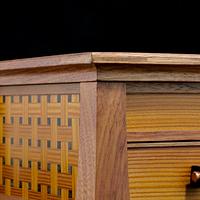
Side panels framed with walnut, splayed legs assembled into the L/R sides. The plywood ends act as tenons so some appropriate mortise cuts for the back and front.
Slight change in plans for the front/back. I needed 1/2" + for the rear so the hinge screws could grab solid wood and sit into the shallow mortise for the the leafs. The hinges are ones I bought on Amazoo, I really like them. Thick, solid brass and only ~$6/pair. The are brushed brass, but I heat them and spray with WD40 for the antiquing.
The front, above the drawer, was too narrow for the basket weave to look decent so I just used solid Larch veneer for that panel.
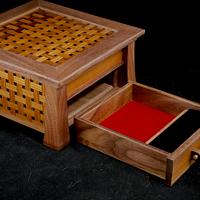
Framed panel for the top, upper area divided with Jatoba. Bottom drawer similar layout with a ring roll section. Final finish is oiled walnut coated with rattle can lacquer.
The sides are joined to the legs by having the panels tenon into the legs about 1/8" (routed slots in the leg sides) to form the basic box. upper and lower edges of the side panels are framed with some 1/2" wide x 1/4" thick walnut.
The sides of the lower drawer are held to the face with sliding dovetails, face is then framed with walnut.
The veneers are butted together on the contact paper to hold it all together, then the entire sheet is glued to a piece of BB plywood just like a solid sheet of veneer would be.
These geometric patterns are easy in that you can cut the straight edges with a paper cutter or knife using only a straight edge as a guide. The laser just makes the cuts fast and super accurate. I take a sit down and use tweezers to place the individual bits onto the contact paper. Takes about an hour per panel, but I'm careful to use single rows from the veneer so all the grain aligns up. If you don't do that, I doubt anyone would notice but I like to push it a bit.
awesome splint. thats a lot of tiny pieces but sure was worth the effort. so are boxes like this your biggest seller? if i may ask what do you sell a box like this for ?
working with my hands is a joy,it gives me a sense of fulfillment,somthing so many seek and so few find.-SAM MALOOF.
Yike! Little black pieces? I was hoping that that was just the substrate painted black. I see why you're using a laser. I'm too fumble-fingered to make those tiny things with a saw. 🤷♂️
Steven, you can just lay out the basket bits, then when you glue it to the plywood there are two options for the little squares. You can add black dye to the veneer glue and lay it on a bit heavier so it fills up the space when pressed or you can fill the spaces by grouting in some black timberMate or black dyed resin after the basket part has been glued to the plywood. That's how my various other patterns were done like with the "FLW lillies" from a month back.
Go for it, I'd love to see what you can come up with!
Actually all the bits, including the squares, would be easy enough with a guillotine style paper cutter. Just a strip of veneer with the correct width, then a stop installed on the paper cutter table for the proper width. Just slide the end of the strip in and chop. Could also make a jig with the stop and have some form of guide for cutting with a sharp box cutter or Xacto.
Well thanks George, appreciate the comment! Also glad I remembered all the parts, I get confused easy 🤠
I'm done with boxes for a time, gotta think of uses for my stash of forgotten boards. Lots of red oak that I've had for several decades aching for purpose.