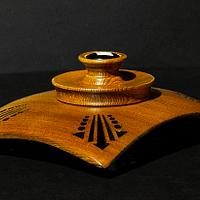
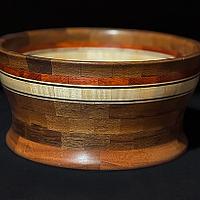
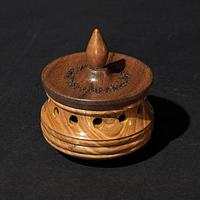
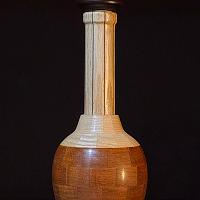
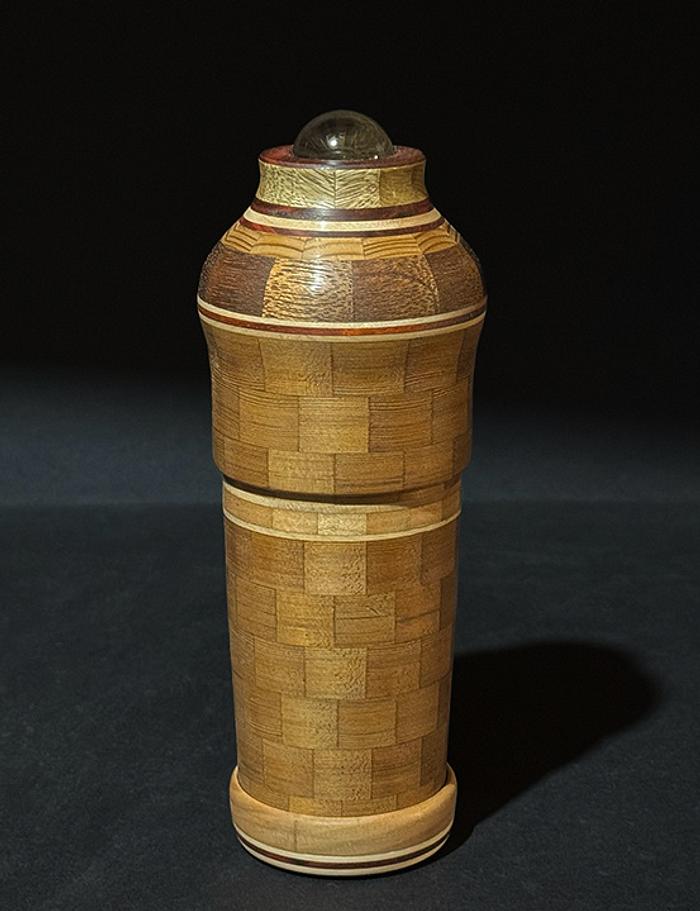
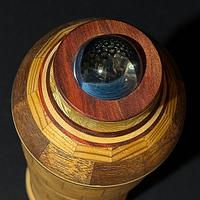
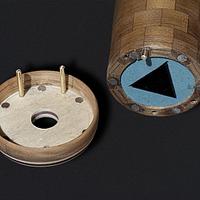
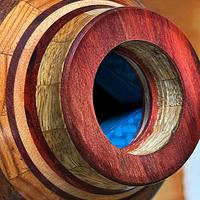
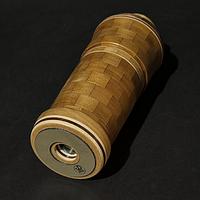
This project consists of 175 pieces and measures 8 1/2 inches tall by 3 1/2 inches wide. I used cedar, bloodwood, maple, black limba, cherry and some mystery wood. I designed the eyepiece to be removable in case I needed to make adjustments. I didn't want to discover a problem after everything was glued together.
These are some of the components I used.
The 3 front-surface mirrors are made of glass and measure 6 5/16 inches long by 1 5/64 inches wide. They need to be positioned in a triangle and they are only 1.25 mm thick, making them quite fragile. I used my laser to cut foam supports to hold the mirrors securely in place.
Taping the mirrors together turned out to be more difficult than I expected. Since I didn't want to leave fingerprints on the inside surfaces, I wore nitrile gloves while handling them. The mirrors also had to be positioned precisely as shown to ensure there are no gaps between them. The crystal is held in place by pressing it past the outer ring, I cut a leather gasket to fit beneath the crystal and the two bloodwood rings. The leather compresses slightly to help keep everything snug. It takes considerable force to install or remove the crystal, so it fits tightly and stays securely in place. In fact, I had to remove it a few times while making adjustments. With the eyepiece removed, I can use a dowel to push the crystal out if any changes are needed in the future.
After installing one of the foam supports inside the body, I slid the mirror assembly into place, followed by the second foam support. I also added a leather gasket between the mirror assembly and the back of the crystal to prevent them from coming into contact.
Next, I installed the eyepiece. I drilled matching holes in the body and the bottom of the eyepiece to accommodate the magnets. To prevent the eyepiece from sliding out of alignment, I added three brass pins to keep everything properly registered. I used CA glue to attach the glass to the foam gasket so it wouldn't fall out when the eyepiece was removed.
The final step was making a leather pad to protect the eyepiece when you set it down. It also serves as a cushion for your head, allowing you to get your eye closer to the glass. The closer your eye is, the better the view.
Cool! I never savaged a kaleidoscope to see how it was constructed. When my sons took things apart (generally destroying them) to see how they worked, I called it "committing science".
Thanks guys, I found out how to construct it from the Internet. It's definitely not as spectacular as I hoped it would be. But I'm sure someone will enjoy it, for at least a few minutes.🙄 Here is the best image I could get. https://www.youtube.com/watch?v=S9x3A48Ctz8