David E.
in almost 12 years
More from David E.
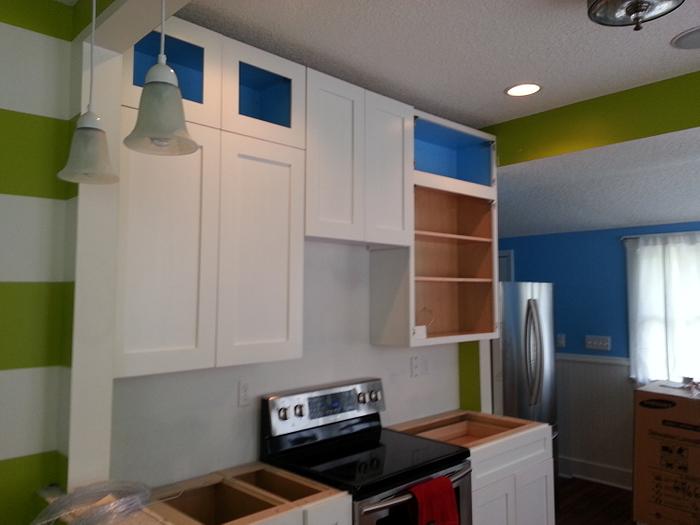
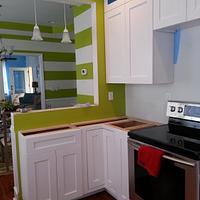
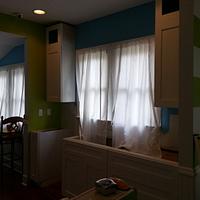
My first commision as a company - Shaker kitchen in white - almost done....
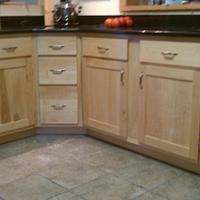
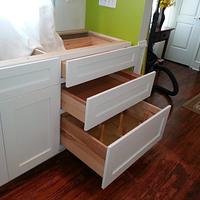
These are pictures from my first kitchen project after installation. I couldn’t complete the install over the weekend because of one of several issues I ran into.
Issues:
1st and biggest issue was that the walls were not square. The bottom measured 98" from wall to wall on both sides of the kitchen. I measured as high as I could reach during my initial measurements. I’m only 5-5, so that’s not nearly high enough. I should have brought a ladder and measured higher. The tops of the walls on one side came in at 97.75. The other side was 97.5. On the oven side, I was able to block plane enough off both edges of the face frame to make it fit, but that affected the door fitment. The other side, I just left off the middle two cabinets and brought them home with me. I’ll shave off .125 from each face frame, as well as the doors, then come back and install those next weekend.
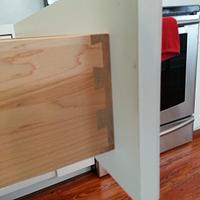
2nd issue I ran into was that the moldings along the edge of the walls prevented the drawers from opening. I had to remove those moldings to make it work.
3rd issue, there is a double trash can pull out in the sink base. One of the pipes coming through the wall hits the back. He is going to have his plumber fix it when they come to do the sink. We cut a hole in the back of the trashcan holder so that the pullout could at least fully close.
About the cabinets:
The cabinets themselves are made of .75 prefinished maple ply for the everything but the backs. Backs are .5". Bottoms and tops are seated into dados, and the stretchers on the bases sit in rabbets. Everything is glued and screwed. He wanted to keep the costs down, so we plugged the holes and painted the visible sides instead of going with end panels. Face frames are painted poplar. Doors and drawer fronts were outsourced through Walzcraft. They came unfinished, and were painted in the shop to match his existing paint using a harbor freight hvlp sprayer.. They are maple with three inch stiles and rails, .5" thick reversed raise panel. He is also doing the pulls and knobs himself, again for cost savings. On the oven wall, we went from full depth cabinets, down to 13" depth cabinets. on the L. He insisted on having a lazy susan. The largest diameter I could fit due to the 13" depth was an 18" pie cut. So much wasted space, but its what he wanted…
What I’ve learned:
I’ve learned I need to be more detailed in my initial measurements, and too give myself a little more play along each wall, by making the face frames a little wider, and cutting them at a 45 so that fitment can be tuned easier with a block plane.
I also learned I need to account for those existing moldings, and plumbing better. The rest went fairly well. The fitment on the bases was spot on, and other than the few issues I mentioned, it went smoothly. I think I’ll factor in the cost of an installer and helper next time around, and let them do the installation.
Overall, the customer is very happy with the cabinets, and is okay with the fact that I couldn’t install everything over the weekend, even though I was disappointed.
Thanks for looking. Constructive criticism is welcome.
Edit:
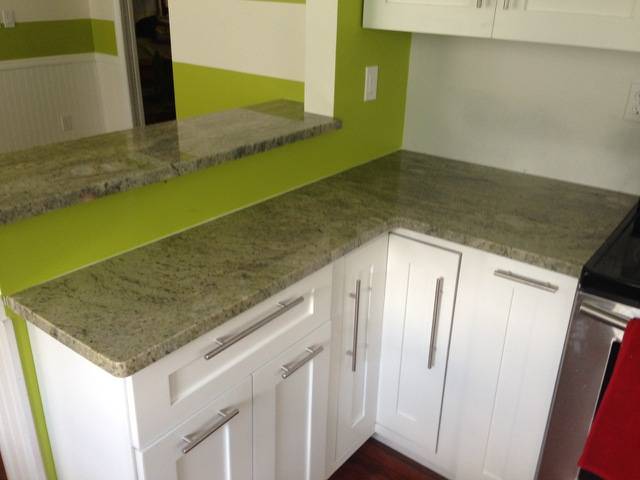
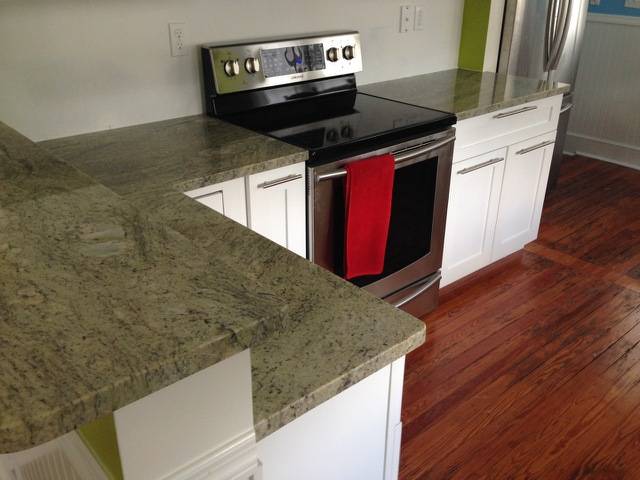
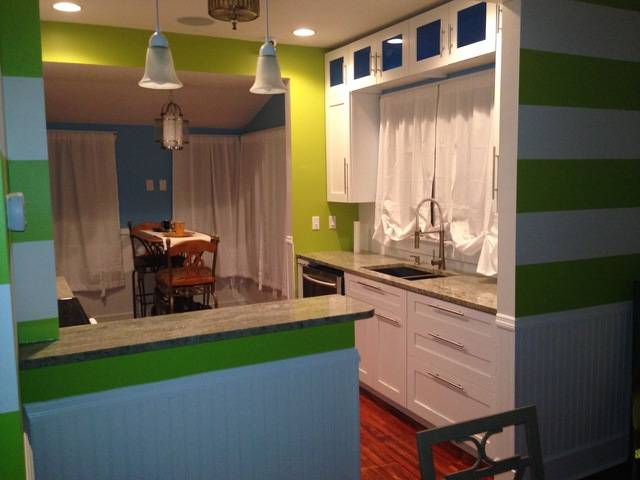
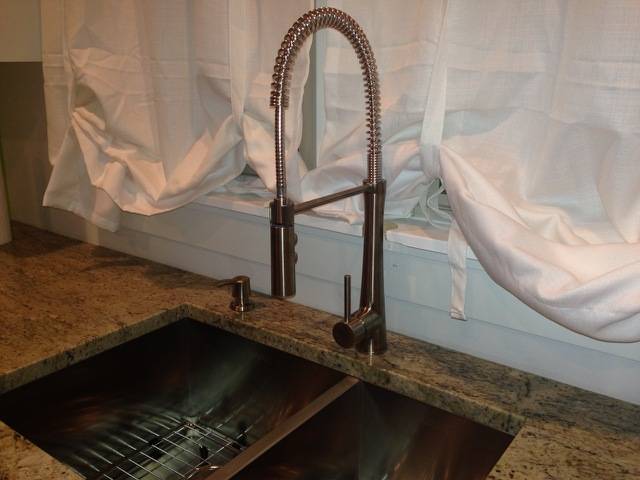
Wanted to add the pictures of the finished project. I wasn’t around when the counter top was put on, so the client texted me these.
15 Comments
Well done David. I don’t think anyone needs to add any criticism, you seem to have covered that yourself, and that’s a good thing to do when you are starting off.
It’s worth spending an hour in a room measuring everything if it will save you an afternoon of messing about. Good things to have are a pinch rod for measuring heights to ceiling, inside widths of alcoves, a framing square to check corners, a good spirit level to check walls for plumb, rises and falls in the floor and ceiling.
You did good! Nice write-up.
+1 What Rennner said.
-nicky
I love “firsts”. Congratulations.
And the “solutions” embedded in the story are helpful. Thanks for sharing.
JAGO - just a grandma’s opinion
Nice Work!
Rennners – what is a “pinch rod”?
MJCD.
Thank you all for the compliments, advice and for the tool suggestions. I’ve never heard of a pinch rod before, but it sounds very useful. I will be sure to check it out! And using a level on the walls would have been smart. I feel a bit like a donkey not thinking to do that…Thank you again!
I’m not speaking for Rennner. When I read his response I thought about a pinch rod as being kind of a story stick.
I use a pinch rod to help measure diagonals, especially for picture frames, where I would do multiples. First frame I will measure the diagonals on the inside and get the frame square. Using a straight scrap stick, with one end beveled to a point, I will make a mark and bevel cut the other end to a point and trim so that it fits perfectly in the diagonals of the first frame. Now I use it on the rest to square up each frame.
I may be over explaining. Really helpful if your doing a lot of frames.
-nicky
This may just be one of those instances where left of the Atlantic people use different terminology than those on the right. The pinch rod I am referring to is basically two sliding lengths of timber that can be extended to the full height or width of an opening and locked, so a measurement can be taken. Here is one I made for ceilings – when both pieces are closed it measures precisely 2000 mm. By extending the sliding piece to the height of the ceiling, I simply have to measure the length of extension and add that to 2000mm to get an exact ceiling height.
After looking online, I think you both are describing the same thing, just different versions and sizes for different applications. I can see where several sizes of these could be very handy. From measuring ceilings, alcoves and such, to ensuring the carcass’s and face frames are square, to doing smaller projects like the picture frames described. I think I just may need several of these!
Rennners, Nice!
-nicky
I think it turned out well David.
It’s good you see the few problems that got in the way and it looks like you have already learn from those mistakes.
That what I call experience.
Installing a whole kitchen on one weekend would have been very difficult for many. from the sound of it you were alone.
When I build my bookcase, I leveled the base and started adding the bookcase sections. Once I put the top section I noticed I am pulling away from the walls. I put a plumb line and realized that the wall was not perpendicular to the floor. Then I went around in the house and none of the wall was perpendicular to the floor. The biggest shock was that the distance from floor to ceiling in corners were all different and so on. It’s needless to say that the moldings were off because I did not account for that.
Since I am not a builder I never realize that and was kind of surprised.
Now whenever I hang a picture frame for my wife and it’s a little crooked, I tell my wife “it’s the walls” :)
Good one Rennners.
I have a smaller version to measure distance between corners. It helps me square stuff.
Now I need to build a bigger one :)
Abbas, Castro Valley, CA
Thank you Lanwater. I wasn’t alone though, thankfully! I had my wife’s cousin helping out. He’s only 16, but he’s much taller and stronger than I, and I couldn’t have gotten those wall cabinets up on the t-jak without his help. I couldn’t imagine trying to do it alone, and anyone that does has my respect!
“…1st and biggest issue was that the walls were not square….”
Now is that not the first thing we all learn about the world? I am laughing in your support, as we all all of a sudden learn that this is a rule of life. It gives us all grief, but a rule never the less… ;-)
BTW, I love Shaker.
HorizontalMike
Great job David. There’s not a better way to learn than on the job training.
The hard part is remembering all the steps you need to take before starting.
(like figuring how its going to fit into a bathroom) haha
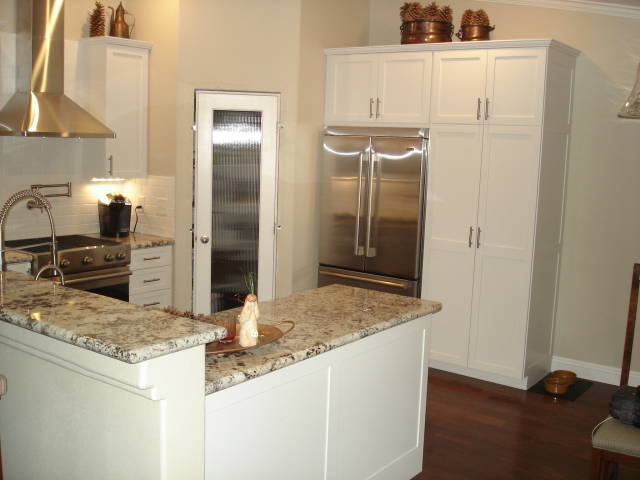
It’s funny, I just finished a white shaker style kitchen not to long ago.I know your client was under budget restraints, but just food for thought if you ever do another. On the finished end panels, I added some trim pcs to make them look like shaker style end panels and I covered up my screw holes with them. Killed 2 birds at a time. Here’s a pic. Check out the ends.
Figuring out how to do something you have never done is what makes a good challenge.
Bently, those look great! Using trim pieces to both give a finished end panel appearance, and cover the screw holes is perfect. Wish I would have thought to do that. The added cost would have been next to nothing compared to the time spent plugging all the holes (I also had pocket holes on the front edges to plug, as that’s how I attached the face frames), then cutting them flush, sanding, and in some cases, filling little pockets to give a nice smooth finish. I will definitely remember that for next time! Thanks!
I’ve always heard of them as referred to as pinch sticks. fine looking cabinets.
woodworking classes, custom furniture maker


