


Share your craft projects
Make new craft buddies
Ask craft questions
Blog your craft journey
25 Replies

roller will leave marks to after dry sand with 220 grit paper use a tack cloth reply polyurethane do this 3 times be good glosy
jim
Thank you Jim.

It Looks like you may have a few issues blotch,and a big variation in wood grains but the streaking you’re talking about can be a temperature issue and or problems with the product not being stirred enough or just outdated or damaged product,such as it haven been frozen.
woodworking classes, custom furniture maker

I had the same problem when I started , I solved it by buying a really good and expensive paint brush . Sanding with 400 in between 3 coats . Even after the last coat . Then used Carnauba wax .
Wheaties
true it just depends on the wood to
jim
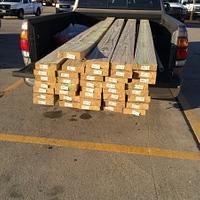
Its is pine, i was trying to apply at 95 deg, i have brought it inside, and used an expensive paint brush. I shook it a lot. Hopefully this go around will be better.
Bruce, the carnauba wax, will this be suitable for a dinning table application, i will need it to provide moisture protection.
Tony It ‘s much better to stir polyurethane you don’t shake it.
woodworking classes, custom furniture maker
The poly is plenty of protection against moisture but wax won’t hurt just make sure it doesn’t have silicone in it.
woodworking classes, custom furniture maker
Thanks Jim, i think it just needed a womans touch. My wife applied it with a brush, and pretty near glass finish!!
On a side note, i brought it inside to a cool house, i did use a very expensive brush, but i am not going to tell her those variations, i will let her bask in the glory that she did an awesome job, thanks for the advice guys!
I think the cooler temperature and good brush did it too makes ,but I won’t tell your wife either.
woodworking classes, custom furniture maker
Tonycan , carnauba wax is made from the leaves of a Brazilian palm tree also known as the" Tree of life ". Says it’s suitable for food projects.
Wheaties

When I did my office I used the minwax version of that stuff for the desk top (high build oil based polyurethane) and it is a pain to work with. I kept getting bubbles and weird streaking so bad I sanded it off and started over. I tried an expensive brush, wiping it, etc. Nothing worked perfectly. I ended up diluting it with mineral spirits and then it brushed on OK, but still not perfectly. I think the problem is the material itself, not the application or the person applying it. If I could do it again, I would use regular or wipe-on poly and just do lots of coats.
The other thing is that it doesn’t look natural at all. I know that polyurethane is a film and all, but this stuff looks like a coating of plastic. It’s just too thick. Maybe the varethane looks better than the minwax version, but anyway that’s my 2 cents. It is durable, though. I’ll give it that.
Losing fingers since 1969
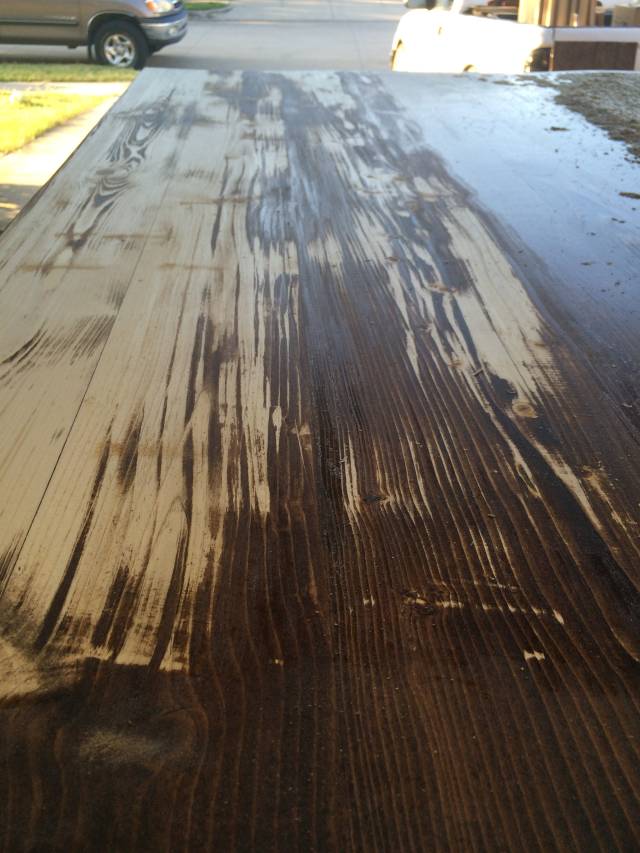
I spoke too soon! These tops are going to kick my butt! So i thought it was going good but no. I keep getting streaks, bubbles, spots, so much crap showing. The bench was ok looking, but had a milky tone to it. I sanded it a lot and re-applied the poly, and still not good. i said screw this and took my hand planer to it, stripped it back to bare wood.
I think i am going to try this rub on poly, like Brian said. One of the stores has a minwax wipe on gloss poly. Any tips for applying?
Bruce i tried a beeswax/carnauba wax that i found at my local store, but did not improve the sanding marks.
Also before i take the planer to the table also, one of you said to use 220, one said 400, i used 400 thinking finer is better, is that always the case? I kept seeing scratches as if they were deep.
Love the building part, the finish is what kills me!
One bit of advice for high gloss finishing – the smoothness of the substrate does not seem to be nearly as important as the flatness, because the poly will fill in the tiny nooks and crevasses if it’s sanded even poorly. But if it’s not flat it will look like a very badly warped mirror. That’s why I usually stick to satin because its really really hard (for me) to make large surfaces flat. I tend to make subtle dips, gouges and humps when sanding. Those imperfections tend to stand out with high gloss finish.
As far as wiping on wipe-on, it is truly as easy as it sounds. :-) Last time I used it, I sanded between coats with steel wool and them cleaned with mineral spirits before starting the next coat. It came out nice except for my warped mirror finish, which didn’t have anything to do with the poly.
Losing fingers since 1969
true brian I have done the same hard to do a big surface takes a lot of sanding between coats its a hit and a miss good luck
jim

I swore off brushing on poly a number of years ago for the same problems you’re having; couldn’t get a nice even, brush mark free coat. I exclusively use wipe on poly or thin the brush on poly and wipe it on; takes a few more coats but much, much easier (for me) to apply.
Rob, Sault Ste. Marie, Ontario
Well i went to home depot and bought another brush, this one says its for poly applications. I am hopeful, looks better, i will be sanding with steel wool (0000) and soapy water. I do not want to strip the table and start it over so i figured i would give it one last shot.
Question about thinning, with oil based poly, you thin it with mineral spirits, with water based poly, would you thin it with water?
That’s correct TonyCan. Oil base with mineral spirits , water base with water. When I get a phone call they always ask " what are you doing " . I like to reply " Just sitting here drinking some latex paint thinner . The reaction a hilarious
Wheaties
Hahaha Bruce. Thanks. Another day of messing with this. 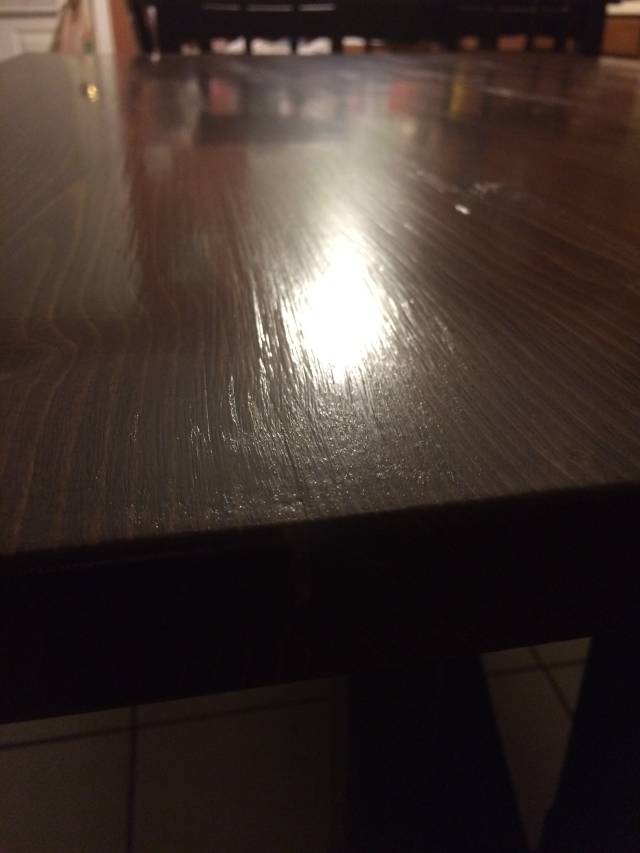
Thanks, i will read up on this article.
My progress today, not a fun day.
Is that the second time you scraped it? Sheesh. I think I would just lower my expectations at this point. LOL
Just kidding. Give ’em hell!
Losing fingers since 1969
no first time to scrape it, i did previously scrape the bench, but now its the table top.
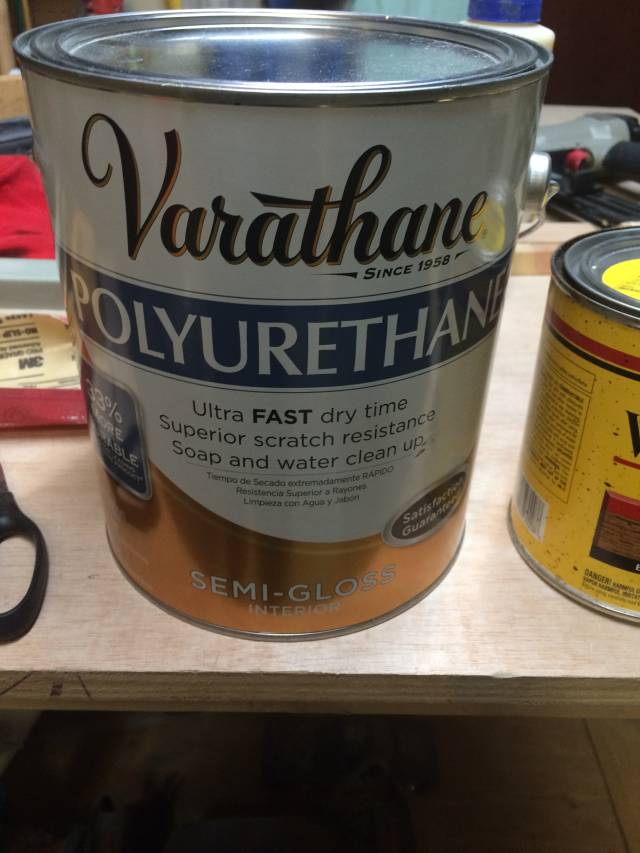
Update, i had re-stained the bench and today i applied a different poly, and i am very happy with the results, so far, lets see in a few hours when it dries how it comes out. This is what i used this time, the triple thick, is well just that, super thick, i could not get a good flow, this stuff is more runny, i will have to do more coats, but seems to be going on smooth.
I cheat. I don’t worry about much of anything, when applying finish. I use a cheap brush and keep it in a can of thinner. When I go get the brush, there is the expected 1/4" thick gel on top. To clean the brush, I run it up and down the cyclone fence, which knocks MOST of everything off.
After about five layers, I have a wonderful finish that, if you run your hand over it, will send you to the medicine cabinet to gauze to stem the bleeding.
At that point, I fire up the sander and sand it all with six hundred. Now, it’s safe to run your hand over, but it has turned opaque.
Next, I pull out the pumice, add water and start buffing with my Porter Cable random orbit, variable speed sander. When done, I switch pads and move to rottenstone and water.
After the next big change, I pull out McGuires plastic polish.
When done, you’d be hard pressed to find a difference between the brushed finish and a sprayed on one.

For my own best results, here is how I apply poly. 1) sanding the wood down to 320gt, 2) apply the colour stain and wipe it as evenly as possible, 3) apply a thin coat of sanding sealer and wipe away any bubbles or drips, ) applying the poly, conditions are key, you should have low humidity and warm temperature. The manufacture adds dryers and levellers but you can add your own in the base coat to help. You may need to do some research to find the ones that work with your product. In one case I even added gasoline to add a fast dry and good level to a poly. 5) the method that you use to apply the last couple of coats must only put very thin coats on, I usually thin the product even if the can says not to, and spray just enough to know it was sprayed all over, wait an hour and repeat until the entire piece looks wet. Wait 24 hours, light sand and continue with step 5 until the piece looks finished, sometimes with high humidity it has taken 5 days to get the right results. Then 6) after drying a couple of days apply a finishing wax with the shine/flat type of finish to give the shine you want.
I know everyone has different methods, this is what has always worked for me. In my shop I keep a binder of every pieces finish. It includes every material used times for drying, application method, and shininess. It also lists overall results. It makes repairs easy, and helps to find the finish that work best for the various styles of pieces I have made. It’s a 4" thick binder and is almost full but it’s a wealth of knowledge when I go to finish a similar piece. I had started doing this when working in a CP hotel & convention center so that repairs were made easier, I just follow it up with one in my own shop.
CHRIS, Charlottetown PEI Canada. Anytime you can repurpose, reuse, or recycle, everyone wins!
The triple thick is new to me ,I really don’t understand that approach . When finishing with oil base ,if you want a thick finish you usually let the first cure sand it back and recoat. I have been spraying finish for 40 years so that’s my choice as far as applying stain and finish. I think you made a good choice by going to a water born product. I really suggest using the finishing techniques Charles Neil uses. He has a great book on the subject.
http://charlesneilwoodworking.3dcartstores.com/Charles-Neil-Finishing-Simply-Put-Chemistry-Degree-Not-Required_p_238.html
woodworking classes, custom furniture maker