


Share your craft projects
Make new craft buddies
Ask craft questions
Blog your craft journey

Thorreain
1908 posts
and
47 followers
in almost 12 years
in almost 12 years
Work Bench Build #3: Wood Selection And Layout
This is
part 3
in a
16 part
series:
Work Bench Build
-
Workshop and Tools
-
Wood Selection And Layout
-
She's Got Legs
...
- Workshop and Tools
- Wood Selection And Layout
- She's Got Legs
...
Work Bench Build #3 Wood Selection And Layout
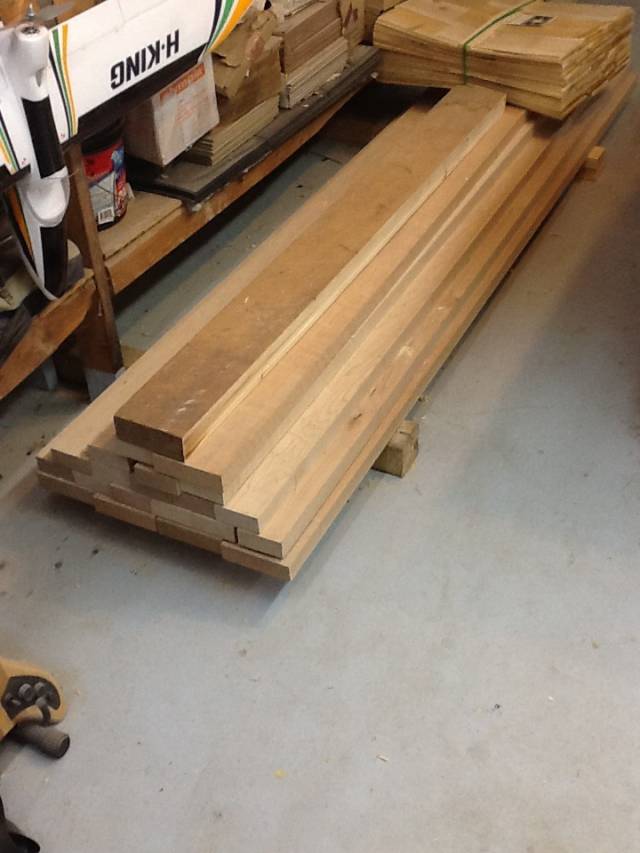
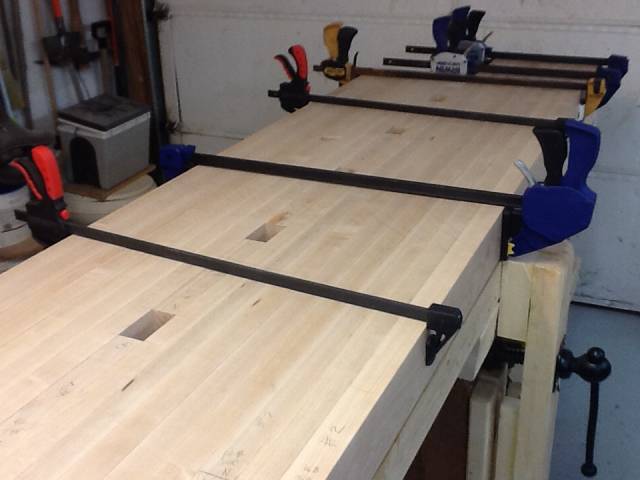
I got to use the bench to build a bench right away to lay out the boards for the top. 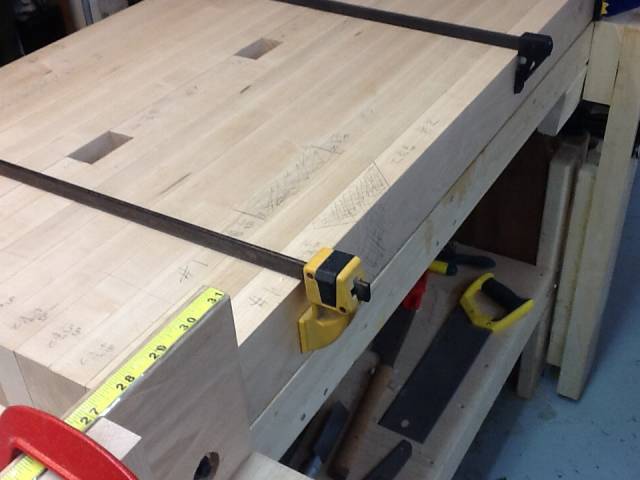
But I removed the small face vise to put the benches together for space. So the leg vise will have to do for clamping for the build. The plan is to do the glue up of the top in four parts. Passing two sides thru the planer to get as much flatness as possible before final glue up. Swapping, turning, and, rolling each board until the top was as level and straight as possible. I marked and labeled the placement and orientation on each eld of every board just in case they got jumbled for some reason.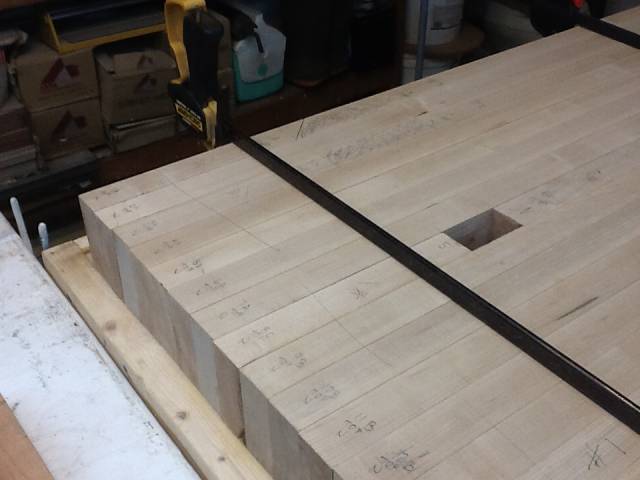
I also trimmed the back right corner in a foot and by about a foot. This will create an inside corner.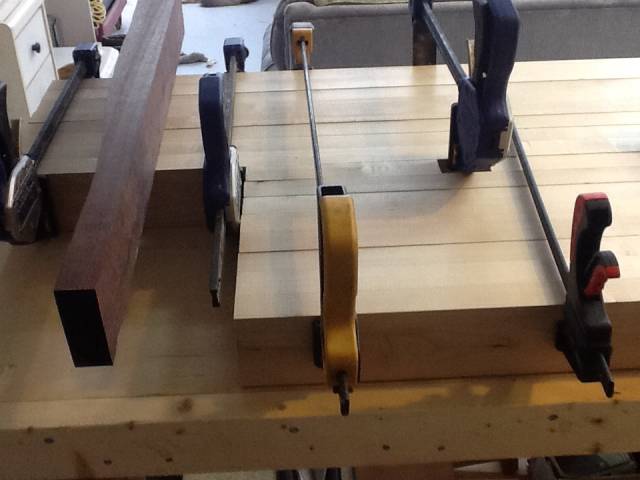
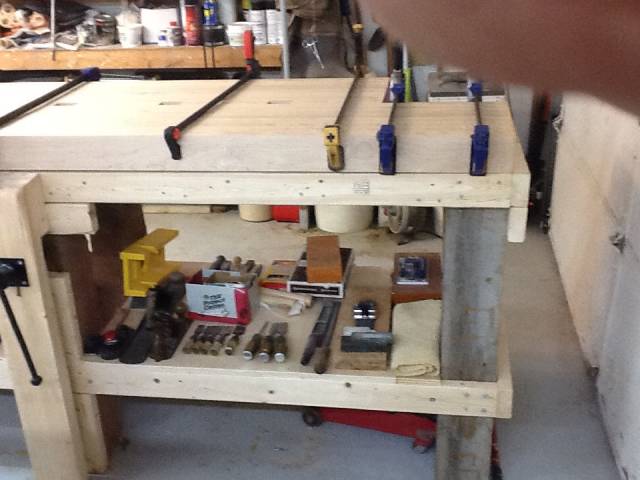
It can have a number of uses on a bench including a place to pound out dowels on a dowel making plate I made years ago. I have seen a couple of people use one in videos on U-tube and I thing it will be something I will use a lot on my finished bench. The new bench will have a space of about 3 feet all around the perimeter in which to work. I love the seat that Keiger made and I want to incorporate one as well as a deadman, even though I have a couple of stools with backs that are the correct height. I have decided to make the top solid but incorporate a series of square holes down the centre for clamping and act as plane stops down the middle. 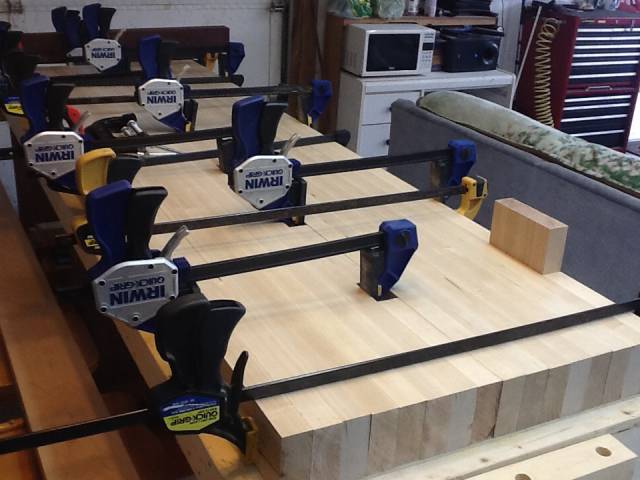

This will be an opportunity to add something decorative. The dog holes for all three of the vises will be round, as I have a couple of holdfasts and dogs made from dowels already. I have purchased Lee Valley vises for the project and the back right corner and it will contain my small front face vise. 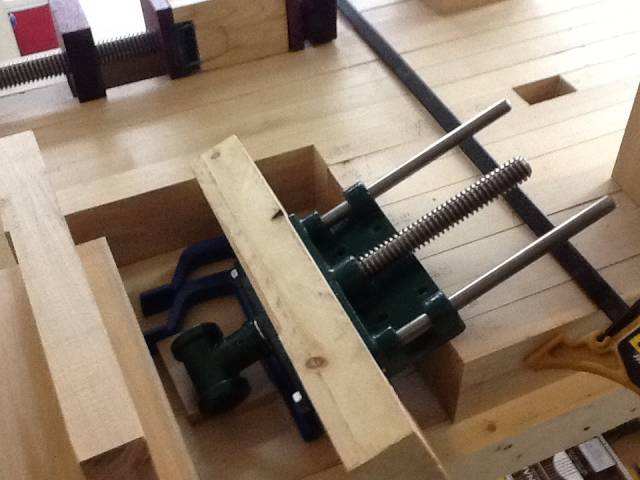
One of the tail Screws is for the front of the right side and it will have a wagon vise. I will have to design and fabricate & almost completely assemble it before gluing the top.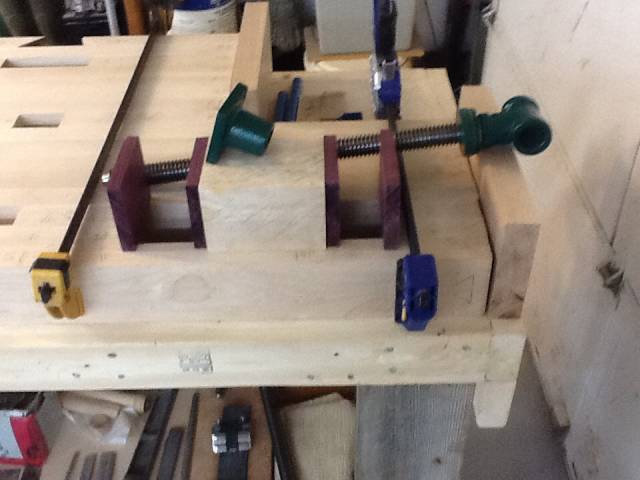
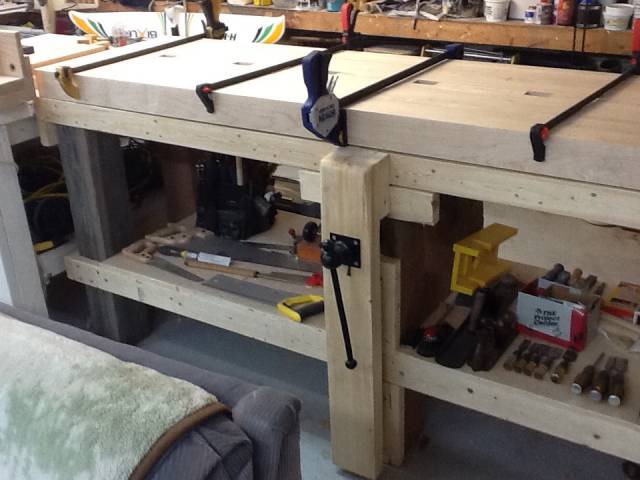
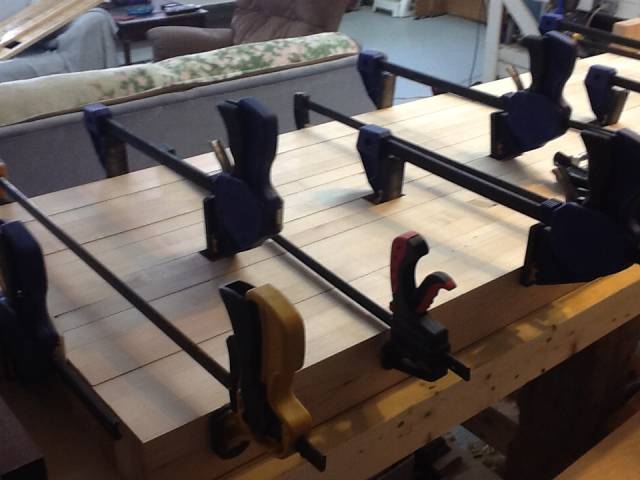
The other Screw is for the front left to build a leg vise. I have to design and build another crisscross from hardwood this time. Finally the back left side will hold a carpenters surface metal vise. The local mill supply shop has a “General,” quick release 10" for sale. The price is right and it’s only 2 blocks away. So I have the legs and top arranged to be glued up in such a manner that I can avoid a great deal of mortise and tenon work just by straight cutting boards in a lap, but once glued up they will reflect the Roubo style of joinery. The legs are the first to rough clamp together. This is where I noticed the width of one of the oak boards was 3/4" narrower than the rest in the middle. 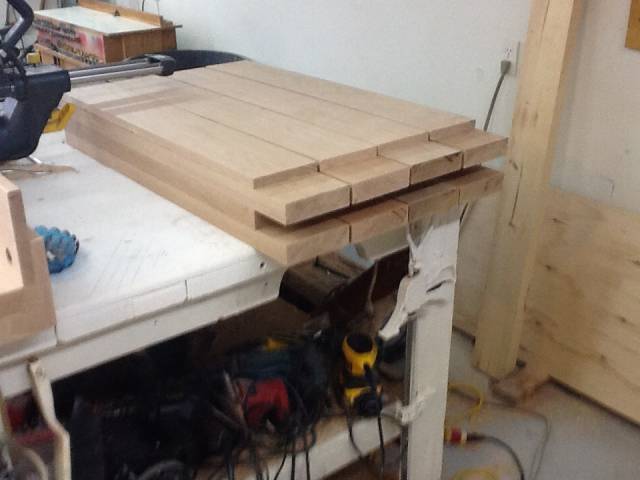
It was after I cut the board to length, I discovered it, so I won’t be able to return it. I will be able to correct for it once the legs and top are glued by putting a split into the tenon from the top and replacing the gap with a narrow wedge. I have seen people use this wedge on tenons on their benches before to tighten up the joinery. For now the dry fit looks very good. As always comments, questions, and,advise are welcome.Thanks for following.
CHRIS, Charlottetown PEI Canada. Anytime you can repurpose, reuse, or recycle, everyone wins!
3 Comments
Thanks pat, yes I have made a lot of decisions before hand. I hope to get some ideas from everyone, but I’m building like mad lately. Not sleeping with too much back pain just seems to make me work even more lol. The design basically comes from remembering when I wanted a vise or bench at the time and had to make due without. Their will probibally be something over looked. All together it should have four work stations with a lot of dog holes and now some battens too!
CHRIS, Charlottetown PEI Canada. Anytime you can repurpose, reuse, or recycle, everyone wins!

You think like my woodworking teacher in the way you go about you joinery. Very clever and painless.
You have achieved quite a bit already.
Thanks for the build details.
Abbas, Castro Valley, CA

Moving fast is right. Looking good. I can’t wait to get into my bench build but it’s way down the queue for now. So many house projects to work on before I can have fun.
Losing fingers since 1969