


Share your craft projects
Make new craft buddies
Ask craft questions
Blog your craft journey

lanwater
2132 posts
and
35 followers
in over 12 years
in over 12 years
Picnic Table #3: Preparing the Laminates
This is
part 3
in a
7 part
series:
Picnic Table
Cutting the laminate was the most adventurous part of the project so far.
As I stated earlier, I used the 4×6 to cut the laminate from.
Dimensions:
The leg has a base of 3″×3″, And since there will be creeping up and down during the glue up, I decided to keep the whole width of the 4×6: 3.5"
I also decided the laminates to be 1/4" thick. In order to do that I thought I should cut at 5/16 so I have room for sanding.
The leg has a radius of 26" thus the length of the laminate had to be at least Pie x 26 or 3.14 × 26= 81.68" rounded up to 82"
That’s for the first laminate since we are adding 1/4 to radius with each laminate we adding the length of the piece will increase.
That is a linear progression and should not be hard to figure but I am not going to torture my brain and will rely on the flexibility of the dimensions.
Since I had 1 beam of 16 feet, I cut it in half so I had 2 pieces of 96" each.
The plan was to cut the laminates at 5/16 so after sanding I will get my 1/4 in width
With A 5.5" wide beam, I could get at least 16 laminates since I have the band saw blade kerf in loss every cut.
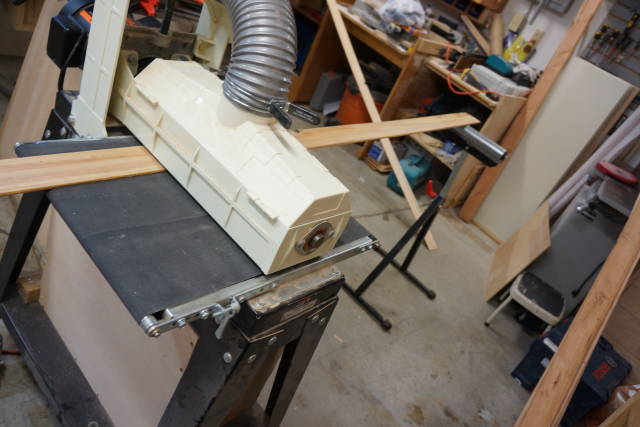
Disaster:
An 8’ beam proved to be heavy and difficult to maneuver.
8’ put me very far from the blade.
A dry run with 2 rollers did not work for me.
I did not make a face flat on the jointer for the same reason.
So I thought I would cut then flatten on the drum sander.
I enrolled my son for help.
It was quickly apparent the beam was not square to the fence.
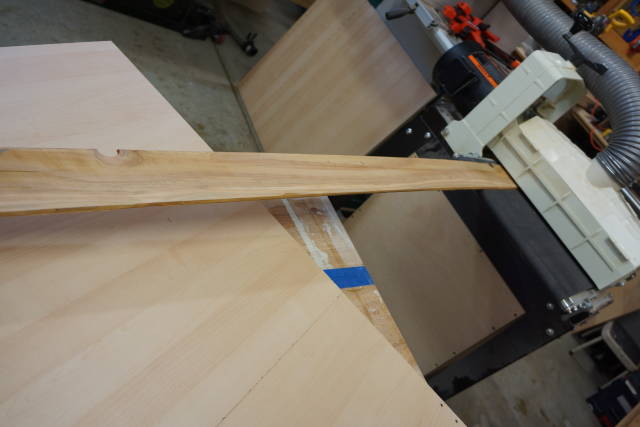
After the first laminate it was also apparent I had deep scars on the laminate that resulted from “jerking” the beam back and forth
and also from the lack of coordination between my son and I.
The second one was even worse and so on… The errors added up.
You would think I would have stopped there and then and devise another plan.
I would have lost my only helper since my son was leaving for camp the next morning.
Anyway we cut all the laminates with plenty of grooves, deeps and valleys just like nature ought to be :)
Sanding:
Inventorying my laminates I decided to use a 36 grit belt.
First time ever I used such a coarse belt but the sorry state of the laminate required a lot of sanding.
To make the story short, my 5/16 laminates ended up all with different width from 1/16 to 1/4 and everything in between.
I had to cannibalize some 2×4 to cut more laminates since I was way short with the widths I got after sanding.
2×4 were much easier to cut.
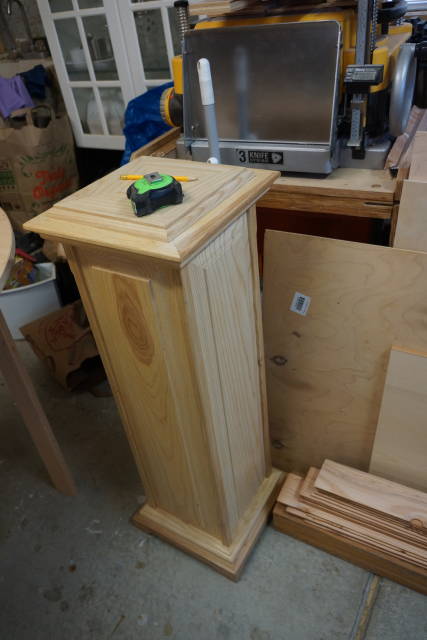
Note: For the thinner pieces I fed the piece with a long 1/4 inch ply.
Stack of laminate visible in lower right corner of the picture.
Now the lack of pictures here depicts my frustration. I was so upset and busy sanding, I did not think of snapping more shots.
Onto the next step : Lamination.
Abbas, Castro Valley, CA
3 Comments

We’ve all been there, brother!
Losing fingers since 1969
And we gained valuable knowledge for the next one we tackled.
I was really pissed at myself though (:
Abbas, Castro Valley, CA

Learning experiences can be painful Ian, but I see other laminations in your future where you can use your new found knowledge from this project, perhaps as early as leg #2. I wish I had that drum sander or at least one like it in my shop!
I think maybe a long in-feed table and out-feed table for your bandsaw would have been a great help with those heavy timbers, although i realise that shop space may not permit it. Anyway I hope that you can take some small comfort in the fact that your fellow woodworkers are getting the benefits of your experience!
Mike, an American living in Norway