In my previous entry I said reassembling the quill would be my next task, however I decided to order an ultrasonic parts cleaner and some Simple Green HD (purple kind) to do a much better deep clean on the entire quill. Stay tuned for the write up on the cleaning as I have never used an ultrasonic cleaner before so that should be fun.
Today most of my parts order from McMaster showed up including the key stock. So I decided to run over to Grainger on my lunch break and pick up the bushing I needed for the motor pulley.
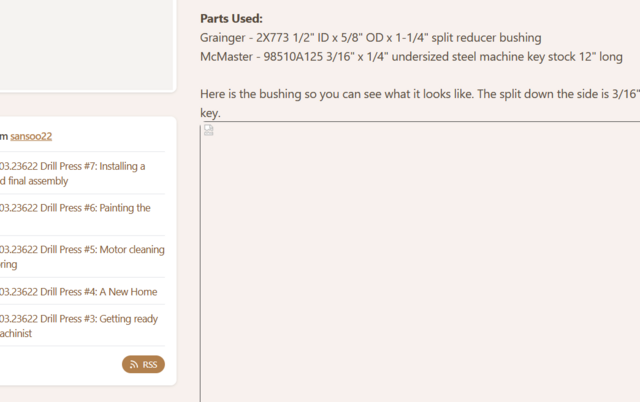
Parts Used: Grainger - 2X773 1/2" ID x 5/8" OD x 1-1/4" split reducer bushing McMaster - 98510A125 3/16" x 1/4" undersized steel machine key stock 12" long
Here is the bushing so you can see what it looks like. The split down the side is 3/16" wide to accept the machine key.
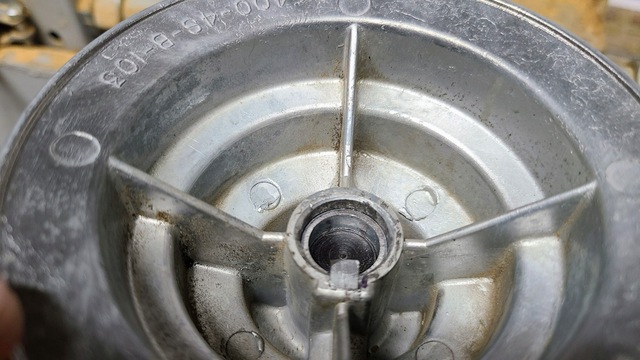
And here it is in the pulley.
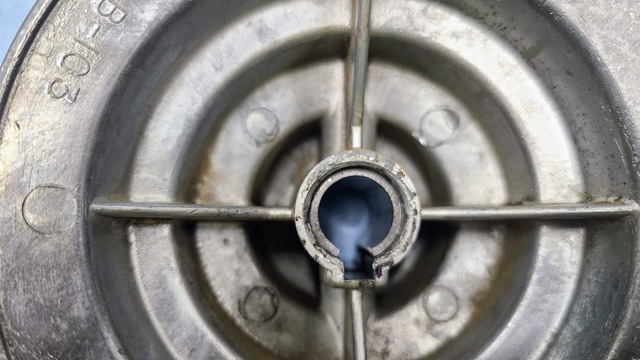
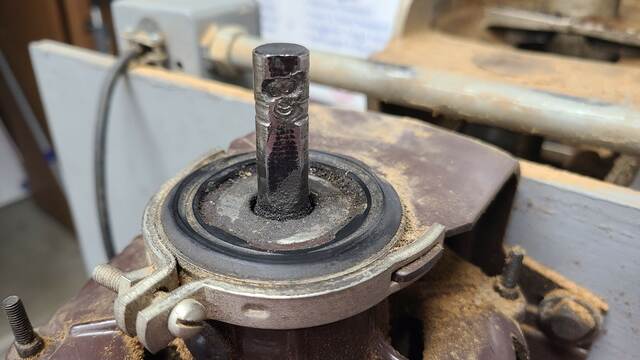
Next thing to tackle was the chewed up motor shaft. I have an image of it in my previous post but here it is again.
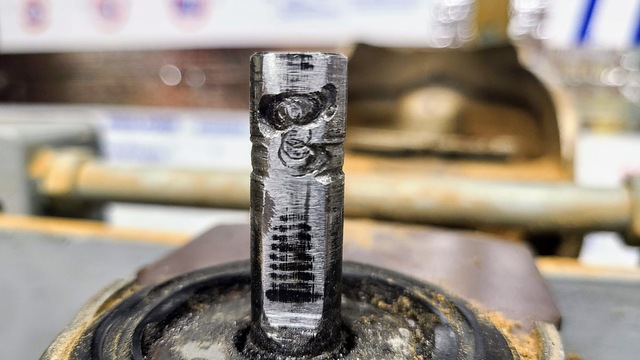
All the places where the set screw had dug in over the years left a lot of burrs on the flat part of the shaft. If I wanted a nice tight fit with the key those had to be gently removed. So I put some brake parts cleaner on a rag and cleaned off all the junk. Following a thorough cleaning I used a fine metal file to gently remove all the burrs and here is the outcome. Its not perfect but it will do.
Now comes the fun part. The machine key stock I ordered was a few hundredths to big. I put the pulley with bushing on to the freshly prepared shaft and measured 0.220" between the pulley key slot and the motor shaft. I probably could have gotten away with a 3/16" key but I already don't like a D shaped shaft and keyed pulley. So time to break out the files and shave this bad boy down. This is one of those times I'm super I happy have a tool grade surface plate. I don't have the steadiest hand filing but some 60 grit on the surface plate between filing kept the key flat and square. After about 45 minutes of file, sand, measure I got the key shaved down to 0.225" at one end with a slight taper across its full length. The taper was by accident but it works VERY well.
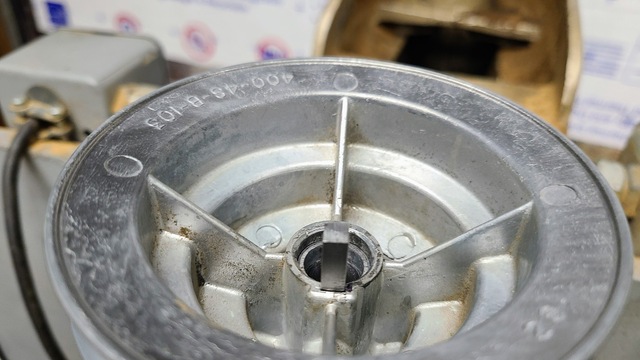
Here it is wedged in by hand. About 2/3rds of the key drops in with no resistance.
And after three or four light taps with a punch it is in place.
The pulley will still come off by hand even with the key wedged in. Its not exactly easy but I don't need a puller to take it off. It has about the same amount of friction fit as the pulleys on my band saw. I think it should hold just fine. I turned the motor on and it still purrs nice and smooth so I guess we will see once the drill press is fully assembled but I'm confident this will work.
Martin that was indeed the problem. I went back thru the whole series on a different browser to find which images weren't showing and manually updating them.