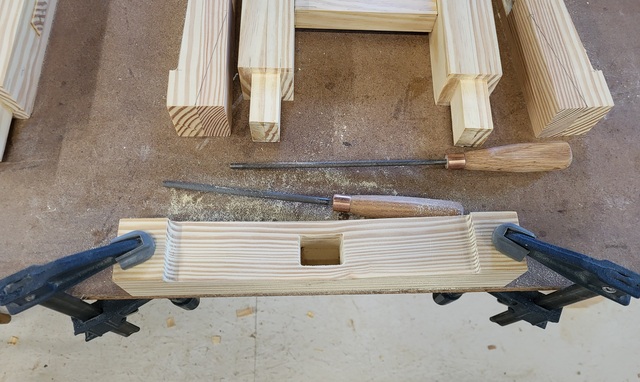
Up next was to cut the waste area from the bottom of the feet, leaving a small pad on each end. When I was drill out the waste for the mortise I drill a few holes for relief cut for the waste, thinking ahead on that one.
So, it was off to the band saw to remove that waste, easy cuts and went quickly. Then clamped them to the bench and grabbed the ROS to sand away the saw marks, and a couple of rattail files to smooth out the transition.
Then it was back to the band saw to cut the long angle on the top of the feet. Makes it look a little less bulky, and for the full size horses it will make them a tad bit lighter. Followed up with the ROS again to removed the pesky saw marks. (Dad taught me years ago not to leave saw marks on your projects)
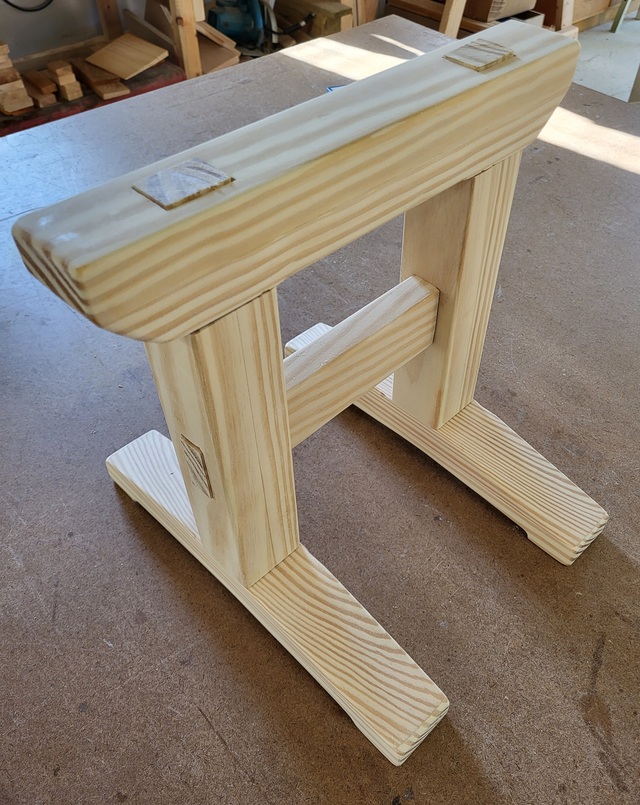
With the feet shaped, it was time to cut a 45* bevel on the bottom ends of the top, again the band saw was the easiest and sanded after. With that a bunch of pieces that fit together.
After fitting these together I marked the bottom of the legs and trimmed the tenons a little proud on the underside.
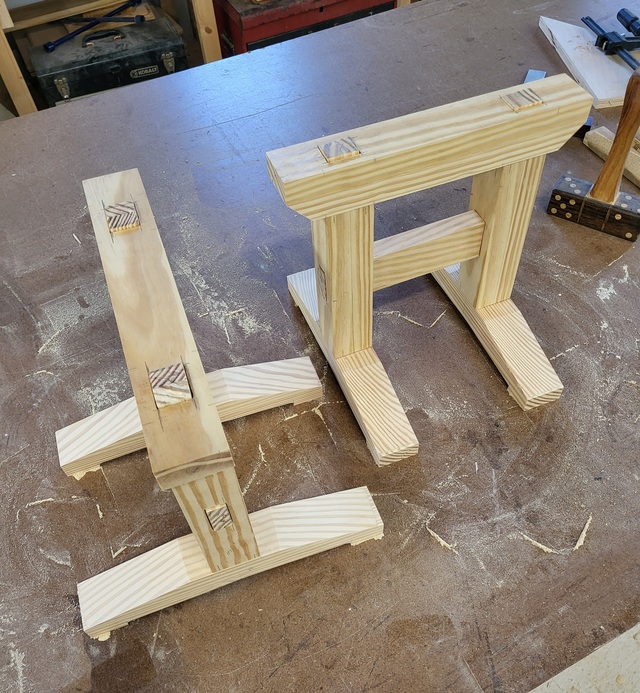
Take all of this apart, and added some check marks where the legs meet the feet and the top. The plan was to route a small round over on all edges. I used my little Colt Trim Router for that, it was already set up with a bit set to the correct height. Being careful at the junction of the legs to the top and feet. I also rounded over the little pads on the bottom, inside had to be done with a file and sanded.
Time to sand all of the flat surfaces, again back to the ROS, to passes one with 80 grit and then with 220. I also used a block wrapped with paper 100 and 150 and smoothed the round overs. Really don't like sharp edge on some things. I also took the time to lay out the pin locations. Yes, all of the joints are labeled.
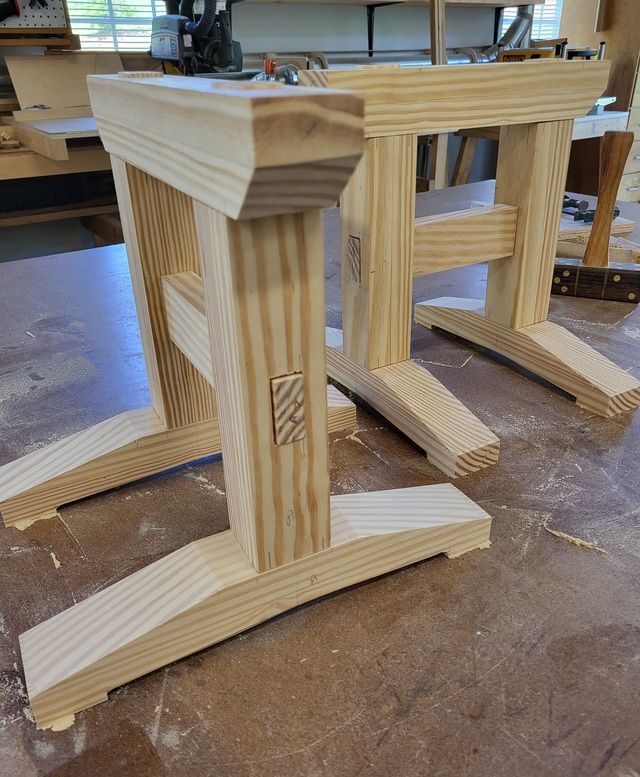
Tenons are a tad bit proud.
Added shot of the underside, with the through tenons
Up next is the glue up and drilling for the pins. I did think about drilling first, but decided nope not worth the aggravation if they are off. I did thing about the glue up process, so I can use the drill press.
Thanks for reading and following along, comments are always welcome.
David, thanks. I was thinking the same thing too. I like a finished look, and I am sure that these little buggers will get used on the bench top down the road. The full-scale set is going to be fun, probably easier too.
OldTool, thanks. I like to have furniture in the shop, it is a bit of showing off when I have visitors. Yes, the tenons are proud and I will flush them after the glue up and have the pins set.
Did you consider wedging the joints? I've always wanted to try that on a large project, if for anything just to get the contrast 🤔 The pinning will make that impervious to a building falling on it, I think it will suffice for your bench top uses!
Watch out for those home center dowels (take some calipers)!
All the dowels I tried to buy were 1/32" to 1/16" under. probably starting to sell like 2x4's (size before sanding). plywood as well.
I was using them for the same purpose but my holes were then too large. The remaining holes were drilled out with the next smaller brad point, then sized up with a twist drill.
Duchy, thanks. I don't see much about timber framing posted on here, and these are going to make a nice little addition to the shop tools.
Petey, thanks. I thought about all of those, I might do a draw bore on the full-sized ones, and the chamfered tenon does sound good. That would eliminate paring them flush.