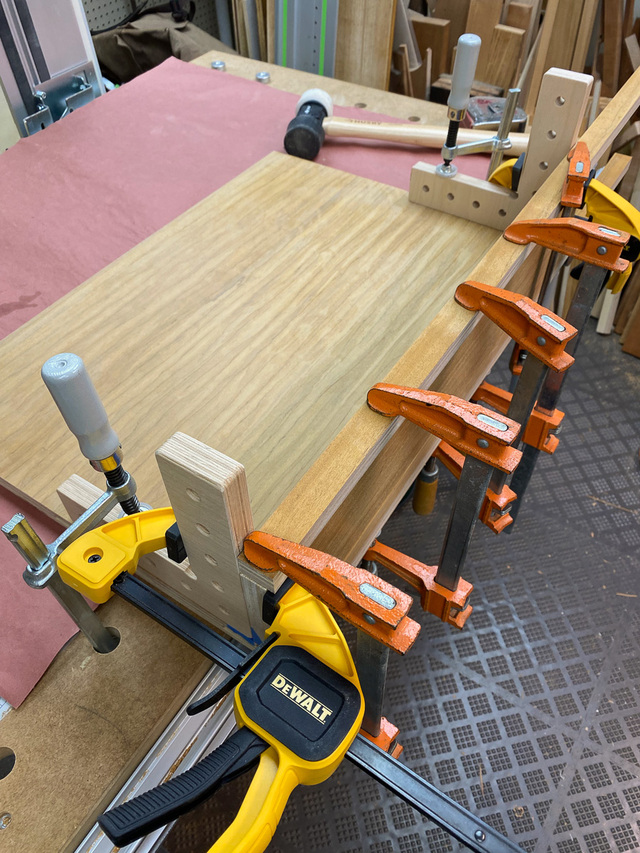
After completing all the boring sanding of the individual panels, I started to glue-up some sub-assemblies. Breaking-up the assembly into multiple glue-ups removes some of the stress that's involved in a monolithic complex glue-up. If I counted correctly, there are 53 Dominoes in the cabinet, so anything to simplify the assembly is a good thing.
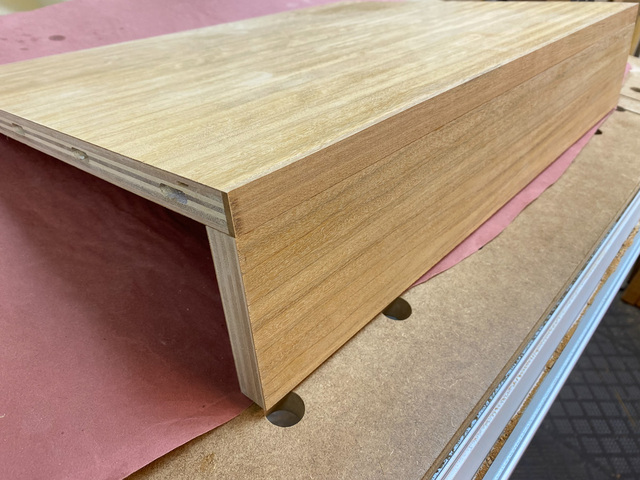
This started with three simple glue-ups: Fixed shelf to its rear support, bottom to its stretcher, top to its stretcher. These simple glue-ups allowed me to focus on clamping them square.
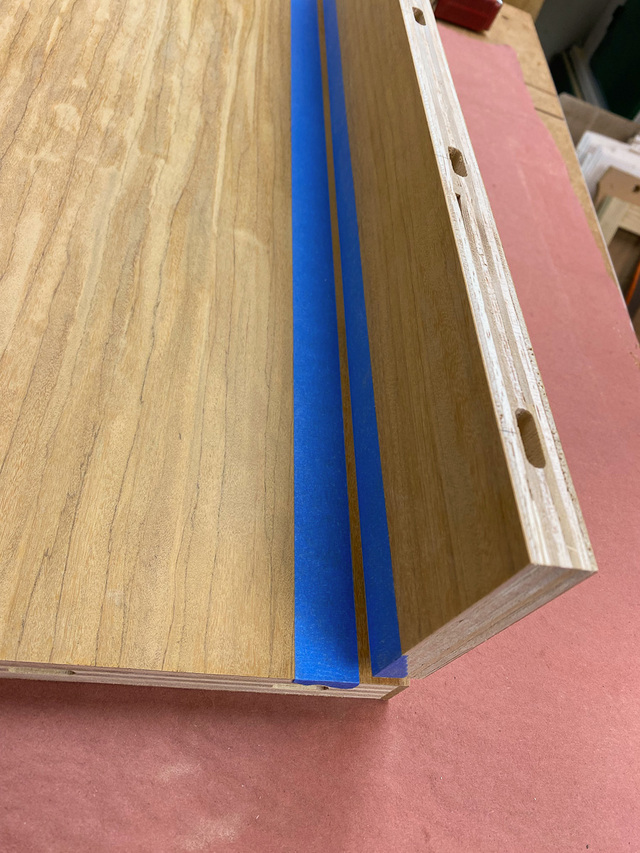
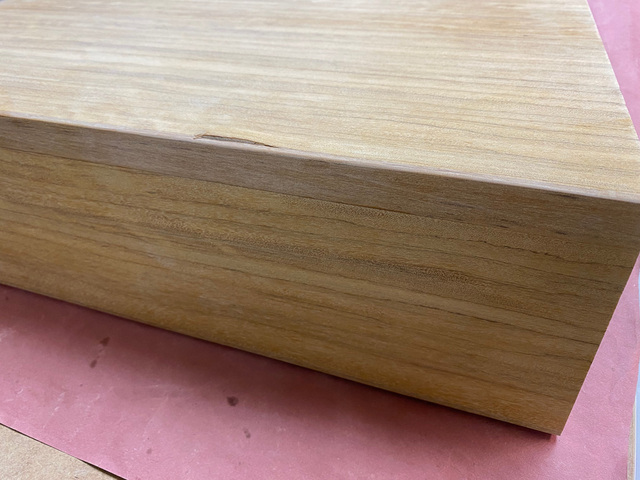
Each of these joints were setup so that the hardwood edge would be proud by a small amount that would be trimmed after the glue-up.
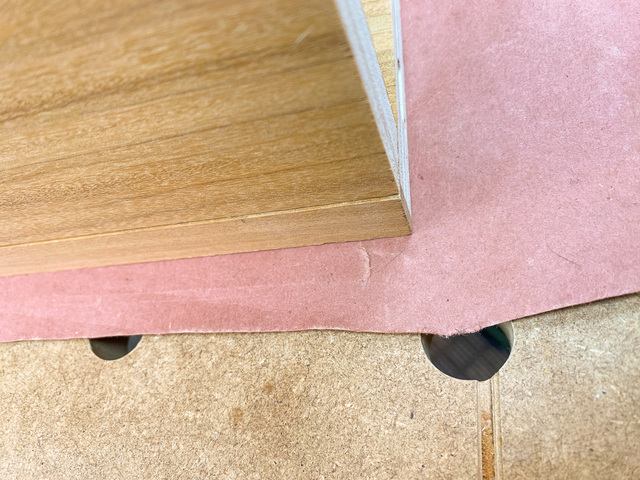
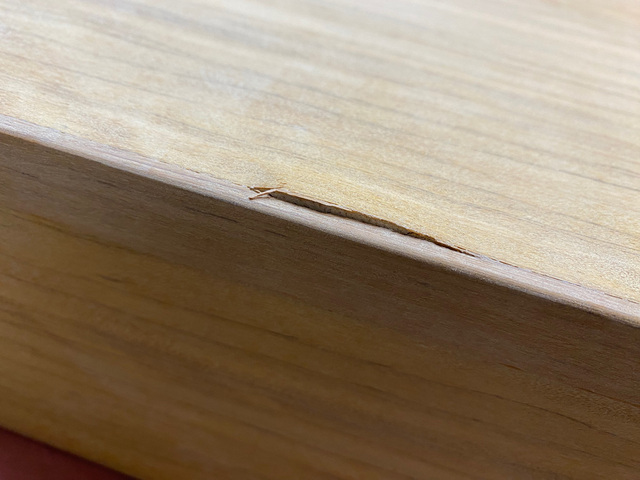
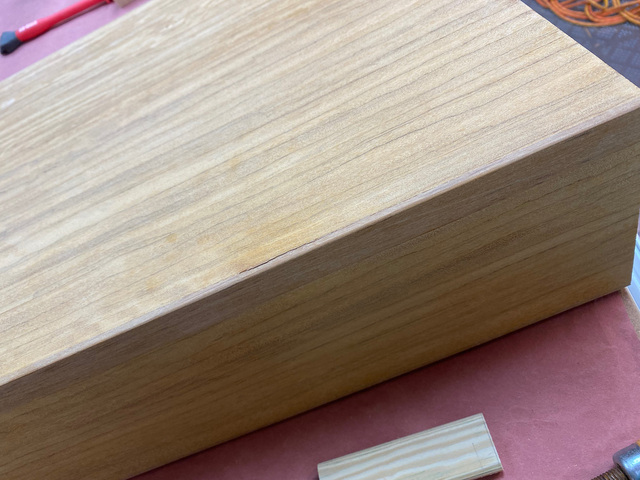
This went smoothly until the last of the 3 glue-ups, which unfortunately was the top panel. I had a blow-out on the surface where a Domino was not fully seated in the stretcher side prior to clamping. It extended too much to fit the mortise in the top, and because there wasn't a clamp directly over the domino, the surface lifted when the joint was closed up. I was gluing with the panel upside down, so I didn't find the blow-out until I was removing the clamps later.
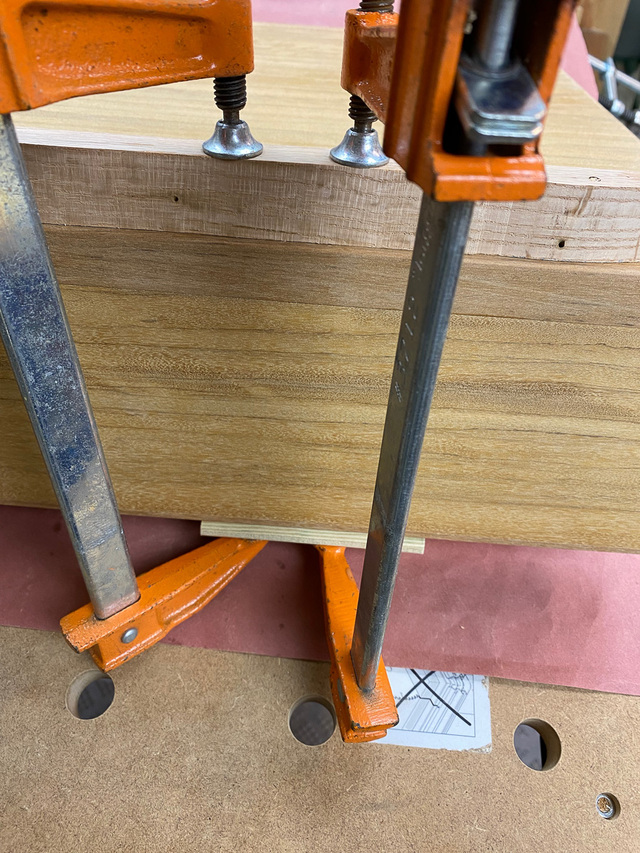
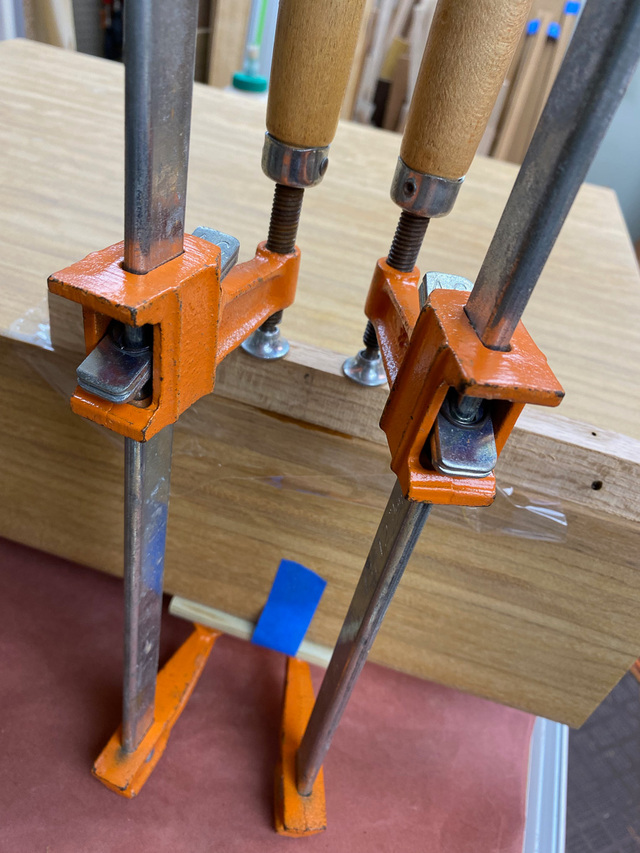
I applied a caul to see how much I could compress the plywood to level the surface.
I'll weep some low-viscosity CA glue into the crack to stabilize the fibers, then re-clamp with a packing tape protected caul. I expect there will still be a bump due to springback, but we'll see. If it's not a sufficient repair, I'll likely cut a shallow rabbet across the length of the back panel and fill it with a strip of Izombe hardwood. Another option would be to level the damaged area and applying a veneer over the entire top surface. It might be a little difficult to vacuum bag due to the attached stretcher, though.
Any other suggestions on a repair? I'm not worried about the strength of the joint - it won't be stressed once the sides are in place. Once I get this issue handled, I'll pre-finish some of the interior surfaces before doing one final sub-assembly glue-up.
It figures that the only problem is in the most visible panel.
I bet your “veneer strip in a shallow rabbet would be virtually invisible.
If it eats at you too much and you decide to re-veneer the entire panel, the iron-on method might work. It’s the only method I’ve ever used, but it was always with two-ply (i.e., thick) veneer. I don’t know if the heat would cause splitting or checking with raw or paper-backed veneer. I’d definitely try a test run.
Before going too radical, I'd carefully snap the rest of that veneer splinter off then dremel out the offending domino flush. Reglue in the veneer and it should be invisible.
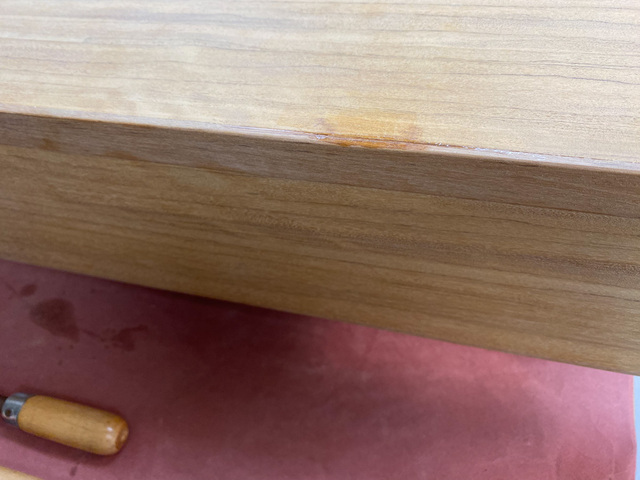
I think I dodged a bullet on this one. After leaving the damaged area clamped overnight, it didn't look nearly so angry.
I taped-off the area with packing tape so that just the crack was exposed, which prevents the water-like CA glue from running on to the surrounding wood. I wicked-in the glue until it started to pool slightly on the surface, then got the taped caul and clamps back in place.
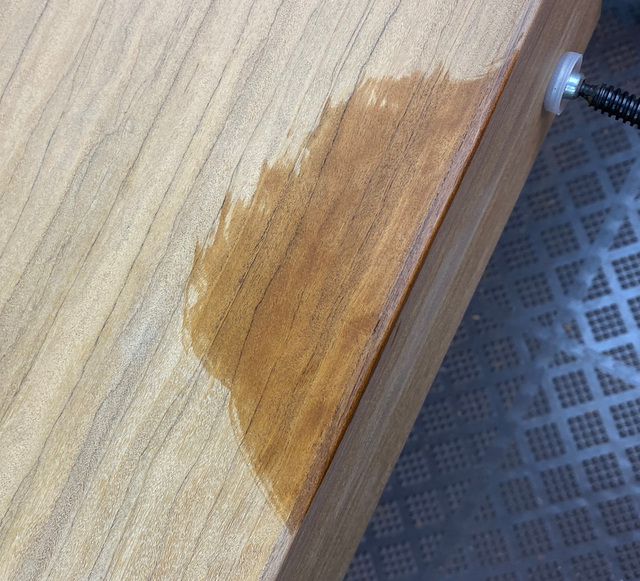
This morning I removed the clamps. By the veneer's change in color, I could tell that the glue had wicked back 5/8" to 3/4" and nothing felt spongy or loose.
A quick sanding removed the little bit of glue on the surface.
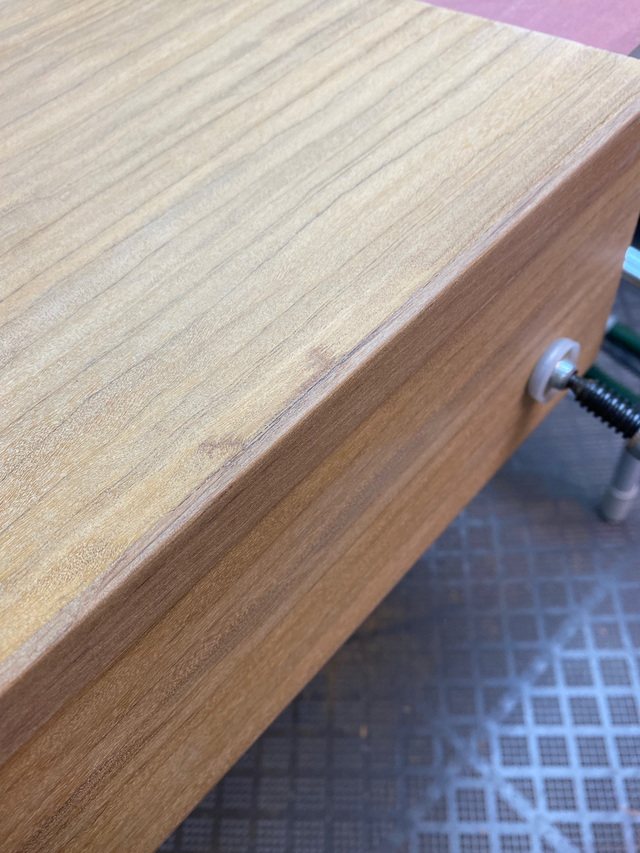
Wiping the area with mineral spirits gives a good visual indication of how it will look when I apply finish. The repair mostly fades away. I'll do one small touch-up, and I'll call that repaired. Whew!