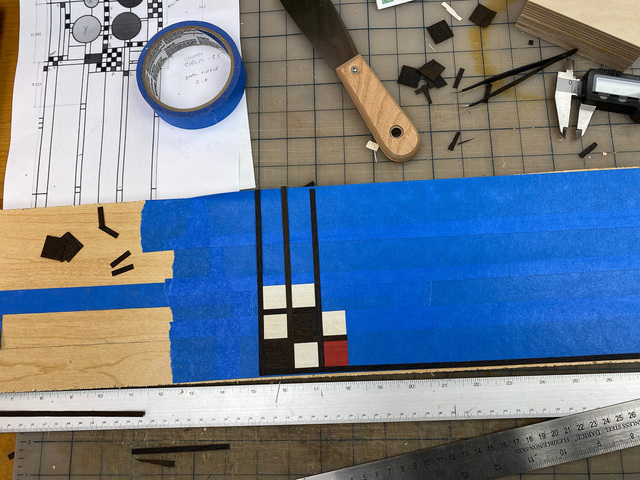
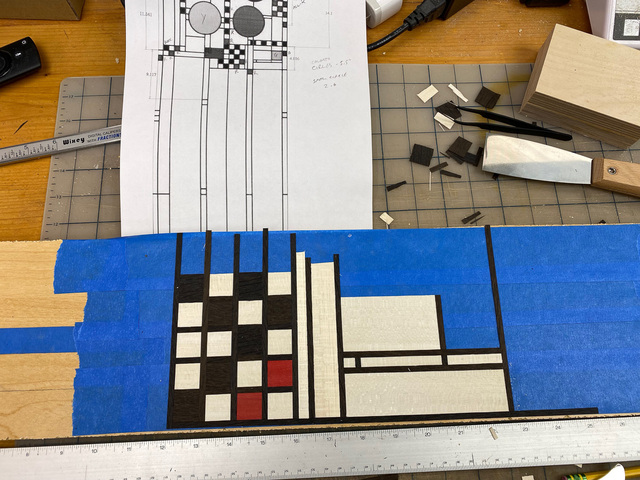
While waiting for the circle cutter to arrive, I identified the boundaries for another independent module I could assemble - the cluster underneath the balloons.
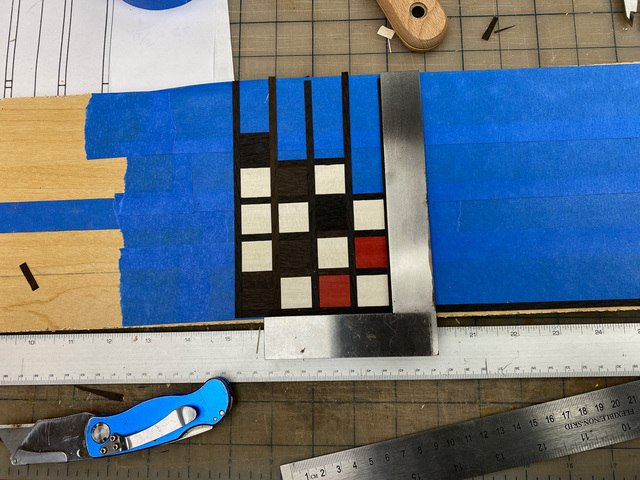
I checked for square on occasion to make sure I wasn't veering off track.
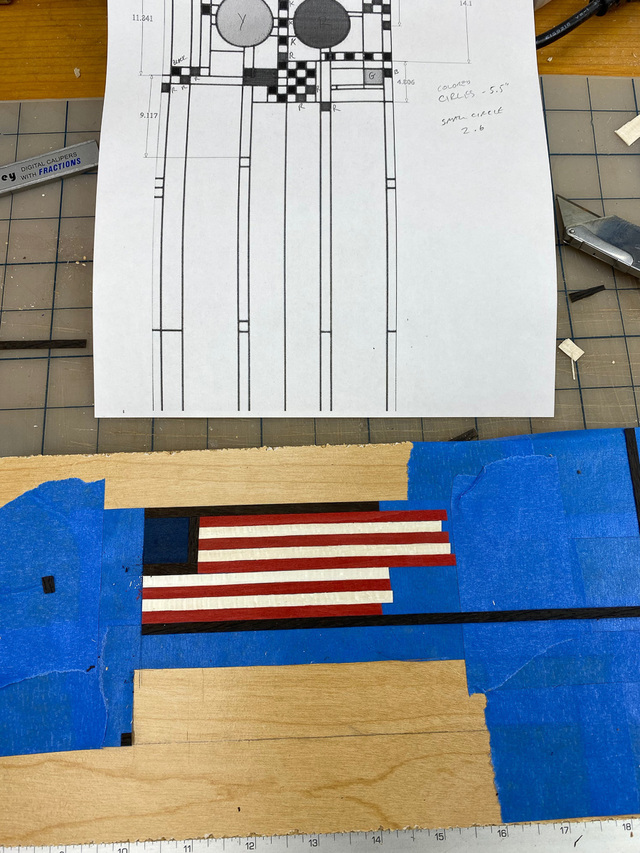
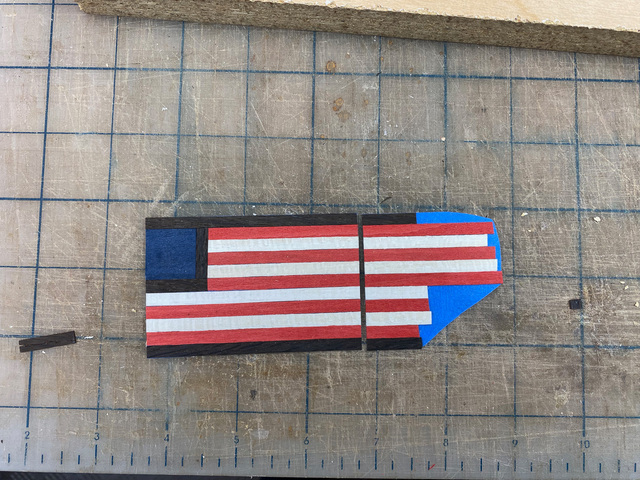
I worked on the assembly in fits and starts as I had workshop time. Before I finished-up this section, I was lured away to work on the flag.
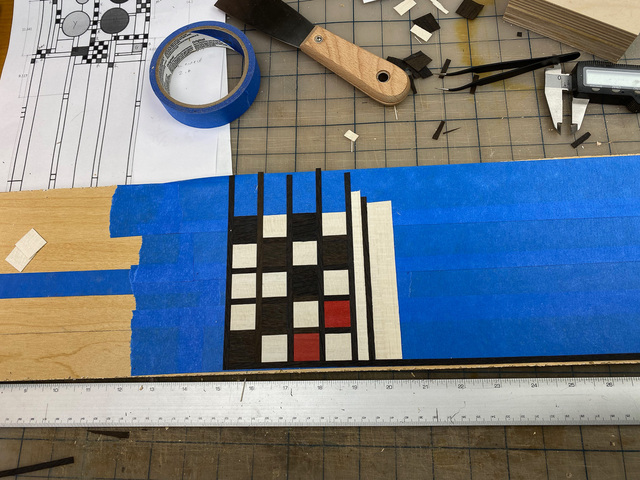
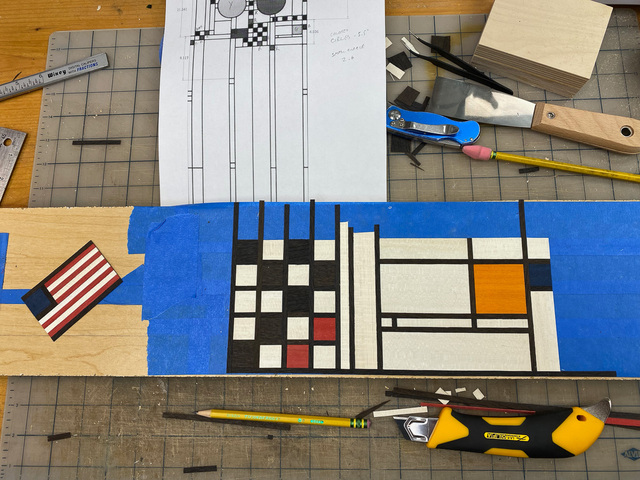
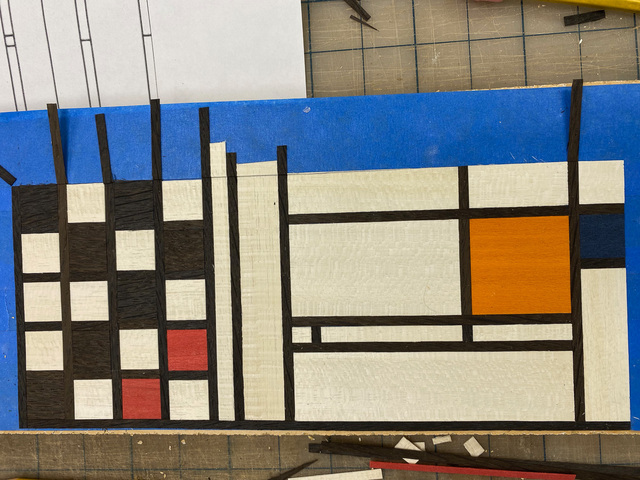
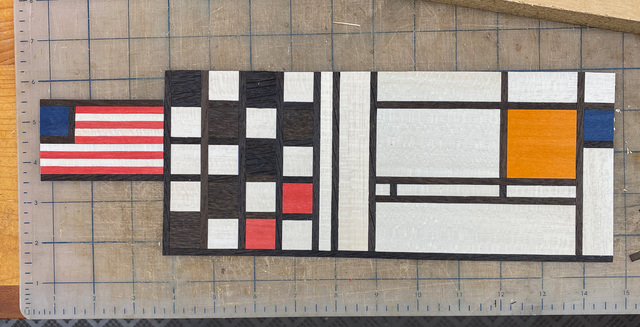
With the flag complete, I moved back to the section to its right. I substituted some orange veneer where the stained glass had been green. I did consider ordering some dyed green veneer, but impatience won out and I pushed on with the orange. I let the vertical pieces run long and then trimmed them all in one operation.
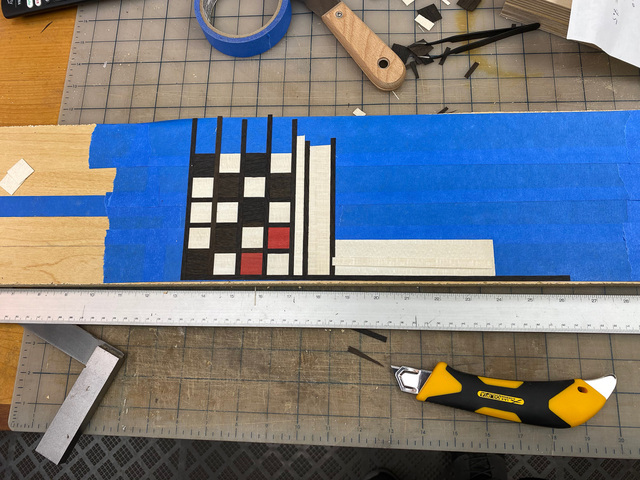
And that's another module completed.
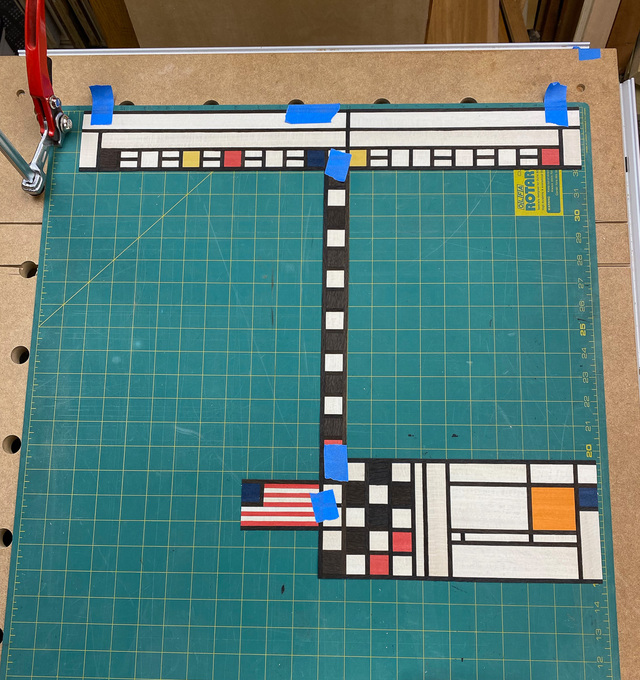
At this point, I started using the larger cutting mat to stage the modules and temporarily tack them down with blue tape. The grid pattern will help me keep them lined-up properly. I didn't realize it at the time, but I'd already made two mistakes on the pattern. I'll point them out in future posts. Feel free to call them out if you spot them.
And I didn't even notice the flag in the first entry! It seems like the trick is to get all the modules to end up being the same size. I'm sure I'll find out soon enough.
Steve - I try to pick rectangular areas where there's a natural break in the pattern. If the sections aren't too large, there's usually some wiggle room when fitting it into the whole.