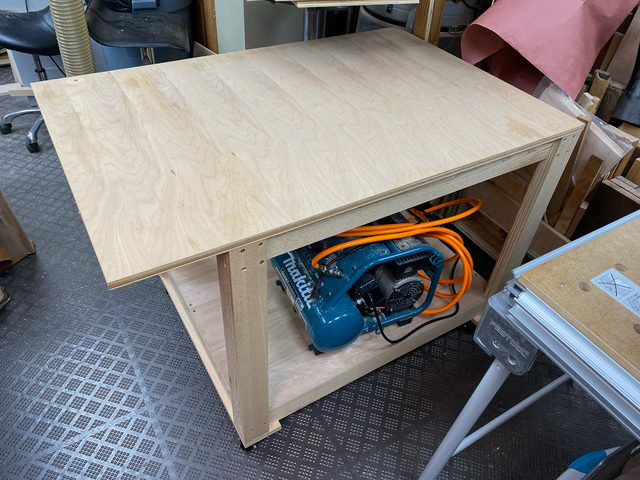
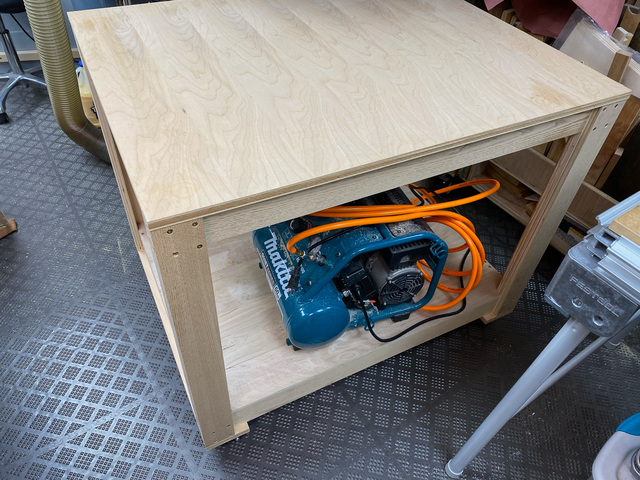
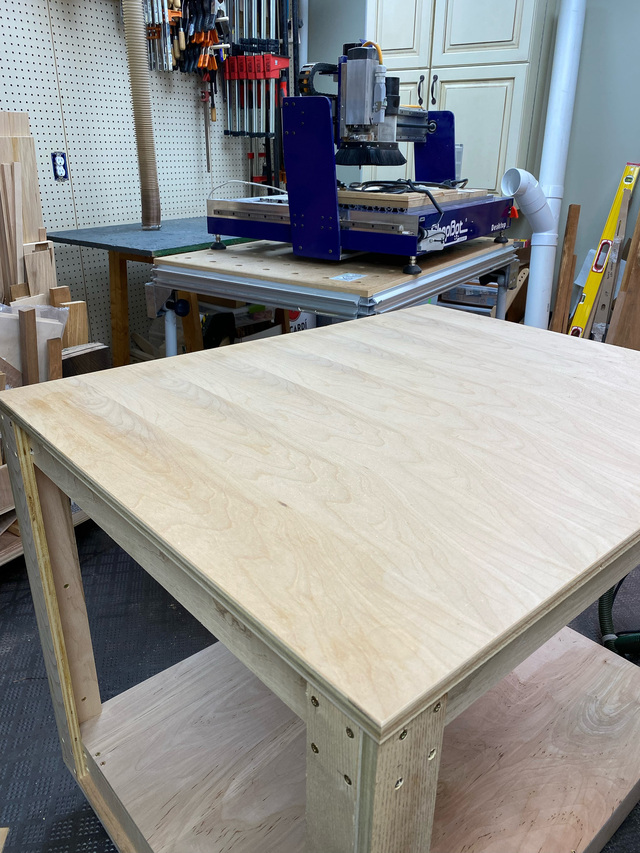
As part of my shop reorganization effort, I built a new mobile cart for my CNC machine. It was built completely from scrap wood - the main structure was from 3/4" plywood salvaged from a living room built-in that I tore out a couple years back, the top was pulled from the old make-shift CNC stand, and the bottom shelf was pieced together from some 1/2" plywood scraps. Later, I plan to add some drawers underneath, but for now I'll use the bottom shelf to stow a portable compressor.
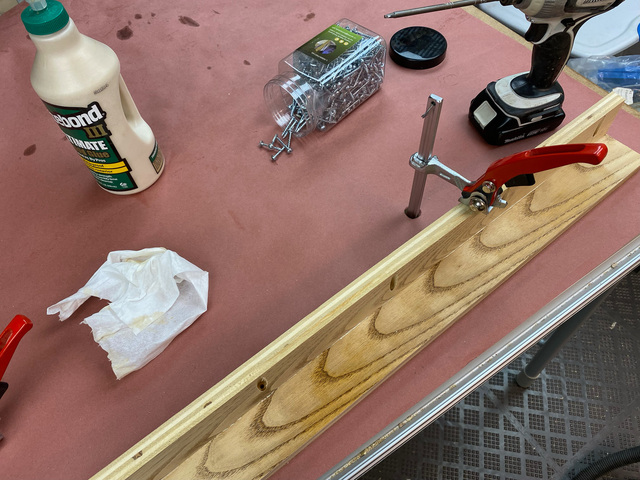
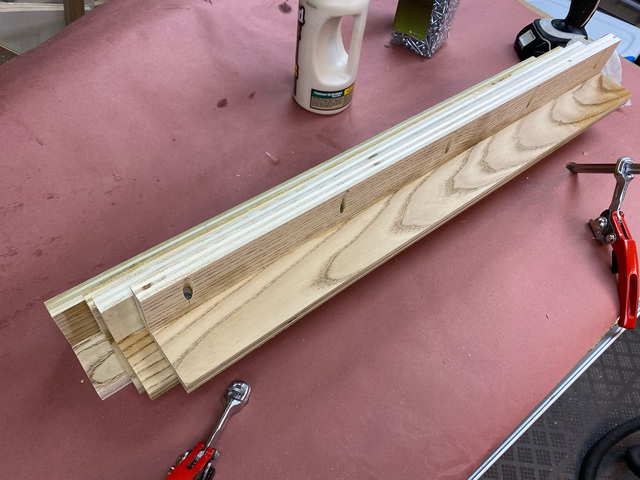
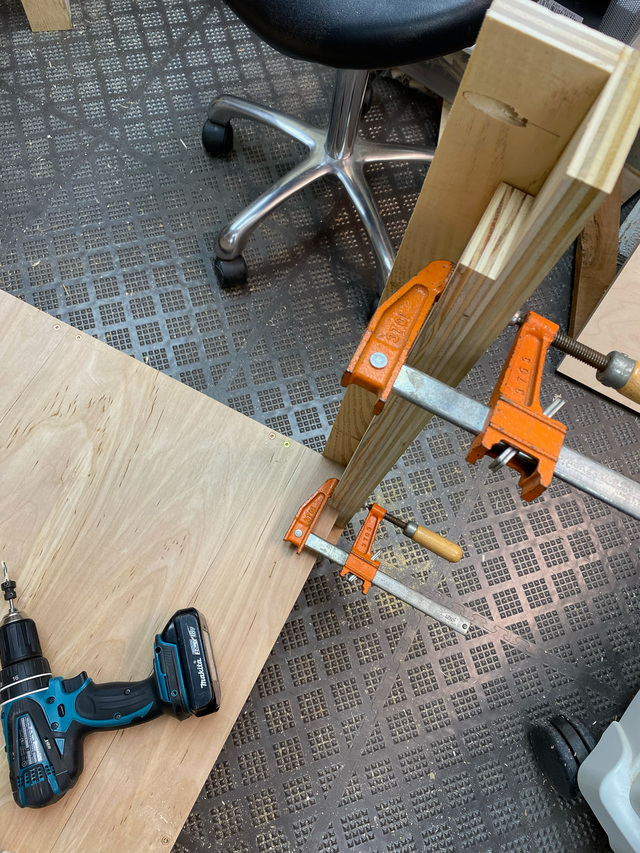
The salvaged plywood was stained and finished, and since I needed to glue pieces together, I ran it through the drum sander to expose some bare wood. I started by assembling the legs - glued and screwed.
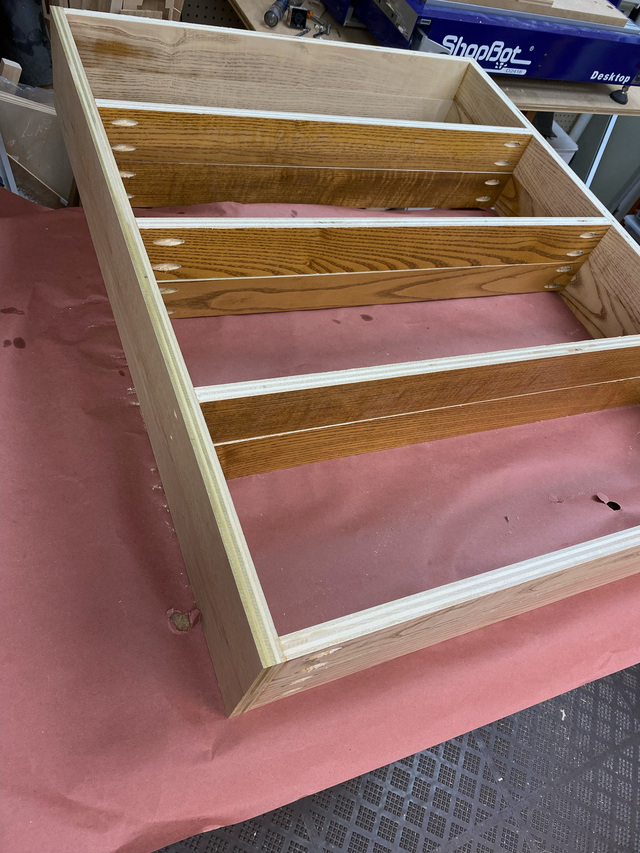
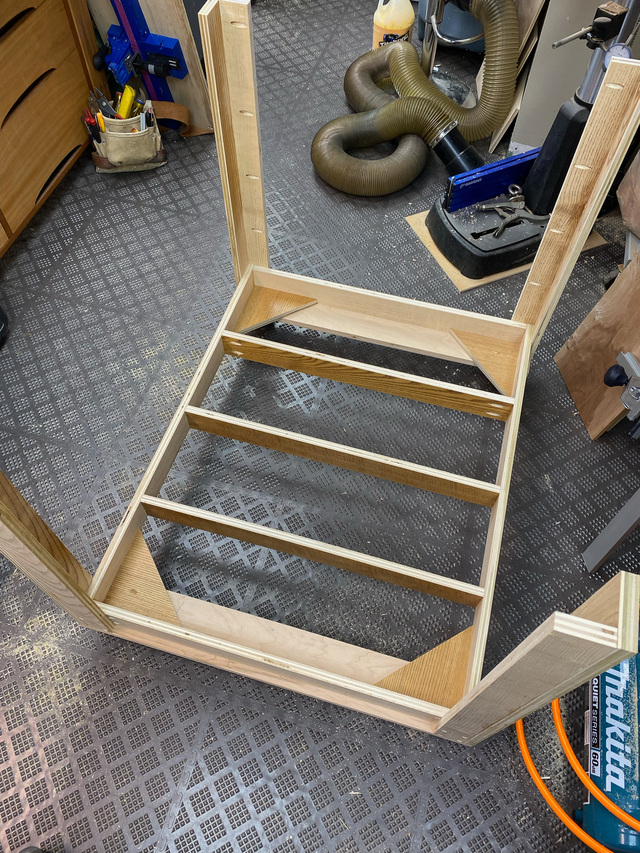
Next I assembled the upper and lower platforms, which were identical. They're also glued and screwed.
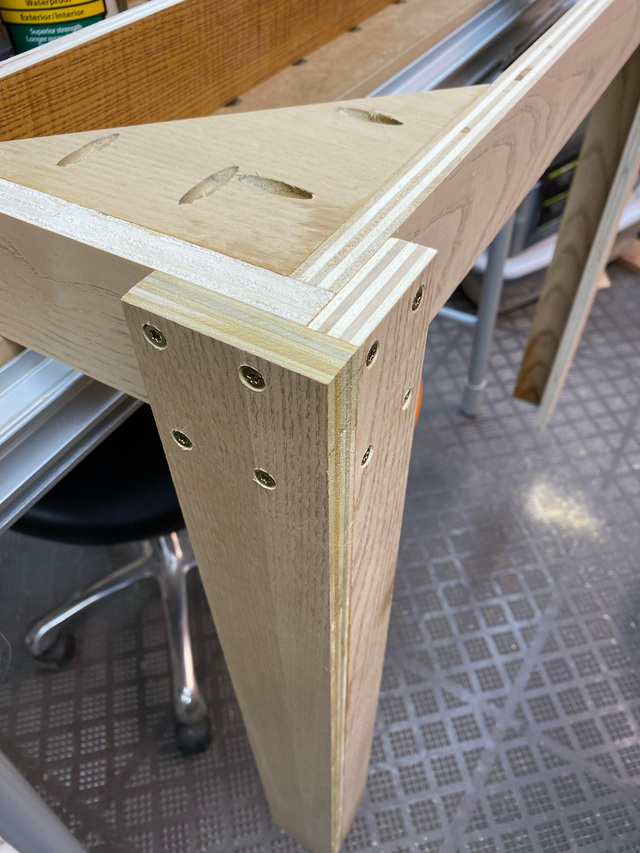
Each corner received a gusset.
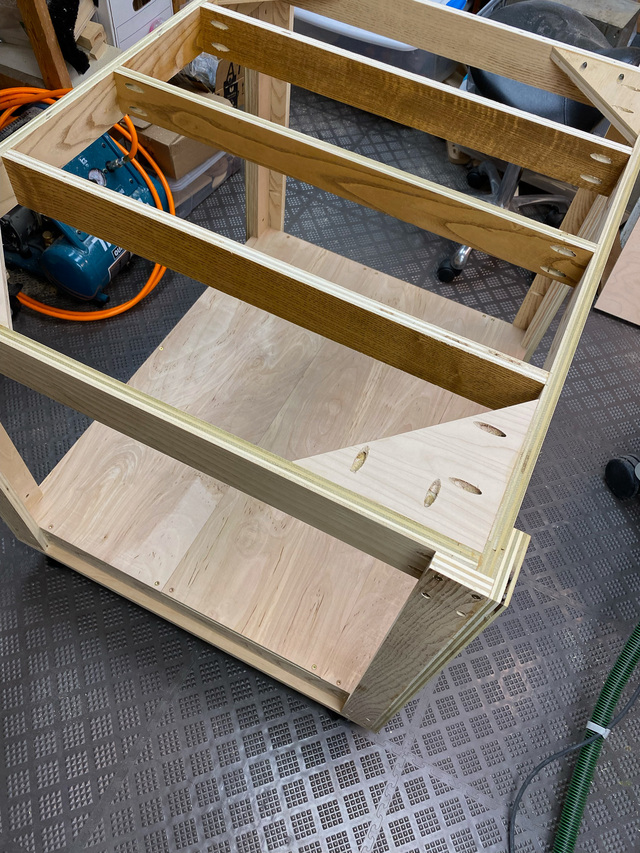
With the bottom platform upside down on the MFT, I attached each of the legs. I only used screws here because I wanted to be able to disassemble the cart if needed to get it out of the workshop.
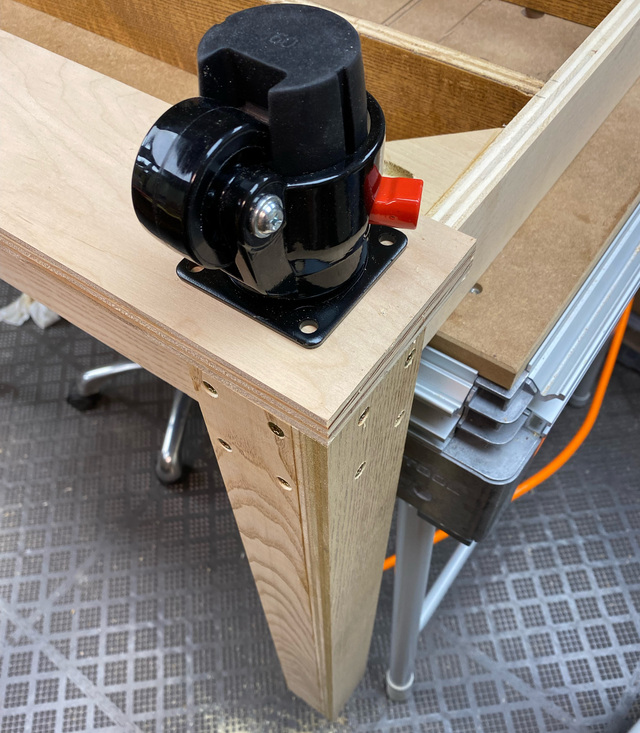
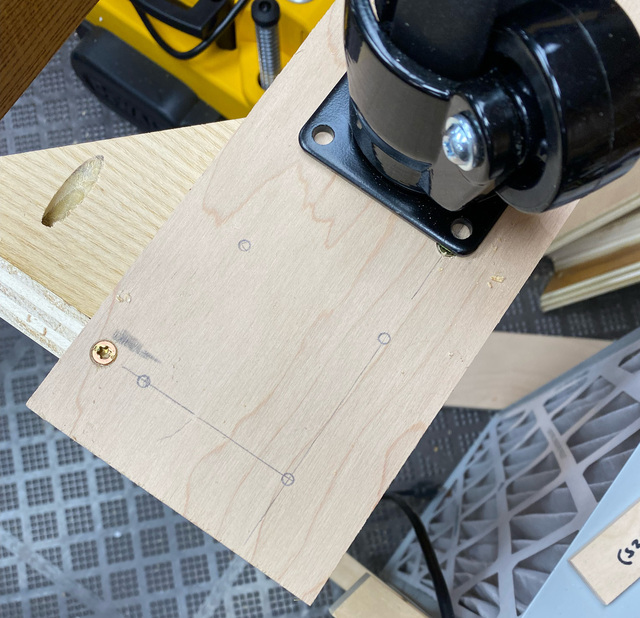
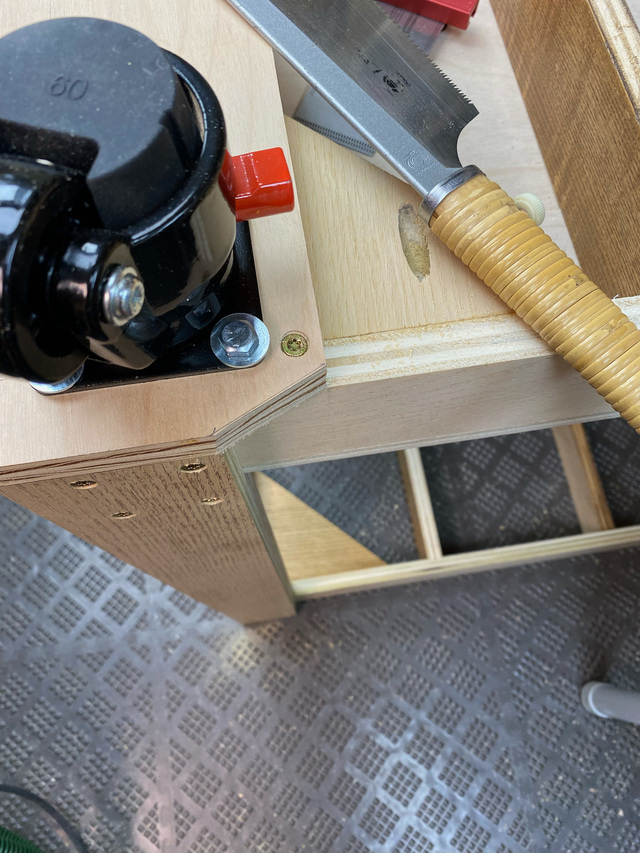
I added a cleat along the two shorter sides of the platform as a surface to mount the casters. I had a set of leveling casters that I had purchased for a different project, but the CNC cart took precedence. The red handle ratchets the leveling foot up or down.
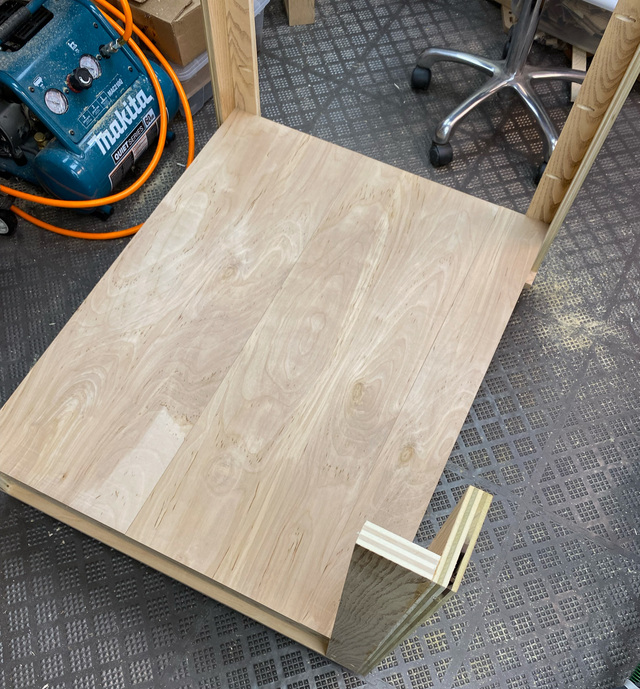
With all of the casters installed, I could flip it over and install some 1/2" plywood on the lower platform.
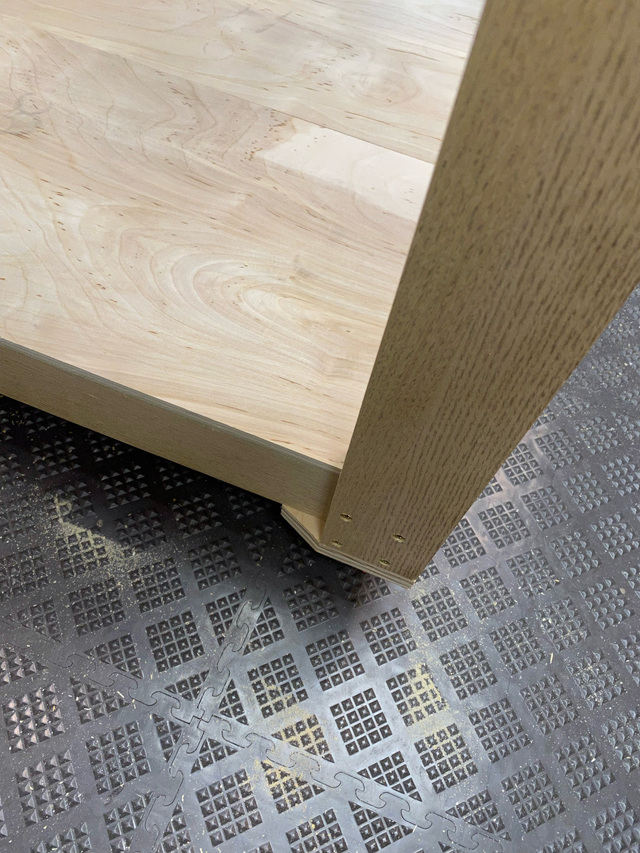
Each leg received a spacer to carry all the weight down the legs to the casters.
The top platform just dropped into place and was fastened to the legs with screws.
At this point I realized that earlier I should have thought to drill some pocket holes to attach the top. I added a few around the perimeter and to the cross braces.
In order to re-use the top from the old stand, I had to shift the CNC off of it. I think the machine weighs around 150lbs, so it's not something I want to be lifting up and down if I don't have to. Luckily, I was able to slide it over to the MFT without too much trouble. It just fit.
The old top was a longer than I needed, so I trimmed off a bit and then put a 1/8" radius round-over on the top edges.
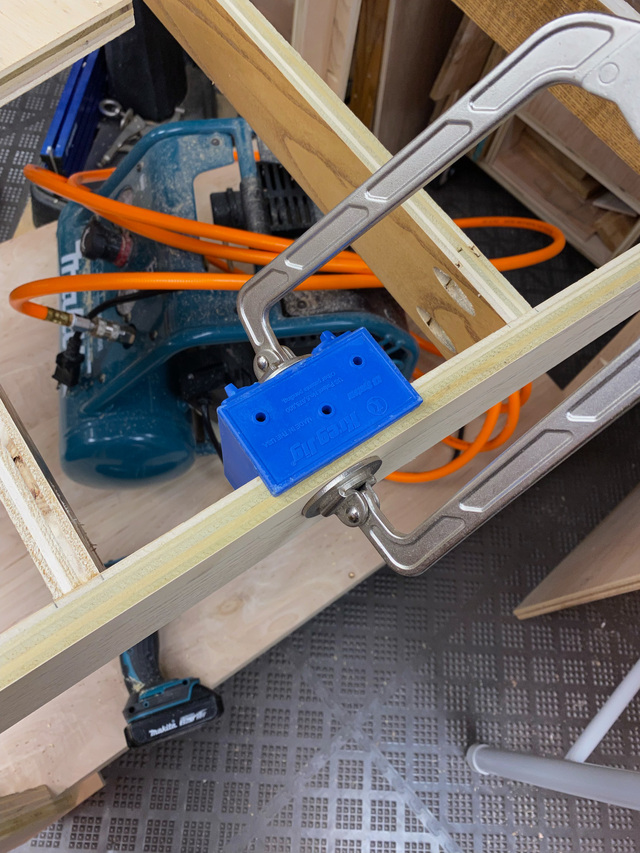
The exposed corners of the caster cleats were bothering me - they looked like they could attract ankles. Before fastening the top, I upended the cart and cut a taper on each one.
That's better.
With the top fastened in place, I could slide the CNC from the MFT to the cart.
And finally, I could move it to its new home about 10 ft. away. Once in position, I leveled the cart - the ratcheting levelers worked great. I wasn't sure how difficult it would be to extend the feet with the weight of the CNC on top, but it was a one-finger operation. I'd definitely use those casters again. Finally, I leveled the CNC on the cart and I was done. Done except for the extra duct work for DC, new spoilboard with hold-downs, drawers underneath, etc. All in good time.
I appreciate all the details you consider like trimming the corners, even the screws look like precision layouts 🙂
I was quite pleased with how sturdy it felt. I climbed on it to give it a good test.
Yeah, the screws - I knew that I would be staring at the side of the thing and I didn't want an errant screw head to draw my eye. So I did layout the position of all of the leg screw holes. I'm not sorry. :)
I’ve wondered about that type of casters. To move the cart, do you just ratchet each wheel down with the red lever to make the foot float, then reverse the process when the cart is where you want it? It seems like the cart would be more stable with the feet on the ground than it would with the more usual casters with wheel rotation/swivel brakes.
Thanks, gents. Yes sturdy like a sumo wrestler with 4 legs.
Ron - exactly right on the caster operation. The retractable feet have larger surface area than the wheels and they're made of rubber, so the cart doesn't budge with the feet down.
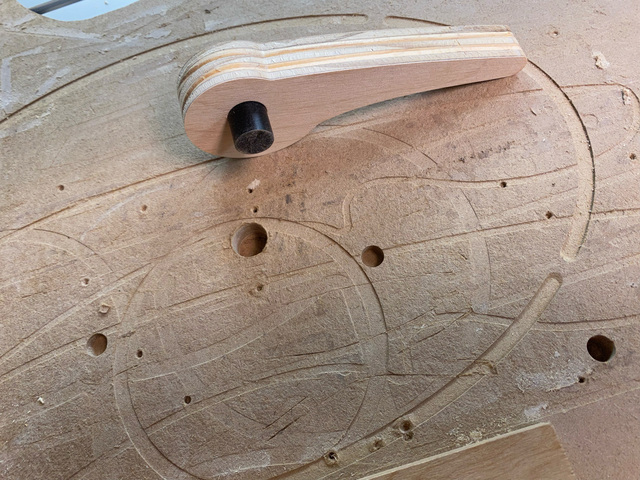
Ryan - I went ahead and ran the CNC this evening to make some cam clamps that will be used for work-holding on my upcoming spoil board. Getting rid of more scrap wood is awesome! There was no more vibration on the new cart than what I had on the old stand.
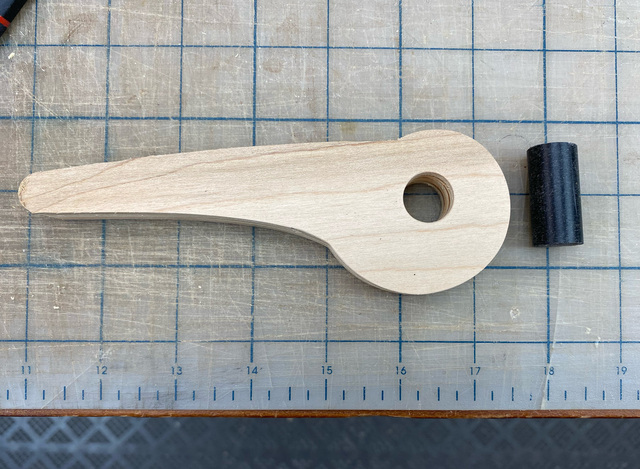
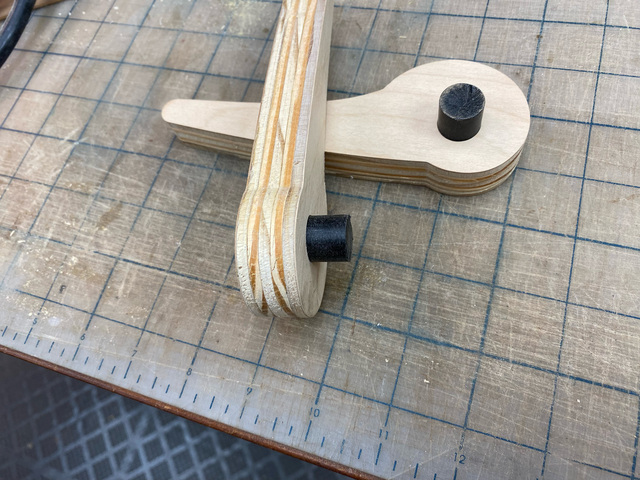
The cam clamps are based on an equiangular spiral where all radial lines cross the spiral curve at the same tangent angle. I picked an 84 degree angle for some test cam clamps. They seem to hold pretty well, but I'll need to cut something that's clamped with them to verify. If they start to come loose, I'll adjust the curve a step closer to 90 degrees.
The pivot is a section of some 5/8" diameter acetal copolymer rod (don't ask me what that is, it's something I bought on Amazon). It's a tight friction fit in the clamp itself and a merely snug fit in the test hole in the old spoilboard.
Ross Leidy commented 1 day ago , Ron - exactly right on the caster operation. The retractable feet have larger surface area than the wheels and they're made of rubber, so the cart doesn't budge with the feet down.
Thanks for that information. Do you find the levers any more cumbersome or slower to use than the typical foot-operated lever brakes?
Ron - I would not use this type of caster for a cart I was moving a lot because it does take longer to retract the feet than to pop the lock on a typical caster. The CNC will stay in place for a while, but if/when I need to move it, I wanted to be able to move the cart easily. I also liked that I could level the cart even if my floor is not perfectly level (and there are places in my basement where it's not exactly level). For the flip-cart I'm building, I expect to have to move that more regularly, and I'll use standard locking casters for it.
Eric - it definitely could. If your dog holes are 3/4" diameter, there's a big selection of the plastic rods on Amazon. If you've got 20mm, for some reason that's a difficult size to find on Amazon, and they usually have more metric than SAE stuff.